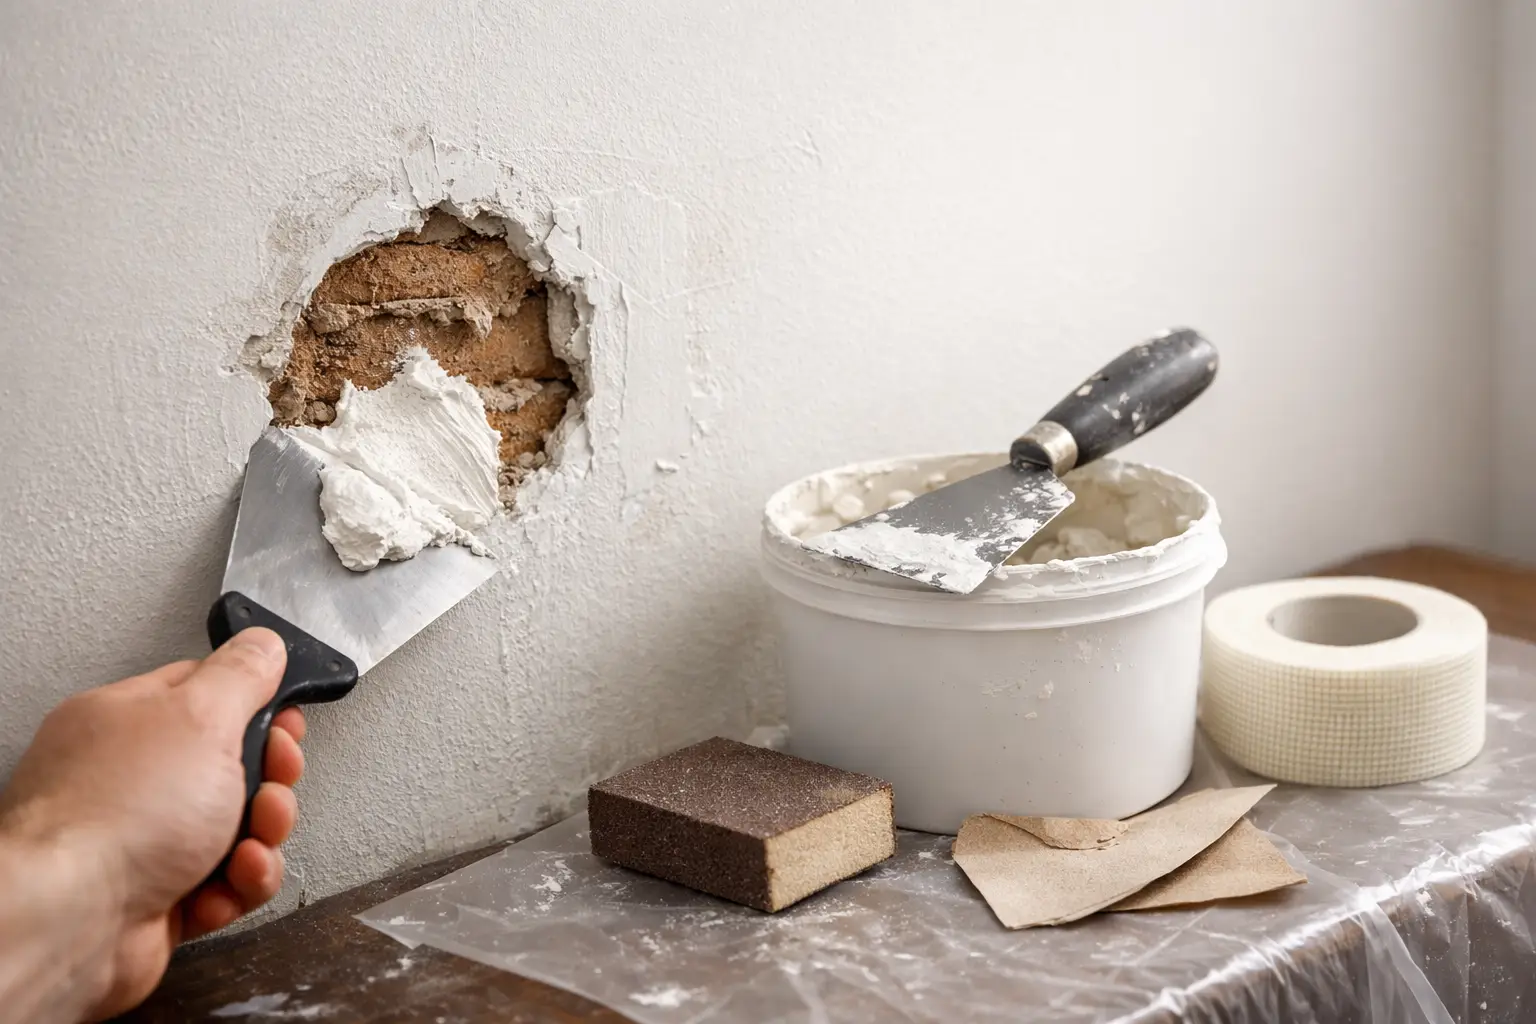
Internal Render Preparation Done Properly

Fresh paint does not hide poor prep. On internal walls, every ripple, hollow patch and dusty surface has a way of showing up once light hits it. That is why internal render preparation matters so much. If the surface is not assessed, repaired and stabilised properly first, even a good paint job can end up looking average.
For homeowners, this part of the job is often the least visible and the most important. You might notice the final colour, but the finish quality comes from what happens beforehand - checking the substrate, dealing with movement cracks, cleaning, patching, levelling and making sure the wall is actually ready to receive the next coat. Done well, it gives you a straighter, smoother and longer-lasting result. Done poorly, it creates extra cost later.
What internal render preparation actually covers
Internal render preparation is not one single task. It is the full process of getting an internal wall or ceiling surface into the right condition before render, skim coat, plaster finishing or paint preparation work begins.
That can include stripping back loose material, opening and repairing cracks, treating water-damaged areas, checking adhesion on old painted walls, sanding high spots, filling low areas and making sure dust, grease and contamination are removed. In older homes, it may also mean dealing with previous patch jobs that were rushed or built up unevenly over time.
The right approach depends on the room and the existing surface. A bedroom wall with a few settlement cracks needs a different level of preparation from a bathroom ceiling that has had moisture issues, or a renovated living area where new plasterboard meets old masonry. Good tradespeople do not treat these as the same job, because they are not.
Why prep affects the final finish more than most people expect
A lot of disappointment in wall and ceiling work comes down to mismatched expectations. The wall looks acceptable before painting, then after the top coats go on, defects become obvious. That is not because the painter has done something wrong. It is because paint reflects light, and light makes imperfections easier to see.
This is especially true with low-angle natural light, LED strip lighting, feature walls and large open-plan rooms. A surface that looked fine under dusty renovation lighting can suddenly show trowel marks, patch outlines and uneven texture in full daylight.
That is why a careful internal render preparation process is worth paying for. It helps create a more uniform surface, which means better visual consistency once decorated. There is still a practical limit - no wall in an older home is perfectly machine-flat - but proper preparation narrows that gap considerably.
The common problems that need attention first
Most interior walls are carrying some history. Even when a room looks tidy at first glance, there can be small issues underneath that need to be addressed before any finishing begins.
Cracks are one of the most common. Some are cosmetic, caused by minor movement or shrinkage. Others point to joint failure, substrate movement or previous repairs that have not bonded well. Simply filling over them can be a short-term fix at best. In many cases, the area needs to be opened up, reinforced appropriately and re-finished so the repair holds.
Loose or chalky surfaces are another issue. If the existing wall is dusty, friable or poorly bonded, new material may not adhere properly. That can lead to flaking, bubbling or failure down the track. Preparation is about getting back to a sound surface, not just making the wall look cleaner.
There is also the matter of unevenness. Old patching, removed tiles, chased-in electrical work and mixed materials across one wall can all leave highs and lows. If these are not blended properly, they remain visible after painting. This is where experienced hand work matters. The goal is not to bury defects under excessive material, but to build and feather repairs so the wall reads as one surface.
Internal render preparation in older and renovated homes
Older homes often need a more measured approach. Solid walls, aged plaster, past water ingress and years of repainting can create conditions where standard patch-and-go methods are not enough. Heritage details such as decorative cornices or older wall profiles also call for care, especially where new repairs meet original finishes.
Renovated homes can be just as tricky, though for different reasons. New partitions may meet existing walls that are out of plumb. Bulkheads, recessed lighting details and patched service penetrations all need to line up cleanly. If preparation is rushed at this stage, the finished room can feel uneven even if every element is technically installed.
This is often where a boutique approach makes a difference. When the same experienced tradesperson assesses the walls, quotes the work and completes it, there is less guesswork between what was promised and what is actually delivered. That consistency tends to show in the finish.
What a careful preparation process looks like
A proper job starts with inspection, not assumptions. The substrate has to be checked for soundness, moisture issues, previous coating failures and the type of material already on the wall. Masonry, cement render, plasterboard and patched mixed surfaces all behave differently.
From there, loose or failing areas are removed. Cracks are dealt with according to their cause and location. Surface contamination is cleaned off. Uneven sections are repaired and blended. If required, the wall is sanded and skimmed to improve consistency, especially where multiple old repairs have left obvious transitions.
Tidy work matters here as well. Internal render preparation can create fine dust and mess if not handled properly. In lived-in homes, protecting floors, furniture and adjacent spaces is not an optional extra. It is part of doing the work properly.
Drying and curing time also matter. One of the trade-offs on some projects is speed versus finish quality. Homeowners often want a room turned around quickly, which is understandable. But if coats are applied too soon or moisture is trapped, the result may not last. A dependable tradesperson should be honest about timing rather than promise an unrealistic turnaround.
When patching is enough and when full resurfacing makes more sense
Not every wall needs to be fully redone. If the defects are isolated and the surrounding surface is sound, localised repairs can be the most sensible option. This keeps costs controlled and avoids unnecessary disruption.
But there are times when patching becomes false economy. If a wall has widespread uneven texture, multiple failed repairs, old water damage staining or broad sections of delamination, chasing individual defects can leave you with a patchwork result. In those cases, a more comprehensive skim or resurfacing approach often delivers better value because the finished appearance is more consistent.
This is one of those areas where it depends. The cheapest path up front is not always the best one, but nor does every wall need the maximum treatment. The right advice should match the actual condition of the room, not a one-size-fits-all sales pitch.
What homeowners should ask before approving the work
If you are comparing quotes, ask what preparation is actually included. Some pricing allows only for basic filling and sanding, while other quotes cover more detailed crack treatment, levelling and surface stabilisation. If you do not clarify that at the start, two prices can look similar on paper while delivering very different outcomes.
It is also worth asking who will carry out the work. On interior finishing jobs, consistency matters. A wall repair or render preparation job can be technically straightforward but still end up looking poor if handed across between different people with different standards. Clear communication, fixed pricing and direct accountability usually lead to fewer surprises.
For homes with visible feature lighting, freshly renovated open spaces or high-traffic family areas, it is sensible to mention that during quoting. These conditions affect the level of finish expected, and the preparation should be planned accordingly.
Why good prep saves money later
The best internal finishes tend to look effortless, but they are rarely accidental. When internal render preparation is done thoroughly, paint sits better, repairs stay less visible and the surface holds up more reliably over time. That means fewer call-backs, less frustration and less chance of repainting sooner than expected.
For property owners getting a home ready for sale or lease, proper preparation also helps create the clean, cared-for appearance that buyers and tenants notice straight away. For families staying long term, it simply makes daily living feel better. Straight walls, clean lines and smooth ceilings lift a room more than most people realise.
If you are planning wall or ceiling work, it is worth slowing down long enough to get the prep right. The finish you want at the end usually depends on the care taken before anyone opens a paint tin.