How to Repair Hole in Plaster Wall Properly
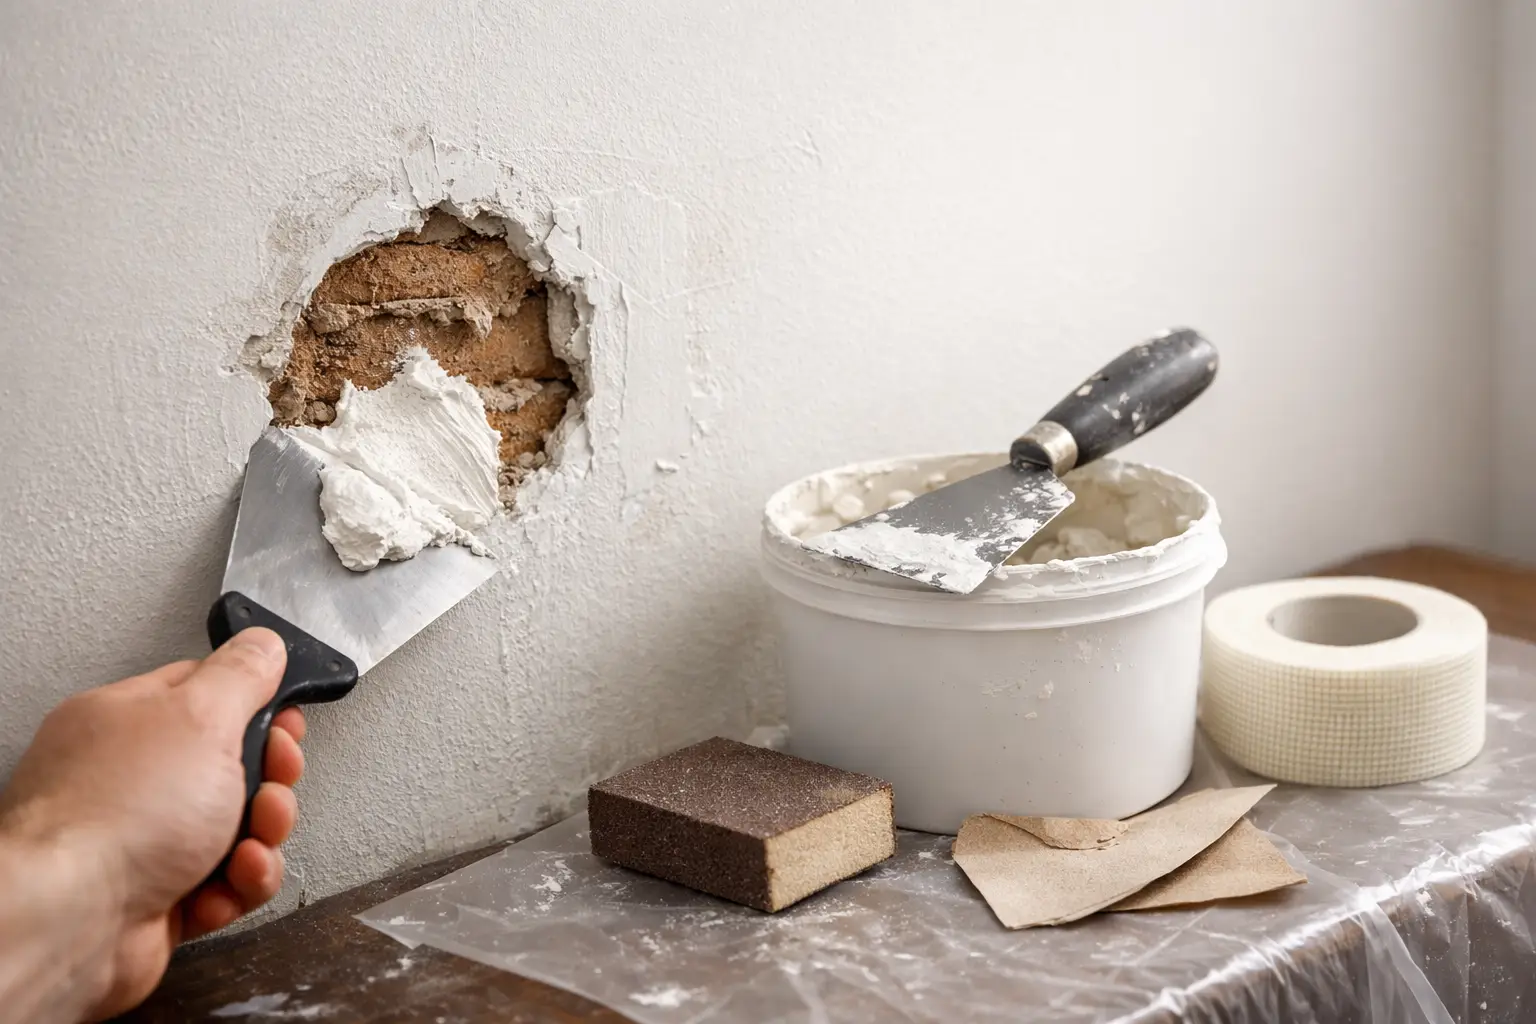
A hole in the wall has a way of looking worse every time you walk past it. What starts as a small knock from a door handle, furniture corner or accidental bump can quickly become the one patch your eye goes to first. If you need to repair hole in plaster wall surfaces properly, the real goal is not simply filling the damage. It is getting the repair flat, stable and paint-ready so it disappears into the rest of the room.
That matters more with plaster than many people expect. A quick filler job can look acceptable on the day, then shrink, crack or show a visible hump once the paint goes on. The right repair depends on the size of the hole, what caused it and whether the surrounding plaster is still sound.
Before you repair hole in plaster wall surfaces
The first step is working out what type of wall you have and how far the damage goes. In many Perth homes, "plaster wall" may mean plasterboard with a set plaster finish, older solid plaster, or a patched area that has already been repaired once before. Each behaves a little differently.
If the hole is clean and localised, the repair is usually straightforward. If the plaster around it feels drummy, crumbly or soft, the visible hole may only be part of the issue. Water damage is a common example. You can patch the opening, but if moisture is still in the wall or the base material has weakened, the repair will not hold its shape for long.
It is also worth checking for movement. Hairline cracking around the hole, loose edges or a repair that keeps reopening can point to impact stress, substrate movement or poor original fixing. In that case, simply pushing in more compound rarely gives a lasting result.
Small holes need restraint, not overfilling
Small holes from picture hooks, door knocks or minor accidental damage are usually the easiest to repair, but they are also the most often overworked. Many DIY repairs fail because too much filler is forced into the area, leaving a proud patch that needs aggressive sanding.
For a small hole, the damaged edges should be cleaned back first. Loose material has to come away so the filler bonds to something solid. Once the area is firm and dust-free, a suitable patching compound can be applied in thin passes rather than one heavy blob.
The temptation is to make it flush immediately. In practice, a neat first fill, slight drying time and a second skim often give a cleaner result. That approach reduces shrinkage and makes sanding far easier. On a painted wall with light hitting across the surface, that difference shows.
When a simple filler repair is enough
A basic fill is usually suitable for pin holes, screw holes, shallow dents and minor chips where the plaster face is intact. If the paper face of plasterboard is torn or the hole has depth behind it, the repair often needs more structure than filler alone.
This is where homeowners can save time by being honest about the damage. A repair that is just beyond the "small patch" category can become harder to hide if treated too lightly.
Medium holes often need mesh or a backing patch
Once a hole is large enough that filler could sag, crack or drop through, some form of support is needed. This is typically where patch mesh, a backing piece or a small plasterboard insert comes in.
The damaged section should be cut back neatly rather than patched over rough, broken edges. A square or rectangular cut-out is usually easier to repair cleanly than an irregular shape. From there, the best method depends on the wall build-up and the size of the opening.
For some repairs, a backing support fixed behind the plaster allows a new piece to sit flush within the opening. For others, a quality patch system can bridge the hole before skim coats are applied. The aim is the same either way - a stable repair that does not flex under light pressure.
This stage is where finish quality is won or lost. Even if the patch is structurally sound, the skim coating has to feather out far enough to blend with the existing wall. If the filled area stops too abruptly, the repair may still be visible after painting, particularly in natural light.
Larger holes are more like reinstatement than patching
A larger impact hole, especially one between studs or near a corner, usually needs part of the wall lining to be replaced. At that point, the job shifts from filling to reinstating the wall properly.
The damaged plasterboard or plaster section should be removed back to sound material. If there is cracked lining beyond the visible opening, that needs to come out too. Installing a patch onto unstable edges only creates a weak perimeter.
A new piece is then fitted, secured correctly and taped or set to match the surrounding finish. This is not difficult for an experienced hand, but it does require care. If the sheet sits slightly proud, if the joints are not treated properly, or if sanding cuts into the paper face, the patch can telegraph through the final paintwork.
Corners, ceilings and textured finishes add complexity
Not every hole is on a flat wall in the middle of a room. Damage near an external corner, beside cornice, around a light switch or in a ceiling often calls for a more precise repair method.
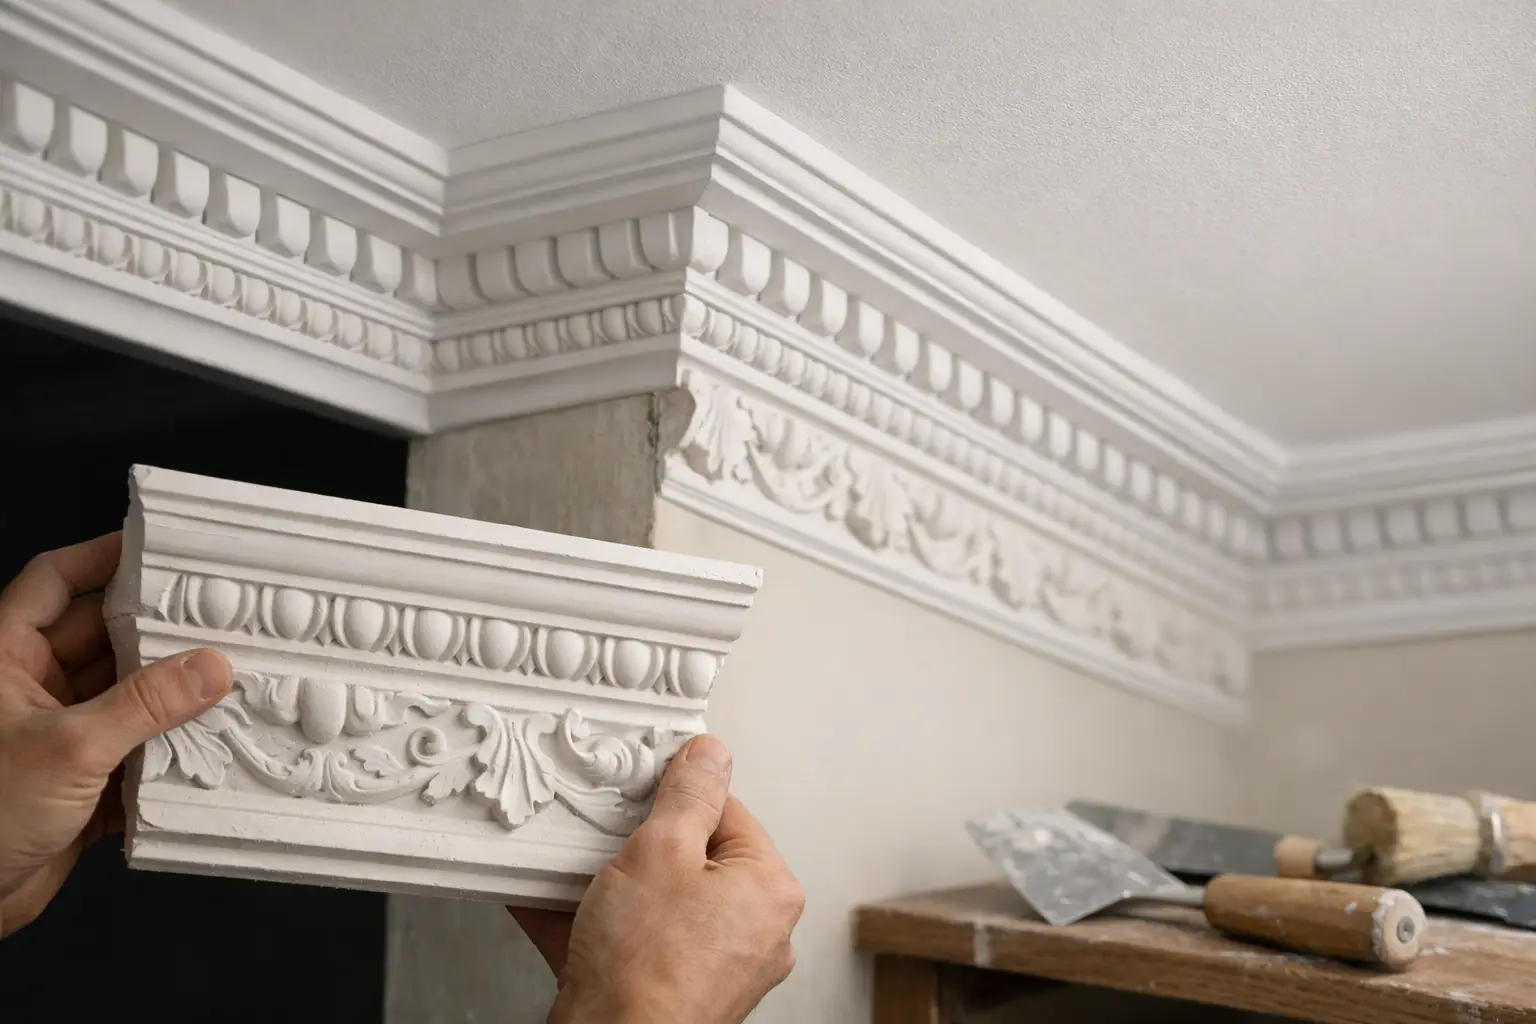
Corners may need new bead or careful rebuilding to keep the line straight. Ceilings are less forgiving because any unevenness is picked up quickly by overhead light. Textured or older plaster finishes can also be difficult to match. In heritage-style homes, invisible repair work depends as much on profile matching and surface recreation as on the patch itself.
The biggest reason plaster repairs stay visible
Most visible wall patches are not caused by the fill itself. They are caused by poor preparation and poor feathering.
If dust, loose material or damaged paper remains, the patch can fail at the edges. If the repair area is too tight, the wall ends up with a shallow mound. It might feel smooth to the touch, but paint - especially low-sheen paint in daylight - will highlight it.
That is why experienced plaster repairs are rarely rushed. Drying times matter. Sanding has to be controlled, not aggressive. Primer matters too, because patched areas absorb paint differently from sealed existing surfaces. Without proper sealing, the repaired spot can flash through with a different texture or sheen.
DIY or call a professional?
It depends on the hole, the location and your standard for the final finish. A tiny picture hook repair in a low-traffic room is often manageable for a careful homeowner. A larger hole, ceiling damage, water-affected plaster or anything near decorative finishes is usually better handled professionally.
The practical difference is not just speed. It is finish control. A good repair should sit flat, stay stable and look consistent once painted. That is where many DIY jobs become frustrating. You save money on the patch, then spend extra time re-filling, re-sanding and repainting a repair that still catches the light.
For homeowners who want certainty, a fixed-price repair with clear communication and tidy work practices usually makes more sense than trial and error. With owner-led specialists such as Yong's Carpentry, the hands that quote your job are the hands that finish it, which tends to show in the detail.
When the hole points to a bigger issue
Sometimes the wall damage is only the symptom. Repeated cracking, staining, bubbling paint or softened plaster can indicate moisture ingress, movement or previous poor-quality repairs. In those cases, repairing the hole alone is only part of the answer.
A proper inspection should confirm whether the surrounding wall is dry, stable and suitable for patching. This is especially relevant after roof leaks, plumbing issues or long-term condensation. A neat patch over damp or degraded material may look fine briefly, then fail again.
In lived-in homes, there is also the question of how the repair affects the rest of the room. Dust control, floor protection and paint-ready finishing matter just as much as closing the hole. Homeowners usually do not want a wall fixed halfway. They want the room put back properly.
Getting a paint-ready finish that lasts
To repair a hole well, the finish has to be judged after the patch dries, after it is sanded and after it is primed - not just when it is wet and fresh. That extra care is what separates a quick cover-up from a proper wall repair.
The best result is usually simple to describe and harder to achieve: the wall should look undisturbed. No sagging fill, no ring around the patch, no flashing under paint, and no rough edge that reminds you where the damage used to be.
If you are weighing up whether to tackle it yourself or have it done properly, the right question is not whether the hole can be filled. It is whether the repair will disappear once the room is back to normal.