Best Ways to Conceal Wall Repairs Properly
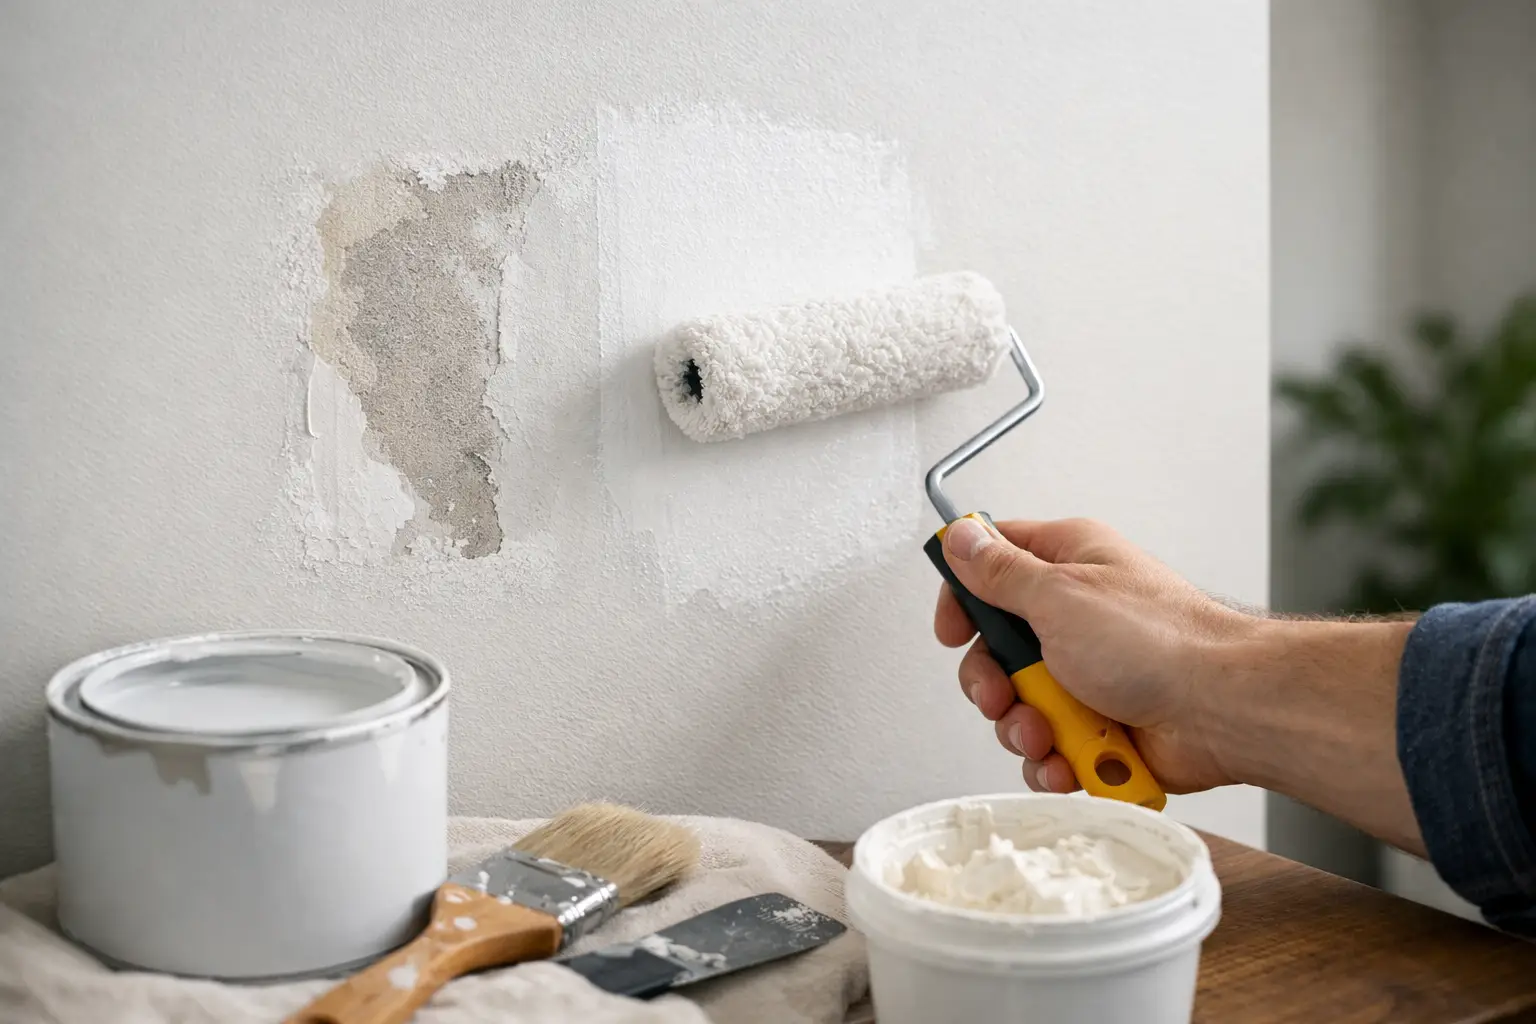
A wall repair can look perfectly acceptable at 4 pm, then become the first thing you notice when morning light hits it across the room. That is why the best ways to conceal wall repairs are rarely about simply filling a hole. They depend on preparing the damaged area properly, rebuilding the surface in thin layers and matching the final texture and paint sheen.
For Perth homeowners, wall damage often comes from everyday life: picture hooks moved during a refresh, a door handle pushed too far, furniture scuffs, settling cracks, or a leaking roof or pipe. The repair itself may be small, but a shortcut can leave a raised patch, visible edge or different paint reflection. A good finish should look right from close up and from the other side of the room.
Start by fixing the cause, not just the surface
Before concealing damage, establish why it happened. A small dent from a bumped chair is usually cosmetic. A repeating crack, staining, soft plasterboard or bubbling paint needs more attention. Filling over moisture damage without fixing the leak first is a temporary cover-up, and the staining or swelling will return.
Hairline cracks can result from minor movement, but wider cracks, cracks that keep reopening, or cracks near doors and windows may need assessment before repair. In older homes, movement at joins and changes between materials are common. The right preparation may include reinforcing a joint rather than applying compound straight over the line.
Once the cause is resolved, remove loose paint, crumbling plaster, damaged paper face and weak filler. Sound material is the only dependable base for an invisible repair. This step can feel slow, but it prevents the new patch from lifting later.
Match the repair method to the damage
There is no single filler that suits every wall repair. Choosing the right method makes a noticeable difference to both strength and appearance.
Small nail holes and shallow dents
Small holes are generally straightforward. A light application of quality patching compound, allowed to dry and sanded gently, is often enough. The key is not to overfill. A proud spot catches light just as badly as a hole does.
For several small holes in the same area, it can be more efficient to prepare them together, then prime and repaint the whole section. This creates a more even result than touching up each spot individually.
Larger holes in plasterboard
A larger hole needs support behind the face of the wall. Depending on its size and location, that might mean a properly fitted plasterboard patch, backing timber, joint tape and several coats of compound. Trying to bridge a large opening with filler alone can crack, sag or leave a hollow weak point.
The patch should sit flush with the surrounding lining. From there, the compound is extended beyond the patch in progressively wider coats. This gradual transition is what stops the repair reading as a square outline beneath paint.
Cracks along joints and corners
Cracks at plasterboard joins should not simply be packed with filler and painted. If joint tape has failed, the loose material needs to come away before fresh tape and compound are applied. External corners may require attention to a damaged corner bead, while internal corners need clean, well-bedded tape to retain a straight line.
This is detail work. A corner that is only slightly wavy or overbuilt can stand out in a hallway, kitchen or room with downlights. Careful sanding matters, but it cannot correct poor shaping underneath.
The best ways to conceal wall repairs rely on feathering
The trade term for blending a repair into its surroundings is feathering. Rather than creating one thick patch over the damage, compound is applied in thin coats that extend further each time. The final coat may spread well beyond the original hole or crack, especially on a broad, flat wall.
Thin coats dry more evenly and are easier to sand without gouging the surface. They also reduce shrinkage, which can expose a depression around the patch after painting. Each coat needs to dry fully before the next is applied. Rushing with another layer over damp compound often causes problems that only become obvious at the painting stage.
Sanding should leave the wall smooth, not polished or damaged. Use a sanding block or broad sanding tool to keep flat areas flat, and check the repair by running a hand across it as well as looking across the surface in side light. A work light held at a low angle will reveal ridges, pinholes and abrupt edges that general room lighting hides.
Dust control is part of a tidy repair. Fine plaster dust travels easily through a home, so floors, furniture and nearby openings should be protected before sanding begins. A careful tradesperson will also clean the wall before priming, as dust left behind can affect paint adhesion.
Prime repairs before trying to match the paint
Fresh compound is more porous than painted plasterboard. If paint goes straight over it, the patch can absorb paint differently and show as a dull or uneven area, even where the colour is correct. A suitable primer or sealer creates a consistent surface for the topcoat.
Primer also exposes flaws. Once the repair is sealed, a shallow hollow or fine scratch can be easier to see. It is better to make a small final correction at this point than to live with a visible patch after the room is finished.
Paint sheen deserves as much attention as colour. A white wall might seem easy to match, yet a low-sheen, matte, satin or semi-gloss finish will reflect light differently. Using a slightly different sheen can make the repair stand out from every angle. Where possible, use the same paint product and finish already on the wall.
If the original paint is unknown or has faded with age, painting the full wall from corner to corner is often the most reliable answer. A spot touch-up may match under one light and flash under another. Full-wall repainting avoids a hard transition and gives a genuinely uniform finish.
Do not overlook texture, cornices and heritage details
Smooth plasterboard is only one type of surface. Textured walls, rendered finishes, decorative plasterwork and patterned cornices need a repair that recreates the existing profile. A smooth patch in a textured wall is immediately visible, no matter how closely the paint colour matches.
Texture can be recreated with the right application method, but it takes testing and restraint. Heavy texture is difficult to disguise if it does not match the surrounding pattern. For decorative cornices, a missing section may need a profile matched or carefully formed so the repair follows the original line rather than looking like a modern addition.
In heritage homes, preserving the character of the room is usually worth more than the quickest fix. The same applies to bulkheads, recessed lighting coves and ceiling-to-wall transitions, where clean lines are part of the design. These areas benefit from a repairer who understands how the original components were built.
When a professional repair is the sensible option
DIY repairs can work well for a few pinholes, provided the surface is prepared, primed and painted properly. Larger holes, recurring cracks, water damage, damaged corners, ceiling repairs and decorative details are less forgiving. They can require cutting back to sound material, reinforcing the repair and blending a larger area than expected.
Professional help is also worthwhile when the wall receives strong natural light, sits behind a dining table or sofa, or forms part of a recently renovated room. These are the locations where a patch becomes obvious fastest. At Yong's Carpentry, the hands that quote the job are the hands that finish it, which helps keep the repair method, finish expectation and final detail aligned from the first inspection.
A fixed-price assessment should explain what caused the problem, what needs to be repaired and whether painting a full wall is likely to deliver the better result. Clear advice at the start avoids the common disappointment of a patch that looks fine until the paint dries.
The goal is not merely to hide a damaged spot for now. It is to restore a flat, stable, paint-ready surface that belongs naturally with the rest of the room - and stays that way when the light changes.