Garage Room Conversion Wall Example Ideas
A good garage conversion can be let down by one thing very quickly - the walls. If you are searching for a garage room conversion wall example, what you usually want is not a fancy drawing. You want to know what a proper wall build-up looks like, how it should perform, and where people get caught out.
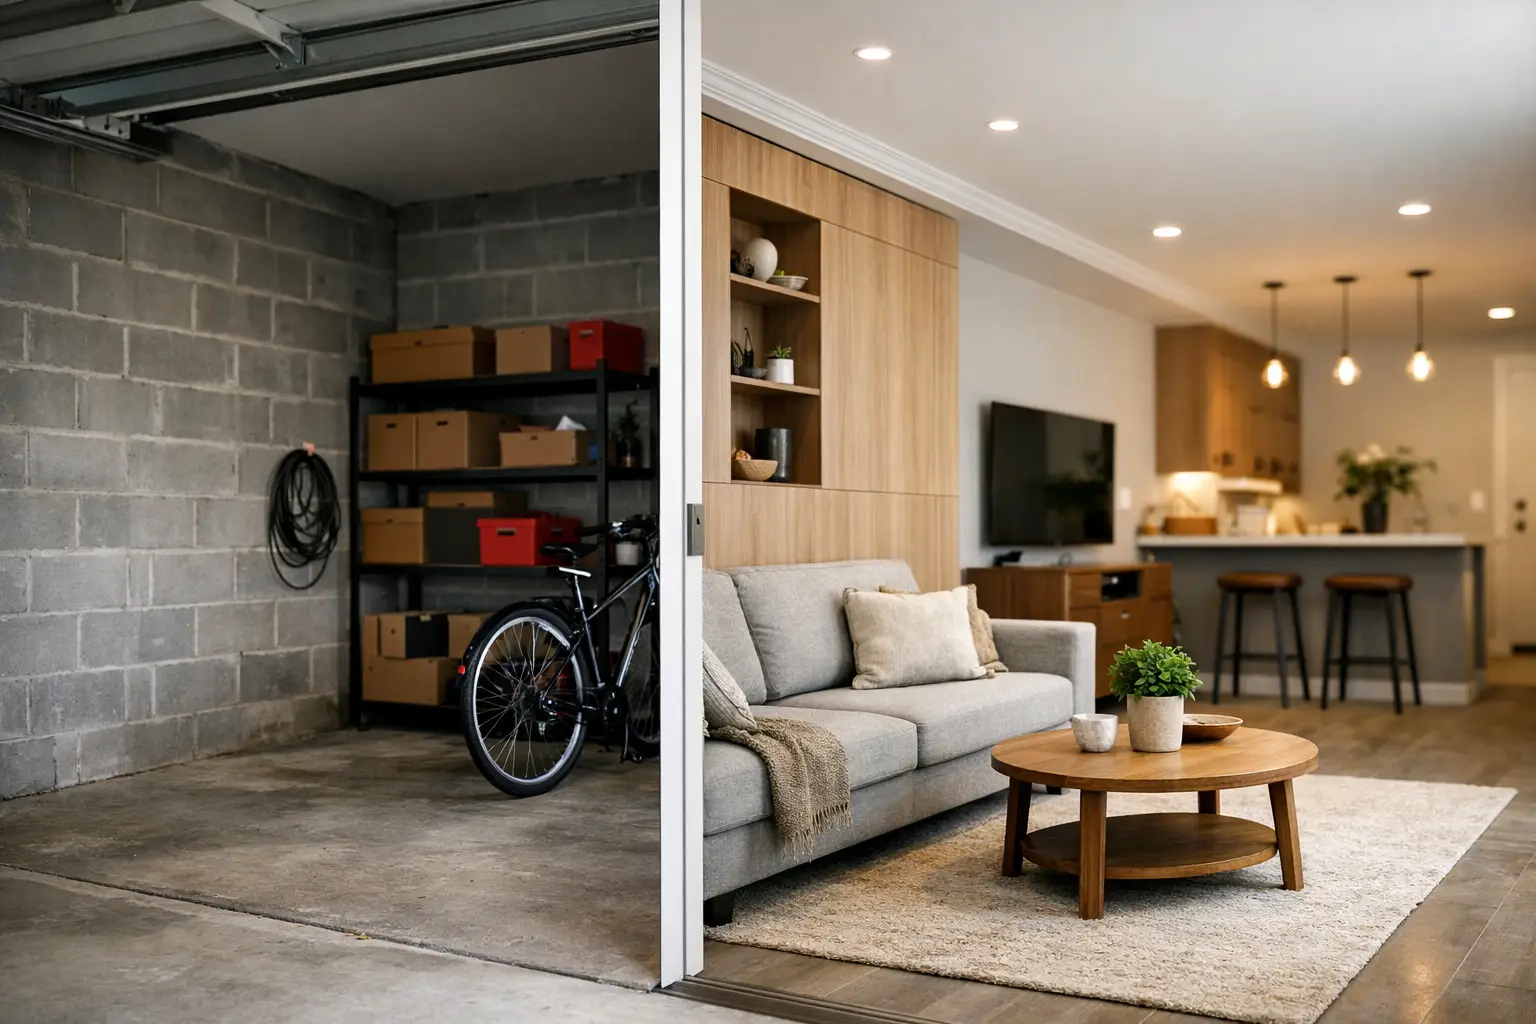
In most homes, the existing garage walls were never finished to the same standard as the rest of the house. Some are bare brick, some are single-skin masonry, and some have patchy repairs, old shelving fixings or moisture marks. Turning that space into a usable room means building walls that feel like part of the home, not a dressed-up shed.
What a garage room conversion wall example should include
A realistic garage room conversion wall example usually starts with a simple question: are you lining an existing wall, or creating a new internal partition? The answer changes the method, the cost and the finished thickness of the wall.
If the garage has solid external walls in reasonable condition, the usual approach is to install a timber or steel battened frame off the masonry, allow for services if needed, add insulation, then line it with plasterboard. Once set, sanded and finished, the room can be painted to match the rest of the home.
If part of the conversion needs to divide the garage from storage, laundry space or another section, a new partition wall may be built instead. That wall behaves more like a standard interior wall, with framing on the slab, plasterboard to one or both sides, and insulation depending on whether sound control matters.
In either case, the goal is the same: straight walls, stable fixing, clean junctions at the ceiling, and a paint-ready finish that does not show every screw, joint or wave in the light.
A practical garage room conversion wall example
Here is a common example for a single garage being converted into a study, guest room or kids' retreat.
The existing outer wall is brick. Rather than plastering directly over it, a treated timber batten system is fixed neatly to the wall. This creates a cavity that helps with levelling, allows limited service runs, and gives a solid base for plasterboard. Insulation is fitted between the battens to improve comfort and reduce that cold, hollow feel garages often have.
Moisture matters here. If the wall shows signs of past damp, efflorescence or rising moisture, those issues need to be assessed before lining begins. Covering a problem wall too quickly can trap trouble behind the board. A proper job starts with the substrate, not just the finish.
Once the framing is set out, plasterboard sheets are installed with attention to joint layout, fixing centres and sheet direction. Corners are reinforced, joints are taped and stopped, and the entire wall is brought to a smooth, consistent finish. If the ceiling is also being upgraded, this is the time to make sure the wall-to-ceiling junction is tidy and visually consistent.
That is the basic wall example most homeowners have in mind. It is not complicated, but the difference between average and well-finished work is obvious once paint goes on.
Why direct stick is not always the best option
Some garages can be lined by adhering plasterboard directly to masonry, but that is not always the best answer. It can save space, which sounds attractive in a tight room, yet it leaves less room for insulation, services and correction of uneven walls.
Older garage walls are often out of plumb or have surface variation. A battened or framed wall gives more control over the final plane. That means straighter skirtings, cleaner corners and fewer visible imperfections under light. If you want the room to feel like a proper part of the house, not just covered brickwork, that extra control is often worth it.
There is also the practical side. If you need power points moved, data cabling added or lighting changed, a cavity makes life easier. Chasing services into brick is slower, messier and less flexible.
The wall finish matters as much as the wall build
Homeowners often focus on insulation and framing, but the visible finish is what you live with every day. A converted garage wall should not show ridges at the joints or patched areas that flash through after painting.
This is where plastering standards matter. Good joint setting is about restraint as much as product. Too much build-up can create broad humps. Too little can leave visible recesses at sheet joins. Sanding needs to be controlled as well. Over-sanded joints can fuzz the paper face and create weak spots, while rushed sanding leaves lines that only appear once sunlight hits the wall.
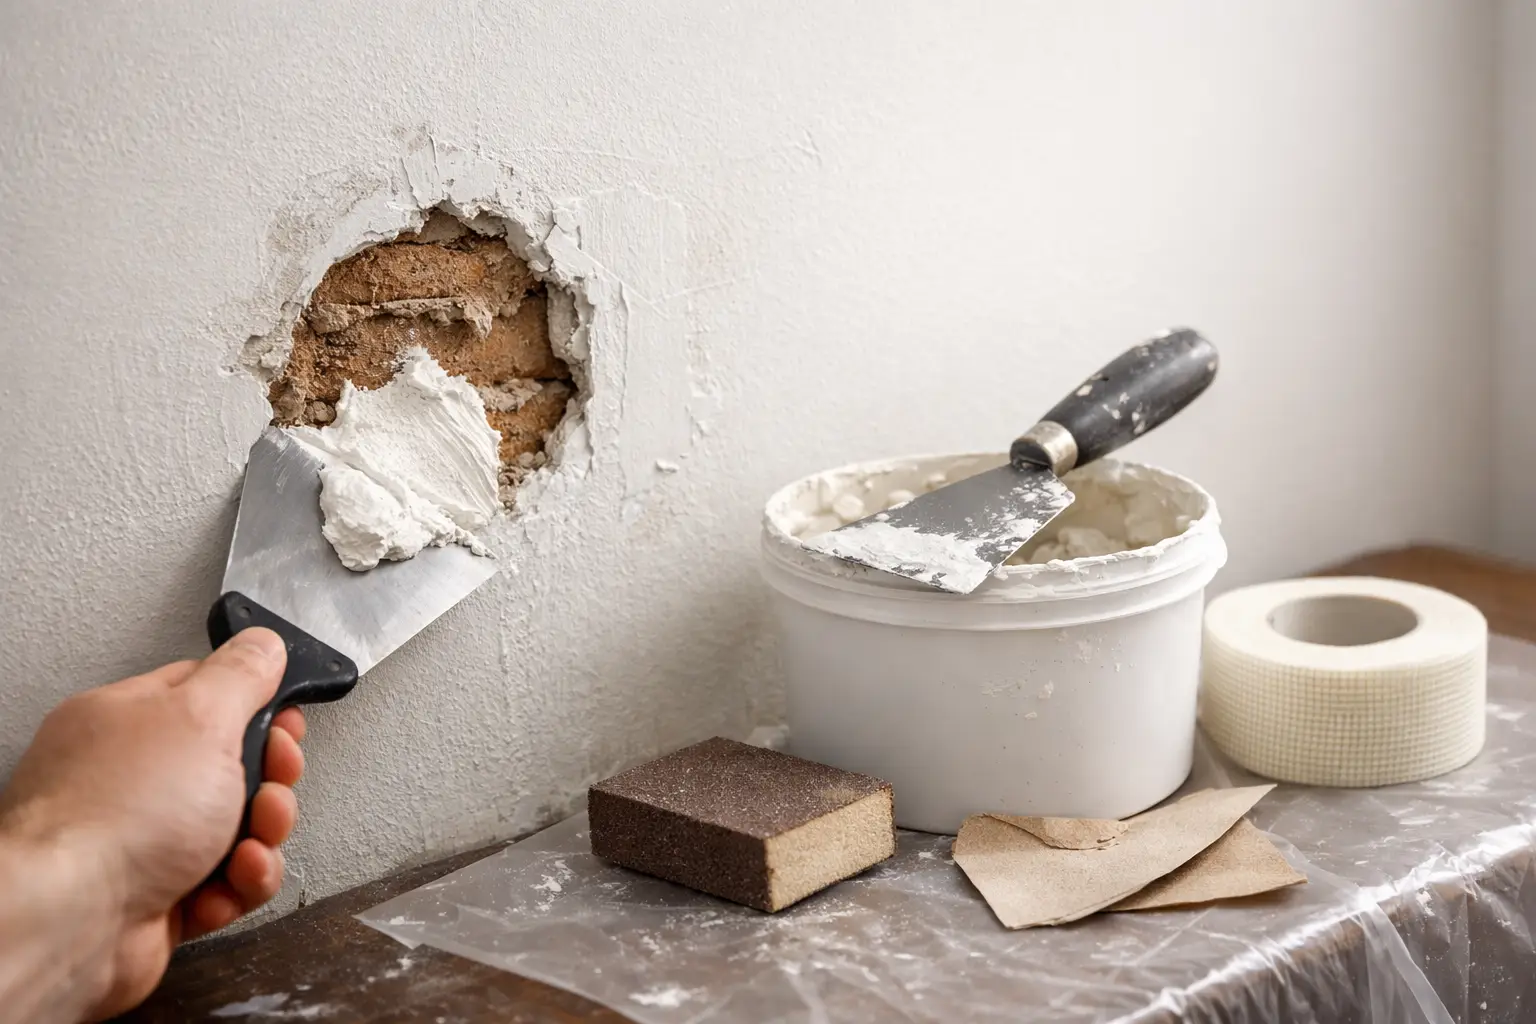
The same applies to repairs around old penetrations, removed shelving or previous damage. If there are holes, cracks or crumbling sections in the original garage wall, they need proper prep before lining or patching. A paint-ready surface is not just smooth from a distance. It has to hold up at close range, in side light, and after the room is furnished.
Ceiling and wall junctions can make or break the result
Garage conversions rarely involve walls alone. The wall build has to work with the ceiling, the floor height and the openings. If those junctions are treated as an afterthought, the room can feel pieced together.
For example, if the existing garage ceiling is lower, uneven or unfinished, new wall linings may highlight that mismatch. Sometimes a simple ceiling re-line, bulkhead or cornice detail helps tie the space together. Sometimes a square-set finish suits a more modern room. It depends on the house, the budget and how closely you want the converted space to match adjoining rooms.
Door and window reveals need the same care. If an old garage opening has been altered, the surrounding plasterboard work should be set out so reveals look balanced, not pinched on one side and oversized on the other. These are small decisions, but they are the details that make a conversion feel personally finished.
Common mistakes with garage conversion walls
The biggest mistake is treating the garage like any other internal room. It is not. Garages often have harder surfaces, more temperature swing, and a history of minor moisture or impact damage. The wall system needs to respond to that.
Another common issue is ignoring floor levels. If the slab falls toward the garage door, as many do, wall framing and skirting details need to account for it. Otherwise gaps appear, cuts look rough, and the finish feels improvised.
Homeowners also get caught by underestimating the finishing stage. Framing may go up quickly, but getting walls truly ready for paint takes care and time. This is especially true if the room will be used as a bedroom, office or media room where lighting can expose every flaw.
And finally, there is the temptation to overbuild without a plan. Thicker insulation, extra battens and multiple finish layers all sound sensible, but every added layer affects room size, trims, door jamb depth and cost. Better to choose a wall system that suits the room than throw materials at it and hope for the best.
When a partition wall is the better example
Sometimes the best garage room conversion wall example is not the external wall at all. It is a new partition. This comes up when part of the garage remains for storage, a workshop, or access to services.
In that case, a timber or steel stud wall can be built cleanly within the existing space. Insulation can be added for sound control, especially if one side remains a utility area. Plasterboard is then installed and finished like any interior room wall. This approach can be more economical than trying to bring every original garage surface up to living-room standard.
It also gives flexibility. You might not need to convert the entire garage to gain a functional home office or retreat. A well-built partition can create a more comfortable room while keeping some practical storage behind it.
What to ask before work starts
Before committing to a wall system, ask how the existing wall condition will be checked, how moisture concerns will be handled, what insulation is proposed, and what level of finish you will get before painting. It is also worth asking who is actually doing the work.
With owner-led specialist work, the communication is usually clearer because the person assessing the wall condition is the same one planning the fixings, sheet layout and finish quality. That matters on garage conversions, where small site conditions often affect the method.
Fixed pricing helps too, but only when the scope is clearly set. If the quote simply says line garage walls, there is room for confusion. A better quote explains whether the work includes battens or framing, insulation, plasterboard, joint setting, cornice or square set, and prep for paint.
A garage conversion should feel settled from the day it is finished. The right wall build does more than cover rough surfaces. It changes the way the room sounds, holds temperature and connects visually to the rest of the home. If you are planning one, look past the idea board and pay attention to the wall example that shows the full build, because that is where the quality lives.