Best Ceiling Finish for Old Homes That Lasts
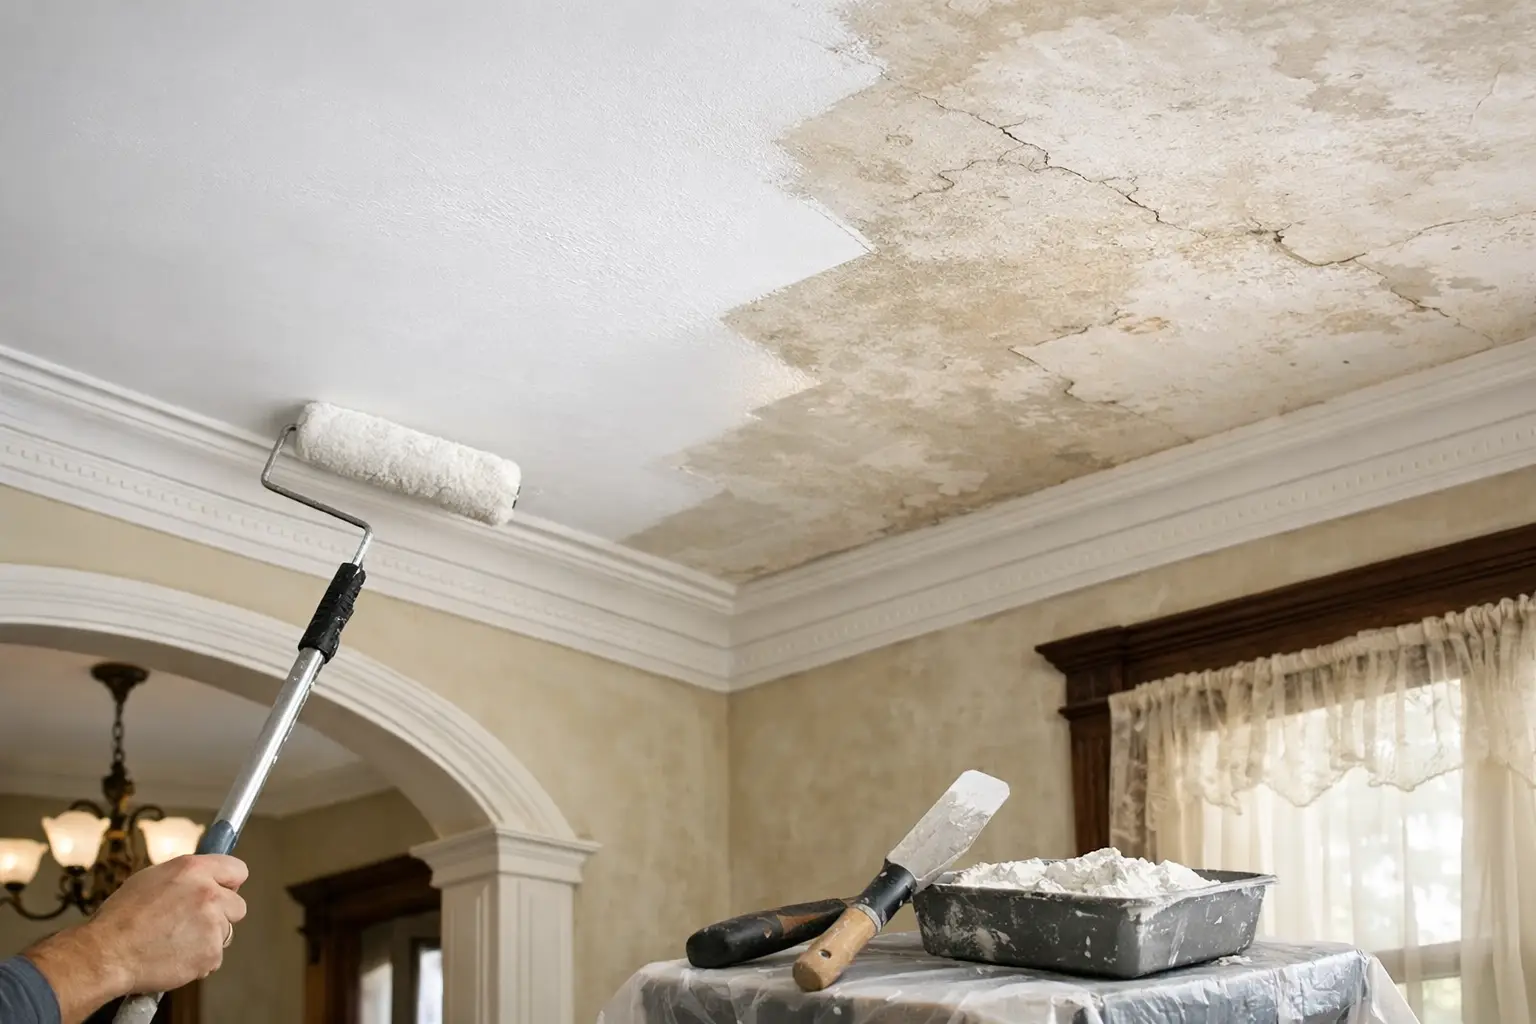
A ceiling can make an otherwise well-kept older home feel tired. Fine cracking, sagging joins, patched water stains and dated texture are all more visible overhead, especially once fresh wall paint or new lighting goes in. The best ceiling finish for old homes is rarely just the newest material available. It is the finish that suits the home’s structure, preserves the right details and gives you a stable, paint-ready surface for years to come.
For Perth homeowners, the right choice often comes down to one question: is the existing ceiling worth restoring, or has it reached the point where replacement will give a cleaner and more reliable result?
Start with the ceiling’s condition, not its appearance
Older homes can have original lath-and-plaster ceilings, fibrous plaster sheets, early plasterboard or later renovations layered over the top. Each behaves differently. A hairline crack along a join may be a straightforward repair. Broad sagging, repeated cracking or a ceiling that has moved away from the cornice can point to a larger issue with framing, fixings or moisture.
Before selecting a finish, find out why the ceiling looks the way it does. Water damage must be traced back to the roof, plumbing or air-conditioning source first. Movement cracks may need attention to the framing or expansion points. Covering over an active problem can leave you with the same damage showing through a newly finished ceiling.
If the home was built before 1990, avoid sanding, drilling or removing old ceiling materials until asbestos has been properly considered. Some older sheeting, backing materials and textured finishes can contain asbestos. Testing and safe removal, where required, should happen before any ceiling work begins.
Best ceiling finish for old homes: the main options
There is no one-size-fits-all answer. The best result depends on whether you value heritage detail, want the cleanest modern look, need to conceal extensive damage or are planning new services such as recessed lighting.
Repair and skim-coat original plaster
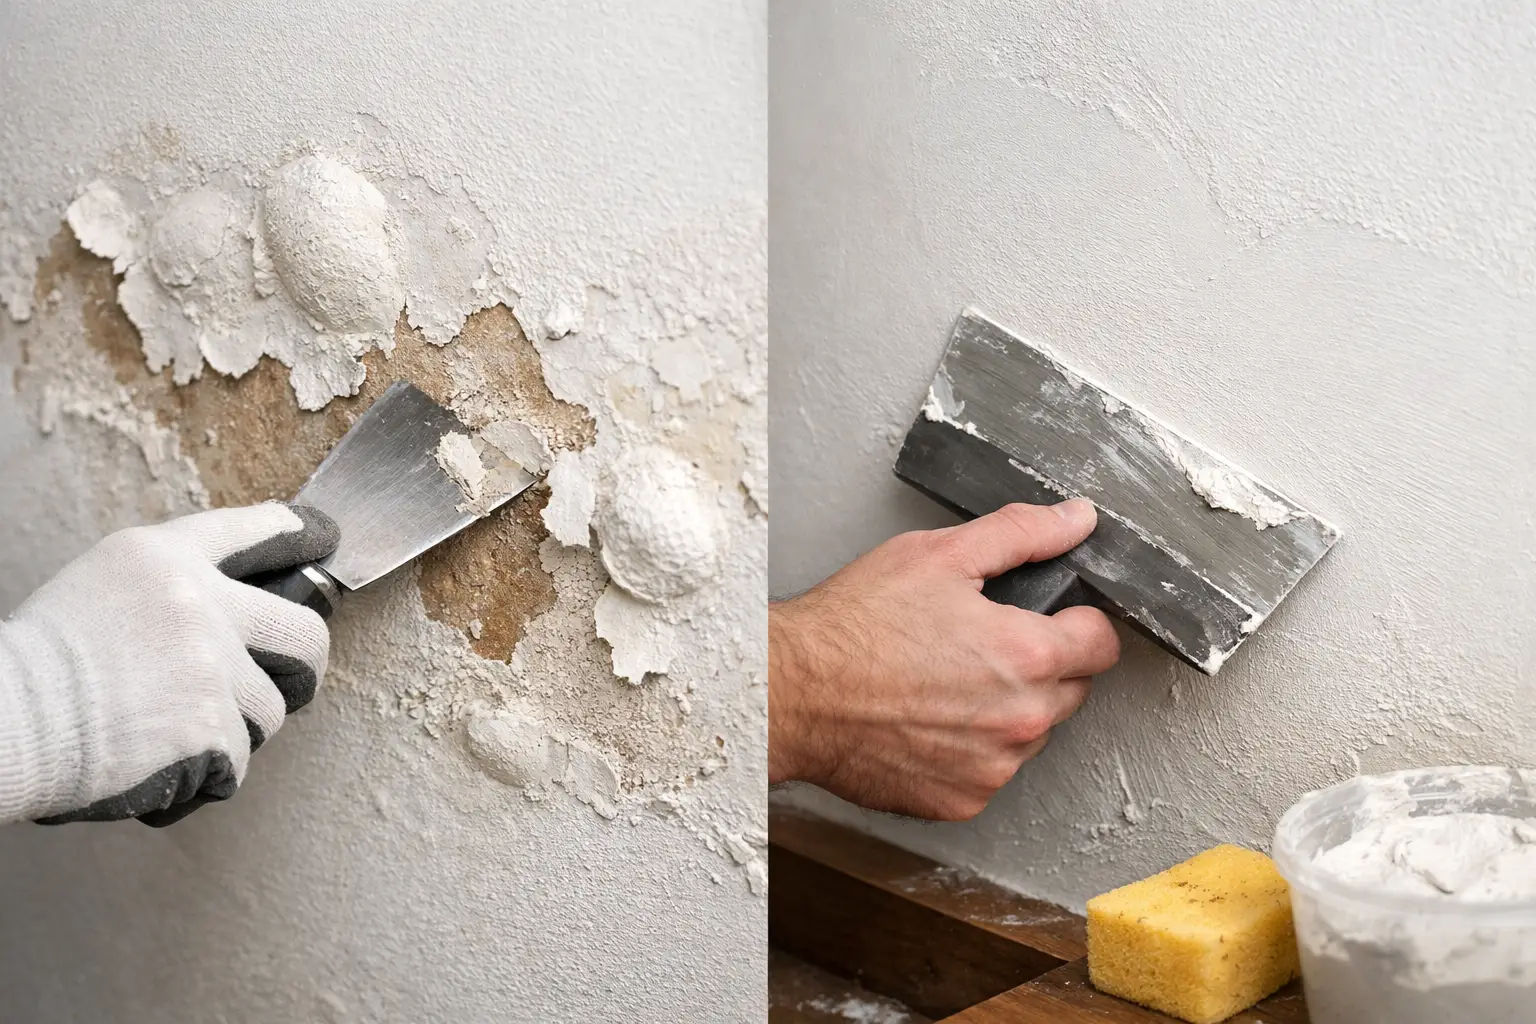
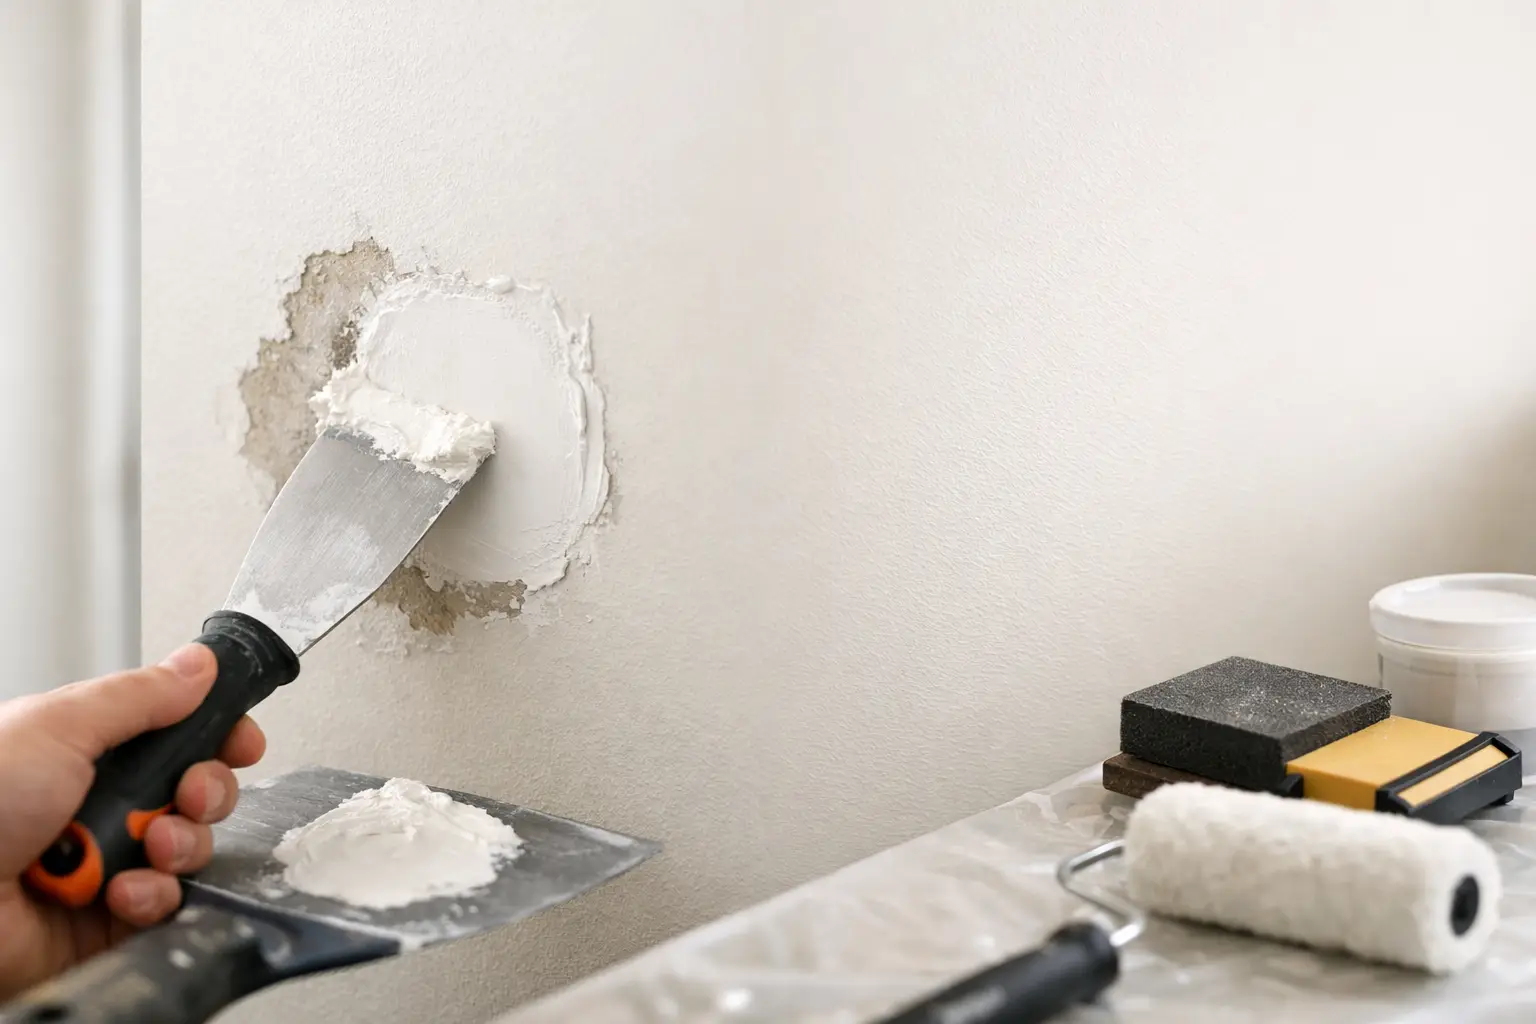
Where an original plaster ceiling is generally sound, repairing and skim-coating it is often the best finish for retaining character. Cracks can be opened and reinforced, loose areas secured or removed, then the surface can be levelled with a fine plaster finish ready for painting.
This option works particularly well in character homes with original decorative cornices, ceiling roses or other details worth keeping. Done properly, repairs should blend into the surrounding surface rather than leaving obvious patched edges. The aim is not to make an old home look artificially new. It is to give it a clean, even ceiling that still belongs in the room.
The trade-off is that restoration can be more labour-intensive than replacing a simple flat ceiling. It also relies on the original ceiling being stable enough to save. If large areas are drummy, crumbling or sagging, a skim coat alone is unlikely to be a long-term solution.
New plasterboard with a set-and-sanded finish
For many old homes, a new plasterboard ceiling with taped joints, a smooth set coat and ceiling paint is the most practical all-round choice. It creates a crisp, even surface, allows damaged or uneven existing linings to be removed, and gives better access for electrical work, insulation upgrades or new lighting.
A standard plasterboard ceiling can be finished with cornices for a traditional transition between wall and ceiling, or square-set for a cleaner, more contemporary edge. In older homes, retaining or matching cornices can stop a room from looking out of place after a renovation. Where original profiles have been damaged, a specialist can often source or reproduce a close heritage match.
Replacement is usually the better option where there is widespread water damage, multiple failed repairs, poor previous work or major sagging. It is also a sensible choice if you are changing the ceiling layout with bulkheads, recessed LED coves or new downlights. Starting with a properly lined ceiling gives those details a more precise finish.
Over-sheeting an existing ceiling
Over-sheeting means installing new plasterboard over the old ceiling rather than removing it. In the right situation, it can be an efficient way to cover extensive cosmetic cracking or dated texture while avoiding the mess of full demolition.
However, it is not a shortcut for structural problems. The existing ceiling and the framing above still need to be assessed, and the new sheets must be fixed securely into suitable framing. Over-sheeting also lowers ceiling height slightly, which may matter in rooms that already feel enclosed or where door and cornice proportions are tight.
This approach can be useful in a rental refresh or a practical renovation, but it needs careful planning around light fittings, manhole access, cornices and any concealed services.
Decorative details with a modern ceiling surface
A smooth new ceiling does not have to remove all personality from an older home. Decorative cornices, ceiling roses and carefully proportioned bulkheads can retain period character while giving the room a fresh, reliable surface.
The key is restraint. An ornate cornice paired with a sharp square-set ceiling can look confused unless the rest of the room supports that mix. Likewise, a deep modern bulkhead may feel heavy in a compact cottage room. Good ceiling work considers proportions, existing joinery, window height and the style of the home rather than treating each feature in isolation.
Avoid heavy texture where possible
Textured ceilings were once used to hide uneven surfaces and make a fast finish look acceptable. They are rarely the best choice for an old home being improved today. Texture catches dust and cobwebs, is difficult to patch invisibly, and can make a room feel darker by scattering light unevenly.
A smooth, properly prepared plaster finish is easier to repaint and easier to repair later. It also works with almost any interior style, from a restored federation room to a simple contemporary extension. If the ceiling has existing texture, the right treatment depends on what it is, how firmly it is bonded and whether testing is required before disturbing it.
Choose paint that supports the plaster finish
Even excellent plastering can look poor under the wrong paint or poor lighting. Most ceilings suit a quality flat or matte ceiling paint in white or a very light neutral tone. A flatter sheen helps soften minor variations, while high-sheen paint can highlight every joint, patch and sanding mark.
Preparation matters as much as the top coat. Stains need the correct sealer, especially after water damage or smoke exposure. New plasterboard and fresh compound need to be properly dry, sealed and primed in line with the paint system. Rushing this stage can lead to flashing, where repaired areas show through differently once painted.
If new downlights, pendants or LED coves are part of the plan, inspect the ceiling in those lighting conditions before final paint. Low-angle light is unforgiving and can reveal imperfections that were not obvious during the day.
What a lasting finish looks like
A quality ceiling finish is not simply smooth on the day the painter leaves. Joints are properly taped and set, repairs are reinforced where needed, corners and cornices meet cleanly, and the ceiling is ready for paint without visible ridges or patch outlines. Just as importantly, the cause of any damage has been addressed rather than concealed.
For homeowners planning a more substantial refresh, ceiling work is best scheduled before final wall painting, flooring and furniture installation. It is dusty work by nature, but a careful tradesperson will protect floors, contain the work area and leave the space ready for the next stage rather than creating extra jobs for you.
At Yong's Carpentry, the hands that quote the job are the hands that finish it. That direct approach matters in older homes, where a proper on-site look at the ceiling, cornices, framing and previous repairs is far more useful than a quick estimate based on photos.
The right ceiling should quietly do its job: sit straight, catch light evenly, suit the age of the home and give you confidence that the repair is genuinely finished. A careful inspection before work starts is the simplest way to get there.