Paint Preparation Checklist for Smooth Walls
Fresh paint can make a room feel new, but it will not hide a wall that is dusty, damp, uneven or poorly repaired. A proper paint preparation checklist walls approach deals with the surface first, so the finished colour looks even in daylight, holds up to daily life and does not draw attention to old patchwork.
For Perth homeowners, preparation is especially worth getting right after a renovation, a ceiling leak or years of small knocks and movement. Paint is the final coat, not the fix. The work underneath determines whether the result looks professionally finished or starts showing flaws once the room is back in use.
Paint preparation checklist for walls
Before choosing a paint colour or opening a tin, inspect the wall from several angles. Stand back near a window during the day, then switch on the room lighting at night. Light travelling across a wall can reveal ridges, hollows, joint lines and repair edges that are easy to miss straight on.
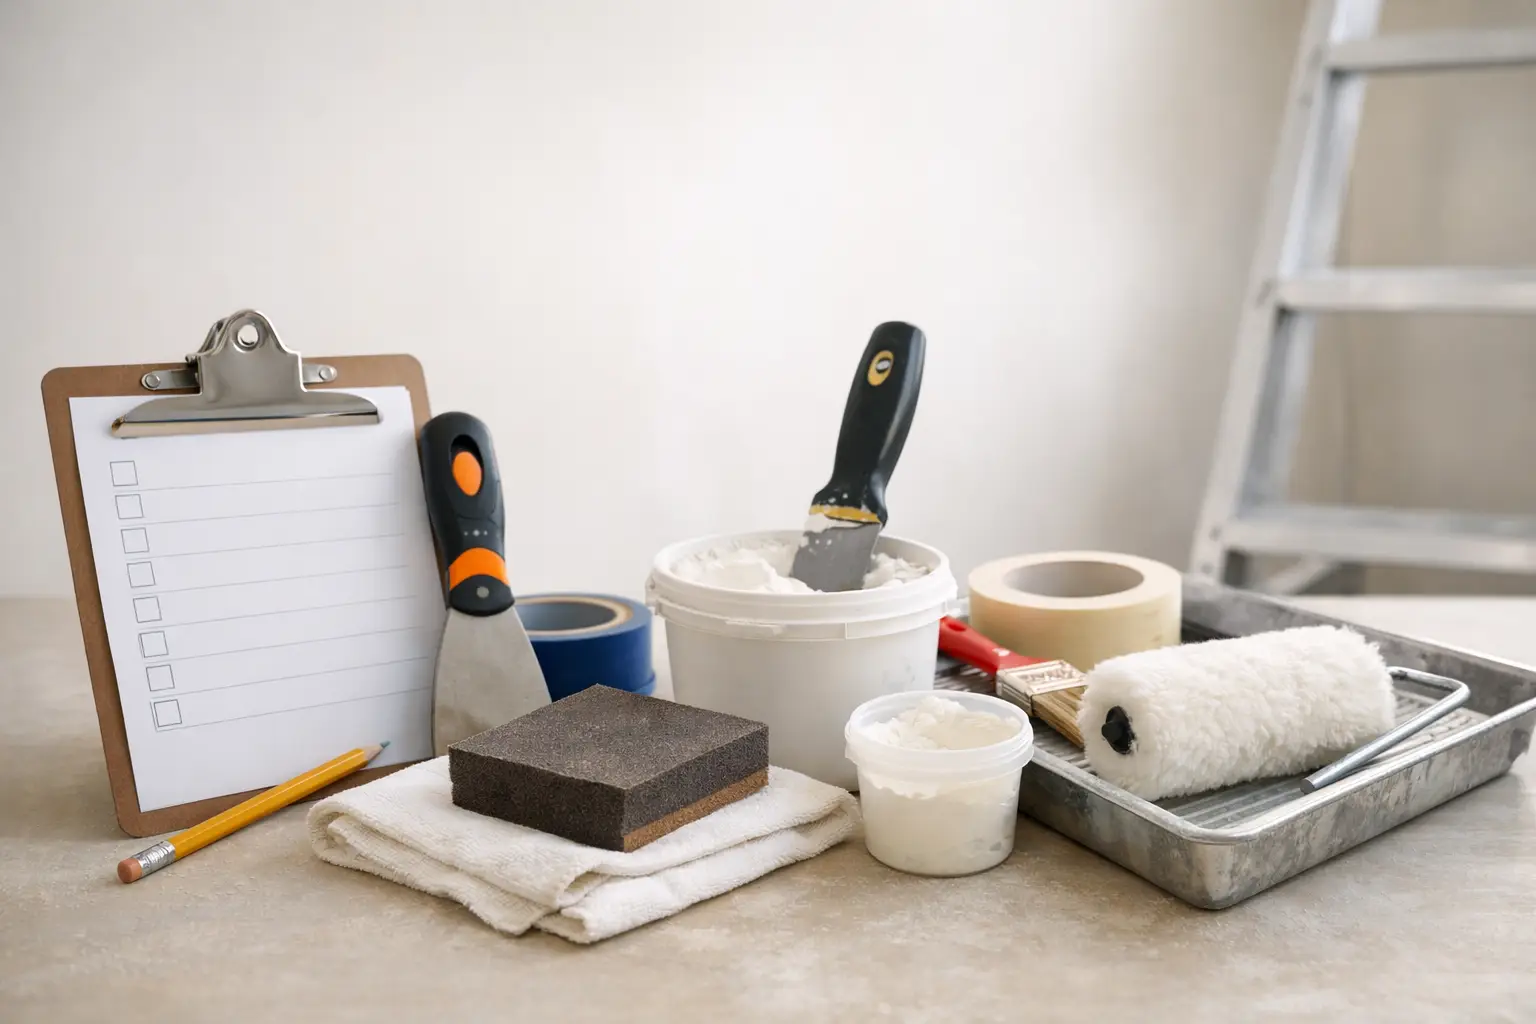
Use this checklist before painting:
- Check for water staining, bubbling paint, mould, musty smells or soft plasterboard.
- Look for cracks around doors, windows, corners, cornices and ceiling junctions.
- Run a hand across the wall to find raised patches, loose paint, dents and rough repairs.
- Inspect previous holes from hooks, shelves, wall-mounted TVs and old fixtures.
- Check whether the surface is dusty, greasy or marked by smoke, cooking residue or fingerprints.
- Confirm new plaster, joint compound and repaired areas are fully dry before any primer is applied.
This inspection is not about finding perfection in every older home. Minor movement can be normal, particularly around door frames or in established properties. The question is whether a crack is stable and cosmetic, or whether it points to moisture, ongoing movement or a failed joint that needs more than filler.
Start with the cause, not the paint
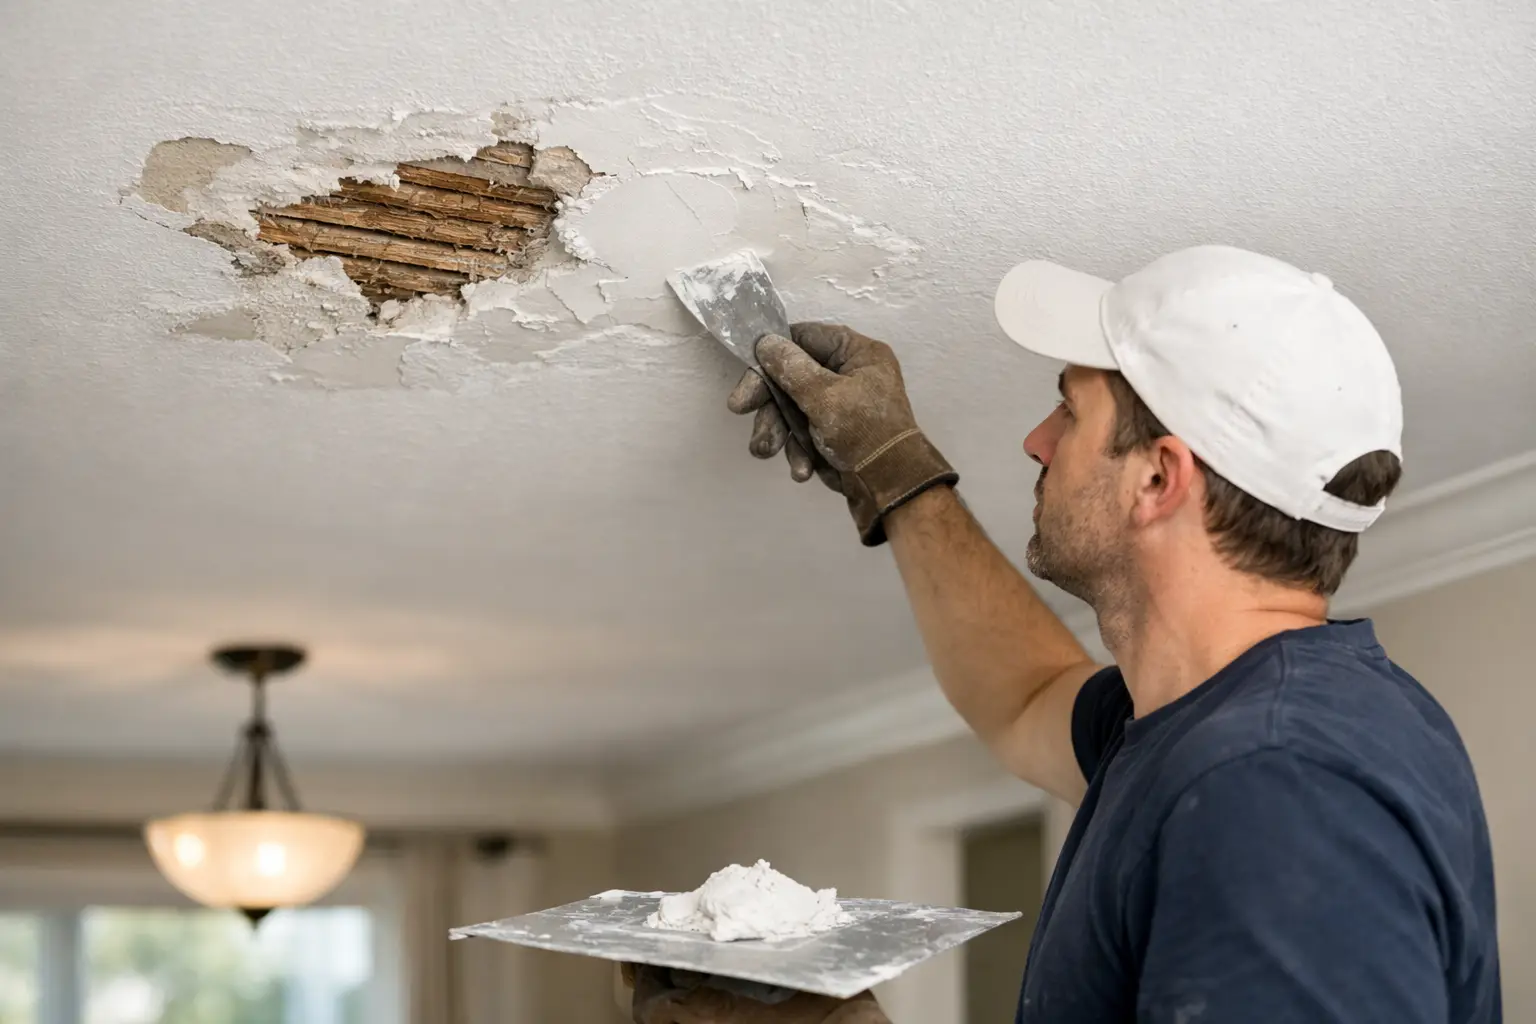
A water mark on a ceiling or wall should never be treated as a paint-only job. If the leak has not been fixed, the stain and damage can return through a new paint system. Damp plasterboard may also lose strength, sag or develop mould behind the surface.
The same applies to peeling paint. Sometimes the cause is poor adhesion from an unclean surface. In bathrooms, laundries and kitchens, moisture and steam may be part of the problem. On external-facing walls, water entry from flashing, roof plumbing or cracked render can be involved. Identify and rectify the source first, then allow the area to dry properly before repairs begin.
Cracks need a little judgement too. A fine hairline crack can often be opened slightly, filled and reinforced where needed. A wider or recurring crack may need the joint re-set, taped and finished over several coats. Simply wiping filler across the top can make it look better briefly, but the line often returns after the paint dries.
Remove what will not hold
Preparation begins by removing loose or unstable material. Scrape away flaking paint, crumbling filler and damaged paper facing on plasterboard until you reach a sound edge. Do not keep scraping healthy paint just because it is old. The aim is a firm, feathered transition that can be repaired and sanded flat.
For glossy painted walls, a light sand helps the next coat grip. For chalky or dusty surfaces, sanding alone is not enough. Wipe down the wall carefully after sanding, using a suitable cleaning method for the surface and the product system being used. Dust left in corners, along skirting boards or on the wall face can weaken adhesion and leave a gritty finish.
Grease requires extra attention. Kitchen walls near cooktops, children’s handprints around switches and old nicotine residue can all interfere with paint. Clean first, rinse if the cleaner requires it, and let the wall dry. Painting over a greasy patch is one of those shortcuts that can look acceptable on day one and fail far sooner than expected.
Be careful with older paint layers
If an older Perth property has unknown coatings, do not sand aggressively without considering what is beneath. Very old paint may require a more cautious approach. If there is any concern about hazardous materials, arrange appropriate advice and handling rather than creating unnecessary dust inside the home.
Repair holes, dents and damaged plasterboard properly
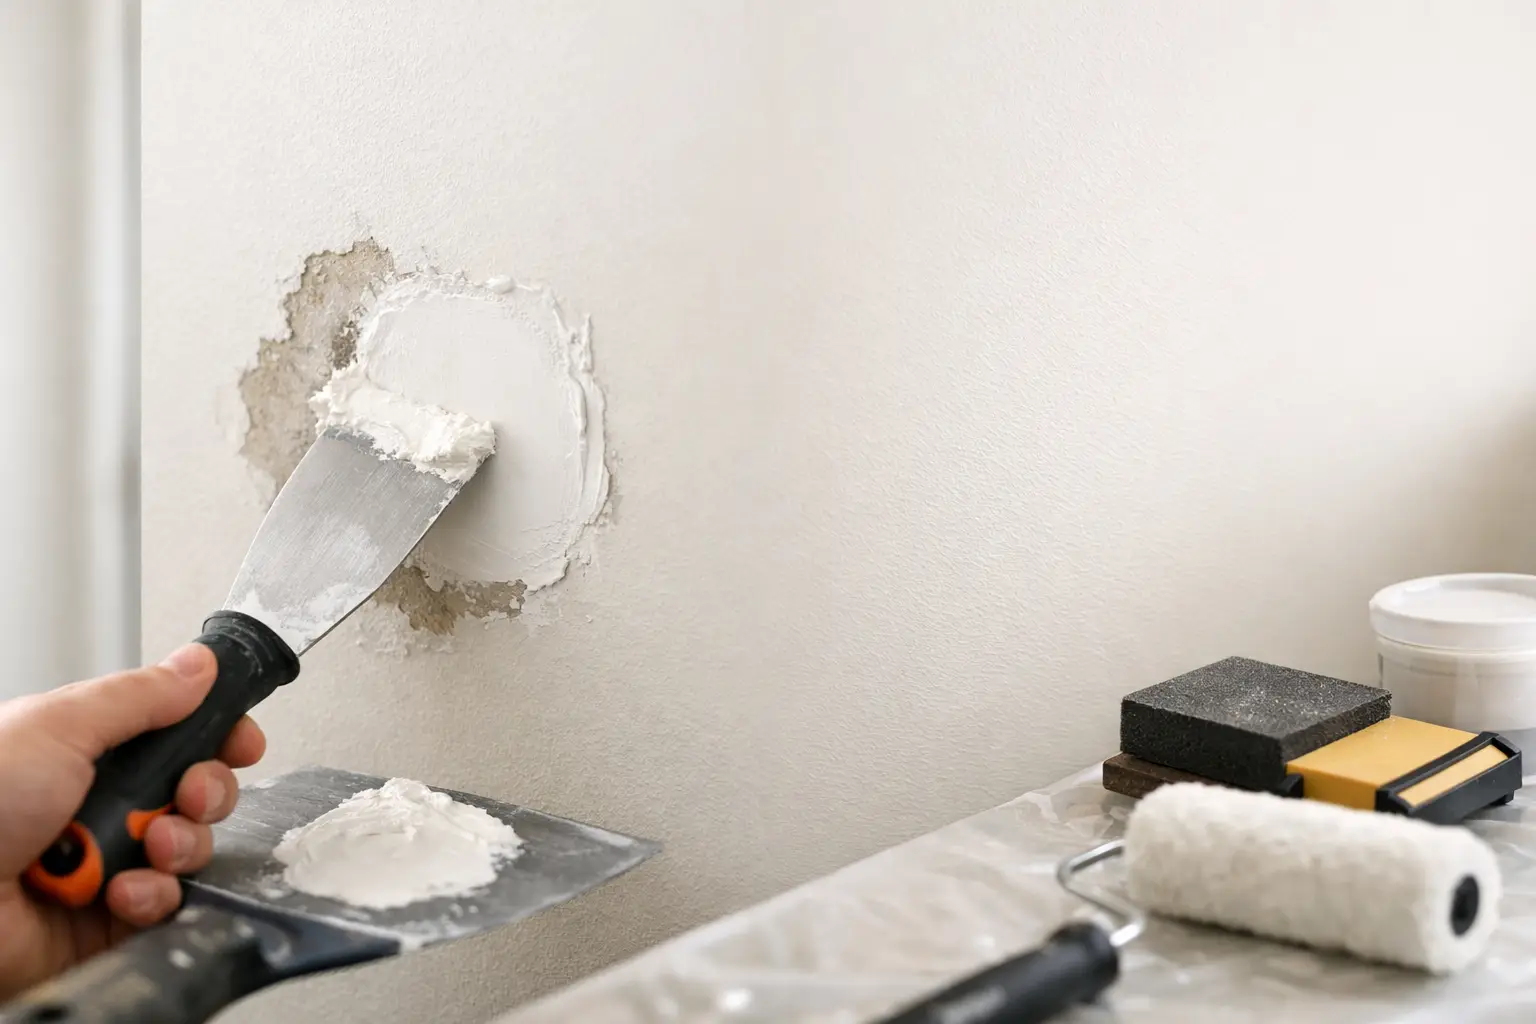
Small nail holes and shallow dents can usually be filled, allowed to dry and sanded smooth. The key is to apply thin coats rather than one thick blob of compound. Thick filler takes longer to dry, can shrink, and often leaves a visible depression after sanding.
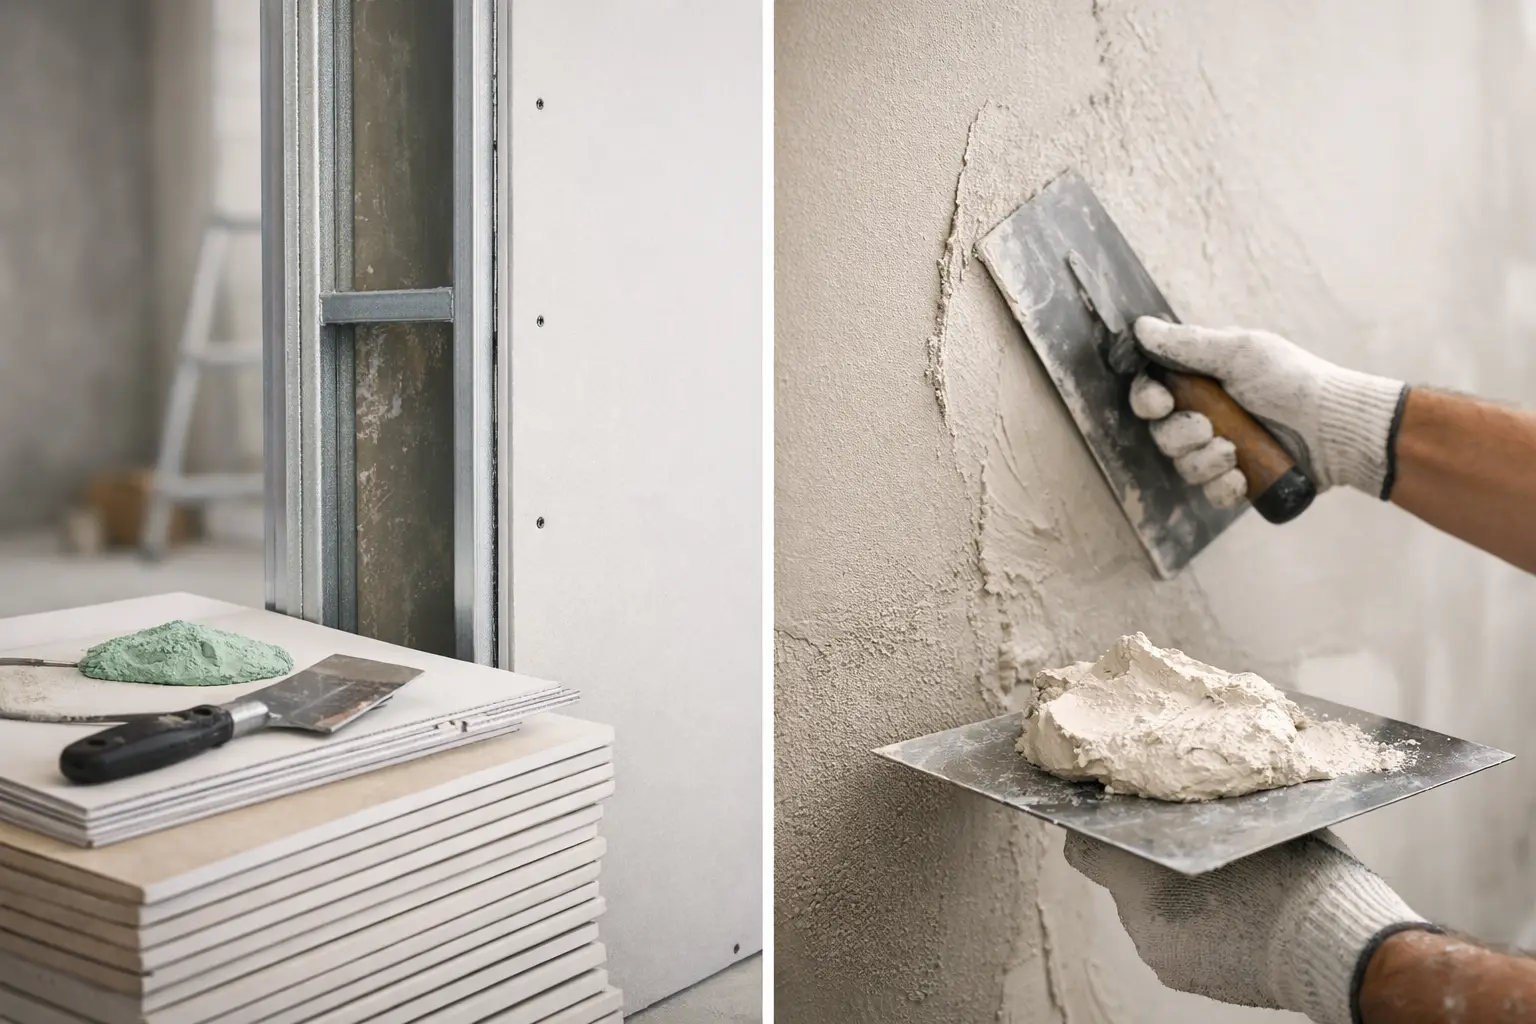
Larger holes need backing and a proper patch. A wall that has had a television bracket, old air-conditioning controller or damaged power point moved may have missing plasterboard rather than a simple hole. In that case, cut the damaged section back to a clean shape, install solid backing, fit a matching plasterboard patch, tape the joins and finish the area in coats.
This is where the difference between a quick repair and a paint-ready repair becomes obvious. A patch may feel smooth to the hand but still show as a rectangle under low-angle light. Wide feathering around the repair helps blend it into the existing wall. It takes more care, but it is what makes the repair disappear after painting.
Sand for flatness, then check again
Sanding is not just about making a wall feel silky. It is about levelling the repaired area so it sits in the same plane as the surrounding wall. Use a sanding block or appropriate sanding tool to avoid creating dips, and work under good lighting.
After sanding, inspect the wall from the side. A torch or work light held close to the surface is useful for exposing high spots, pinholes and joint edges. Mark any remaining flaws lightly, apply another thin coat where needed, and sand again once dry.
New plasterboard joints, bulkheads and ceiling repairs deserve particular care because overhead lighting can be unforgiving. Recessed LED downlights, LED coves and large windows all create directional light that makes imperfect joints easier to see. A level-five style finish may be worth discussing for walls with strong grazing light or dark paint colours, as these conditions show surface variation more readily.
Prime the wall for an even result
Primer has a practical job. It seals porous repairs, helps paint adhesion and reduces the risk of flashing, where patched areas absorb paint differently and show through as dull or shiny spots. Fresh plasterboard, joint compound and bare repaired sections are particularly thirsty, even when they appear uniform before painting.
Spot priming can be suitable for a few small repairs. Full-wall priming is often the safer choice after extensive patching, new lining, major water-damage restoration or a strong colour change. It depends on the condition of the existing paint, the new colour and the paint manufacturer’s system requirements.
Do not rush this stage. Primer needs adequate drying time, and the wall should be checked again once it has dried. Primer can reveal small flaws that were less visible on bare compound. It is much easier to correct a pinhole or edge before the final coats go on.
Protect the room before the final paint work
Good preparation includes the room, not only the wall. Move furniture clear where possible and cover what must stay. Protect floors, skirting boards, window furnishings and adjacent finishes. Remove switch plates carefully, isolate electrical work where required, and keep sanding dust contained rather than allowing it to travel through the home.
For occupied homes, tidy work practices matter. A repair should not leave dust across the floor, compound on the carpet or discarded materials in the garden. Planning access, protection and clean-up before starting makes the work less disruptive for families, tenants and landlords alike.
If the wall has extensive cracking, repeated water damage, sagging plasterboard or a repair that keeps showing through paint, it is sensible to have the surface assessed before decorating. Yong's Carpentry personally handles wall and ceiling repair work from quote through to the paint-ready finish, with clear advice on what needs attention and what does not.
A well-prepared wall gives your painter a fair surface to work with and gives your chosen colour the finish it deserves. Take the extra time at the repair and priming stage, because that is the part you should never have to notice once the room is complete.