Invisible Wall Patching Techniques That Last
A wall patch usually gives itself away long before anyone touches it. You see it when afternoon light skims across the room and catches a dull spot, a raised edge or a slight dip that should not be there. That is why invisible wall patching techniques matter - not just filling a hole, but restoring the surface so it disappears into the rest of the wall.
For homeowners, that difference is the whole job. A patch that looks acceptable on day one can stand out badly once it is painted, once the room dries out, or once sunlight shifts. Getting a truly paint-ready result comes down to the right method for the damage, careful preparation and patience through each stage.
Why most wall patches stay visible
The common problem is not the filler itself. It is the mismatch between the repair area and the original wall surface. If the patched section is too proud, too hollow, too smooth or too porous, paint will highlight it. Even when the hole is filled, the wall can still show a ring, a hump or a flat spot where the texture changes.
Poor sanding is another giveaway. Heavy-handed sanding can dish the area out and leave a shallow crater around the repair. Not enough sanding leaves ridges at the edges. Then there is flashing, where the repaired area absorbs paint differently and reflects light in a different way. That is often why a patch looks fine before painting and obvious afterwards.
Hairline cracking can also return if the cause of the damage was movement rather than impact. A simple fill over a shifting joint, a loose sheet or a moisture-affected section may look neat for a short time, but it will not stay invisible for long.
Invisible wall patching techniques start with the right diagnosis
Not every wall defect should be treated the same way. A small screw hole in sound plasterboard is one thing. A door-handle impact, a cracked joint, old water damage or a patched heritage wall profile each need a different approach.
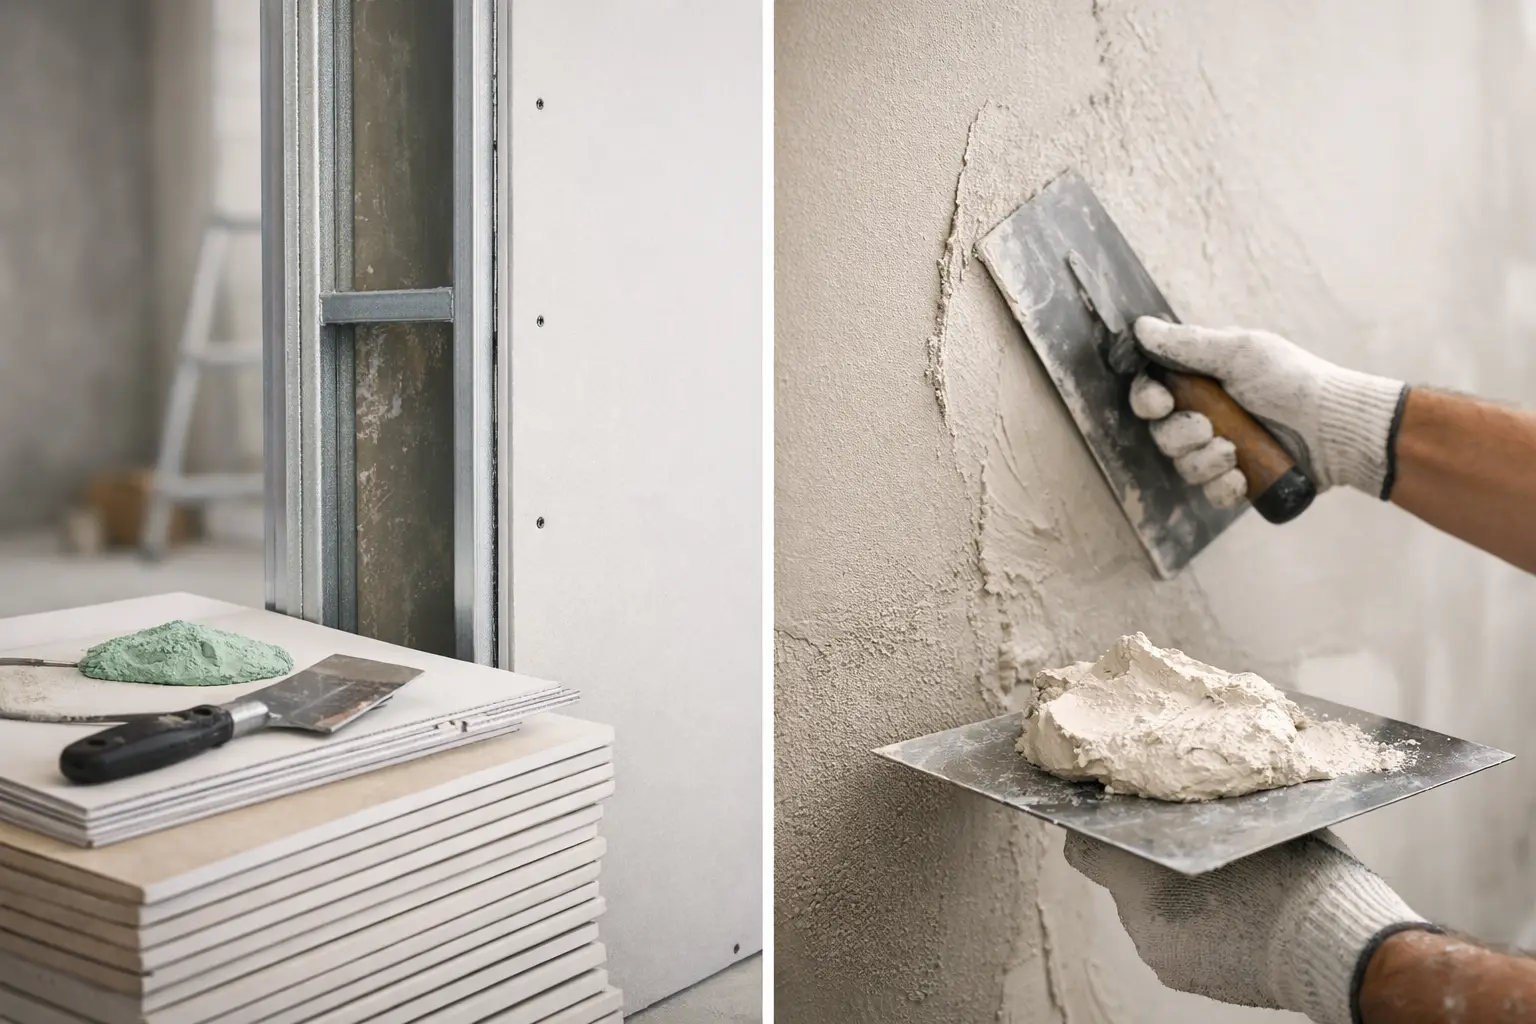
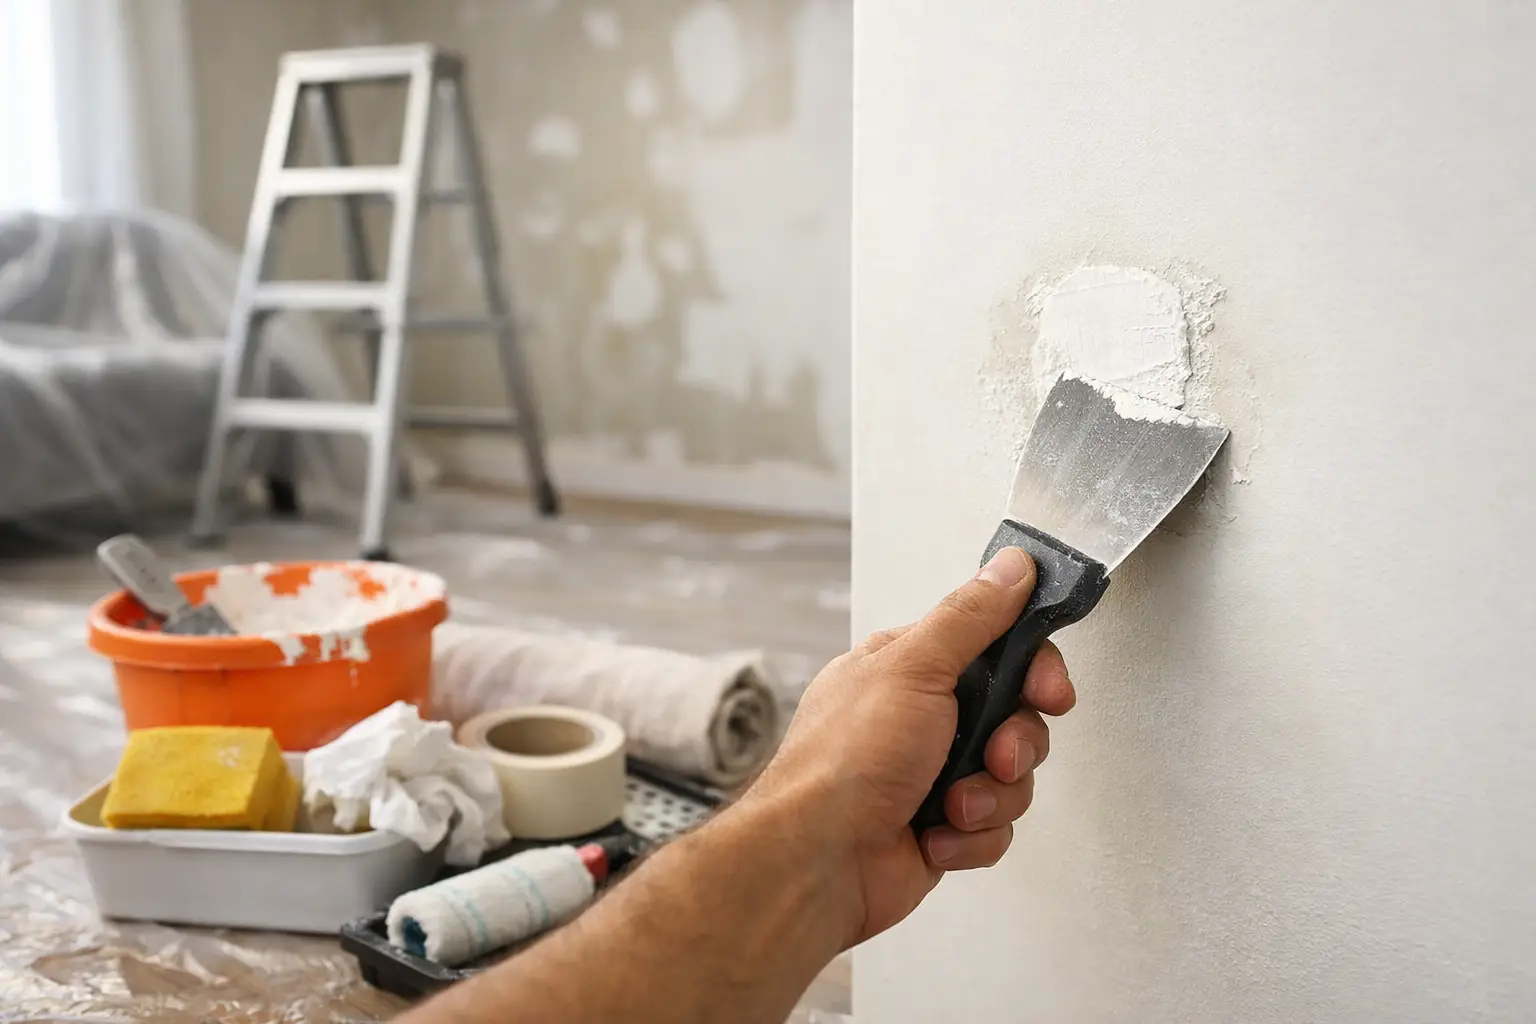
Small dents and pin holes usually respond well to a fine patching compound applied in thin coats. The aim is not to pack the hole as fast as possible. It is to keep the build controlled, minimise shrinkage and avoid a hard lump that takes extra sanding.
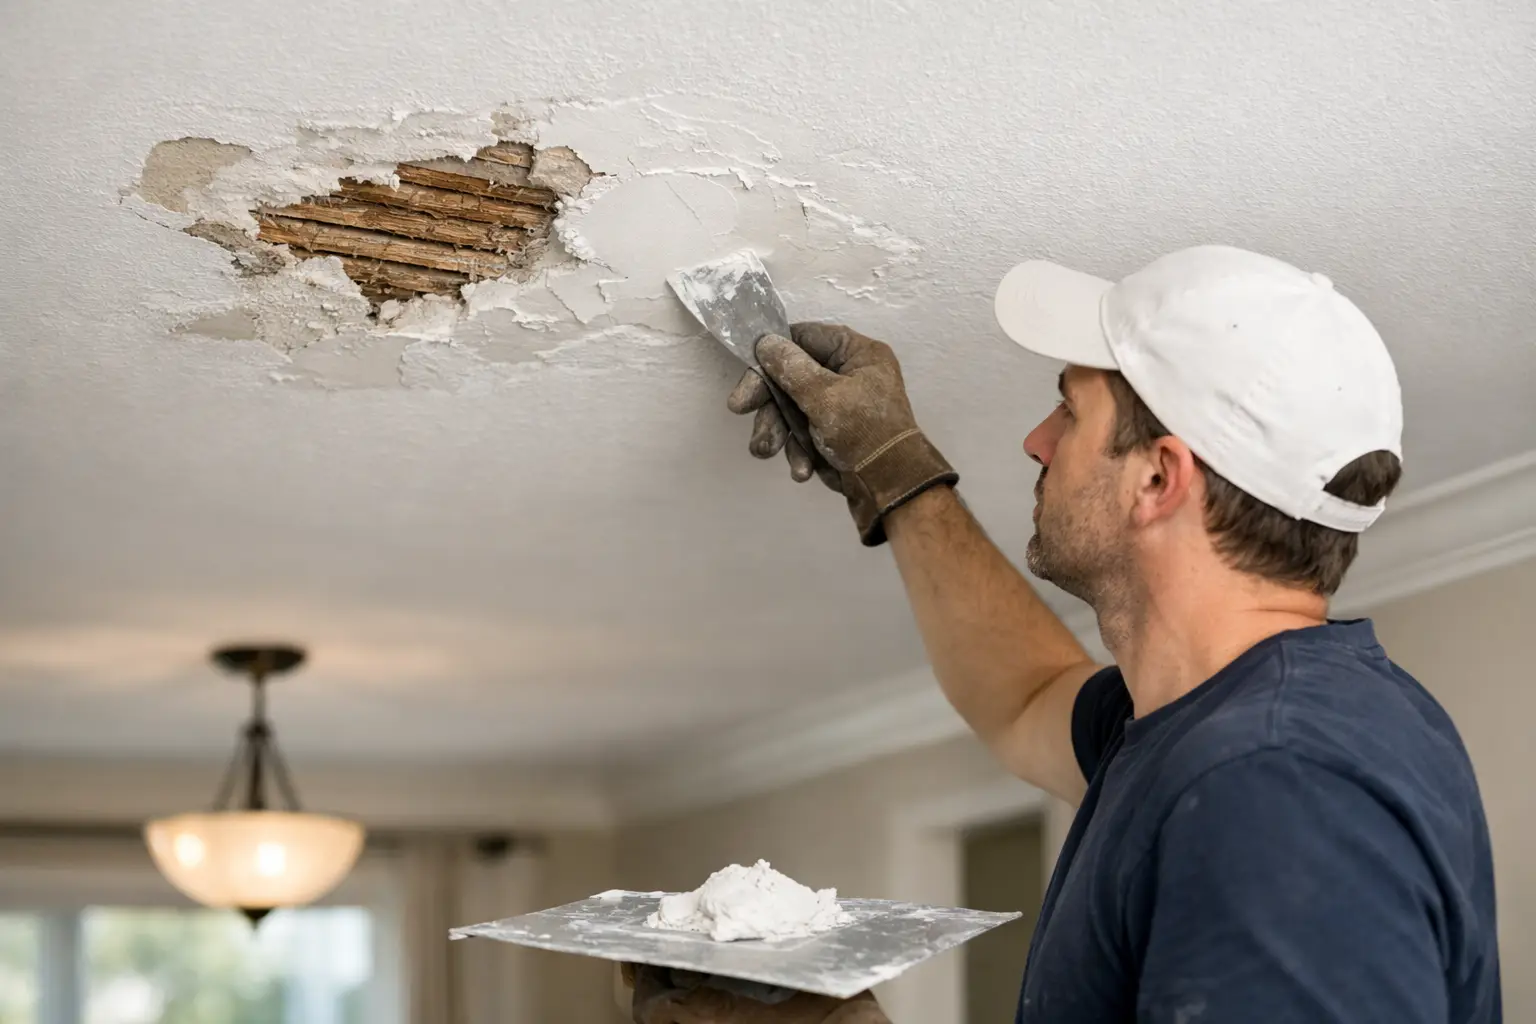
Medium holes often need backing support or a cut-out repair rather than a heavy fill. Once the damage gets beyond a simple surface repair, forcing compound into the void can create weak spots and visible sinking later. A proper insert patch gives a more stable base and a flatter finish.
Cracks are where judgement matters most. If the crack sits on a plasterboard joint, simply filling over it is rarely the best option. Joint reinforcement and a wider feathered repair are often needed to stop the line printing back through. If moisture caused the issue, the wall also needs to be dry and sound before repair begins. Otherwise the finish may fail again, no matter how tidy the patch looks on the day.
Surface preparation makes or breaks the finish
A clean, stable surface is the quiet part of a good repair, but it is doing a lot of the work. Loose material, chalky paint, damaged paper face and dust all interfere with adhesion. If the surrounding wall has flaking paint or soft plaster, that needs attention before any compound goes on.
Cutting back ragged edges is often necessary. It can feel counterintuitive to make a damaged area slightly larger, but a neat edge is easier to patch invisibly than a torn one. On plasterboard, damaged face paper may need sealing if it has lifted or become fuzzy. Skipping that step often leads to bubbling or poor bond.
This is also the stage to check the broader wall plane. If the area around the patch already has bowing, previous poor repairs or texture variation, the repair needs to blend beyond the immediate damage. An invisible patch is rarely about the hole alone. It is about how that section reads within the whole wall.
The best feathering method for invisible wall patching techniques
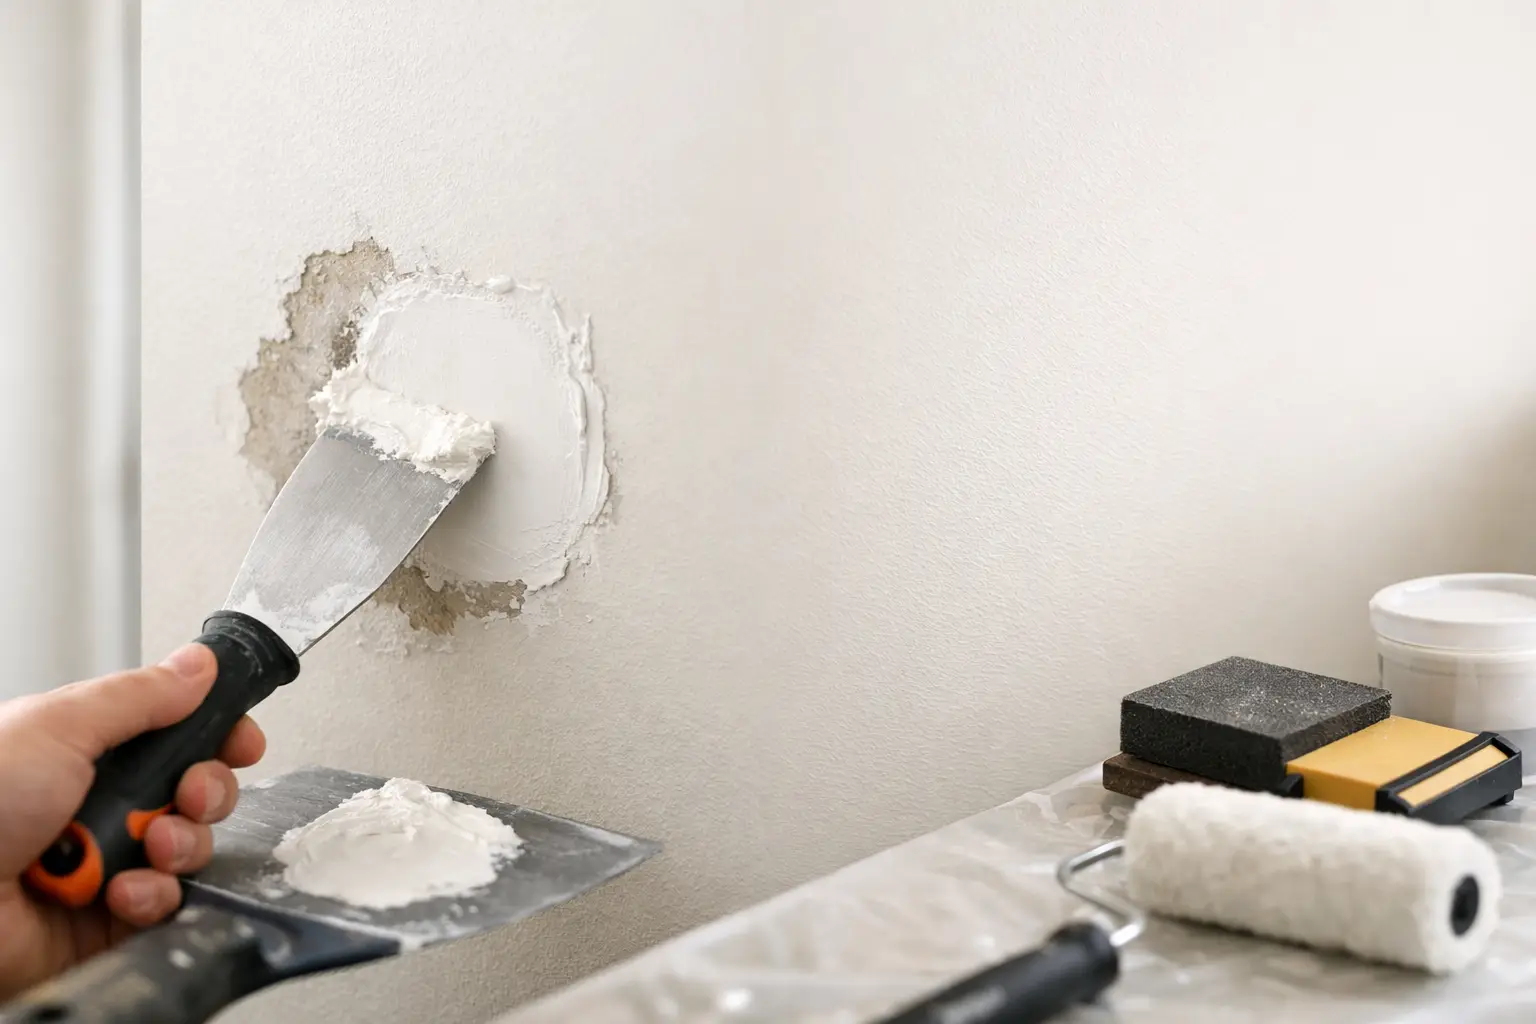
Feathering is where many repairs are won or lost. The compound should taper out gradually into the existing surface so there is no abrupt change at the edge. On a very small repair, that feather may only extend a little. On wider damage or cracks, the blend needs to reach much further than most people expect.
The trade-off is simple. If you keep the repair too tight, the eye catches the edge. If you spread too wide without control, you can create unnecessary sanding and surface variation. The right width depends on the defect, the wall finish and how the light hits the room.
Thin coats are usually better than one heavy pass. They dry more evenly, shrink less and allow better control of the final plane. Between coats, the repair should be checked from multiple angles, not just straight on. Side light is especially useful because it reveals ridges and hollows that disappear under direct lighting.
On premium interior work, this is where meticulous hands make a visible difference. It is not about speed. It is about reading the wall correctly and resisting the urge to rush the final coat.
Matching texture and porosity
Even a perfectly flat patch can still stand out if the texture or porosity does not match. Older walls, previously rolled surfaces and repaired areas often carry subtle variations that become obvious once painted. A patch that is sanded glass-smooth against a lightly textured painted wall will often flash under certain light.
That is why finishing technique matters as much as filling technique. Sometimes the surface needs to be left with a slight nap that matches the surrounding paint build. Sometimes the repair needs a controlled skim wider than the patch itself to even out absorbency and reflection.
Primer also matters here. Fresh compound usually takes up paint differently from the original wall. A suitable sealer or primer helps equalise absorption so the topcoat dries more consistently. Without it, you may still see a repaired outline even if the patch is technically flat.
When the patch should be cut out and replaced
There is a point where patching compound stops being the right answer. Larger holes, crushed plasterboard, water-damaged sheeting and soft or mould-affected areas often need cut-out replacement. That approach sounds more involved, but it usually produces the more invisible result.
A proper cut-out repair allows the new section to sit flush, be reinforced correctly and be finished across stable edges. It also prevents overbuilding the area with excessive filler. If a wall has suffered repeated movement or moisture, replacement can be the more durable option as well.
For lived-in homes, this matters because repeat repairs cost more in disruption than doing it properly once. A fixed-price quote and clear scope are especially useful here, since homeowners want to know whether the issue is a cosmetic patch or a more substantial wall repair before work begins.
Paint is part of the repair, not an afterthought
Many visible patches are blamed on plastering when the paint stage is the real culprit. If the patched area is spot-painted only, or if the roller texture does not match, the repair can remain obvious. In some cases the wall needs painting corner to corner for the finish to disappear properly.
Sheen level also changes everything. Lower-sheen paints are more forgiving. Higher-sheen finishes highlight surface imperfections and lap marks. If the wall already has a reflective paint, the repair standard needs to be higher and the repainting approach more controlled.
This is why a tidy, invisible repair is not just about filling and sanding. It is a full finishing process, from substrate preparation through to the final painted appearance.
Knowing when to call a specialist
Small cosmetic marks can be worth attempting yourself. But if the wall sits in strong natural light, the damage crosses a joint, the area has had water damage, or the room needs a genuinely paint-ready finish, specialist repair work usually pays off.
The difference is consistency. The hands that assess the wall should understand how the final painted surface will behave, not just how to close the hole. For many homeowners, that direct accountability is what removes the guesswork. You want someone who protects the home, works cleanly and aims for a repair that disappears once the room is back in use.
At Yong's Carpentry, that boutique approach is part of the value. The same experienced tradesperson handles the quote, the repair plan and the finish, which means the standard discussed at the start is the standard delivered on site.
A good wall repair should not ask for attention. It should sit quietly in the room, hold up over time and leave you wondering where the damage was in the first place. That is the standard worth aiming for.