How to Prepare Walls Before Painting
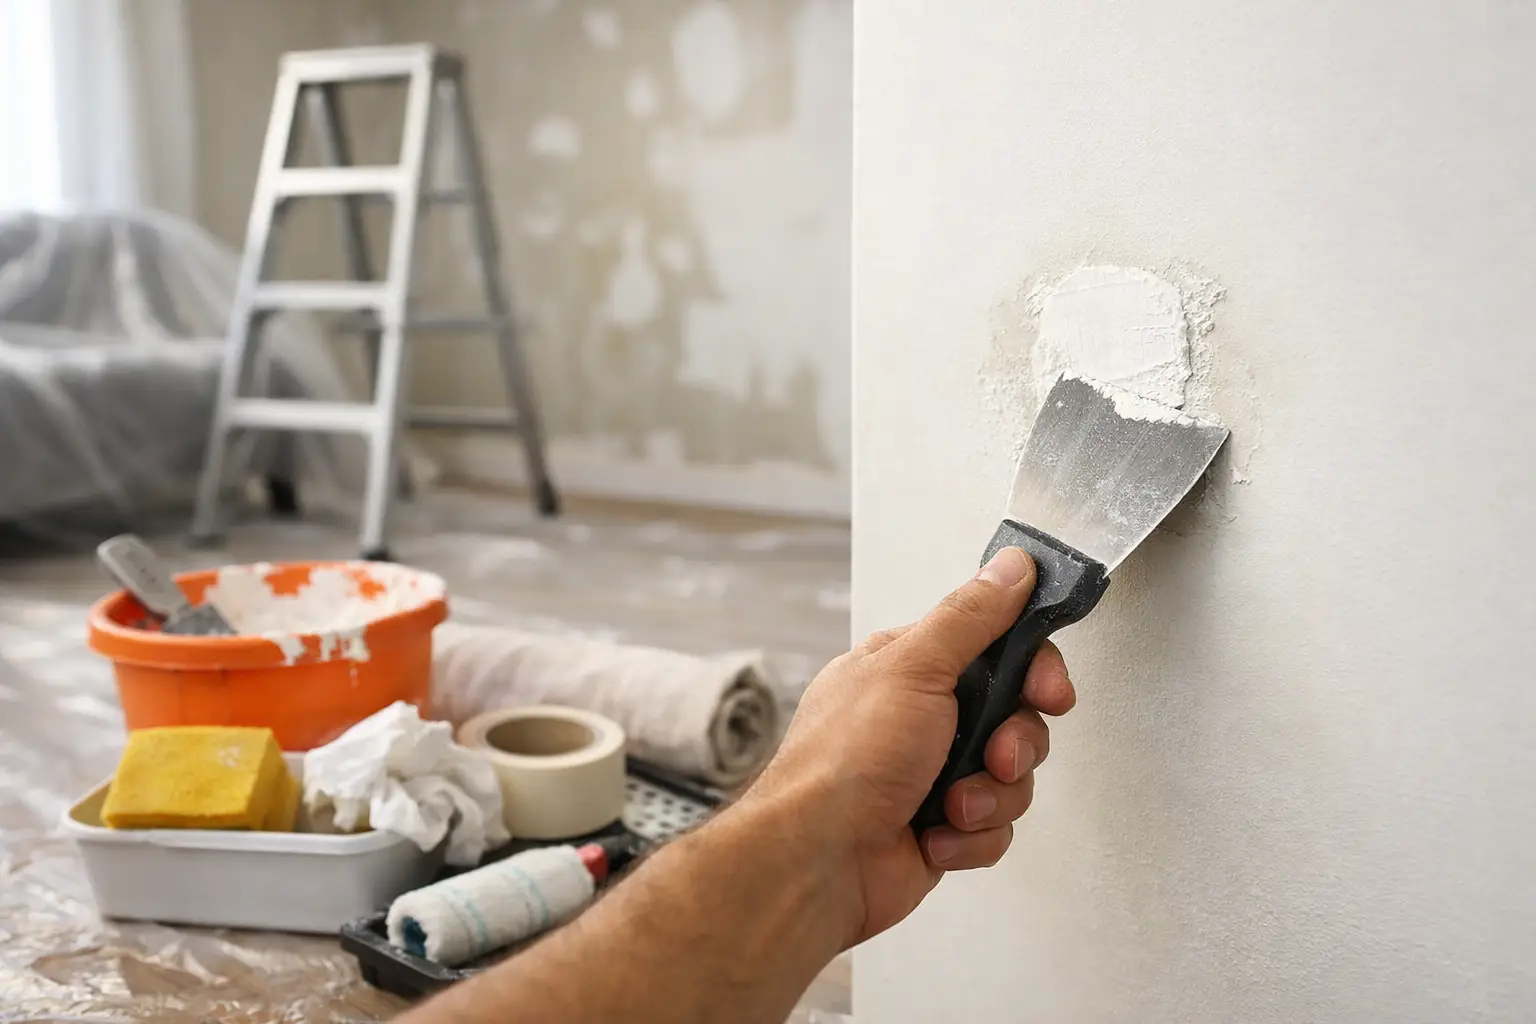
Fresh paint is only as good as the surface underneath it. A wall can look fine at a glance, then show every dent, joint line and patch the moment the paint dries. That is why knowing how to prepare walls before painting matters so much - the prep work is what gives you the clean, even finish most homeowners are actually paying for.
If you skip or rush this stage, paint tends to highlight defects rather than hide them. Small plaster cracks, old screw holes, flaking areas and dusty surfaces all become more obvious once a new coat goes on. Good preparation is less about making the wall look better for a day, and more about making sure the finish holds up properly.
How to prepare walls before painting properly
Start by looking at the wall in clear natural light if possible. Stand to one side and check across the surface, not just straight on. This side angle will show shallow dents, joint peaking, bubbling paint and uneven patching that are easy to miss otherwise.
Before any filling or sanding begins, remove furniture where you can and cover the rest. Floors should be protected, and power points, switches and trim should be masked if painting is happening straight after prep. This part sounds basic, but tidy set-up makes a big difference to the result and keeps dust and splatter under control.
The wall then needs to be cleaned. Dust, grease, hand marks and cooking residue can stop fillers, primers and paint from bonding properly. In living areas and bedrooms, a soft wash and wipe-down is often enough. In kitchens, hallways or around light switches, there is usually more grime than people expect, so extra attention is needed.
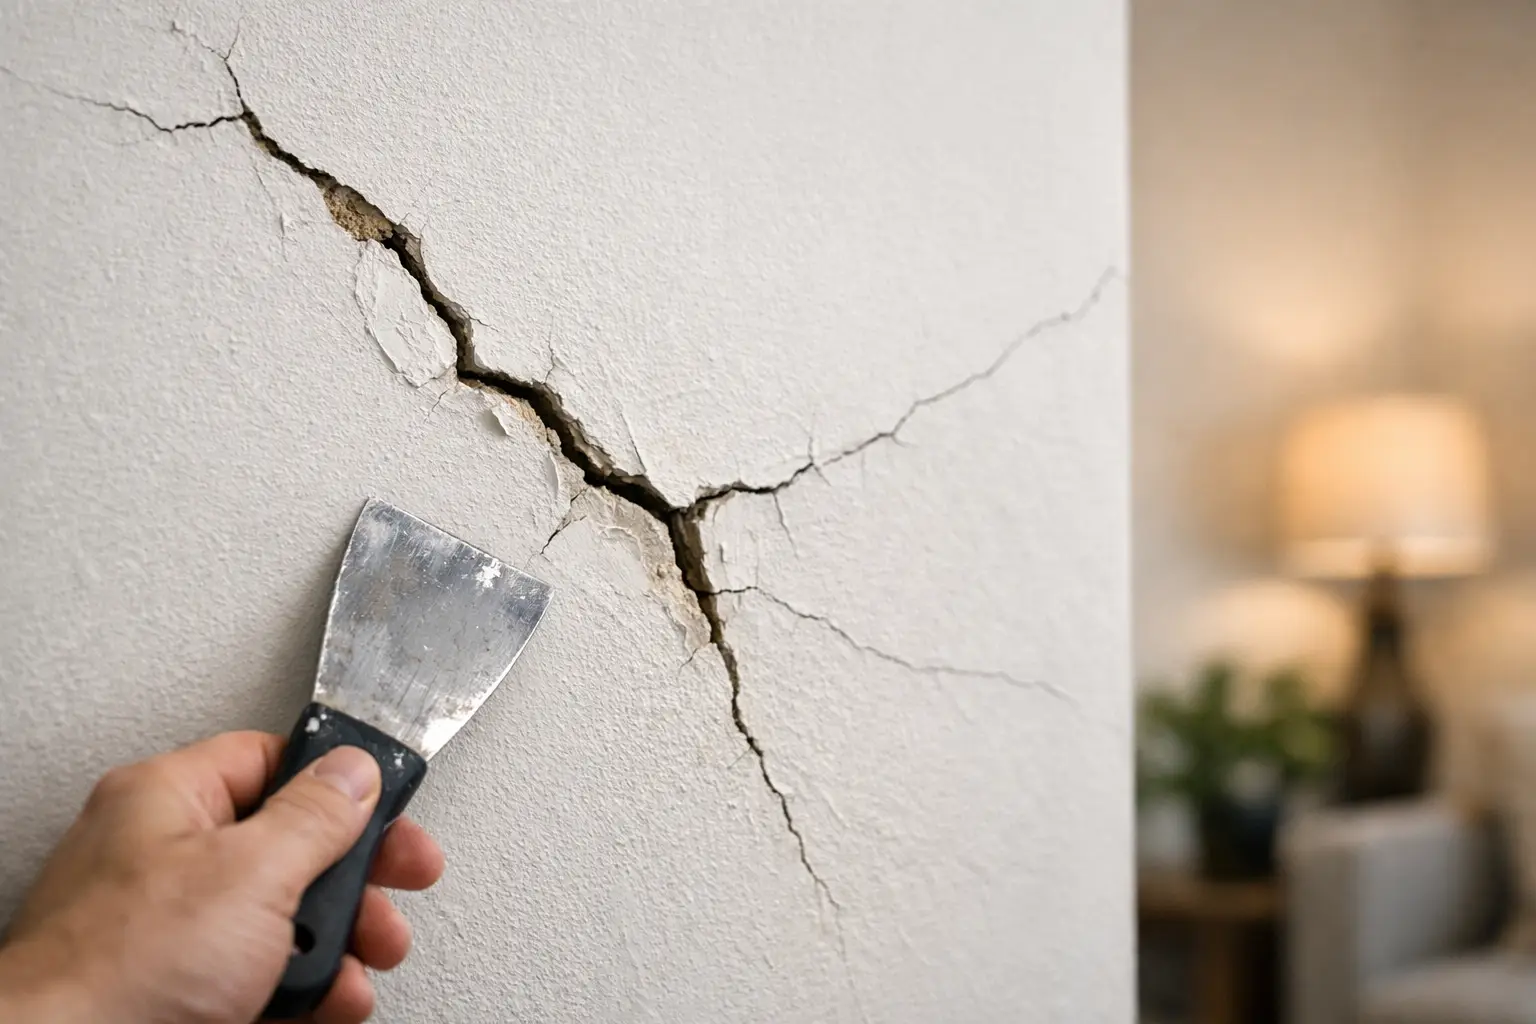
Once the surface is clean and dry, you can assess what actually needs repair. Hairline cracks are one thing. Water damage, loose plaster or recurring movement cracks are another. If the issue is structural or moisture-related, painting over it will not solve it. It may look better briefly, then fail again.
Repair first, then aim for a paint-ready surface
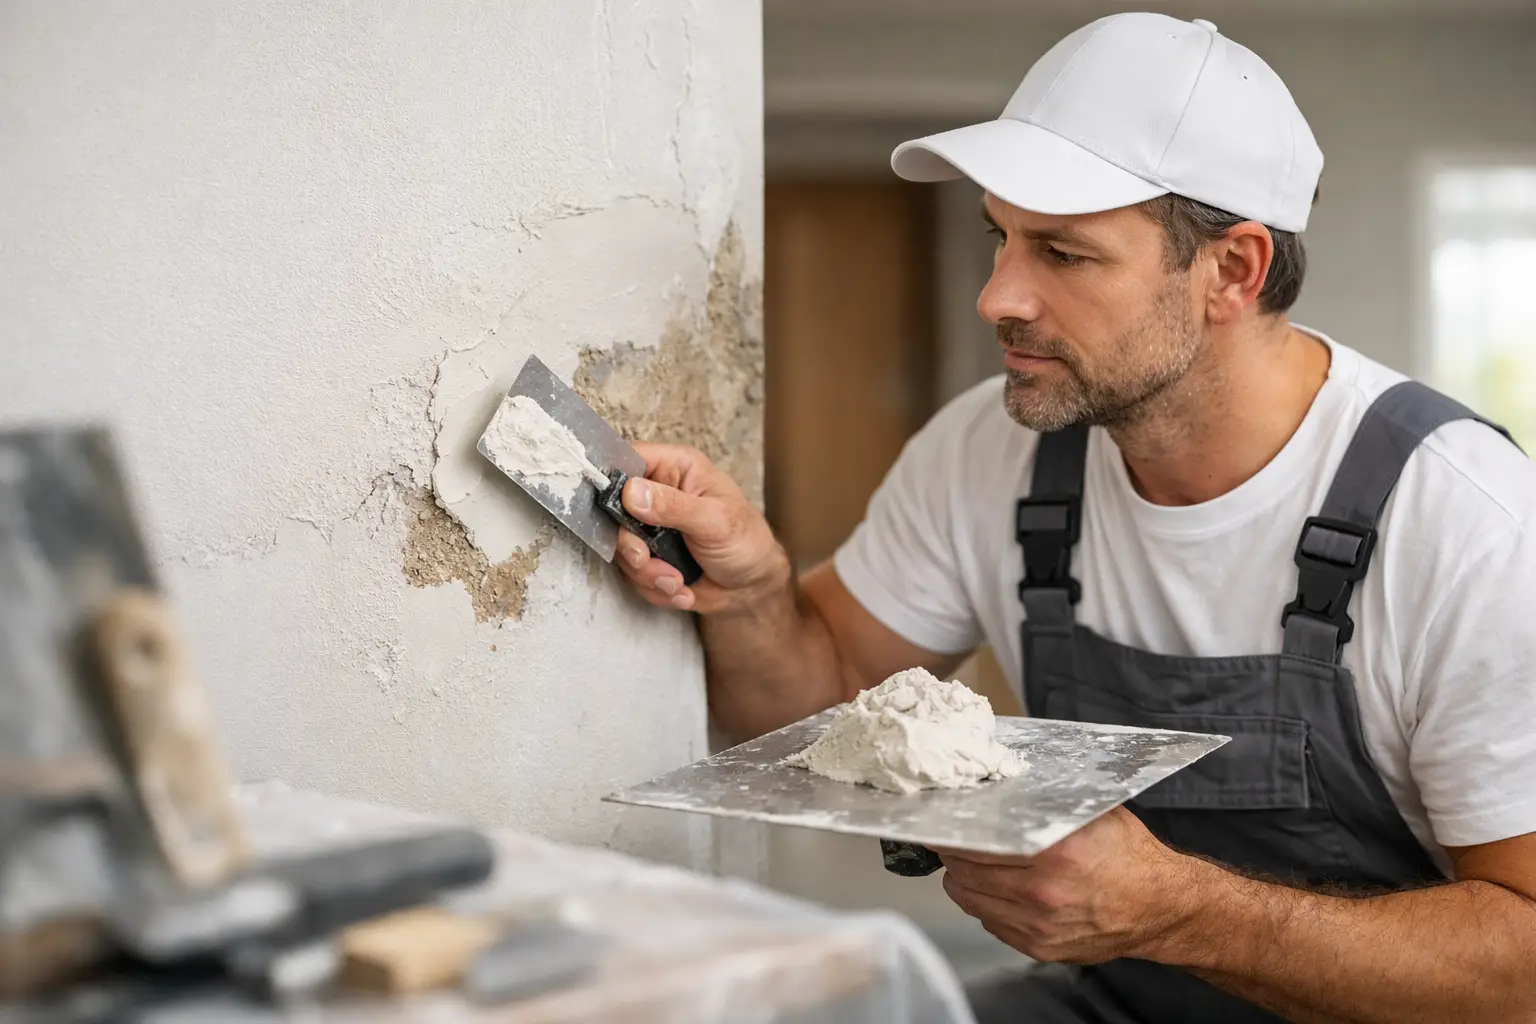
Most walls need at least some minor filling. Picture hook holes, screw holes, chips near corners and shallow dents are common in lived-in homes. Use a suitable filler for the surface and apply it neatly, pressing it fully into the damaged area rather than leaving it proud on top.
For plasterboard walls, joint cracks need a bit more care. A simple skim over the crack may work for a short time, but if there is any movement or a weak joint underneath, the line often comes back through the paint. In some cases, the crack should be opened slightly, stabilised and re-taped before setting and sanding. It depends on the cause and the age of the wall.
Peeling paint also has to be dealt with properly. Any loose or lifting material must be scraped back to a firm edge. Painting over flaking areas nearly always leads to more peeling later. Once scraped, those sections may need feather sanding and spot priming so the repaired area does not flash through the final coat.
Water-damaged walls need extra caution. Stains, soft plaster and bubbling paper face usually mean more than a cosmetic issue. The source of the moisture should be fixed first, then the damaged material assessed. If the plasterboard has swollen or broken down, replacement may give a better result than repeated patching.
Sanding is where the finish is won or lost
Sanding is one of the least glamorous parts of the job, but it is often the difference between a professional-looking wall and one that looks patched. The goal is not to aggressively grind the whole wall. The goal is to smooth repaired areas, remove rough edges and level transitions so they disappear under paint.
Use a sanding block or suitable sanding tool that keeps pressure even. If you sand with just fingertips, it is easy to create grooves or hollow spots. On broad patched areas, a wider sanding tool helps keep the wall flatter and more consistent.
It is also worth saying that over-sanding can create its own problems. If you expose paper faces on plasterboard or leave polished, shiny patches on old painted surfaces, primers and top coats may behave differently across the wall. A controlled, even prep is better than attacking every area until it feels smooth by touch alone.
After sanding, remove all dust thoroughly. This step gets missed all the time. Dust left on the wall can interfere with adhesion and leave a gritty finish. Vacuuming, brushing down and wiping with a suitable cloth usually gives a better result than a quick flick with a broom.
Common wall issues that need more than a quick patch
Some surfaces need more than standard prep. If your walls have old settlement cracks, patched chases from electrical work, uneven skim coating or visible joint banding, a quick fill-and-paint approach may not be enough. These walls often need broader stopping and more careful sanding to bring them back to a uniform plane.
Textured or previously repaired walls can be tricky too. Once one section is smoothed and another remains rough, the difference can stand out badly after painting. In those cases, it may be better to prepare the entire wall consistently rather than treat only the obvious defects.
Do all walls need primer?
Not always, but many do. Whether to prime depends on what is already on the wall and what repairs have been done. Fresh filler, new plasterboard, repaired water stains, bare plaster and scraped-back areas usually need primer before painting.
Primer helps seal porous patches so they do not absorb paint differently from the surrounding wall. Without it, repaired spots can show as dull or flashing areas even after two top coats. That is one of the most common reasons a wall looks patchy despite being freshly painted.
If the existing paint is sound and the wall is only lightly repaired, spot priming may be enough. If there are multiple repairs, mixed surfaces or stain issues, a full primer coat is often the safer option. It adds a step, but it can save you from repainting later.
How to tell if a wall is truly ready for paint
A wall is not ready because the filler is dry and the dust is gone. It is ready when the surface looks consistent, feels smooth across repairs and has no visible edges, ridges or loose material. Run a light across the wall if you can. This reveals defects far better than looking head-on under ceiling lights.
Check corners, joints around cornices, edges near skirting boards and areas around doors. These transitions tend to show imperfections once painted. If there are gaps or rough patches there, now is the time to fix them.
It is also worth checking for shrinkage in filled areas. Some fillers settle as they dry, especially in deeper holes. A second light application is often better than trying to do one thick patch and hoping for the best.
When DIY prep makes sense - and when it does not
For straightforward walls with a few nail holes and minor scuffs, careful DIY prep can be perfectly reasonable. If you have the time, decent light and patience to clean, fill, sand and prime properly, you can get a solid result.
Where homeowners tend to run into trouble is with larger repairs, recurring cracks, failed old patches, water damage or walls that need to look truly flawless in daylight. Those jobs ask for more than effort. They ask for judgement - knowing whether to skim, tape, replace, seal or stop at a broader width so the repair disappears.
That is where a boutique approach has real value. When the same experienced tradesperson handles the quote, the repair plan and the finish, there is less guesswork and better accountability. At Yong's Carpentry, that attention to surface prep is a big part of how repaired walls end up looking paint-ready rather than obviously patched.
Paint can transform a room quickly, but only if the wall underneath has been prepared with care. Take the time to clean, repair, sand and prime properly, and the finish will look better on day one and stay better for longer.