New Ceiling Installation Process Explained

A new ceiling can make a room feel finished, brighter and properly put back together - but only if the work behind it is right. The new ceiling installation process is not just about fixing plasterboard overhead and stopping there. It starts with checking the structure, planning services and levels, and making sure the final surface will stay straight, sound and ready for paint.
For homeowners, that matters more than it might seem at first glance. A ceiling is one of the biggest visible surfaces in the house. If joints show, sheets sag, cornices run unevenly or light cut-outs are poorly planned, you notice it every day. Done properly, a new ceiling should look clean and quiet - no fuss, no surprises, and no signs of shortcuts.
What the new ceiling installation process usually involves
Most residential ceiling installations follow the same broad path, but the details depend on the home. A newer house with standard rooms is different from an older property with movement, water damage, decorative cornices or uneven framing. That is why a proper site inspection comes first.
At quoting stage, the ceiling area is measured and checked for access, framing condition, existing damage, insulation, cornice requirements and electrical items such as downlights, fans or air-conditioning vents. If the old ceiling is being replaced, the cause of failure also needs to be identified. There is no point installing a fresh ceiling under an active roof leak or onto framing that has already moved out of level.
The next step is planning. This includes sheet layout, set joints, edge details, manhole position, bulkheads if required, and whether the finish needs to match adjoining rooms. In lived-in homes, it also means thinking carefully about furniture protection, dust control and how to keep disruption manageable.
Before any new ceiling goes up
Preparation is where a good result is won or lost. If an old ceiling is being removed, the room needs to be protected properly first. Floors, fixtures and furniture should be covered or cleared, and electrical fittings made safe. Removal itself has to be controlled and tidy, especially where damaged plasterboard or insulation is involved.
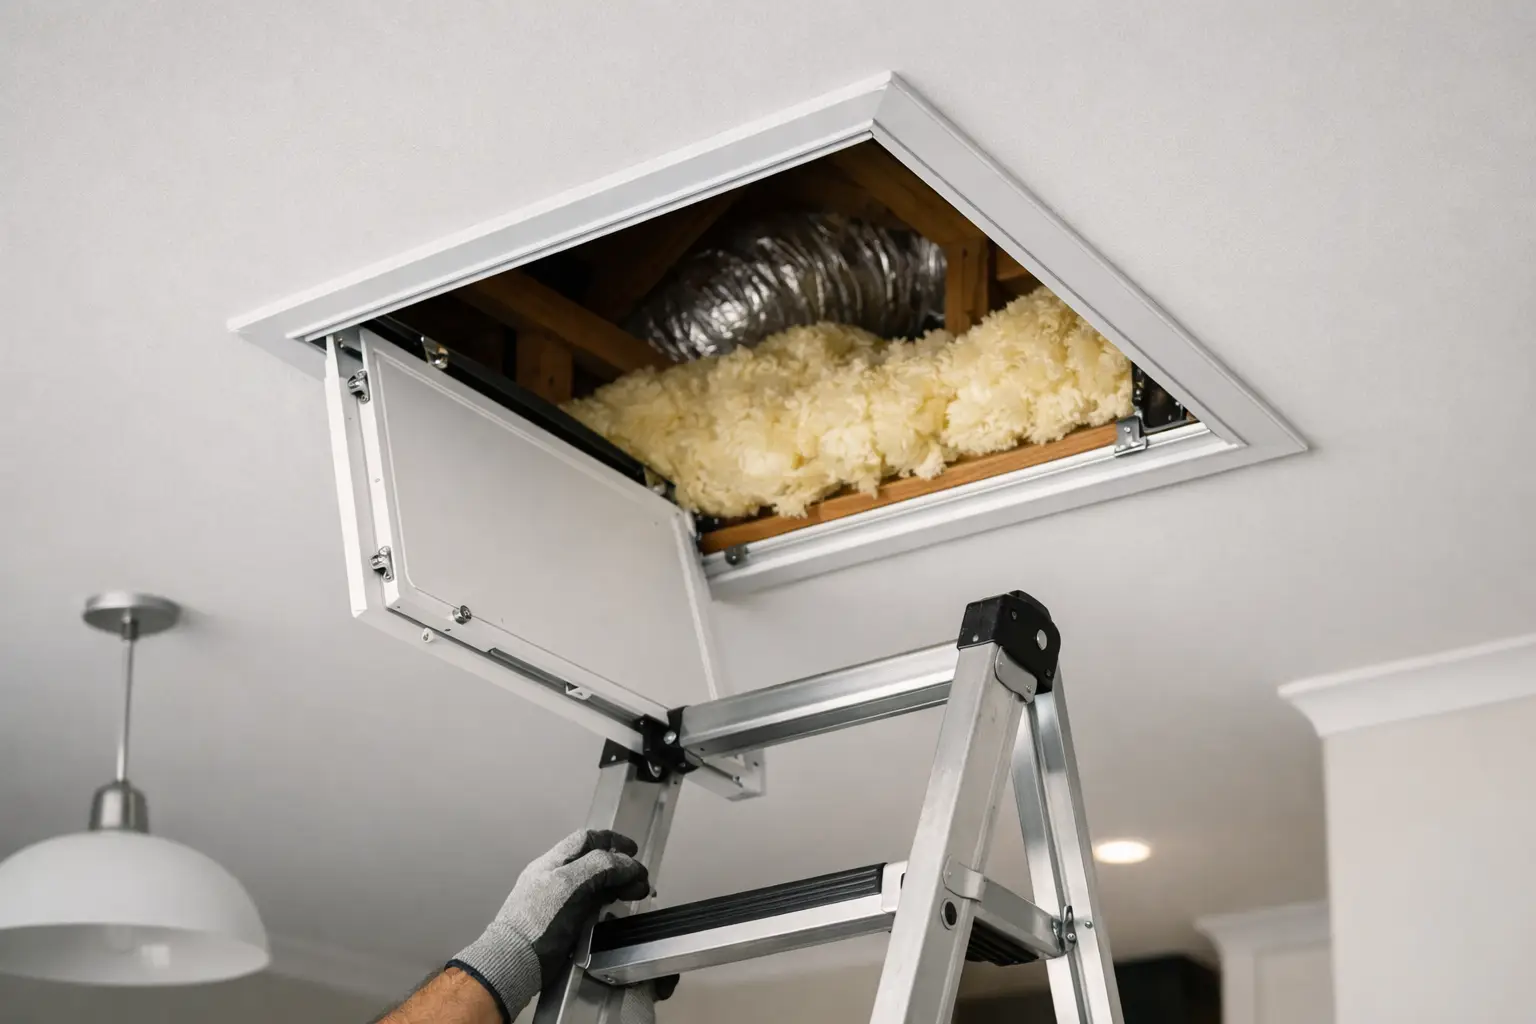
Once the ceiling space is exposed, the frame is checked. This is a crucial part of the new ceiling installation process because plasterboard will only look as straight as the structure underneath it. Timber or steel members may need packing, straightening or adjustment so the finished ceiling does not telegraph dips and waves across the room.
This is also the right time to confirm services. Electricians may need to rough in new lighting positions. If recessed LED coves, ceiling features or bulkheads are being added, those details need to be set out now, not improvised later. Homeowners often focus on the visible finish, but the hidden coordination work is what helps the finish look effortless.
Fixing the plasterboard sheets
With the framing ready, ceiling sheets are lifted into place and fixed in a planned sequence. Sheet direction matters. Joint placement matters. Fixing spacing matters. These are not small technicalities - they affect strength, movement and the way the ceiling presents once painted.
For standard plasterboard ceilings, sheets are usually fixed with screws at set centres to suit the framing and product requirements. The aim is firm, even fixing without damaging the board face. Screw heads should sit correctly so they can be stopped cleanly later without breaking the paper.
Large rooms, raked sections and custom ceiling details can change the approach. So can moisture-prone areas, where suitable materials and finishing methods are needed. There is rarely one method for every room, which is why experience counts. The right process depends on the shape of the space, the condition of the home and the finish expected.
Joints, angles and cornice work
After fixing comes setting. This is where taped joints, internal angles and screw heads are stopped with jointing compounds to create a continuous surface. Good setting work is not just about filling gaps. It is about controlling build-up, feathering edges properly and allowing enough drying time between coats.
If cornices are part of the job, they are typically installed after the ceiling sheets are fixed and before final finishing is complete. In newer homes, that may mean standard cove cornice. In older homes, it could involve matching an existing profile so the new work sits naturally with the rest of the property. That kind of detail is especially important where only one room or section is being replaced.
This stage often separates a specialist finish from an average one. A ceiling can be structurally sound and still look poor if the setting is rushed. Visible joints, hollow corners and uneven cornice lines usually come back to finishing quality, not the board itself.
Sanding and getting the ceiling paint-ready
Once the jointing has cured fully, the surface is sanded and checked under light. This is another point where patience matters. Over-sanding can damage the face paper and create more work. Under-sanding can leave ridges that show badly after painting, especially in daylight or under LEDs.
A proper paint-ready finish should look even across the whole ceiling, not just acceptable from the doorway. That includes clean transitions at walls, neat cut-outs around lights and vents, and a surface that does not need patching by the painter before undercoat.
In boutique, owner-led work, this is often where the difference is easiest to see. The hands that quote your job are the hands that finish it, so there is less chance of detail being missed between teams. Communication stays clearer, and the standard at final inspection is usually more consistent.
What can affect time and cost
Homeowners often ask how long a new ceiling takes. The honest answer is that it depends on the room size, access, ceiling height, framing condition and finish complexity. A straightforward replacement in a standard room is very different from a home with water damage, decorative cornice matching or feature lighting built into bulkheads.
Drying time also matters. Setting compounds need proper curing between coats, and that cannot always be rushed without affecting the finish. Weather can play a part too, especially in cooler or more humid conditions.
Cost works the same way. Fixed pricing is the best way to avoid uncertainty, but a proper fixed price can only come after the site has been checked. Hidden framing issues, unplanned electrical changes and active leaks are common reasons a cheap estimate turns into an expensive problem later.
Common problems that should be addressed first
Not every ceiling is ready for replacement straight away. If there is roof leakage, structural movement, failed framing, mould contamination or repeated cracking from house settlement, those issues need to be understood before new lining goes in.
This is particularly true in older Perth homes, where you may be dealing with sagging ceilings, previous patch jobs or sections that do not align neatly with modern materials. In these cases, the right approach is often slower and more meticulous, but it produces a better and longer-lasting result.
There is also a practical question about partial replacement versus full replacement. A small repair can be the sensible option in some rooms. In others, especially where damage is widespread or the existing finish is poor, replacing the whole ceiling gives a cleaner and more reliable outcome. It is not about upselling. It is about whether patching will truly disappear once painted.
Choosing the right installer matters
A ceiling is overhead, highly visible and difficult to fake once the paint goes on. That is why homeowners are usually better served by a specialist who personally handles every job rather than a rotating crew with limited accountability.
Clear communication matters just as much as technical skill. You want to know what is being removed, what is being replaced, whether cornices are included, how the home will be protected and what finish to expect at handover. Written workmanship guarantees and tidy work practices are not extras. They are part of a professional standard.
For many clients, especially families living through the work or landlords trying to avoid rework, the real value is certainty. Fixed pricing, no surprises, and a clean, paint-ready ceiling that looks right the first time is worth more than a rushed quote that leaves details unresolved.
If you are planning a new ceiling, ask questions early and pay attention to how the process is explained. A good tradesperson will not make it sound complicated for the sake of it, but they also will not pretend every ceiling is the same. The best result usually comes from careful preparation, honest advice and workmanship that stays invisible once the room is finished.