Ceiling Insulation Access Hatch Guide
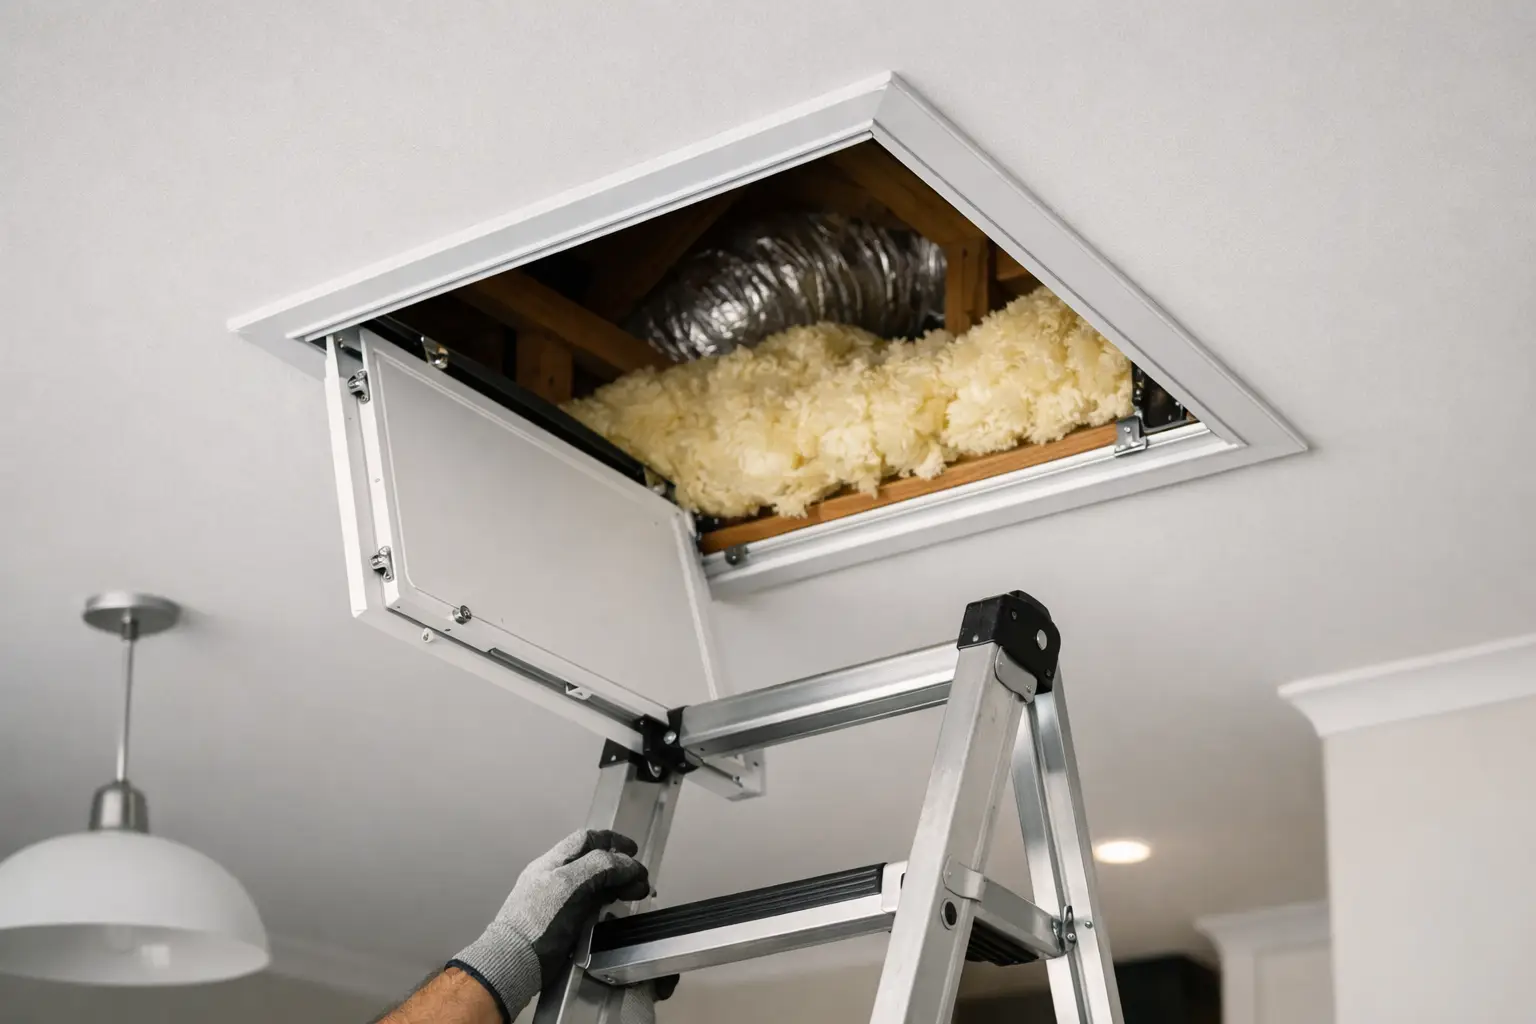
You usually notice the lack of a ceiling insulation access hatch at the worst possible time - when an electrician needs roof space access, when insulation has shifted, or when a leak has left a stain and nobody can check above the ceiling without cutting a hole. In a finished home, that quick fix rarely stays tidy. A properly planned hatch makes future access easier, safer and far less disruptive.
For homeowners, renovators and landlords, this is one of those small details that can save money later. It also affects how your ceiling looks, how cleanly the opening is finished, and whether the surrounding plasterboard stays sound over time. If the hatch is poorly placed or roughly installed, it stands out every time you walk into the room. If it is done well, it feels like part of the ceiling from day one.
What a ceiling insulation access hatch actually does
A ceiling insulation access hatch is a framed opening in the ceiling that allows entry into the roof space while helping contain insulation above the plasterboard line. In practical terms, it gives trades safe, repeatable access for inspections, maintenance and repair work without damaging the ceiling each time.
That matters more than many people expect. Roof spaces often need to be accessed for electrical work, air conditioning runs, exhaust ducting, leak detection, pest checks and insulation adjustments. Without a dedicated hatch, the alternative is usually an improvised cut-out or an awkward squeeze through an existing manhole that may not suit the layout of the home.
There is also the insulation side of the equation. Once insulation batts are in place, an opening needs to be considered carefully so material does not spill, compress or interfere with the hatch operation. A good installation keeps access practical without turning that point in the ceiling into a weak spot.
Where a ceiling insulation access hatch should go
Placement is where experience matters. The hatch needs to be accessible from below, but it also needs to line up with usable roof space above. That sounds obvious, yet many poorly located hatches end up too close to framing, ducting, trusses or low-clearance sections where access is technically possible but not genuinely useful.
In most homes, the best location is a discreet area such as a hallway, laundry or other serviceable ceiling zone rather than a main living room. That keeps the visual impact down while still allowing practical entry. In some cases, though, the ideal location depends on where the services sit above the ceiling. If access is mainly needed near a specific section of the roof space, function should lead the decision.
Ceiling height, furniture layout and the way the room is used also come into play. A hatch placed above a stair landing or fixed cabinetry can become difficult to use safely. A tidy result is not just about plastering and paint-ready edges. It starts with putting the opening somewhere that works in real life.
Size matters, but bigger is not always better
A common mistake is assuming a larger hatch is automatically better. A larger opening may improve access, but it also means more interruption to the ceiling line and more need for proper reinforcement and clean finishing. If it is oversized for the actual purpose, it can look heavy and unnecessary.
On the other hand, a hatch that is too small creates frustration every time someone needs to get into the roof. It can also increase the risk of damaging the edge of the opening or disturbing insulation while trying to manoeuvre through a tight space.
The right size depends on who will be using it and what access is required for. For occasional inspection, a modest opening may be enough. For regular service access, a more generous size can be worthwhile. This is one of those it-depends details where the best answer comes from the ceiling layout, framing and intended use rather than a one-size-fits-all rule.
Finishing is what separates a hatch from a hole
Homeowners often focus on the opening itself, but the visible quality comes from the finishing work around it. The hatch should sit neatly within the ceiling plane, with crisp lines, secure framing and no sagging corners or rough cuts. If the plasterboard edge is not properly supported, cracking can show up around the opening later.
The lid or panel also needs to fit consistently. If it rattles, binds or sits unevenly, it never feels finished. In homes where presentation matters, especially after renovation or repair work, the hatch should look intentional rather than like an afterthought added by the last trade on site.
This is where a boutique approach makes a difference. When the same tradesperson plans the opening, frames it correctly and personally finishes the plaster detail, the result is usually more precise. It is not just about making access possible. It is about protecting the standard of the ceiling.
Ceiling insulation access hatch options
Not every ceiling insulation access hatch is the same, and the right choice depends on the home. Some are simple removable panels. Others are hinged for easier use. Some can be detailed to sit more discreetly within the ceiling, while others prioritise quick service access over visual subtlety.
The ceiling type matters too. A standard plasterboard ceiling allows one set of detailing choices, while older homes, repaired ceilings or decorative areas may need a more careful approach. If there is cornice nearby, a patch history in the ceiling, or signs of previous water damage, the hatch design should work with those conditions rather than ignore them.
Insulation thickness is another practical factor. If bulk insulation sits directly over the opening, the hatch should allow access without creating constant mess below. A poorly considered opening can leave loose fibres dropping into the room each time it is used. A better build reduces that problem and makes roof entry cleaner.
When to install one
The easiest time to install a hatch is during a renovation, ceiling replacement or other planned ceiling works. At that stage, access, framing and finishing can all be integrated cleanly. It is faster, neater and usually more cost-effective than coming back later once everything has been painted and furnished.
That said, retrofitting a hatch into an existing ceiling is very common. It just needs more care. The installer has to assess framing positions, ceiling condition and the best way to create the opening without triggering cracking or an obvious mismatch in the surrounding finish.
If your home has recurring service needs, roof space equipment, or previous issues such as leaks or insulation movement, waiting until an emergency arises is rarely the best option. Planned access is always cleaner than reactive access.
What homeowners should ask before going ahead
Before installing a ceiling insulation access hatch, it is worth asking a few practical questions. Will the chosen location give real access to the area you need? Will the hatch be easy to use safely? Will the ceiling need patching or repainting after the work? And will the finish match the rest of the room properly?
You should also ask who is actually doing the work. In specialist ceiling work, small details matter. Clean cuts, proper support, tidy plaster finishing and dust control all affect the final result. Fixed pricing helps too, because homeowners want clarity from the start, not surprises once the opening has been made.
For Perth homes, heat load in roof spaces can be another reason to think ahead. If access is needed during summer for electrical, ventilation or insulation work, having a proper hatch already in place makes the job quicker and usually less disruptive indoors.
A small detail that pays off later
A ceiling hatch is not the feature anybody shows off after a renovation, but it often becomes one of the most practical decisions in the house. It protects the ceiling from rough access, makes future trade work simpler, and avoids the mess of cutting into finished plasterboard when something above the ceiling needs attention.
Done properly, it also respects the look of the room. That is the difference between a rushed opening and a carefully built access point. One solves a short-term problem. The other gives you a clean, usable result that still feels right years later.
If you are planning ceiling work, repairs or insulation upgrades, it is worth treating access as part of the job rather than an afterthought. Small decisions made early usually lead to a tidier home and fewer headaches when the next maintenance issue comes along.