How to Repair Plaster Bubbling Without It Returning
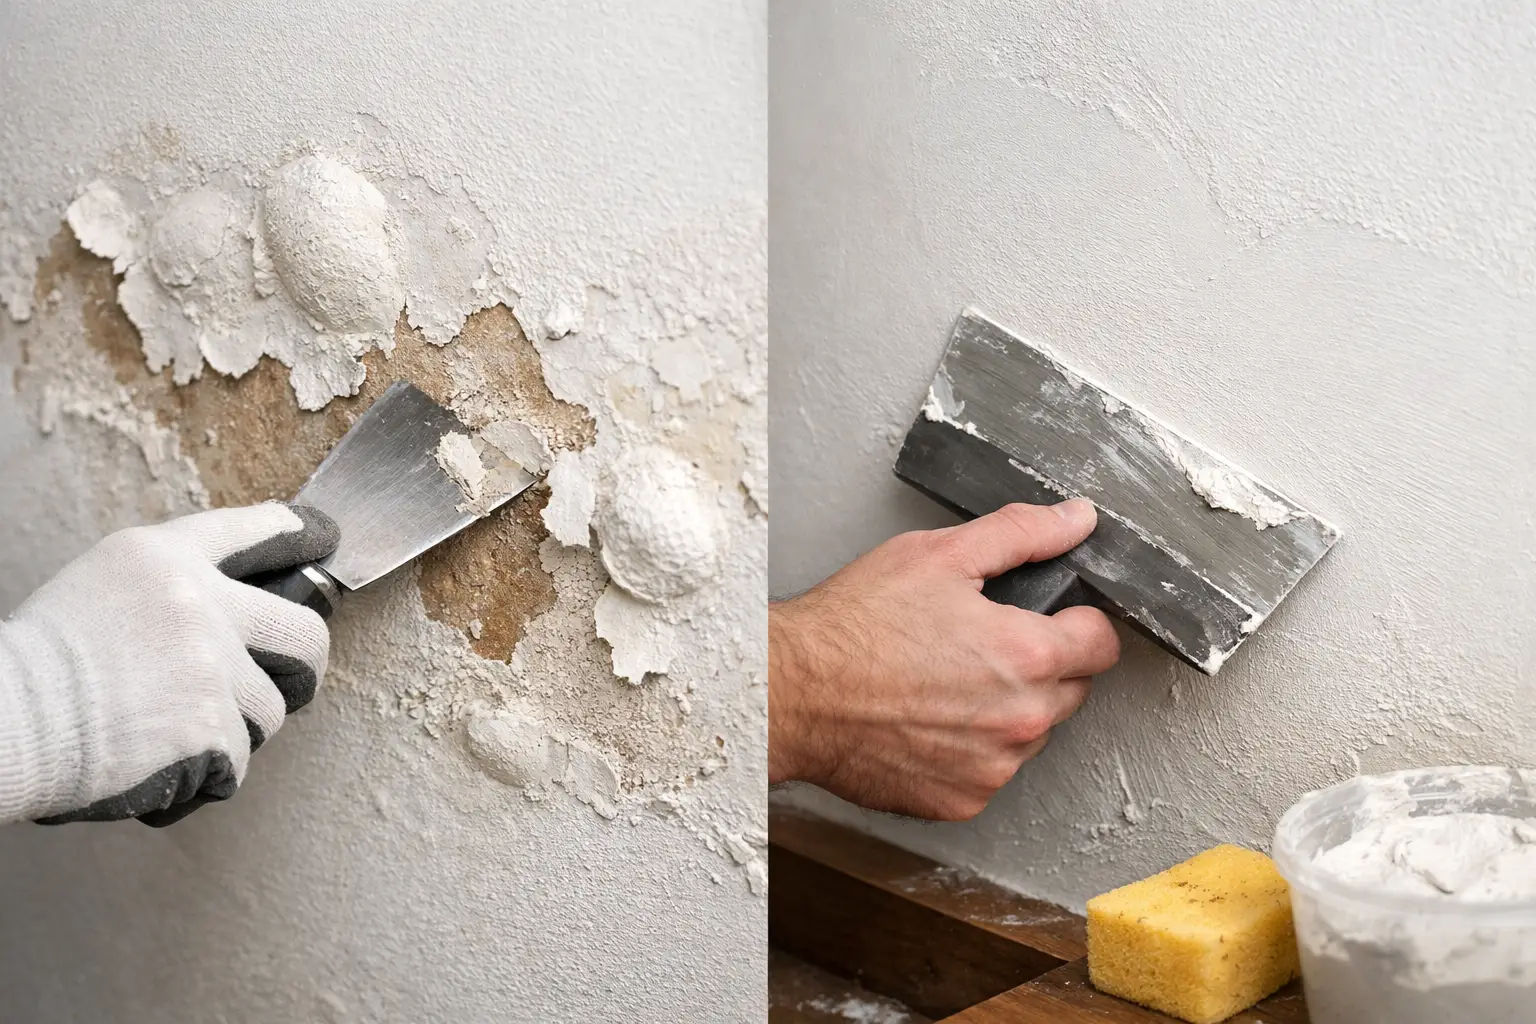
A bubble in a wall or ceiling is rarely just a surface problem. It can start as a small raised patch under the paint, then loosen, crack or spread when touched. Knowing how to repair plaster bubbling means dealing with the cause first, then rebuilding the surface properly so the finished repair stays flat, sound and ready for paint.
Bubbling can occur on older solid-plaster walls, plasterboard jointing compound, rendered surfaces and painted ceilings. The repair method changes slightly with the material, but the rule is the same: nothing should be covered until loose material and moisture issues are resolved.
Why plaster starts bubbling
The most common cause is moisture. A slow roof leak, overflowing gutter, failed shower waterproofing, plumbing leak or condensation can soften the plaster or break the bond between paint, compound and the surface below. In Perth homes, roof leaks often become obvious after heavy winter rain, while bathroom and laundry bubbling may point to poor ventilation or a hidden water issue.
Sometimes the plaster itself is sound and only the paint film has lifted. This usually happens when paint was applied over a damp surface, over chalky old paint, or before a fresh coat of compound had fully dried. A paint bubble can look minor, but it is worth checking what lies underneath before assuming it only needs a touch-up.
Poor preparation is another frequent culprit. Dust, soap residue, nicotine staining, grease, flaky paint and incompatible coatings can all stop new materials from bonding. On ceilings, movement from roof framing or old fixings may also cause a joint to crack and lift along one section.
If the area feels soft, stains are growing, or the bubble returns after being pressed flat, treat it as an active problem rather than a cosmetic one. Repairs made over damp plaster nearly always fail again.
Check the damage before you start
Start by pressing gently around the affected area. Sound plaster should feel firm and stay firmly attached. Hollow, soft, crumbly or drummy sections need to be removed back to a stable edge. Do not simply slice a bubble, push it down and fill over it. The weakened material will continue to move underneath the patch.
Look above, behind and around the damage for a source of moisture. For a ceiling bubble, inspect the roof space where safe to do so, including insulation, roof penetrations and plumbing lines. On an external wall, check gutters, flashing, window seals and nearby downpipes. In wet areas, examine silicone joints, grout, exhaust ventilation and plumbing fixtures.
Allow the area to dry fully after the leak or moisture source has been repaired. Depending on the size of the wet patch and airflow through the home, this may take several days or longer. A dehumidifier and ventilation can help, but they do not replace fixing the leak.
For older homes, take care before sanding or cutting unknown coatings, textured finishes or old sheet materials. If there is any concern about hazardous materials, arrange appropriate testing and advice before disturbing the surface.
How to repair plaster bubbling step by step
1. Protect the room and remove loose material
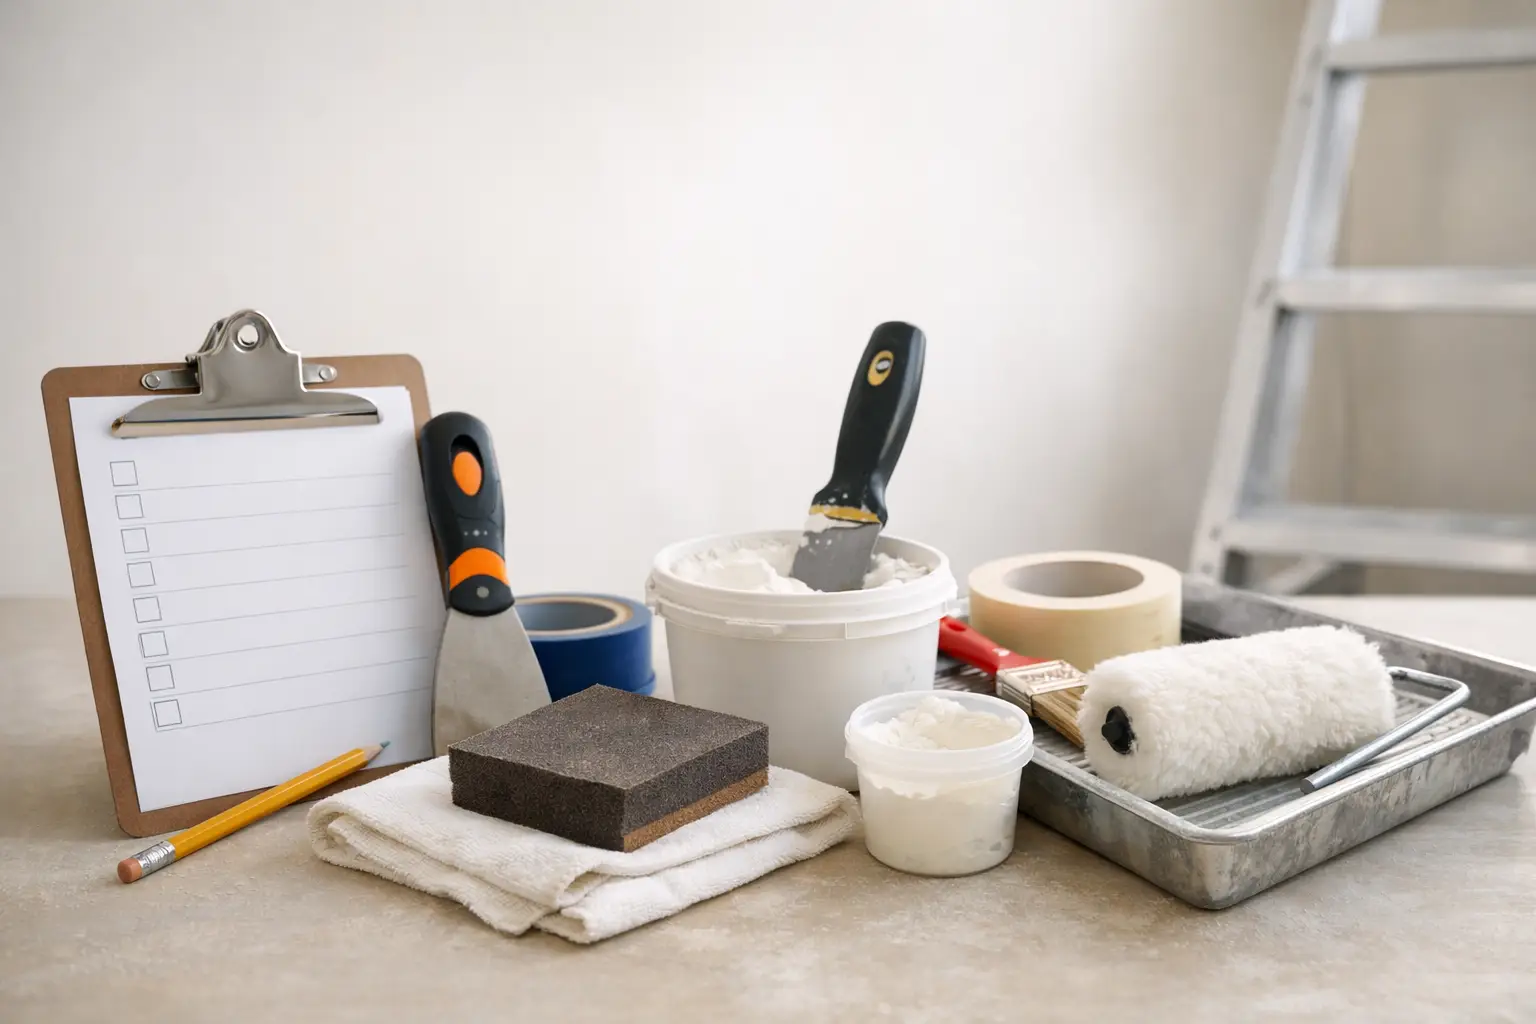
Move furniture away from the work area and cover floors with drop sheets. Wear eye protection and a suitable dust mask, especially when scraping ceilings. Use a broad scraper or paint scraper to remove all bubbled paint, loose compound and compromised plaster until you reach a firm edge.
Feather the edge rather than leaving a sharp lip around the damaged section. If the bubbling is extensive, do not keep chasing weak material across the wall in small patches. It may be more efficient, and deliver a better result, to remove and re-line the affected section.
2. Clean, dry and stabilise the surface
Brush away dust, then wipe the area clean if residue is present. The surface must be dry before any patching begins. Where old plaster is powdery or porous but otherwise secure, apply a suitable plaster or paint sealer to bind the surface. This gives the repair compound a stable base instead of allowing it to absorb unevenly and lose adhesion.
Stain-blocking primer may be needed after water damage, but only once the area is dry and the source of the leak is fixed. Primer can hide a stain. It cannot fix damp plaster.
3. Rebuild missing plaster in thin layers
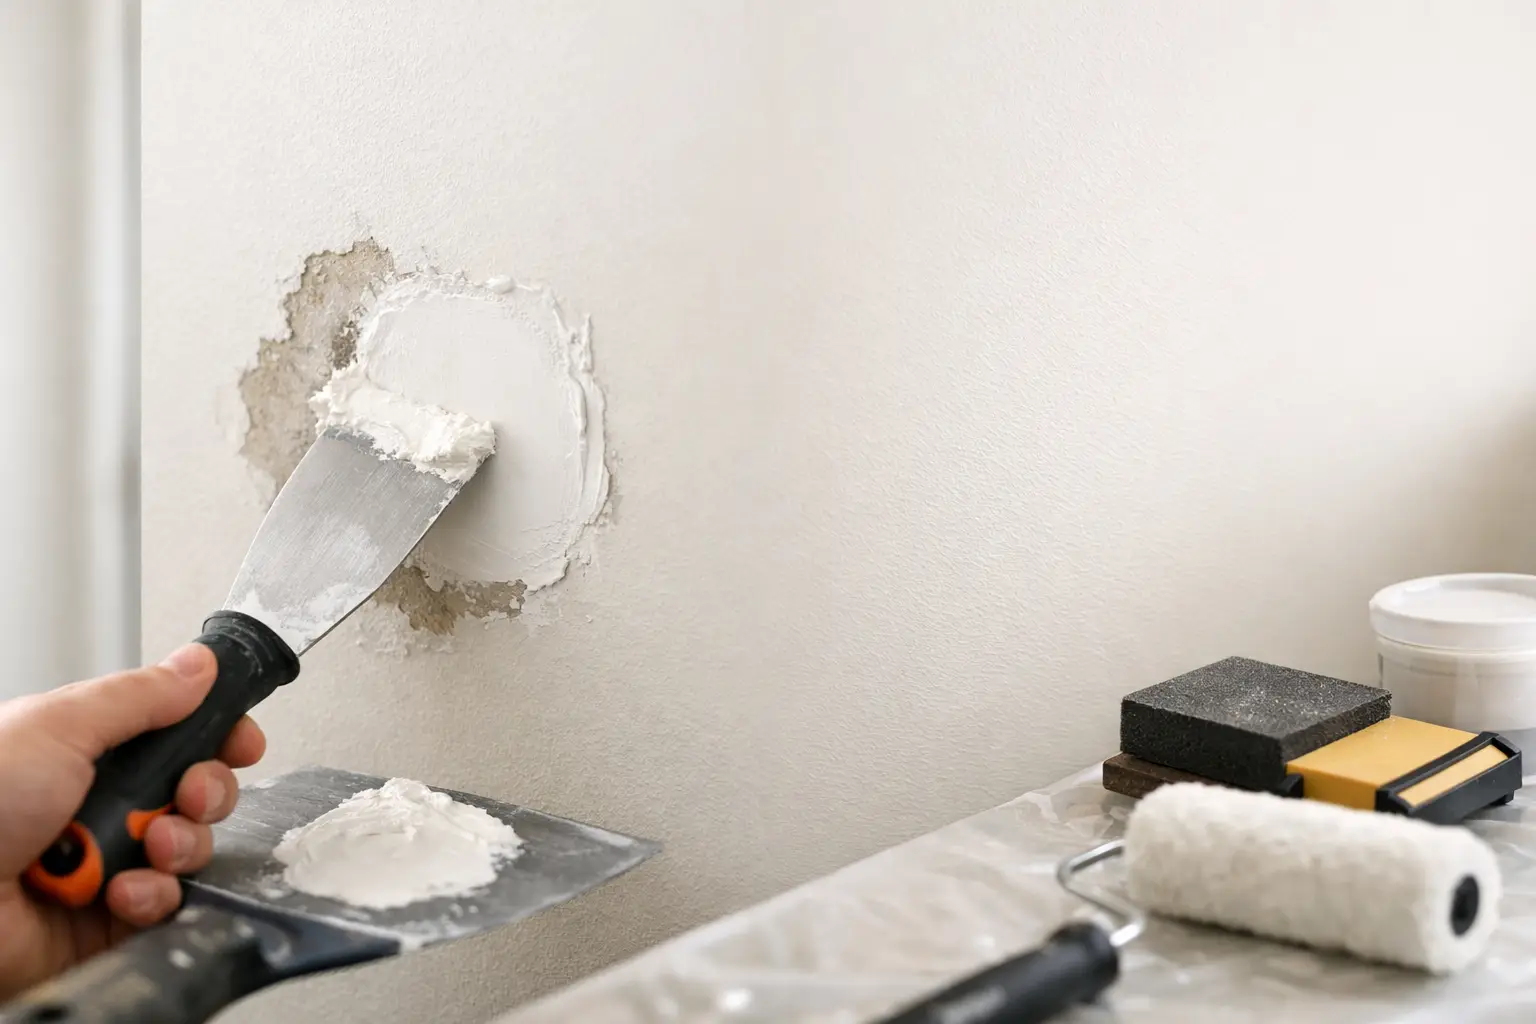
Use a quality patching compound suited to the wall or ceiling material. Deep repairs should be built up in thin coats, allowing each coat to dry as directed. Thick compound may shrink, crack or remain soft beneath a dry-looking skin.
For cracks or joints that have opened, embed joint tape into the first coat. Paper tape is often preferred for a crisp, strong plasterboard joint, while fibreglass mesh can be useful in certain patch repairs. The best choice depends on the movement, width and location of the crack.
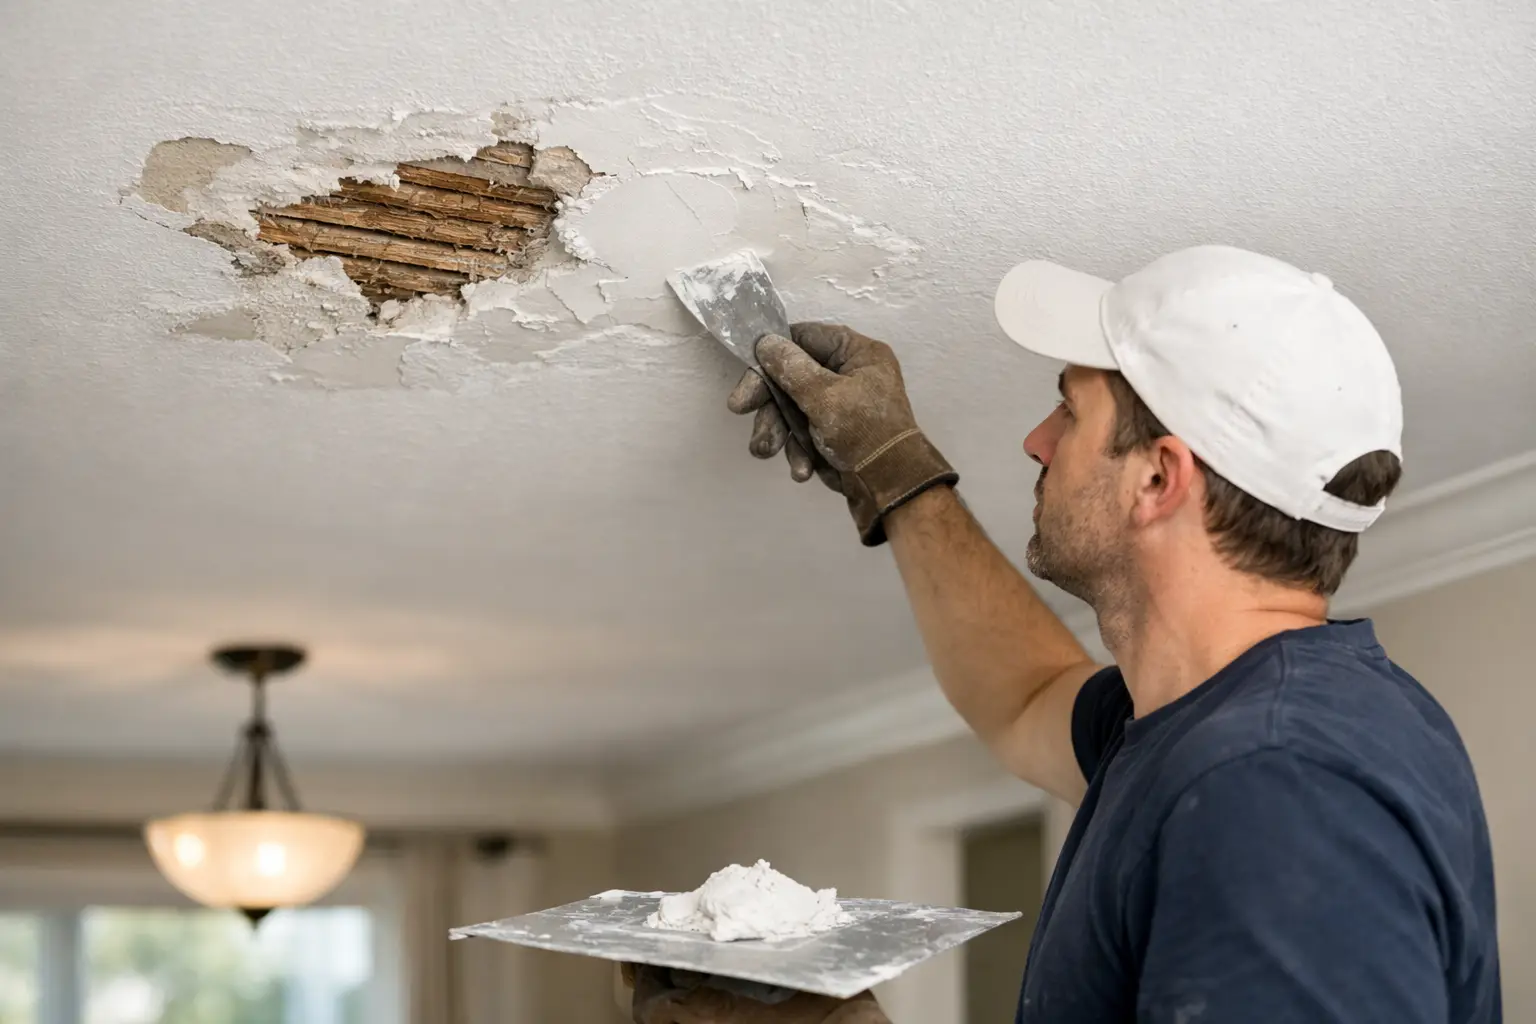
A ceiling repair needs particular care. Gravity makes it easy to apply too much compound, leaving a sagging patch that takes extra work to sand flat. Several controlled coats are slower on the day, but much faster than correcting a heavy, uneven build-up later.
4. Sand for a flat, paint-ready finish
Once the final coat is completely dry, sand lightly with a sanding block or pole sander. The aim is to blend the repair into the surrounding surface, not to sand aggressively into the new compound. Run a hand across the area and view it from the side with a work light. Raking light reveals ridges, shallow hollows and uneven edges that can be hard to see front-on.
Apply a final skim coat if needed, then sand again once dry. A good repair should disappear into the wall before paint is applied. If you can clearly see the patch at this stage, paint is unlikely to hide it.
5. Prime and repaint the whole section where practical
Prime the repaired area with a suitable undercoat, particularly where bare plaster, compound or stain-blocking products are present. For the most even finish, repaint from corner to corner or across a complete ceiling plane rather than brushing colour over the patch only. Even when the paint colour is matched, age, sheen and sun exposure can make a small touch-up stand out.
On ceilings, use a low-sheen ceiling paint and maintain a wet edge. On walls, match the existing sheen as closely as possible. A colour match with the wrong sheen can still make a repair visible under daylight.
When a plaster repair is not a DIY job
Small paint bubbles caused by poor preparation can be handled carefully by a capable homeowner. Larger areas, repeated bubbling and ceiling damage are different. If plaster has sagged, water has soaked insulation, cornices are separating, or cracks run along sheet joins, the repair may involve more than filling and sanding.
A professional can assess whether the existing lining is worth saving, identify the likely source of damage and restore the area without creating a visibly patched section. This matters in open-plan rooms, high ceilings, heritage homes and areas with decorative cornices, where a mismatched profile or uneven finish is difficult to disguise.
For water-damaged ceilings, it is also sensible to check that the sheet is secure before working beneath it. A ceiling that feels soft or bowed can become a safety issue. It may need controlled removal, drying and replacement rather than a surface patch.
Common mistakes that make bubbling return
The fastest-looking repair is often the one that fails first. Avoid painting over a damp patch, applying filler over loose material, skipping sealer on powdery plaster and using one thick coat to fill a deep hole. Each shortcut weakens the bond between the wall, the patch and the paint.
Also avoid assuming every bubble is caused by a leak. Bathrooms can suffer from condensation, external walls may take in moisture through failed seals, and freshly painted surfaces can bubble from trapped moisture or poor adhesion. The right fix depends on an honest diagnosis.
A flat wall or ceiling should not be a temporary result. When the moisture source is resolved and the damaged material is removed back to a solid base, a careful repair can be effectively invisible. For Perth homeowners who would rather have it assessed and personally finished, Yong's Carpentry can provide a clear on-site view of what is needed before work begins.