Best Recessed Ceiling Lighting Layouts for Homes
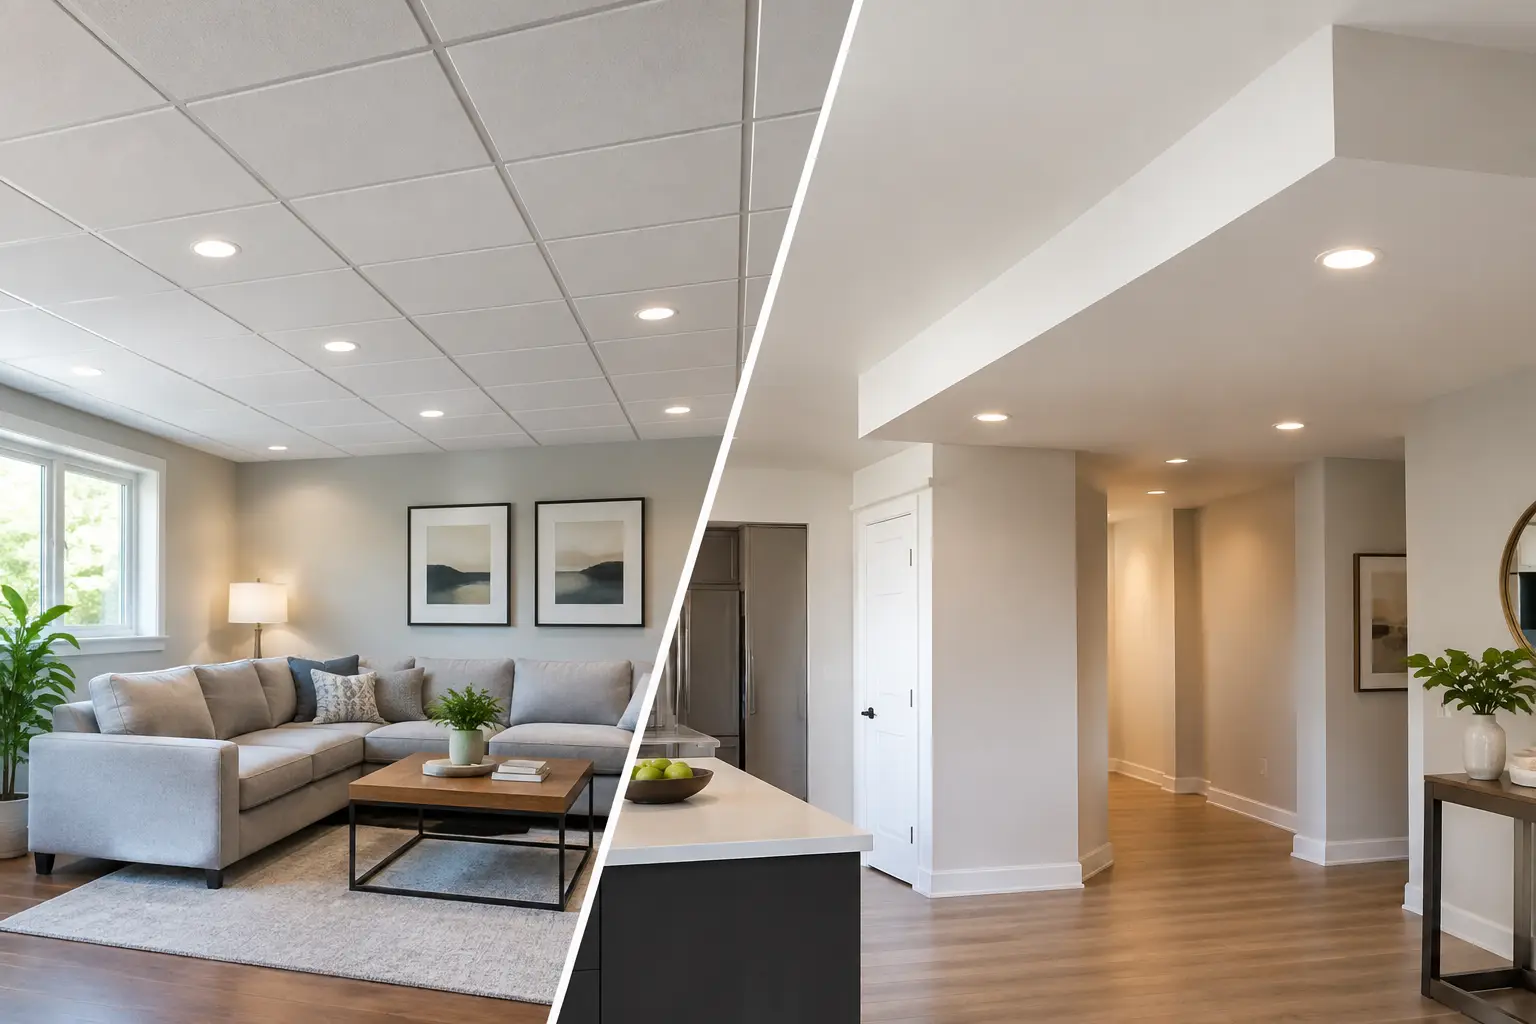
A row of downlights can make a newly plastered ceiling feel crisp and considered - or make the room look like a grid of bright dots. The best recessed ceiling lighting layouts are planned around how a room is used, the ceiling structure and the light needed at different times of day. They are not simply evenly spaced fittings placed wherever there is room.
For Perth homeowners renovating a kitchen, replacing a damaged ceiling or building a new feature bulkhead, lighting needs to be considered before the final sheets, cornice and paint go on. Moving a fitting after the ceiling is finished can mean unnecessary patching, repainting and disruption. A few decisions made early give you a cleaner ceiling line and better light where it counts.
Start with the room, not the light fitting
A recessed light layout should follow furniture, work zones and sightlines. Begin with the practical question: where do people need light? A kitchen bench, vanity, dining table and reading chair all need a different result, even if the rooms are similar in size.
Ambient lighting provides the general brightness that makes a room comfortable to move through. Task lighting is more focused, such as light over a kitchen worktop or bathroom mirror. Accent lighting draws attention to artwork, a textured wall or a joinery detail. Downlights can handle ambient and task lighting well, but they are rarely the best answer for every layer.
This is why a living room filled with evenly spaced downlights can feel flat. Often, a smaller number of recessed lights paired with a pendant, floor lamp or concealed LED cove creates a warmer and more flexible result. It also means you can light the room without turning every fitting on at once.
Best recessed ceiling lighting layouts by room
Kitchen: align lights with benches and pathways
Kitchens are where poor placement is most obvious. A downlight centred in the room may throw your own shadow across the benchtop while you prepare food. Instead, position task lights in front of the person standing at the bench, generally around 450 to 600 mm out from the wall or tall cabinetry face. The exact position depends on cabinet depth, beam angle and the ceiling height.
For an island bench, a pendant can provide a strong visual centrepiece and useful light. Recessed lights can then be placed around it to cover surrounding work areas and walkways. Avoid placing fittings directly above high cupboards unless there is a clear purpose, as the light may be wasted or create awkward shadows.
Living rooms: use zones rather than a strict grid
A living room often has a television wall, seating area and circulation path. Treating each as a zone usually works better than putting fittings at identical intervals across the full ceiling. Keep lights away from the television position where possible, as glare can become irritating at night.
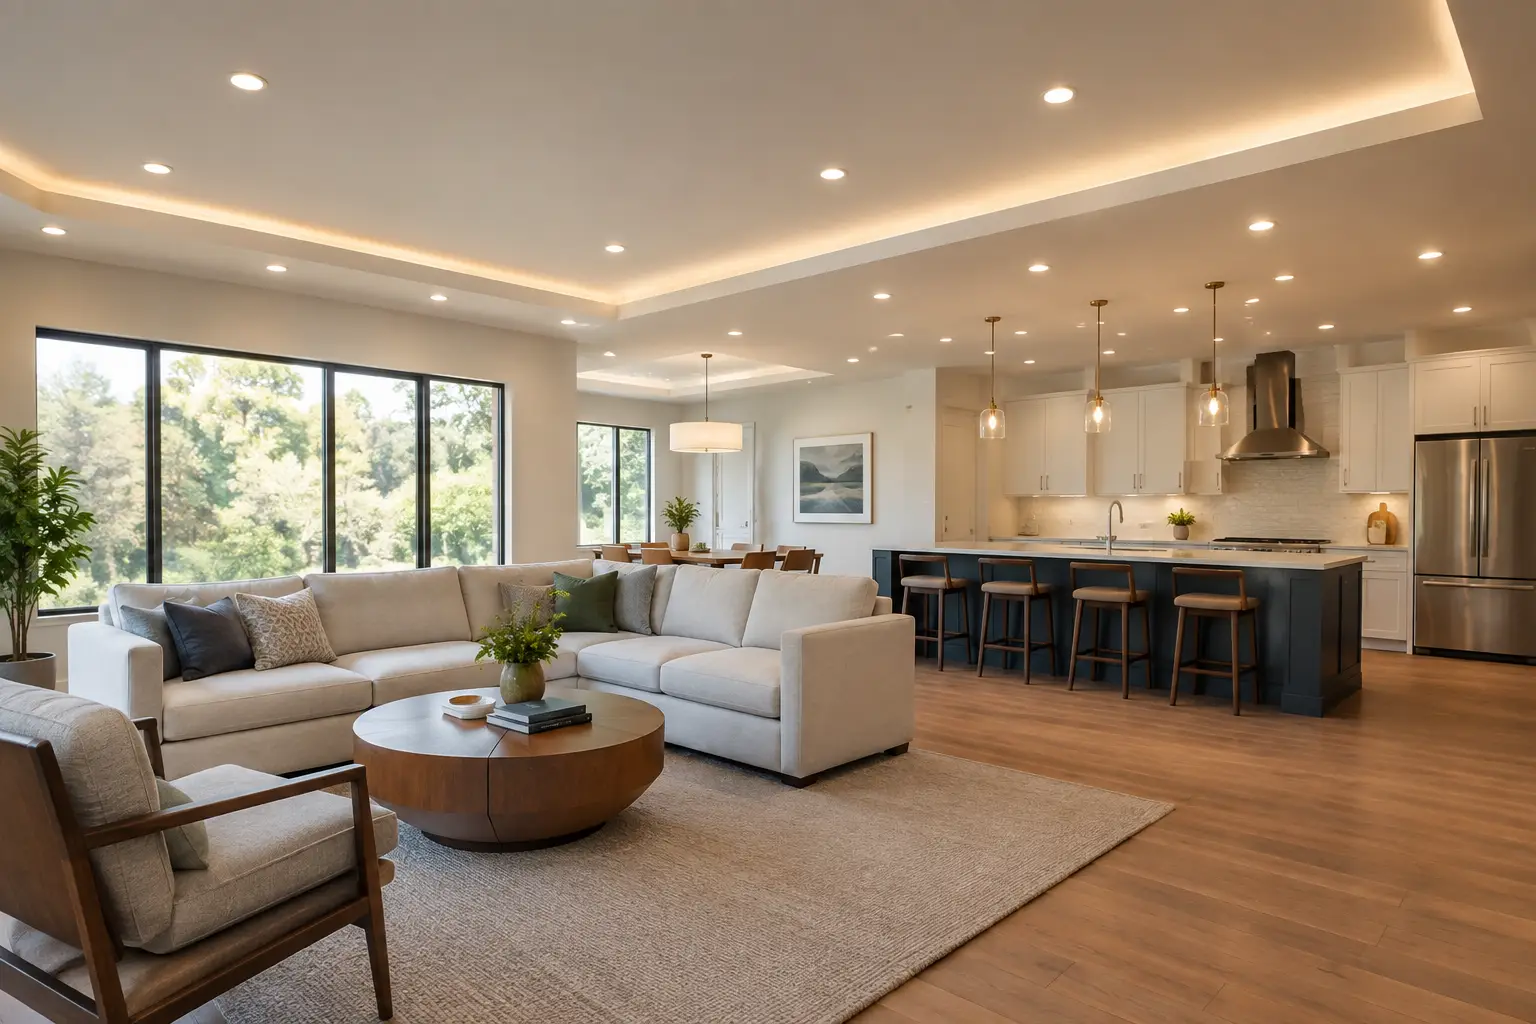
For rooms with a feature ceiling or recessed LED cove, downlights should support the design rather than compete with it. A perimeter cove can wash soft light over the ceiling, while fewer downlights handle reading corners and access through the room. Dimmable fittings are particularly worthwhile here because bright practical light and relaxed evening light are very different settings.
Bedrooms: keep the centre calm
A single central fitting is not always enough, but a dense downlight grid is rarely the most restful bedroom choice. Consider two or four recessed lights positioned to light wardrobes, circulation space and the foot of the bed, with bedside lamps or wall lights for reading.
Keep direct downlights out of the line of sight when lying in bed. If there is a ceiling fan, the layout also needs enough clearance to avoid a cluttered look or unwanted flicker through the blades. A simple, symmetrical arrangement can work well, provided it follows the furniture plan rather than the bare room dimensions.
Bathrooms and laundries: light faces, not just floors
Bathrooms need clear, even light, particularly around the vanity. Ceiling lights alone can cast shadows beneath the eyes and chin. Recessed lighting above the general room area works well, but a properly planned mirror light or side lighting gives a more flattering and functional finish.
Wet-area requirements, fitting ratings and clearances must be checked by a licensed electrician. The ceiling also needs to be properly sealed and finished around cut-outs, especially where moisture, exhaust fans or previous water damage are involved.
Hallways: follow the route
Long hallways suit a simple line of fittings down the travel path, usually centred where the ceiling and architectural features allow it. In wider entries, lights may need to follow the shape of the space rather than run in a rigid straight line.
A hallway is also where near-miss alignment is easy to spot. Centre fittings carefully between door openings, bulkheads, ceiling access panels and decorative cornices. Small measurements make a large difference once the lights are switched on.
Spacing, beam angles and ceiling height
There is no universal spacing rule that suits every recessed lighting layout. As a starting point, many standard-height rooms use fittings about 1.2 to 1.8 metres apart, but that range changes with the fitting’s beam angle, lumen output, wall colour and intended use.
A narrow beam gives a more concentrated pool of light. It can be useful over a bench or feature, but too many narrow beams make the ceiling feel spotty. A wider beam spreads light more gently and can suit general living spaces, although it may need closer spacing to prevent dark patches.
Ceiling height matters as well. A higher ceiling needs either more output, a different beam angle or a different lighting approach to bring usable light down to the room. Glossy surfaces, pale paint and light flooring reflect more light than dark finishes, so the same layout will not perform identically in every home.
Before cutting holes, set out the layout on the ceiling. Mark the proposed positions, stand back from doorways and key seating areas, and check how they relate to joins, cornice lines, air-conditioning grilles and ceiling fans. This stage is especially valuable with raked ceilings, bulkheads and older homes where the framing may not be predictable.
Plan around the ceiling structure
A good-looking layout still needs to be buildable. Ceiling joists, battens, ducting, insulation, pipework and existing electrical cables can all affect the final location of recessed lights. Shifting a fitting a small distance is normally less noticeable than cutting into structural framing or compromising another service.
If you are installing a new plasterboard ceiling, changing a bulkhead or repairing water-damaged sections, coordinate the lighting plan before the final lining work. The hands that plan the ceiling details should understand where access, support and clean cut-outs are needed. This reduces last-minute compromises and helps achieve a paint-ready result.
All electrical installation and connection work must be completed by a licensed electrician. The plastering and ceiling side of the work is just as relevant: cut-outs need to be neat, joints need to stay stable, and any repair around an old fitting should blend back into the surrounding ceiling rather than leave a visible patch.
Common layout mistakes to avoid
The most common mistake is using downlights as the only source of light in every room. This often creates a bright ceiling but does little for comfort, atmosphere or specific tasks. Another is placing fittings according to a tape measure alone, without considering cabinetry, furniture and door swings.
Avoid crowding lights too close to walls unless you deliberately want to wash artwork, texture or joinery. Do not assume a symmetrical grid is automatically correct if the room itself is asymmetrical. Finally, plan switching early. Separate circuits or zones for general light, task light and feature lighting give a room far more practical control.
For detailed ceiling work, Yong's Carpentry takes a boutique approach: the same experienced tradesperson who discusses the ceiling plan can complete the lining, bulkhead or repair work with care around the electrical layout. Clear planning, tidy work and fixed pricing help keep a lighting upgrade from becoming a chain of avoidable repairs.
The right layout should disappear into the room during the day and make the room easier to use at night. Start with where you live, cook, read and gather, then let the ceiling and fittings support those moments with quiet precision.