How to Install Shadowline Ceiling Trim Properly
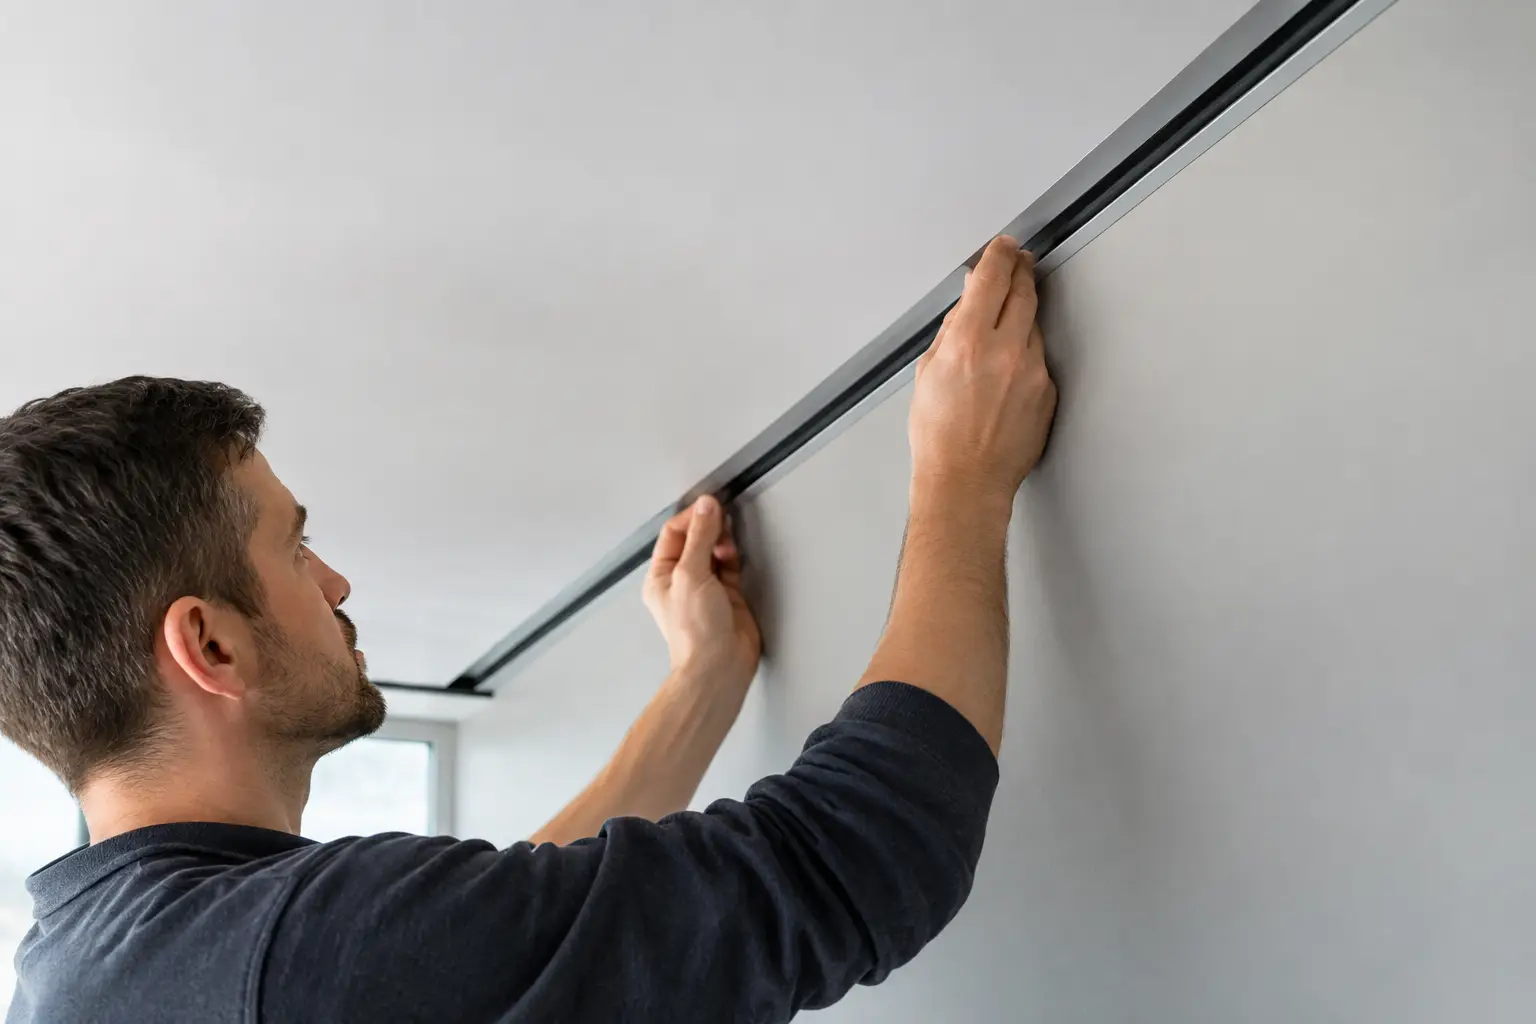
To install shadowline ceiling trim properly, the trim itself is only part of the job. The clean, recessed line that gives a ceiling its modern look depends on accurate set-out, straight framing, careful plasterboard work and a finish that stays crisp after painting. A few millimetres out at the wall line can be visible from the other side of the room.
For homeowners planning a renovation or feature ceiling, shadowline detailing can replace traditional cornice with a quieter architectural edge. It suits contemporary homes particularly well, but it is not a one-size-fits-all choice. The room proportions, wall condition, ceiling framing and lighting plan all need to be considered before the first length of trim is fixed.
Before You Install Shadowline Ceiling Trim
A shadowline is the narrow negative gap or reveal between the ceiling and wall. Rather than finishing the two surfaces with a cornice, the ceiling appears to sit slightly away from the wall. The result can look sharp and understated, especially when paired with flush doors, square-set openings or recessed LED lighting.
There are several ways to achieve the look. Some systems use purpose-made metal or PVC shadowline beads that are set into plasterboard. Others use aluminium trims, while certain ceiling designs create the reveal with timber or steel framing before the plasterboard is installed. The right method depends on the required gap, whether the walls and ceilings are new or existing, and how the manufacturer’s system is designed to be finished.
That distinction matters. A trim intended for a plasterboard stopping system cannot simply be substituted with any aluminium angle from a hardware store. The wrong profile can leave an uneven recess, poor adhesion at the joint compound, or an edge that cracks as the building moves.
Start by confirming the design. Decide whether the shadowline runs around every wall, stops at a bulkhead, returns into window reveals, or meets an existing cornice in adjoining rooms. Also confirm the final ceiling height. In a room with low ceilings, even a modest dropped ceiling framework can change how spacious the room feels.
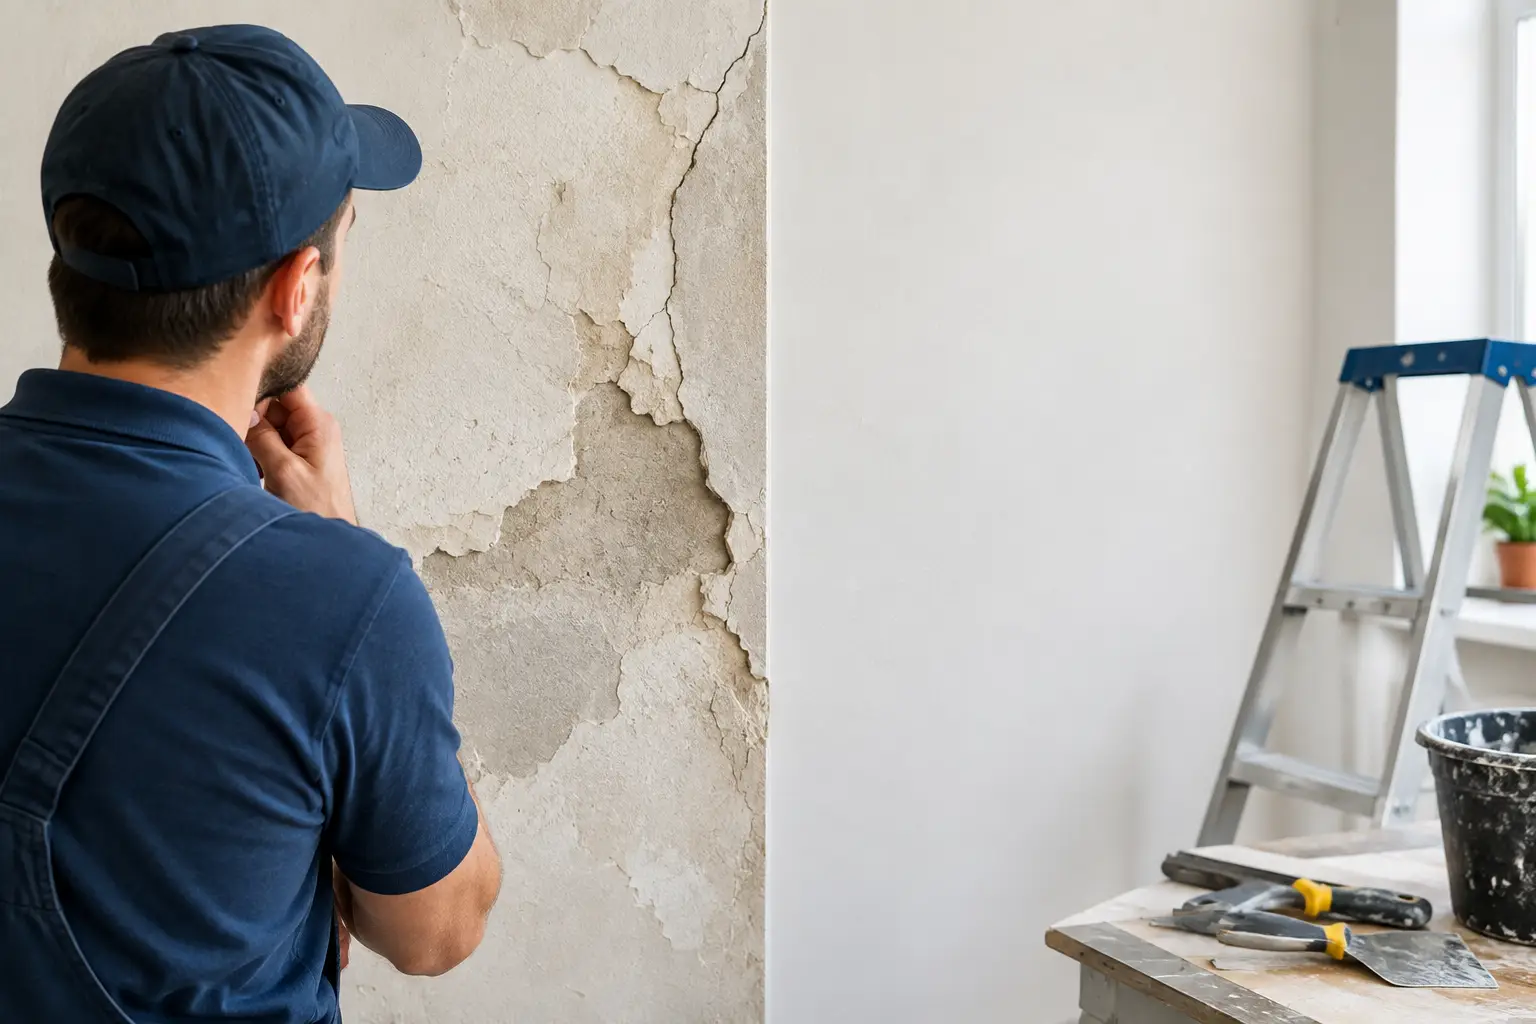
Existing homes need an honest assessment before work begins. Wavy walls, ceiling sag, old repairs and out-of-level framing are common, particularly in renovations. Shadowline trim does not hide these issues. In fact, its straight, dark line often makes them more noticeable. Preparation may involve straightening framing, packing low areas, repairing damaged plasterboard or adjusting the design to suit the room.
How to Install Shadowline Ceiling Trim With a Clean Finish
The work begins with set-out, not fixing. A consistent datum line is marked around the room using a laser level. This line establishes where the trim and ceiling plane will sit. It is checked against door heads, windows, bulkheads and any planned joinery so the shadowline looks intentional from every angle.
If recessed lighting, air-conditioning grilles, ceiling fans or access panels are part of the project, their locations should be settled at this point. Moving electrical fittings after the ceiling has been sheeted can mean unnecessary patching and a less consistent finish. For LED coves or perimeter lighting, the shadowline detail must also allow enough room for the lighting profile, wiring and future access where required.
Prepare the framing and substrate
Shadowline systems need a stable, straight fixing surface. Ceiling battens or timber framing should be checked for level, while wall tops need to be sound and suitably aligned. Where a suspended ceiling is being installed, the perimeter framing must be fixed securely and set to the same level as the rest of the ceiling structure.
This stage is where shortcuts cause trouble later. Trying to pull bowed plasterboard into line with screws can place stress on the sheet and produce a shadow gap that varies in width. Likewise, fixing trim onto loose, water-damaged or crumbling plasterboard will not create a durable edge.
In a lived-in home, preparation also includes protecting floors, furniture and nearby finishes. Ceiling work creates fine dust even when sanding is controlled, so tidy containment and daily clean-up make a real difference to how manageable the renovation feels.
Cut and fix the trim accurately
Each trim length is measured and cut for a close, clean fit. Corners need particular care. Depending on the profile, they may be mitred, neatly butted or finished with purpose-made corner components. A rushed corner can become obvious once paint creates contrast inside the reveal.
The trim is fixed in line with its system requirements, using the appropriate screws, staples, adhesive or compound. It must remain straight without being distorted by over-fixing. Check each run with a straightedge and laser before moving on. This is far quicker than trying to correct a wandering line after the ceiling sheets are in place.
Long walls may need joins between lengths of trim. These should be planned where they are least noticeable and aligned precisely. If the product uses a joining method or splice, follow it rather than relying on filler alone. Filler can refine a joint, but it should not be expected to hold poorly fixed trim together.
Sheet the ceiling without closing the reveal
Plasterboard is then cut and fixed so it meets the shadowline profile correctly. The required clearance is determined by the system being used. The objective is a uniform recess, not a tight joint that eliminates the feature or an oversized gap that looks unfinished.
Sheets should be installed square and properly supported. Screw heads need to be set just below the surface without breaking the paper face, and sheet joins should be positioned and backed correctly. Poor board fixing can lead to cracking along the ceiling, regardless of how neat the trim initially appears.
At this stage, experienced plastering work becomes especially valuable. Shadowline ceilings have less visual forgiveness than a traditional cornice. Cornice can soften a slight variation at the ceiling line; a crisp reveal highlights it.
Set, sand and inspect under proper light
Joint compound is applied to plasterboard joins, fasteners and the trim’s finishing flange where applicable. Multiple coats may be needed to build a smooth transition. Each coat must dry properly before the next is applied, particularly during cooler or humid conditions.
Sanding should leave the ceiling flat and paint-ready, without rounding over the shadowline edge. The reveal itself is kept clean and free of compound blobs, sanding dust and paint build-up. Before painting, inspect the room with light running across the ceiling, not only with overhead lights on. Side light from windows and feature lighting exposes ridges, shallow joints and inconsistent lines that can otherwise be missed.
A quality paint finish matters too. The ceiling and walls are generally painted in separate stages to preserve the sharp recess. If the shadowline is painted carelessly, the gap can fill up or show ragged edges. A darker reveal may suit some designs, but it should be a deliberate finish choice rather than an accidental shadow caused by uneven paint coverage.
Common Problems With Shadowline Ceilings
The most frequent issue is an inconsistent gap. This usually comes back to poor set-out, uneven framing or trim that was not checked as it was fixed. A second common problem is cracking at the ceiling perimeter, often caused by movement, inadequate backing or a poorly prepared substrate.
Another issue is choosing shadowline detail for a room that is not ready for it. Existing textured walls, heavily uneven surfaces and decorative heritage features may call for repairs, re-lining or a different ceiling transition. That does not mean the look is impossible, but it may require more preparation than the initial concept suggests.
There is also a practical trade-off with repairs. A standard cornice can sometimes make local ceiling repairs easier to blend. Shadowline details require greater precision if a section is damaged later, particularly where the reveal meets a bulkhead or runs continuously through an open-plan space. Keeping spare trim from the original installation can be sensible if the chosen profile is specialised.
Is Shadowline Trim Right for Your Home?
Shadowline ceiling trim works best when the surrounding finishes support a clean-lined look. It can sharpen a new extension, give a tired room a more contemporary feel, or create a polished transition around a ceiling bulkhead. It is especially effective where careful lighting design is part of the renovation.
For heritage rooms with ornate cornices, however, matching or restoring the existing profile may protect the home’s character better. For a rental property or a simple repair, a conventional cornice can also be the more cost-effective choice. The best option is the one that suits the room, the budget and the standard of finish you want to live with.
A shadowline should look like it has always belonged in the room: straight, even, cleanly painted and quiet enough that you notice the space before you notice the detail. That result comes from patient preparation and craftsmanship at every stage, not from trim alone.