A Guide to Wall Moisture Repair for Perth Homes
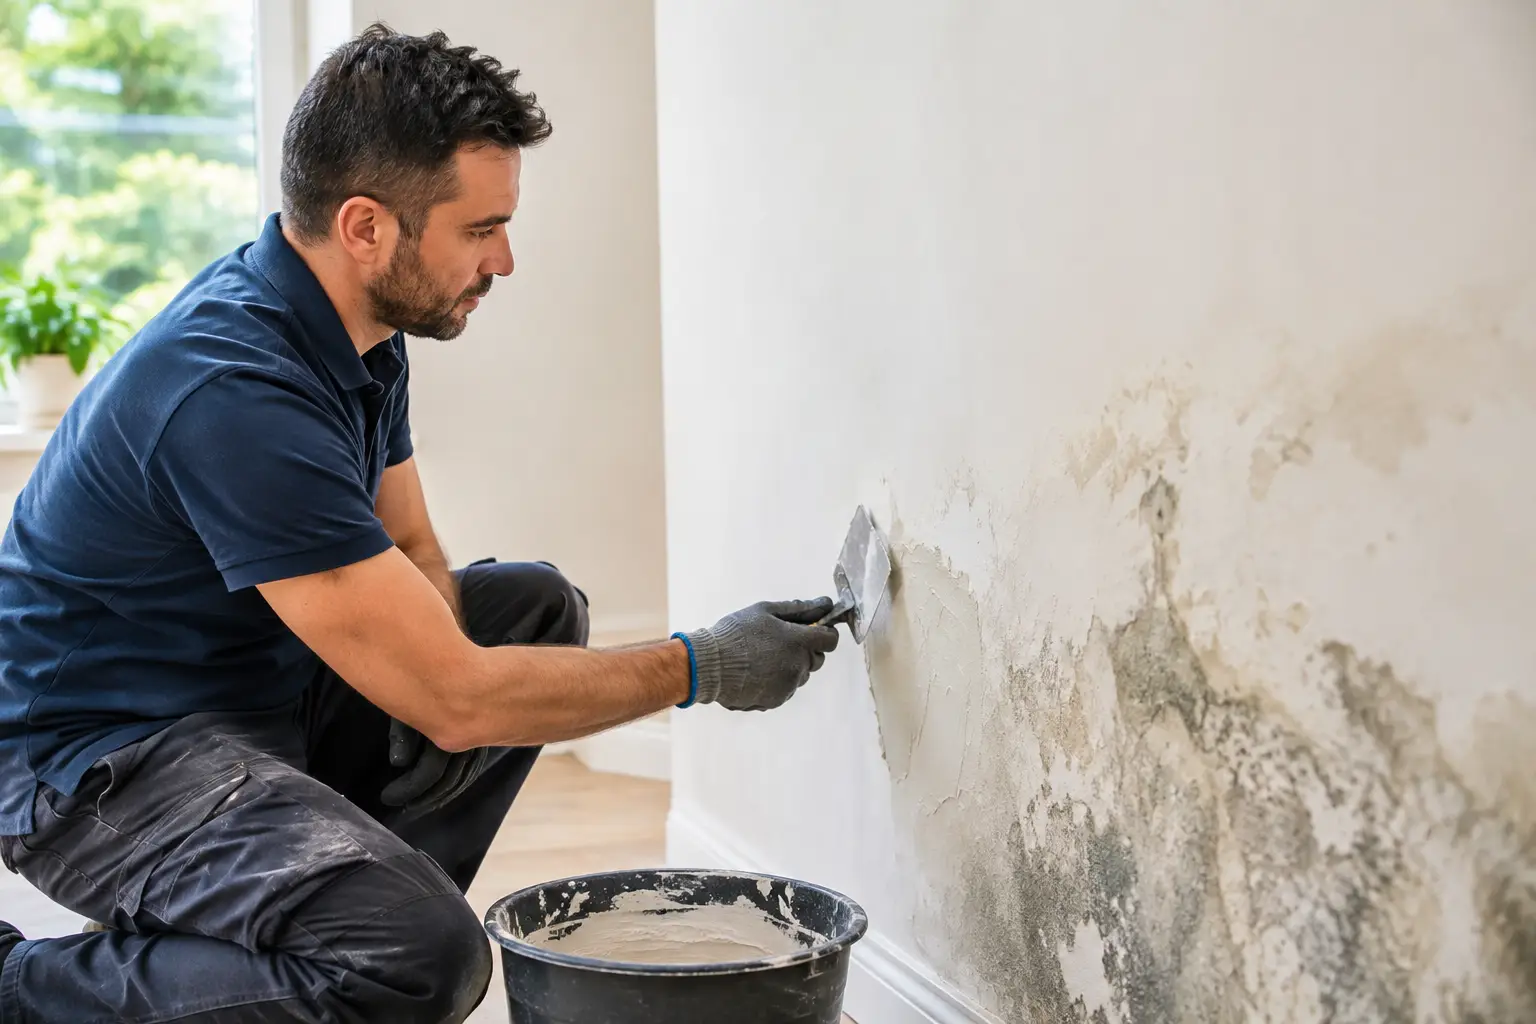
A brown ceiling edge, bubbling paint or a soft patch beside a window is rarely just a cosmetic problem. This guide to wall moisture repair explains what needs to happen before plasterboard, render or paint can be restored properly. The visible damage is the final stage of a moisture issue. Repairing it well starts with finding and stopping the source.
For Perth homeowners, moisture can come from a leaking roof after heavy rain, failed flashing, a bathroom plumbing fault, overflowing gutters, shower waterproofing problems or condensation in poorly ventilated rooms. Each cause leaves a different pattern of damage, and the right repair depends on understanding that pattern rather than simply covering it.
Start with the cause, not the stained wall
A repaired wall will only stay repaired if the area is dry and the moisture source has been resolved. Repainting a stain or patching a swollen section of plasterboard while water is still entering the home can trap dampness, encourage mould and leave you paying for the same work twice.
Look for clues around the affected area. A stain directly below a roofline may point to roof sheeting, flashing, gutter overflow or a cracked tile. Damage that begins around a shower wall, vanity or toilet can indicate a plumbing leak or failed waterproofing. Blistering paint on an external wall may be caused by water entering through cracks, failed sealant, poor drainage or an unprotected penetration around a pipe or fitting.
Moisture also travels. The point where a stain appears is not always where the leak began. Water can run along ceiling framing, pipes and wall cavities before it finds a weak point in the lining. That is why a careful inspection matters before any repair work is priced or started.
If the wall feels damp, the stain is spreading, or there is a persistent musty smell, arrange for the leak source to be assessed promptly. A plumber, roofer or waterproofing specialist may need to attend first, depending on the likely cause. The wall repair should follow once the issue is fixed and the structure has had suitable time to dry.
Signs wall moisture repair is needed
Not every mark means the plasterboard needs replacing. A small, old stain from a one-off roof leak may only need sealing and repainting once the area is fully dry. But some signs tell you the lining itself has lost strength or that moisture is still active.
Watch for paint bubbling or peeling, plasterboard that feels soft when gently pressed, swollen joins, sagging ceiling edges, rust spots around screws, cracked cornices, mould growth, or a recurring stain after painting. In bathrooms and laundries, loose tiles, cracked silicone or deteriorated grout can also be warning signs that water is getting behind the finished surface.
Mould deserves particular care. Small surface growth on a dry, non-porous area may be cleaned safely with the right precautions. Extensive mould, mould inside a wall cavity, or mould linked to ongoing dampness needs a more considered approach. Disturbing contaminated plasterboard can spread spores through the room, so it is not a job to rush with a sander and a shop vacuum.
Drying comes before patching
Once the leak has been repaired, the wall or ceiling needs to dry thoroughly. The required drying time depends on how much water entered, the materials affected, airflow and weather conditions. Perth’s warm conditions can help, but a closed-up room or saturated insulation can hold moisture longer than expected.
A professional assessment may include checking whether plasterboard has softened, whether timber framing is still damp, and whether insulation has been affected. Wet insulation often loses its effectiveness and can retain moisture against adjacent materials. If it cannot dry properly or shows contamination, replacement is usually the sensible option.
Fans, ventilation and dehumidification can assist, but they do not replace fixing the water entry point. Avoid applying compound, primer or paint to a damp surface. Coatings can look fine initially, then blister, discolour or peel as remaining moisture works its way out.
When can plasterboard be repaired rather than replaced?
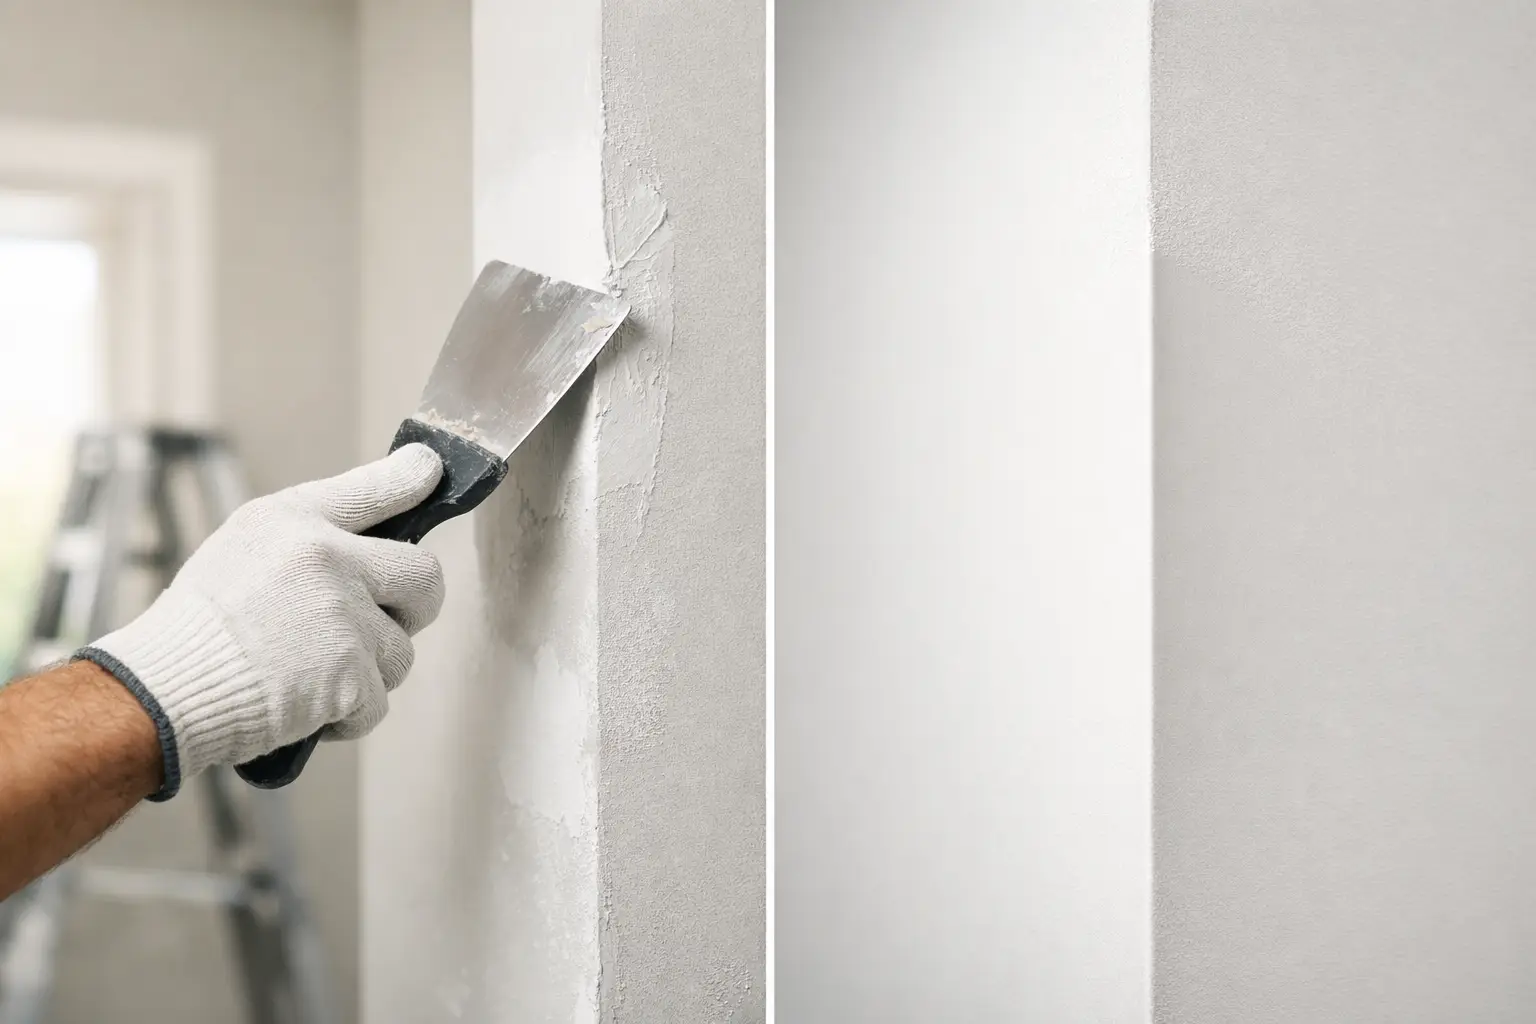
Minor surface damage can often be repaired if the board remains firm, dry and flat. This may involve removing loose paint, treating stains with a suitable sealer, filling small imperfections, setting joints and sanding the area for a paint-ready finish.
Replacement is normally the better choice when plasterboard is soft, swollen, crumbling, mould-affected or warped. Cutting back to sound material prevents weak edges from showing through later. New plasterboard can then be fitted, jointed and blended into the existing wall or ceiling so the repair disappears once painted.
The same judgement applies to cornices and decorative plasterwork. A simple modern cornice may be replaced in a damaged section. Heritage profiles need more attention. Matching the existing profile, mitres and finish is what stops a repaired area looking like an obvious add-on.
There is a trade-off here. A smaller patch can cost less upfront, but it is not always the best value if the surrounding material has already been weakened. Good repair work is about removing only what is necessary while not leaving compromised material behind.
The right process for a clean, lasting repair
A quality wall moisture repair is usually completed in stages. The exact sequence changes with the cause and extent of damage, but the finish work should not begin until the area is dry and stable.
First, damaged lining, insulation or loose material is removed carefully. Floors, furniture and nearby finishes should be protected before cutting or sanding begins. The exposed cavity can then be checked for signs of mould, water tracking, damaged framing or services that need separate attention.
Next, replacement plasterboard is installed where required. A skilled repairer aligns the new sheet with the existing surface, secures it correctly and reinforces joints so movement is less likely to create future cracks. For ceiling repairs, correct backing and fixing are especially important because a patch needs to remain flat under its own weight.
The jointing stage is where invisible repairs are made or lost. Compound is applied in controlled coats, with each layer feathered wider than the last to remove any hard edge. Once dry, the area is sanded carefully and checked under changing light. Rushed sanding can leave visible ridges, pinholes or uneven texture that only show up after painting.
Finally, stains are sealed where needed and the surface is prepared for paint. Depending on the repair, this may include priming new plasterboard, applying a stain-blocking product and addressing nearby wall texture so the repaired section does not stand out from the rest of the room.
Bathroom and laundry walls need extra caution
Wet-area moisture damage is not always a straightforward plasterboard repair. If water has entered from a shower, bath or tiled wall, the condition of the waterproofing system must be considered. Replacing a stained wall lining without resolving failed waterproofing can conceal the problem while allowing further damage behind the tiles.
In some cases, damage is limited to a plumbing leak outside the shower enclosure and the repair can be localised. In other cases, loose tiles, hollow-sounding areas, persistent mould or recurring dampness suggest a broader investigation is needed. The best approach depends on where the water is coming from, not just where the wall looks damaged.
What homeowners can do while waiting for repairs
If water is actively entering the home, contain it where safe and arrange urgent help for the source. Move furniture and soft furnishings away from the affected area, place a bucket beneath drips and photograph the damage before cleaning up. If water is near lights, power points or electrical fittings, keep clear and arrange an electrician or emergency service as appropriate.
Do not puncture a bulging ceiling without understanding what is above it. A water-filled ceiling can release a large volume suddenly, and the area may be close to electrical wiring. Avoid using heaters directly against wet plasterboard, as rapid surface drying can be misleading while moisture remains deeper in the cavity.
For minor, non-active staining, resist the urge to paint over it before the cause is confirmed. A clear record of when the mark appeared and whether it changes after rain, showers or appliance use can help identify the source faster.
Choosing a repairer for moisture-damaged walls
Ask how the cause of moisture will be confirmed, whether damaged materials need removal, and how the new work will be blended into the surrounding wall or ceiling. A clear fixed-price quote should spell out what is included, what has to be completed before repairs start, and any items that may require separate specialist work.
For internal wall and ceiling restoration, the finish matters as much as the patch itself. Yong's Carpentry takes a boutique approach: the hands that quote the job are the hands that finish it. That direct accountability helps keep communication clear, the work area tidy and the final surface ready for painting without unnecessary handovers.
A moisture repair should leave more than a wall that looks better from across the room. Once the source is solved, a careful repair gives you a dry, stable surface and the confidence that the stain is not simply waiting to return.