Wall Corner Repairs That Stay Smooth and Strong
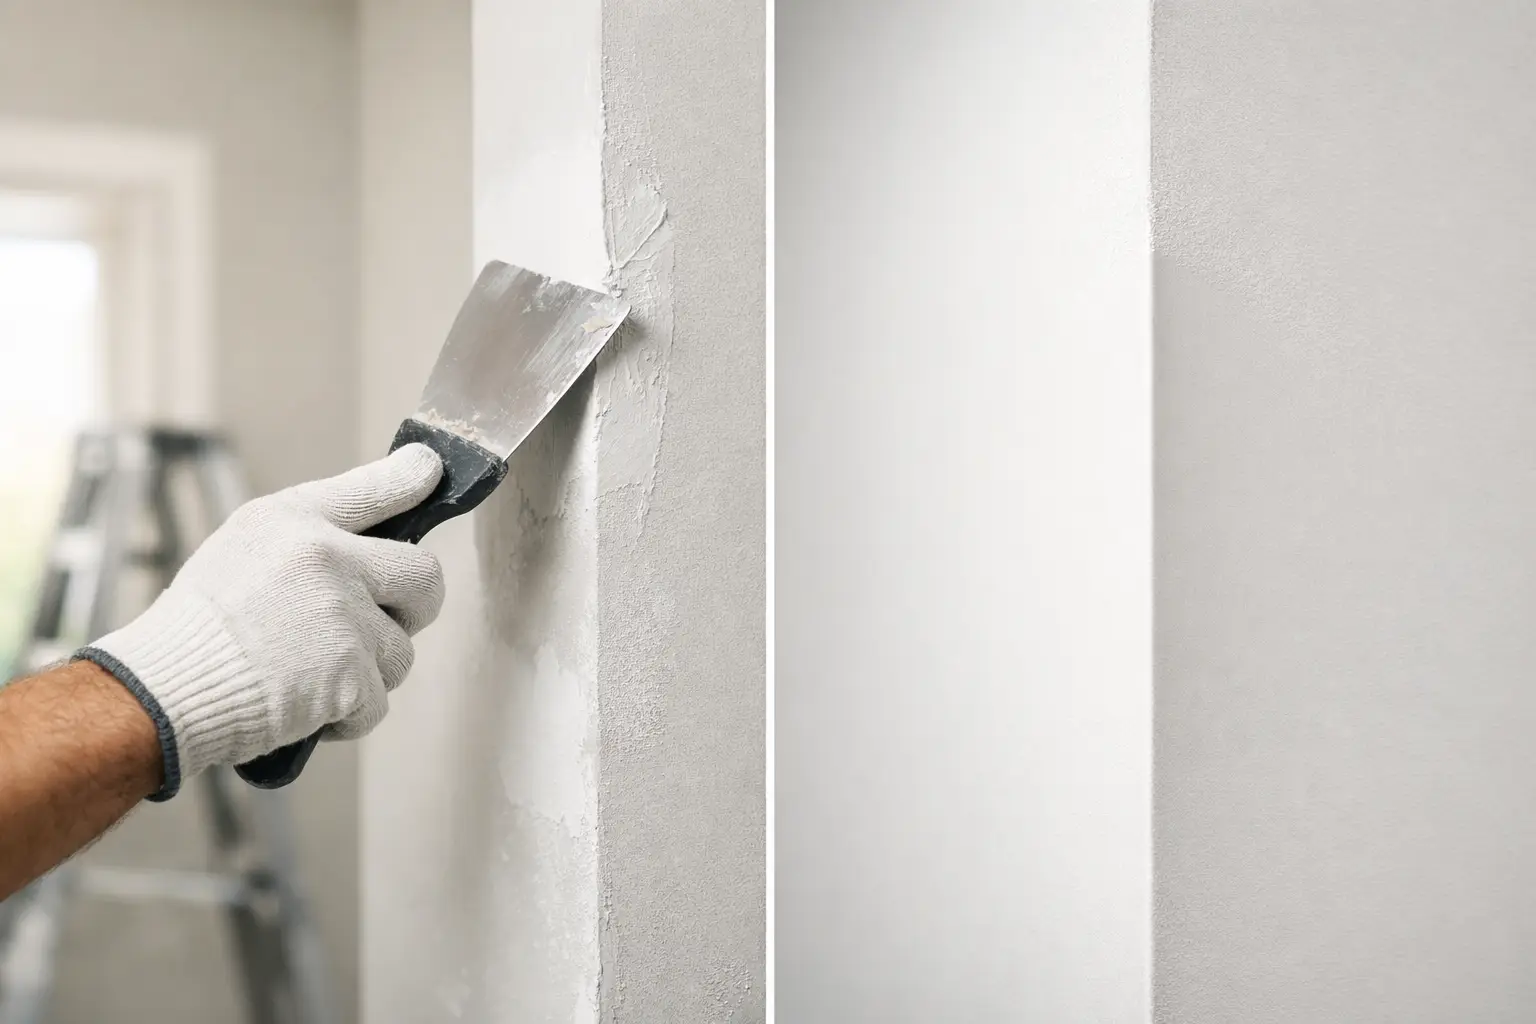
A chipped external corner beside a hallway, a crack running down a bedroom junction, or a soft patch after a leak can make an otherwise tidy room look unfinished. Wall corner repairs are not just a matter of adding filler and paint. A clean, durable result relies on finding what caused the damage, rebuilding the corner properly and feathering the surrounding surface so the repair disappears once painted.
Corners take more punishment than flat walls. They are where furniture clips past, vacuum cleaners catch an edge, children’s bags scrape by and normal movement in a home can show up first. In Perth homes, repairs can also follow roof leaks, plumbing issues, settlement cracks or failed previous patching. The right repair depends on the type of corner and what is happening behind the surface.
Why wall corners crack, chip or separate
External corners are the raised edges that project into a room, such as the corner of a hallway wall. They are usually formed with a metal, vinyl or paper-faced corner bead beneath the plaster. When that bead is dented, loose or rusting, surface filler alone will not hold for long. The damaged section may need to be cut back and replaced before the wall is re-set.
Internal corners are the recessed joins where two walls meet, or where a wall meets a ceiling. These are commonly finished with paper tape embedded in compound. Fine cracking can occur as a house settles or as framing moves slightly with seasonal changes. If the tape has lifted, bubbled or split, it needs to be removed or resecured rather than simply painted over.
Water damage is a different category altogether. A brown stain, soft plasterboard, mould growth or bubbling paint around a corner points to moisture that must be resolved first. Repairing the surface before the roof, flashing, pipe or shower leak is fixed only delays the same problem. Damaged plasterboard may also need replacing if it has lost its strength or remains damp.
A straight vertical crack can sometimes be cosmetic, particularly in an older home. But a crack that keeps reopening, is wider at one end, or appears alongside sticking doors and uneven floors deserves closer assessment. A plaster repairer can restore the lining, but significant building movement may require advice from a qualified builder or engineer first.
What a proper wall corner repair involves
The best repairs begin with preparation, not compound. Loose paint, failed tape, crumbling plaster and damaged bead need to come away until the remaining material is solid. This step can feel more disruptive than a quick patch, but it prevents the new finish from being attached to a weak edge.
For a damaged external corner, the repairer checks whether the bead is still firmly fixed and straight. Minor dents may be built back with a suitable setting compound. Where the bead is bent, exposed, rusted or detached, replacing the affected length is usually the better option. The new bead is aligned carefully because even a slight bow or twist becomes obvious when light falls across the wall.
For an internal corner, any loose tape is cut out and the joint is prepared for fresh tape and compound. Paper tape remains a reliable choice for sharp, stable internal corners when it is correctly bedded. The finish is then built up in thin coats, extending wider with each coat to blend the repair into the existing wall.
Drying time matters. Rushing thick compound onto a corner can lead to shrinkage, cracking and extra sanding. A professional repair is generally completed across several stages: stabilising the substrate, taping or beading, setting, coating, drying, sanding and final touch-up. The exact timing depends on the product used, humidity and the size of the area.
The final sanding is where an ordinary patch becomes paint-ready. The goal is not simply a smooth corner under a hand. It is a surface that remains flat and even when viewed along the wall in daylight or under downlights. This is especially important near windows, LED lighting and feature walls, where every ripple can cast a shadow.
When a quick patch is enough - and when it is not
A very small chip on a sound, painted external corner can often be repaired with a quality patching compound, light sanding and matching paint. It is a reasonable homeowner job when the bead underneath is intact, the damage is shallow and there is no crack travelling away from the corner.
A larger dent, exposed metal bead, repeated cracking or a corner that feels soft needs more than cosmetic filling. The same applies where several repairs have been layered over each other. Built-up patches often leave a bulky corner profile and uneven sheen after painting.
Internal corner cracks can be deceptive. A fine hairline crack may only need preparation and a flexible paint system if the joint is stable. However, a visible opening or lifted tape should be repaired at the joint level. Covering it with caulk or heavy paint may look acceptable briefly, but movement usually shows through again.
There is also a practical trade-off between a small spot repair and repainting a complete wall. Even an invisible plaster repair can be difficult to colour-match if the existing paint has faded, been cleaned regularly or has a different sheen. For the neatest outcome, many homeowners choose to repaint from corner to corner after the wall is repaired.
Common mistakes that make repairs stand out
The most common mistake is filling over movement or moisture without dealing with its source. The second is sanding only the patch itself instead of feathering the edges over a wider area. Both can leave a repair that looks fine from directly in front but is obvious as soon as side light hits it.
Using the wrong materials can also cause problems. General-purpose filler is useful for small cosmetic marks, but it is not a substitute for joint tape, corner bead or replacement plasterboard. Mesh tape can be suitable in some situations, yet it is not automatically the best answer for every internal corner. Material choice should suit the corner, the substrate and the reason it failed.
Painting too soon is another avoidable issue. Compound that has not fully dried can affect paint adhesion and leave uneven texture. A repair should be dry, smooth, dust-free and properly sealed where needed before top coats are applied.
Preparing your home for corner repair work
Most wall corner repairs are localised, but good preparation keeps the job cleaner and faster. Move furniture away from the work area where possible and remove fragile items from nearby shelves. Repairs create fine sanding dust, even when care is taken, so floors, furniture and doorways should be protected before work begins.
If the corner has been affected by a leak, let the repairer know whether the source has been fixed and how long the area has had to dry. Photos of the damage before it dried can also help explain what occurred. For rental properties, clear documentation is useful when discussing maintenance responsibilities and arranging access.
It also helps to point out other cracks, patched areas or ceiling issues during the quote. Several small defects can sometimes be repaired more efficiently in one visit, and viewing the wider room helps determine whether the corner damage is isolated or part of a larger lining issue.
Choosing a repairer for a paint-ready result
Ask how the damaged corner will be stabilised, not only how it will be filled. A clear answer should cover the likely cause, whether bead or tape needs replacing, how the repair will be blended and what level of finish is included. Fixed pricing and a defined scope help avoid uncertainty once the work is underway.
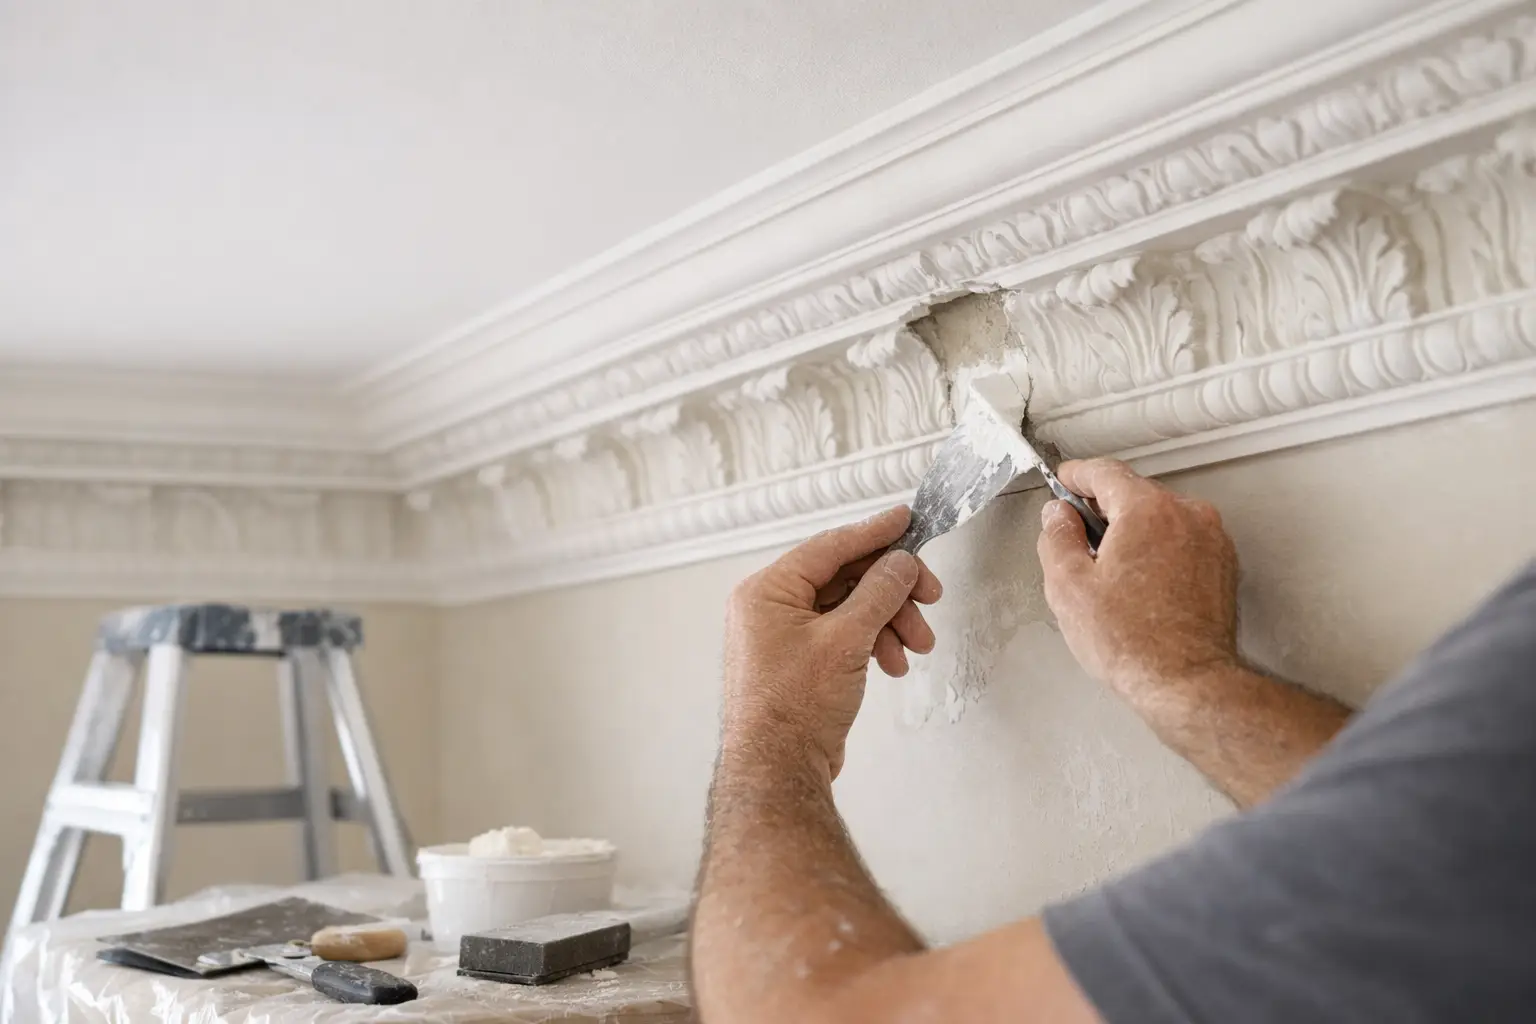
For heritage homes or rooms with decorative cornices, matching the existing profile and preserving adjacent finishes takes extra care. The repair should sit naturally within the room rather than look like a new section added beside older work.
At Yong's Carpentry, the hands that quote your job are the hands that finish it. That owner-led approach means the condition of the corner, the proposed repair and the final finish are handled with direct accountability from start to finish. Work areas are protected, repairs are personally finished and the aim is always a smooth surface ready for paint.
A damaged corner may be small, but it is one of the first details people notice as they move through a room. Repair it properly, allow the finish to cure, and give the wall the clean edge it was meant to have.