How to Prepare Render for Painting Properly
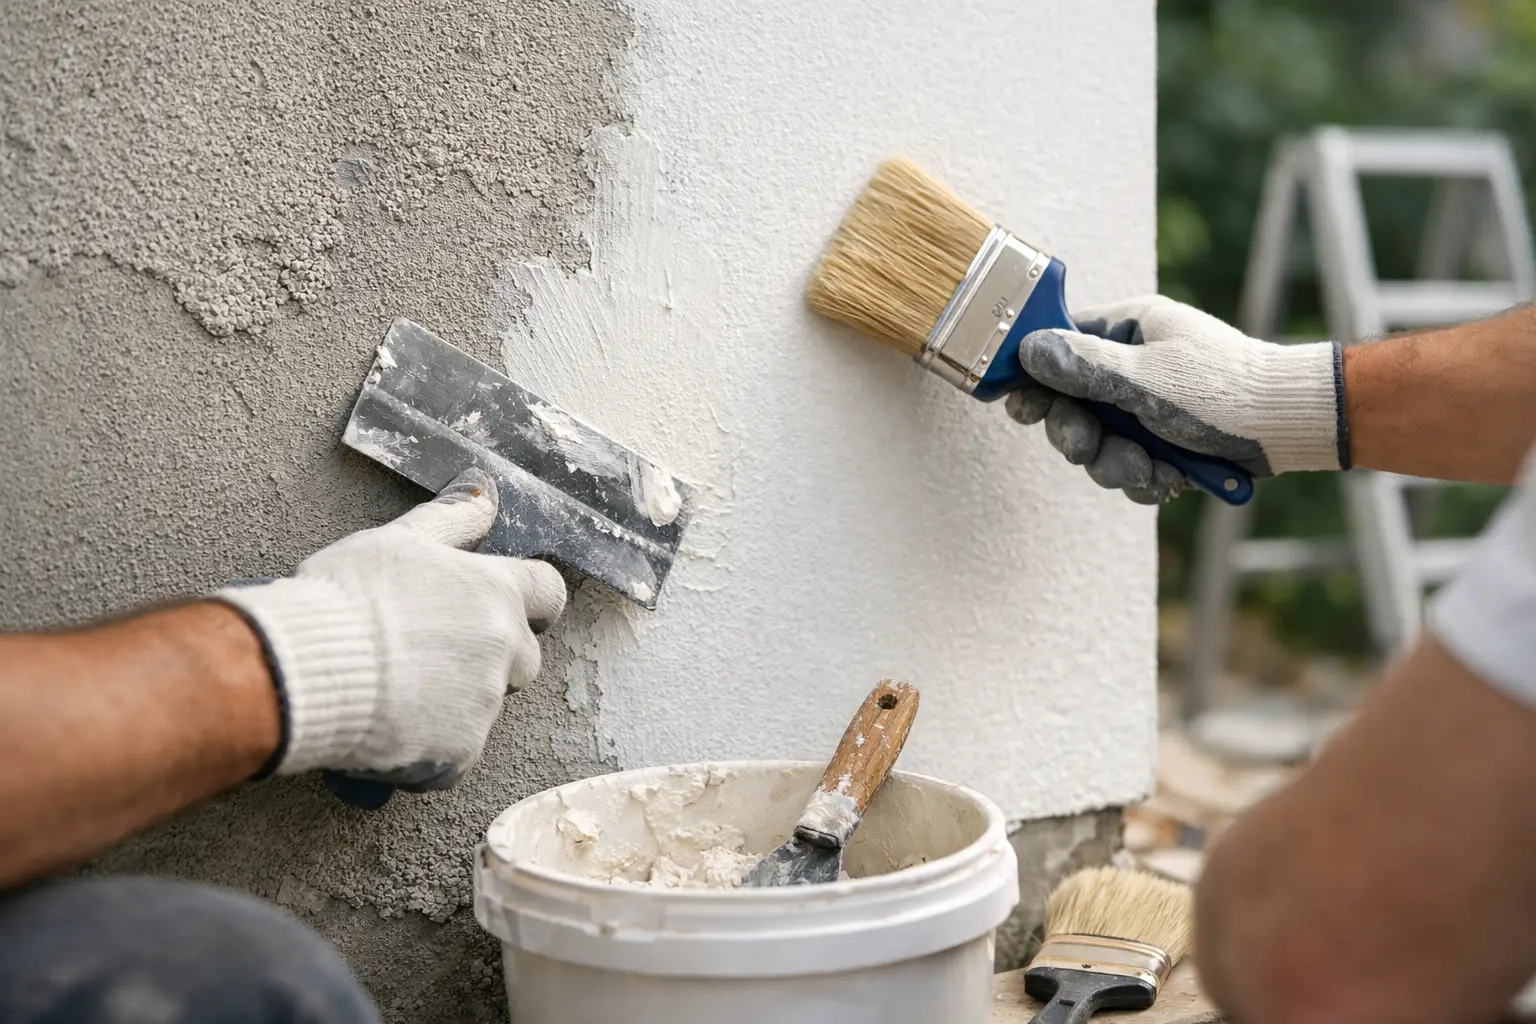
A paint finish is only as good as the rendered surface underneath it. Knowing how to prepare render for painting means looking beyond the colour choice and dealing with moisture, dust, repairs and primer first. Skip those steps and even premium paint can blister, peel or highlight every patch and hairline crack once the sun hits the wall.
For homeowners, the goal is straightforward: a clean, sound and evenly sealed surface that gives the paint a consistent finish. The exact process depends on whether the render is newly applied, previously painted, damaged or showing signs of dampness.
Check the Render Before You Start
Start with a close inspection in good daylight. Run a hand over the wall. Sound render should feel firm and stable, without a chalky film coming away on your fingers. Tap any suspect areas gently with a knuckle or the handle of a tool. A hollow sound can indicate that the render has detached from the masonry behind it.
Look carefully for cracking, bubbling, flaking paint, staining and white powdery deposits. That white residue is often efflorescence - salts carried to the surface by moisture. Painting over it without addressing the cause can lead to an early paint failure.
A few fine shrinkage cracks may be cosmetic, particularly in newer render, but wider cracks need more attention. They can allow moisture into the wall and may point to movement in the substrate. If cracks keep returning, the wall feels loose, or water marks are present, repair the underlying issue before planning to paint.
Let New Render Cure Fully
Fresh cement-based render needs time to cure. A common rule is around 28 days before painting, although the render system and local conditions matter. Perth’s warmer, drier weather can make the surface feel dry quickly, but surface dryness is not the same as full curing.
Painting too early traps moisture and can interfere with paint adhesion. It may also lead to patchy colour, bubbling or a powdery finish later on. Always check the render and paint manufacturer’s recommendations, especially where acrylic render, bagged products or specialised coating systems are involved.
The wall should be protected from heavy rain while it cures, but it also needs ventilation. Do not try to rush the process with excessive heat or by closing up a damp internal room. For internal rendered walls after repairs, allowing proper drying time is just as important as it is outside.
Watch for moisture, not just the calendar
If a rendered wall has been affected by a roof leak, plumbing issue or rising damp, curing time alone will not solve the problem. The moisture source must be fixed first. Stains, soft render and recurring efflorescence are signs that the wall needs further investigation before any paint preparation begins.
Clean Away Dust, Salts and Contamination
Render collects more than most people expect. Building dust, sanding residue, cobwebs, grease near outdoor cooking areas and airborne grime can all reduce primer adhesion.
For sound, unpainted render, begin with a firm brush or vacuum to remove loose dust. Wash the wall with clean water and a suitable exterior cleaner where needed, then rinse thoroughly. Avoid leaving detergent residue behind. On exterior walls, a low-pressure wash can help, but high-pressure cleaning is not always the answer. Used too aggressively, it can damage soft render, drive water into cracks or loosen weak sections.
Efflorescence should be dry-brushed away first. If it returns after cleaning, there is likely an ongoing moisture issue rather than a simple surface problem. Do not paint until that has been resolved.
For previously painted render, wash the surface to remove dirt and chalking. If a hand rubbed across the wall picks up a heavy powder, more thorough cleaning and the right binding primer may be required.
Repair Damage for a Paint-Ready Surface
Paint does not hide poor preparation. In fact, low-angle light from a window or outdoor afternoon sun often makes uneven repairs more visible.
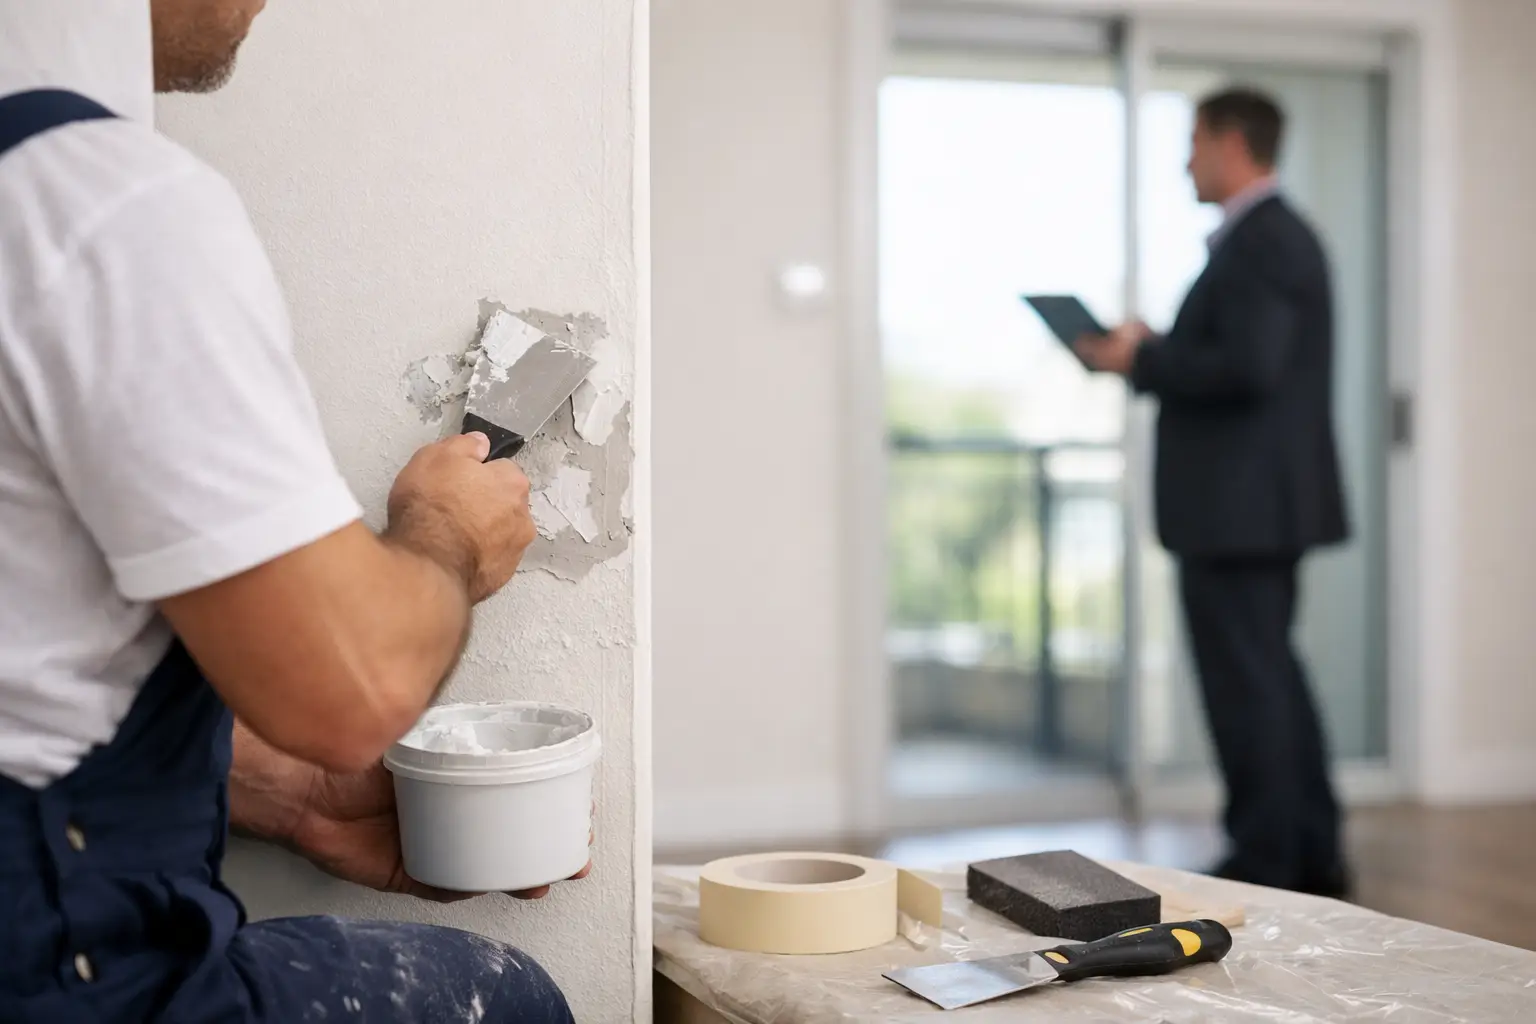
Remove loose or drummy render back to a firm edge. The exposed area should be cleaned of dust before a compatible render repair compound is applied. Deep repairs are usually better built up in layers rather than filled in one thick application, which can shrink or crack as it dries.
Hairline cracks can often be opened slightly, cleaned and filled with a flexible exterior-grade filler or suitable patching product. Larger cracks, especially those that follow a straight line through the wall, should not be treated as a simple filling job without checking for movement.
Once repairs are dry, sand them carefully so they blend into the surrounding texture. This takes patience. A repair can be structurally sound but still look obvious after paint if the surface is proud, hollowed out or much smoother than the rest of the wall.
Match texture as well as level
Smooth internal render and coarse external render need different finishing techniques. On textured walls, a perfectly smooth patch can stand out just as much as a lumpy one. Recreate the surrounding texture before priming, using the appropriate float, sponge or repair method.
This is where experienced preparation makes a visible difference. At Yong’s Carpentry, the same person who assesses wall repairs can carry the work through to a properly prepared, paint-ready finish - with clear communication and no handover between separate crews.
Sand Only Where It Helps
Not every rendered wall needs aggressive sanding. Sanding is useful for flattening repaired areas, removing rough dags and lightly keying sound glossy paint. It is not a cure for weak render, dampness or poor adhesion.
Use a sanding block or pole sander to keep pressure even across the wall. Work gently around corners, cornices, window reveals and repaired edges. Once finished, remove all sanding dust with a vacuum, brush or damp cloth appropriate to the surface. Primer applied over fine dust can fail just as easily as primer applied over dirt.
If the property is older and existing coatings may contain lead, do not dry-sand or scrape without proper precautions. A professional can assess the situation and use a controlled approach that protects occupants, furnishings and surrounding areas.
Prime the Render Before Painting
Primer is the bridge between render and paint. It helps even out porosity, improves adhesion and reduces the risk of uneven sheen or colour variation in the top coats.
The right primer depends on the surface condition. Bare, porous render usually needs a masonry or render primer designed to penetrate and seal the substrate. Previously painted but chalky surfaces may require a stabilising or binding primer. Where stains remain after the moisture source has been repaired, a stain-blocking primer may be needed before the finishing coats.
Apply primer evenly and work it into repaired areas, corners and textured sections. Do not flood the wall in an effort to make the job faster. Heavy application can create runs, dry unevenly and obscure fine texture.
Allow the primer to dry for the stated time before applying paint. If the wall still looks patchy after priming, inspect it again rather than assuming the top coat will hide the issue. Patchiness may reveal uneven suction, missed cleaning or repairs that need further feathering.
How to Prepare Render for Painting in Changeable Weather
Weather affects every stage of external render preparation. Avoid washing, priming or painting when rain is expected before the coating can dry. Very hot walls can cause primer and paint to flash off too quickly, making lap marks and poor adhesion more likely. Strong winds also carry dust onto freshly coated surfaces.
Where possible, work in mild, dry conditions and follow the coating manufacturer’s temperature guidance. On a hot Perth day, planning work around direct sun can make a meaningful difference to the final finish.
Inside, ventilation matters. Keep the area clean, protect floors and nearby fittings, and avoid generating dust while primer is drying. A tidy work area is not simply about presentation - it helps prevent contamination of the prepared wall.
Know When Preparation Needs a Tradesperson
Straightforward cleaning and priming may suit a confident homeowner when the render is sound. It is worth calling in a specialist when there are recurring cracks, hollow sections, water damage, extensive flaking, heritage detailing or a repair that needs to disappear once painted.
The cost of proper preparation is usually far less than repainting a failed finish. Take the extra time to let render cure, correct defects and prime for the surface in front of you. When the wall is prepared properly, the paint can do what it is meant to do: protect the render and make the whole space look finished.