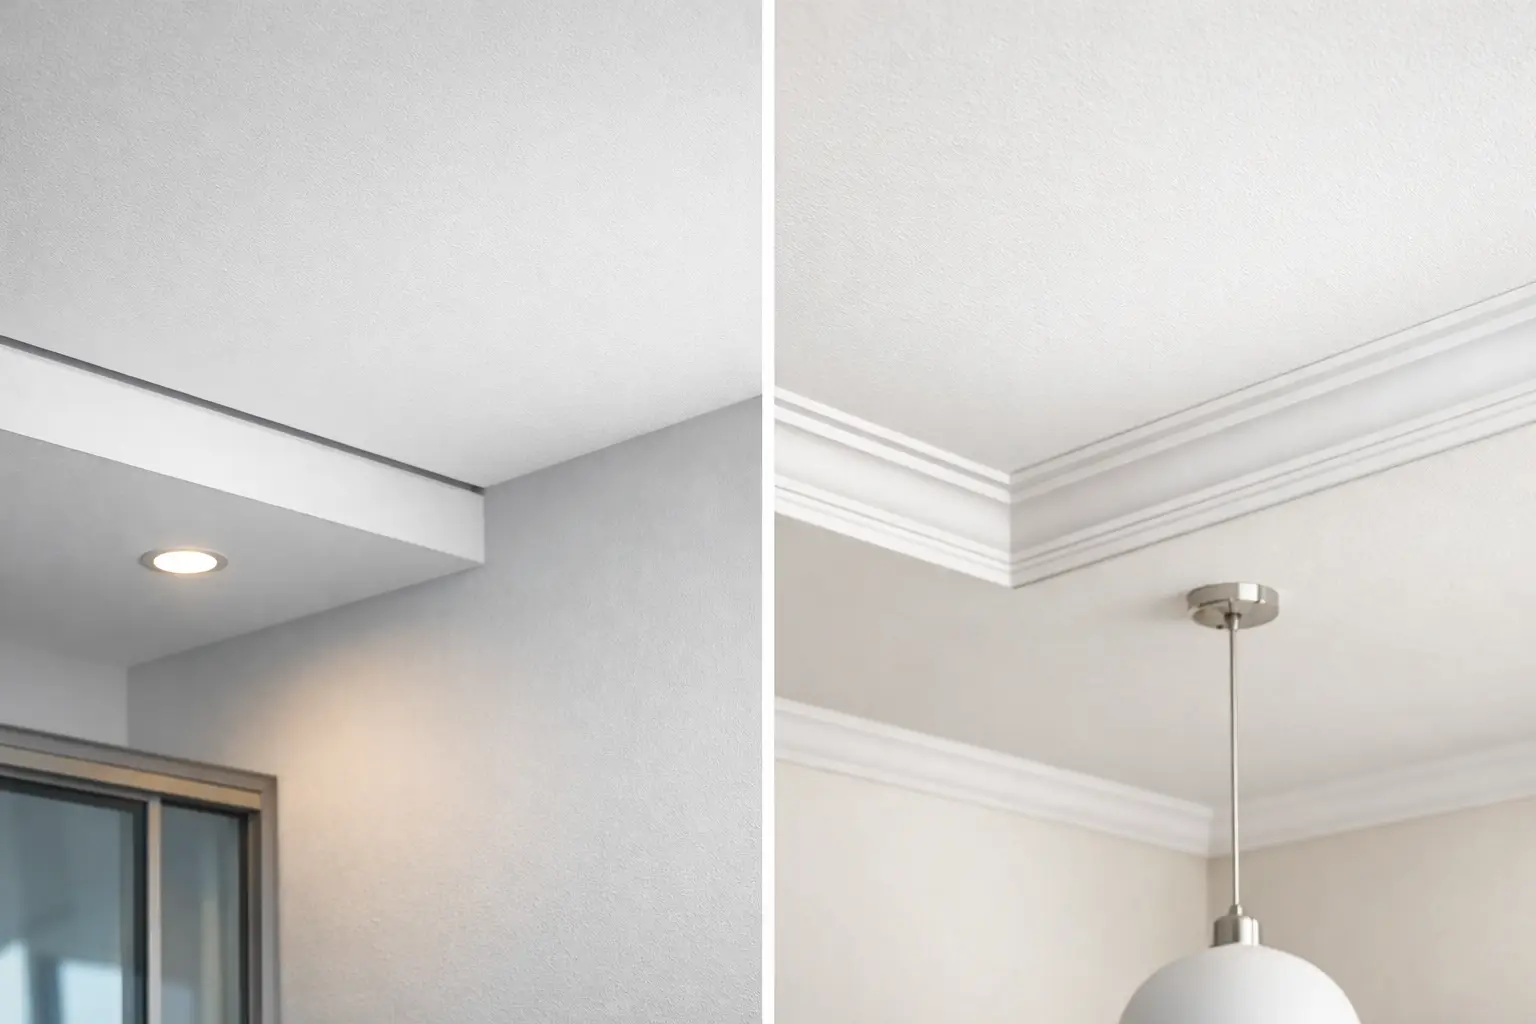
Rental Wall Damage Repair Before Bond Inspection
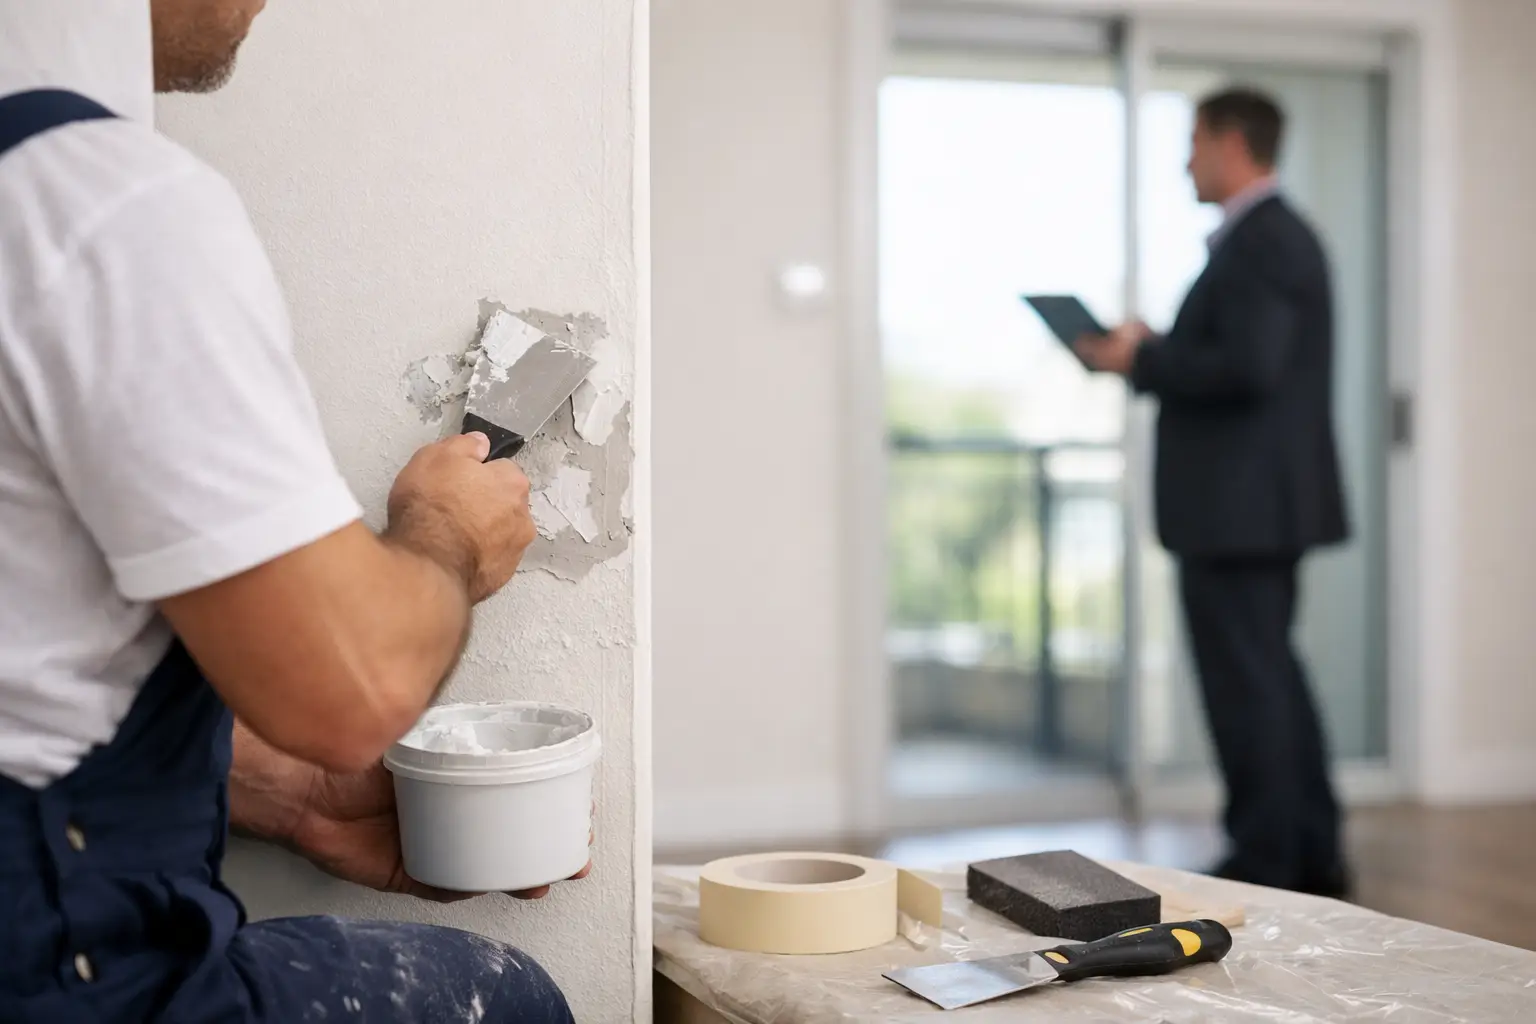
A small hole behind a picture frame can look harmless until the final property inspection. Rental wall damage repair is not simply about putting filler over a mark. The repair needs to sit flat, match the surrounding texture and leave a sound, paint-ready surface that does not draw attention under bright inspection light.
For tenants, the goal is to return the property in substantially the same condition shown on the original condition report, allowing for fair wear and tear. For landlords, a proper repair protects the presentation and value of the home without creating a larger maintenance issue later. Getting the difference right can prevent arguments over the bond and avoid a rushed repair in the final days before handover.
Fair wear and tear or wall damage?
This is the first question worth answering before any work begins. Fair wear and tear is the gradual, reasonable ageing of a property through normal use. Light scuffing around a hallway, minor fading from sunlight or a little settling crack in an older home may fall into that category. It is not automatically something a tenant should be charged to repair.
Damage is different. Holes from wall-mounted TVs, removed shelves, door-handle impact marks, deep scratches, dents and stains are usually considered damage because they result from a specific action or incident. Water damage caused by a leaking roof, pipe or appliance is more complicated. The cause matters, as does whether the issue was reported promptly.
Do not assume a wall mark is either your responsibility or the owner’s based on appearance alone. Check the incoming property condition report, take clear current photos and notify the property manager in writing if moisture, movement or an active leak may be involved. Repairs made over an unresolved water source rarely last.
The wall damage worth repairing before you leave
Not every imperfection requires a specialist, but visible and localised damage is best dealt with before the final inspection. A clean, well-finished repair is generally far less costly than allowing a property manager to arrange work after you have handed back the keys.
Small nail and picture-hook holes
Tiny pinholes are often straightforward, especially where there are only a few in an otherwise sound wall. They need a light fill, careful sanding and paint that matches the sheen as well as the colour. A patch of the right colour in the wrong finish can still stand out.
Multiple holes, particularly in a feature wall or along a picture rail line, can be harder to conceal. Filling each one without smoothing the wider area may leave a row of visible dots when the light catches the wall.
Larger holes and impact damage
A hole from a door handle, furniture strike or removed wall fitting cannot be treated like a nail hole. Plasterboard may be cracked beyond the visible opening, and unsupported filler can shrink, sag or crack again. A lasting repair often needs a properly secured backing, a plasterboard patch, joint treatment and several coats of compound feathered well beyond the repair.
This is where a repair can look fine at night and obvious in daylight. The work is in creating a flat plane, not merely closing the hole.
Peeling paint, stains and adhesive damage
Removing hooks, strips or decals can tear the paint film and sometimes the plasterboard paper beneath it. If the damaged paper is painted over without preparation, it can bubble or show a rough edge. Grease marks, ink and water staining can also bleed through fresh paint unless the surface is sealed correctly.
The right solution depends on the wall’s condition. A small isolated touch-up may work. In other cases, painting from corner to corner is the only realistic way to avoid a visible colour or sheen difference.
Cracks, water damage and soft plasterboard
Cracks may be cosmetic, but they can also point to movement, a failed joint or moisture behind the surface. Soft plasterboard, mould, bubbling paint and brown ceiling or wall stains should never be hidden with filler and paint alone. Document the issue, report it and identify the cause first.
A repair to water-damaged lining may involve cutting out compromised material, allowing the area to dry, replacing plasterboard, setting joints and matching cornice or texture. It is more involved work, but it is the difference between a tidy restoration and a stain returning a few weeks later.
Why quick DIY repairs can cost more at inspection
There is nothing wrong with handling a couple of tiny nail holes if you have the right materials and a steady hand. The risk begins when a repair is rushed, oversized or painted with an unmatched sample pot from years ago.
Most inspection problems come down to three details: raised filler edges, sanding scratches and mismatched paint sheen. Walls also carry texture from rollers, previous repairs and natural lighting. A perfectly smooth patch in the middle of a lightly textured wall can be just as noticeable as the original damage.
Avoid applying thick filler in one pass, sanding aggressively into surrounding paint, or using silicone and caulk to fill plasterboard holes. Silicone does not take paint reliably and can create a glossy, dirty-looking patch. Also avoid painting a small square around a repair unless you know the exact product, colour and sheen. A patch often dries differently from the aged paint beside it.
If the home has decorative cornices, heritage profiles, textured coatings or damage close to electrical fittings, it is sensible to call a qualified repair specialist rather than experiment. These areas are difficult to match once they have been altered.
A practical rental wall damage repair process
A good repair follows a sequence. Skipping a stage is usually what causes cracking, flashing or visible edges later.
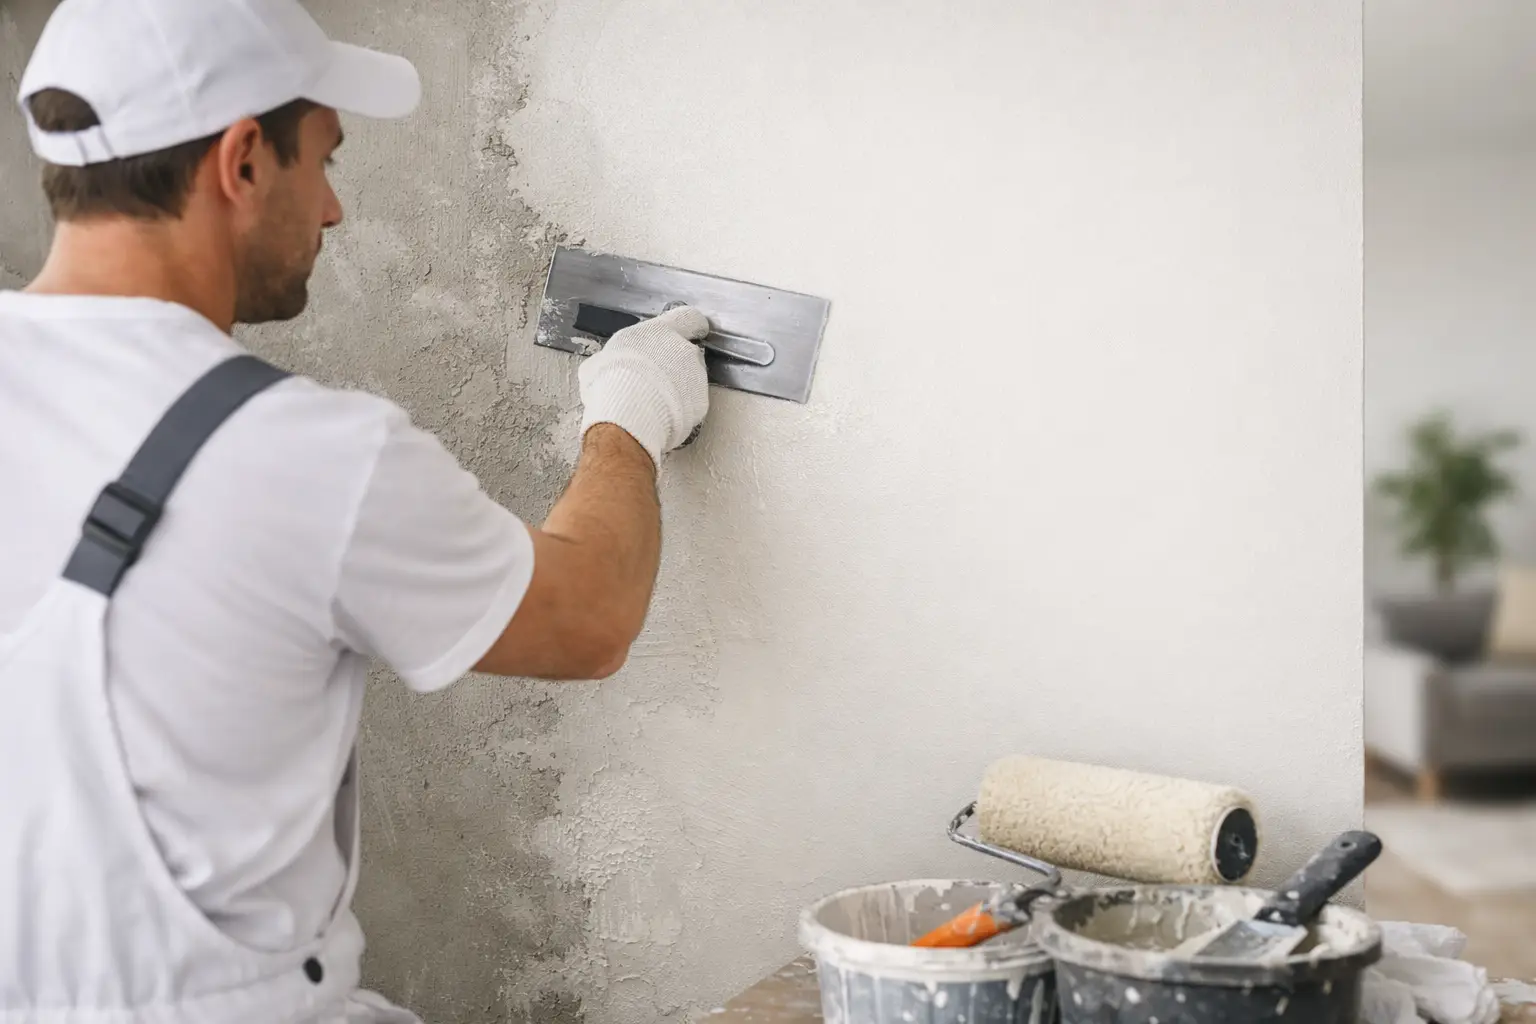
First, assess the wall and remove loose material. Any active moisture, loose plasterboard paper or movement needs attention before patching. The damaged area is then stabilised, patched where necessary and built up in thin coats rather than one heavy layer.
Next comes sanding and feathering. This is the stage that creates an invisible transition from the repaired section to the original wall. The repaired area should feel level when you run a hand across it, but it should also sit naturally under side light.
Finally, the surface is sealed and painted with a compatible product. For a small repair, a careful blend can be enough. For larger damage, walls with sun fade, or areas where the original paint is unknown, repainting the full wall is often the more reliable option. It costs more than a touch-up, but may be cheaper than a failed repair and a bond deduction.
Protect yourself with photos and clear communication
Before any repair, photograph the damage from close up and from a wider angle that shows its location. Keep copies of the original condition report, emails to the property manager and invoices for professional work. This is useful if there is later confusion about what was there before, what caused the issue or what work was completed.
For tenant-caused damage, let the property manager know you intend to arrange a repair if the lease requires approval. Some owners prefer to nominate paint colours or ask that certain contractors are used. Written confirmation avoids a disagreement after the work is done.
Landlords should take the same measured approach. A repair should return the wall to a comparable standard, not become an opportunity to charge for unrelated upgrades or pre-existing deterioration. Clear documentation and a fair scope of work give everyone a better outcome.
When to bring in a plaster repair specialist
Professional help is worthwhile when the result will be scrutinised, the damage is larger than a few small holes, or the finish needs to disappear into an existing wall or ceiling. It is especially useful for water damage, cracked plasterboard joints, wall-mounted TV holes, damaged cornices and repairs requiring paint preparation.
At Yong’s Carpentry, the hands that quote your job are the hands that finish it. That boutique approach means the repair can be assessed properly on site, with fixed pricing, tidy work practices and direct communication from start to finish. For Perth rental properties, that level of accountability matters when a paint-ready finish and a timely handover are on the line.
Do not leave wall repairs until the night before the vacate clean. Give filler, paint and any moisture investigation the time they need, keep the paperwork, and aim for a repair that looks like it was never required.