A Guide to Recessed Ceiling Coves for Perth Homes
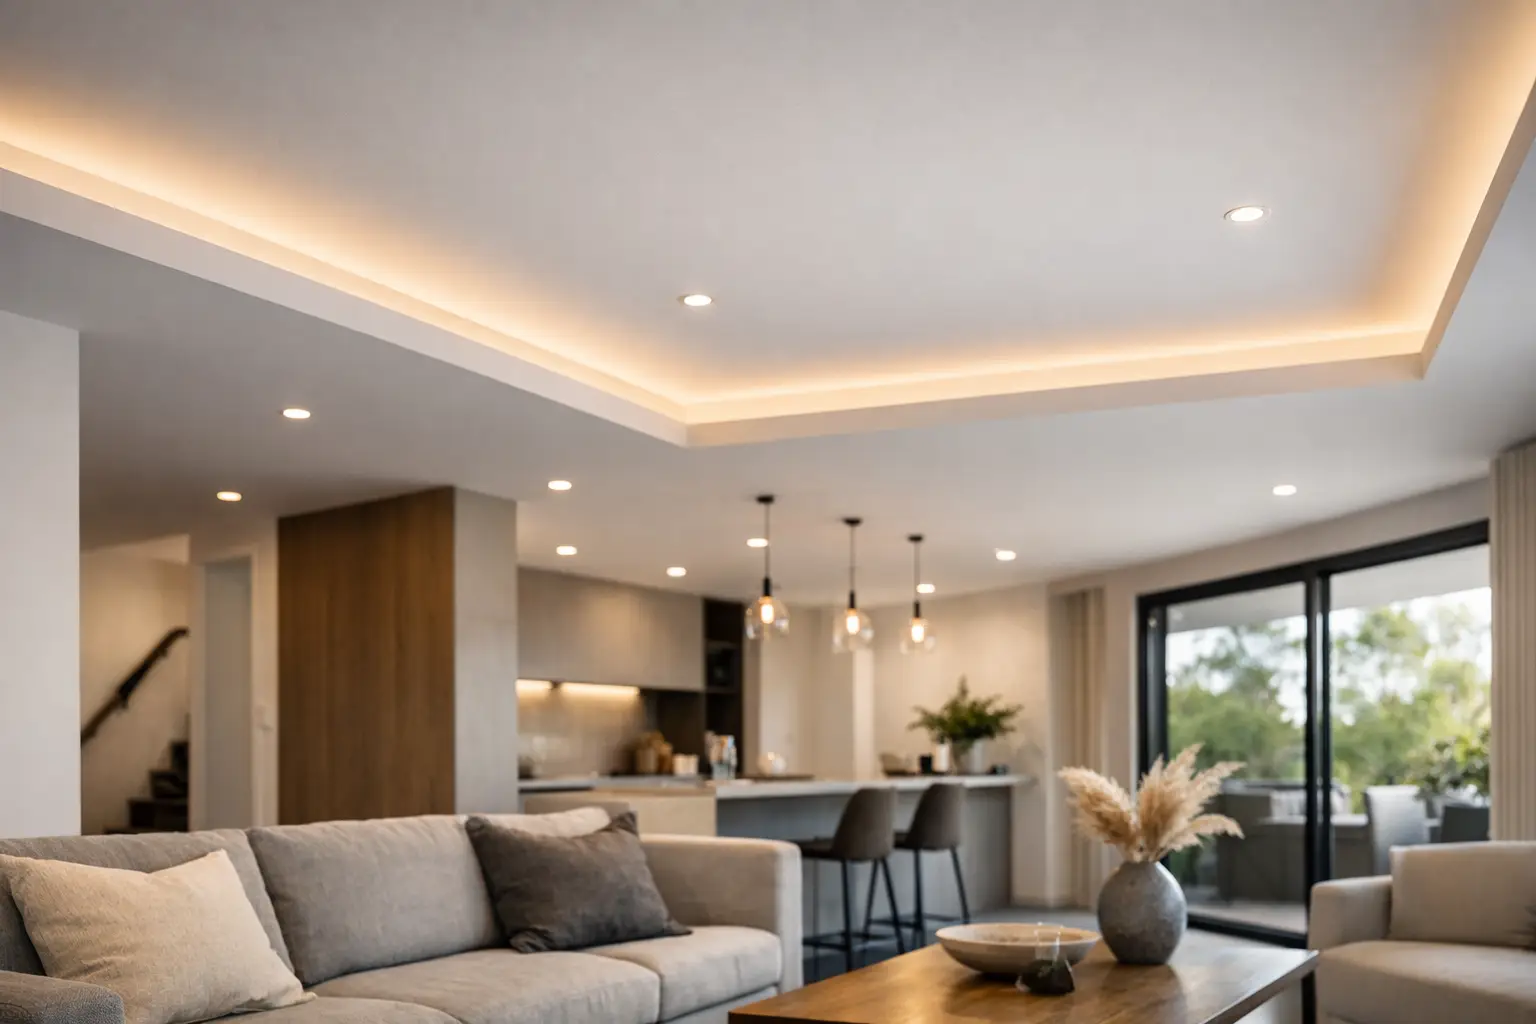
A recessed ceiling cove can make an ordinary room feel considered before any furniture goes in. The effect is quiet rather than flashy: light appears to wash across the ceiling, edges feel softer, and the fitting itself stays out of sight. This guide to recessed ceiling coves explains what needs to be planned before framing and plastering begin, so the finished feature looks intentional rather than like an afterthought.
For homeowners renovating in Perth, coves are particularly effective in living rooms, main bedrooms, entries and home theatres. They can also work in open-plan areas, but scale and lighting layout matter. A cove that suits a cosy bedroom can look underdone across a large kitchen-living space.
What is a recessed ceiling cove?
A recessed ceiling cove is a purpose-built channel or ledge formed into the ceiling perimeter, bulkhead or a floating ceiling feature. An LED strip sits within the recess and throws light upwards, downwards or across a concealed surface. Unlike a surface-mounted LED profile, the light source is hidden from normal viewing angles.
The cove is generally formed with timber or steel framing and plasterboard, then set, sanded and painted as part of the ceiling. The visible result depends as much on straight framing, crisp plasterboard edges and careful stopping as it does on the LED product itself. If a line is wavy or the shadow gap varies, lighting will draw attention to it every evening.
There are two common approaches. A perimeter cove runs around one or more room walls, washing the main ceiling with light. A central floating-ceiling cove creates a dropped panel with a lit reveal around it. The first can make a room feel wider; the second gives a stronger architectural feature and can help define a dining or lounge zone.
Start with the room, not the light fitting
The best cove design begins with ceiling height, room proportions and how the room will be used. This is where a site measure is more useful than choosing a profile from a photo.
In a standard-height room, a deep bulkhead can make the ceiling feel lower. A slimmer recess may provide the same soft glow without crowding the space. Where ceilings are higher, a larger cove can carry more presence and support a wider, more even light wash.
Consider what is already competing for attention. Decorative cornices, exposed beams, air-conditioning grilles, curtains, ceiling fans and pendant lights all affect the available space. In older homes, heritage cornice profiles deserve particular care. Sometimes a cove can be designed to complement them; other times it is cleaner to keep the original ceiling line intact and place the feature elsewhere.
Coves are ambient lighting, not a complete lighting plan. They provide atmosphere and a useful low-glare layer, but kitchens, bathrooms, studies and work areas still need appropriate task lighting. Recessed downlights, pendants or dedicated work lights may be required depending on the room.
Guide to recessed ceiling coves: choosing the proportions
There is no single perfect measurement for every cove. The right dimensions depend on the LED output, viewing angle, ceiling height and desired effect. Still, proportion is critical.
A shallow recess may hide the LED strip but leave a visible line of harsh light if the strip sits too close to the opening. A very deep recess can reduce light output and collect shadows. As a practical rule, the light source should be set back far enough that it cannot be seen when standing or sitting in the usual parts of the room, while still allowing light to spread across the ceiling surface.
The width of the ledge affects the wash of light. A narrow ledge creates a tighter, more defined glow. A wider ledge produces a softer transition but needs more room and careful support. Corners also need proper planning. Mitres, returns and joins must be straight, as even a small inconsistency becomes obvious once the LEDs are on.
Before work starts, it is sensible to confirm:
- where the cove starts and stops, especially near doorways and full-height windows;
- whether curtain tracks, pelmets or blinds need to share the ceiling space;
- the position of downlights, fans, smoke alarms and air-conditioning outlets;
- access for drivers, controllers and future maintenance; and
- which circuit and switching method the electrician will use.
A cove may look simple in a plan, but these details determine whether the feature feels integrated with the rest of the room.
Select LED lighting for comfort and longevity
The LED strip is not just an electrical add-on. It determines the colour, brightness and consistency of the finished cove.
For most living areas, warm white light creates a more relaxed result. Neutral white may suit contemporary kitchens, laundries or spaces with cooler finishes. The best choice depends on the wall colour, flooring, cabinetry and existing lamps, so it is worth viewing a sample rather than choosing by a number alone.
Brightness needs restraint. A cove should usually glow, not compete with the television or make white ceilings look clinical at night. Dimmable LEDs provide flexibility, allowing brighter light for cleaning or entertaining and a softer level for evenings. Dimming compatibility must be confirmed between the LED driver, controls and chosen switch or smart system.
Use quality aluminium LED channels where required by the product specification. They help manage heat, hold the strip straight and can improve the consistency of light. Cheap strips applied directly to an uneven surface are more likely to show individual diode points, lose adhesion or fade unevenly over time.
Drivers and controllers need accessible locations. Hiding them permanently above a sealed ceiling may give a tidy appearance on day one, but it creates an unnecessary repair problem if a component fails. A discreet access point, cupboard location or serviceable ceiling space is a better long-term decision.
All electrical work should be completed by a licensed electrician. The carpenter or plasterer can coordinate the recess, framing clearances and access requirements, but wiring, connections and final testing remain electrical work.
Framing and plastering are where the finish is won
A recessed cove adds more edges, joins and shadow lines than a flat ceiling. That means the underlying structure must be rigid and accurately set out before plasterboard goes on.
The framing needs to account for the existing ceiling structure, fixing points, cove depth and the weight of any adjoining bulkhead. It also needs to stay square through corners and across long walls. In renovations, ceilings are not always level and walls are not always straight. A skilled installer assesses those conditions early and adjusts the design so the visible lines read straight from the room.
Plasterboard sheets should be fixed securely, with joins placed and backed correctly. External corners and return edges need durable finishing methods, particularly in high-traffic areas where knocks are possible. The stopping process then creates the clean planes that reflect light evenly. A paint-ready surface is essential because raking LED light exposes sanding marks, ridges, pinholes and uneven jointing that daylight may hide.
This is not the place to rush painting either. Use a suitable sealer and finish coat system, and allow proper drying between stages. A low-sheen ceiling paint is often preferred because it gives a soft appearance, although the right finish depends on the room and the level of reflected light.
Common mistakes to avoid
The most frequent issue is designing the cove without allowing for services. A downlight too close to the recess, a curtain track with nowhere to sit, or an inaccessible driver can force compromises late in the job.
Another mistake is treating the cove as a decorative strip rather than part of the ceiling construction. Poorly supported framing can lead to cracks at joints. Inconsistent set-out makes parallel lines drift. Overly bright LEDs can turn a subtle feature into glare. Each problem is avoidable with a measured layout, quality materials and coordination before the ceiling is closed.
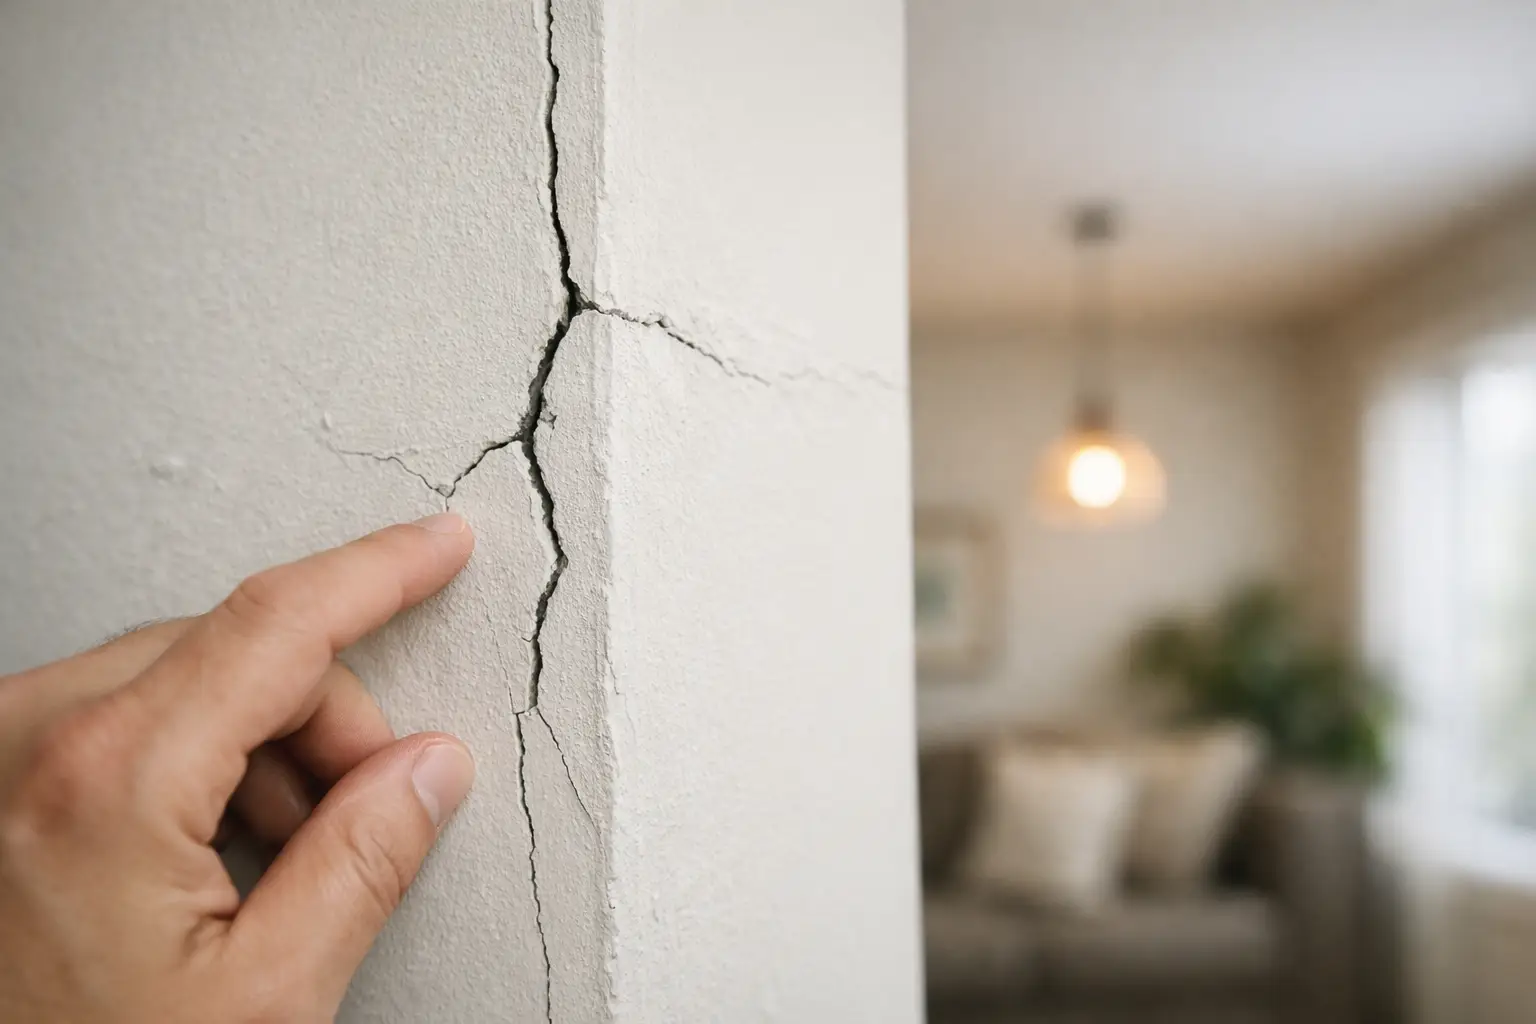
It also pays to be realistic about existing damage. If the ceiling has water staining, movement cracks or sagging plasterboard, those causes should be assessed and repaired before a new cove is built over the top. A feature ceiling cannot conceal an unresolved leak or structural movement for long.
Is a recessed cove right for your home?
A recessed cove suits homeowners who want a built-in lighting effect without adding visual clutter. It is especially worthwhile when ceilings are already being replaced, a bulkhead is being installed, or a larger renovation gives access to electrical and framing work. Retrofitting is possible, but it can involve more disruption, patching and repainting than people expect.
Yong's Carpentry takes a boutique approach to this kind of detail work: the hands that quote your job are the hands that plan and finish it. That direct accountability matters when the framing, plasterboard lines and paint preparation all need to work together.
If you are considering a cove, stand in the room at night and think about how you want it to feel, not just how it will photograph. A well-proportioned, dimmable cove with clean edges will keep doing its job quietly long after the renovation dust has gone.