A Guide to Fixing Wall Settlement Cracks
A crack that runs from the corner of a door frame to the ceiling can make an otherwise tidy room look tired overnight. This guide to fixing wall settlement cracks helps Perth homeowners separate a cosmetic plasterboard repair from a sign that the building may still be moving. The difference matters because a smooth-looking patch is only worthwhile when the cause has been understood first.
Settlement cracks are common in homes of different ages. Some appear as a house dries and settles after construction; others follow seasonal ground movement, renovations, water issues or changes around the footing. Most internal wall cracks can be repaired neatly, but not every crack should be filled and painted straight away.
Start by working out what the crack is telling you
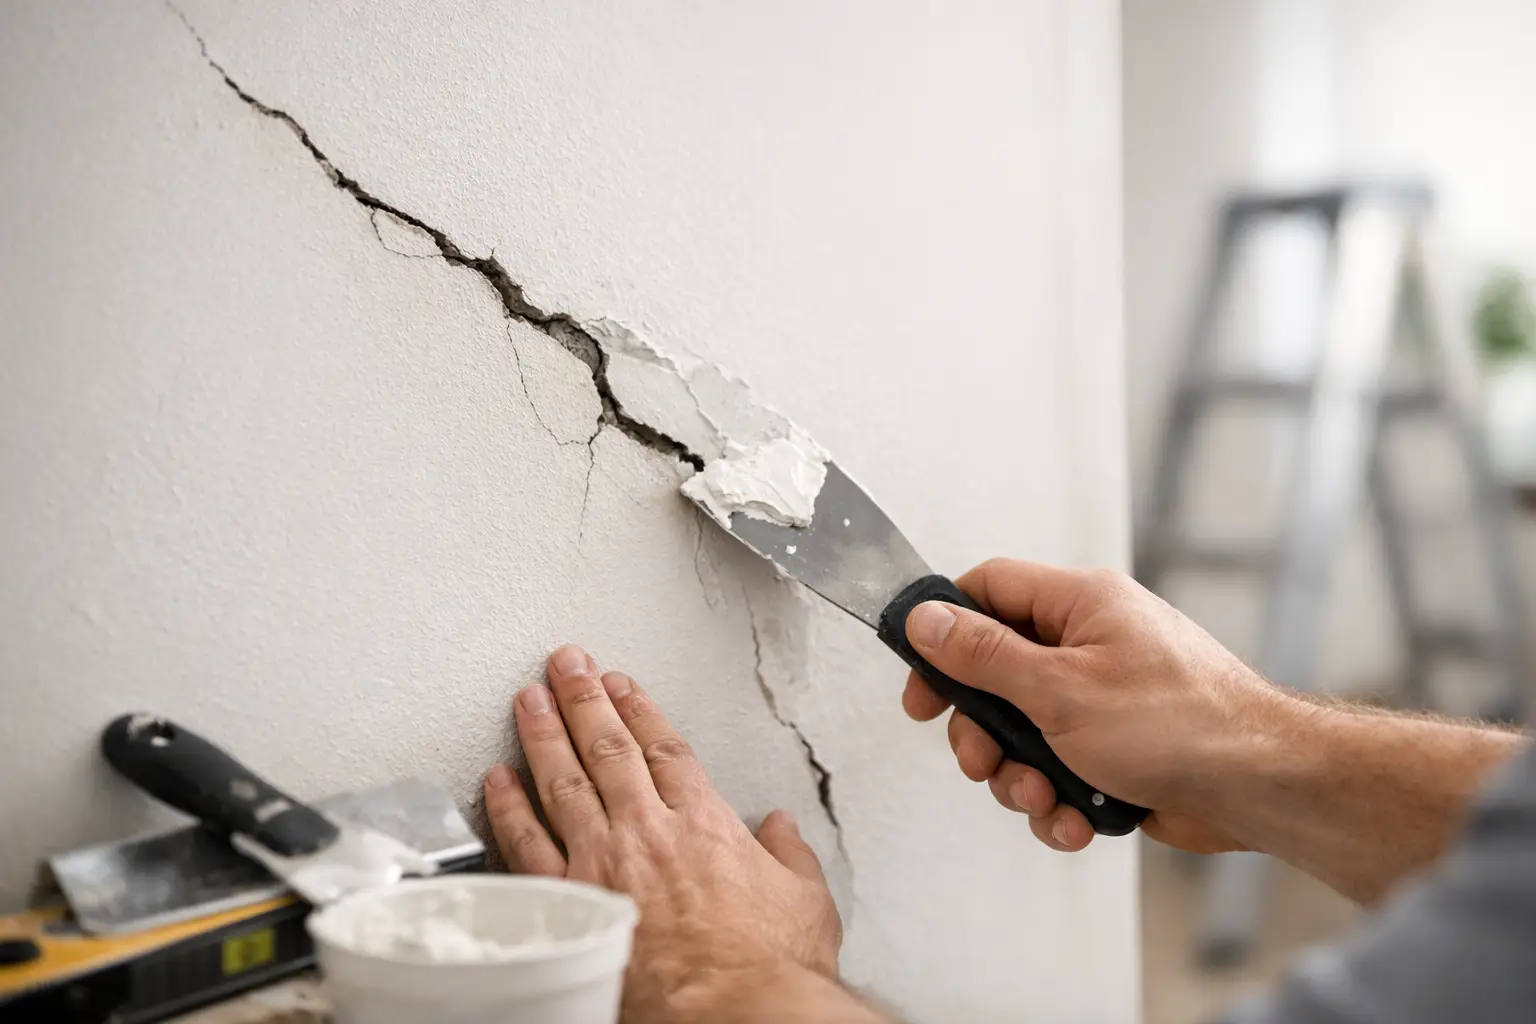
A fine, stable hairline crack in a plasterboard joint is usually a finish issue. It may be caused by minor movement, a poorly bonded joint, vibration, or normal expansion and contraction across seasons. If it has not widened, shifted or returned after previous repairs, it is often suitable for a professional patch, set and paint preparation.
Cracks deserve closer attention when they are wider than a few millimetres, run diagonally from windows or doors, continue across several surfaces, or are paired with doors that suddenly stick. A gap between a wall and ceiling, separated cornice, uneven floors, brickwork cracking, or visible water staining also changes the picture.
Take clear photos and note the date before any repair begins. A simple pencil mark at each end of the crack, plus a photograph with a ruler beside it, can help show whether it is active. If the crack is changing over weeks or months, filling it now may only create another repair later.
When to seek an expert opinion first
A plasterer can assess the lining, joints and surface finish, but structural concerns need the right advice. Speak with a qualified building inspector or structural engineer before cosmetic work if there is significant cracking, clear displacement, ongoing movement, moisture damage near the crack, or concern about the slab, foundations or external brickwork.
This is not about making a small job complicated. It is about avoiding the cost and disruption of repairing the same wall twice. Once movement has stabilised or the underlying issue has been addressed, the internal repair can be completed properly.
A practical guide to fixing wall settlement cracks
The right repair depends on whether the wall is plasterboard, solid plaster or masonry. In Perth homes, plasterboard walls and ceilings are common, and a crack often follows a sheet joint, an internal corner, a cornice line or the edge of a door opening. These areas need more than surface filler if the aim is an invisible, lasting finish.
For a stable plasterboard crack, the repair usually begins by carefully opening and cleaning the damaged line. Loose compound, weak tape and flaky paint must be removed so the new materials bond to a sound surface. Simply pushing filler over a closed crack can leave a thin, brittle layer that reopens once the wall experiences minor movement.
Where a joint has failed, the damaged section is re-taped or reinforced, then built up with jointing compound in several controlled coats. Each coat needs to dry before the next is applied. The surface is then sanded with care, feathered beyond the repair and checked under angled light. This wider blending is what stops a patch from appearing as a raised rectangle after painting.
A fine final skim, spot filling where needed, and suitable primer prepare the repair for paint. Texture, sheen and colour all affect how visible a repair will be. Low-sheen paint is generally forgiving, while satin and higher-sheen finishes reveal even slight ridges, sanding marks or variations in the wall surface.
Cornices, corners and ceiling lines need special care
Cracks at cornices and wall-to-ceiling junctions are often treated as a quick caulking job. Flexible sealant can be appropriate for a very small, stable junction gap, but it is not a cure for failed plasterboard joints, loose cornice sections or continuing structural movement.
Decorative and heritage-profile cornices need a more considered approach. The profile must be matched, damaged material stabilised, joins restored and the repair blended so it does not interrupt the line of the room. A repair that is technically sound but visibly different is not a finished repair.
Internal corners also need reinforcement. Movement concentrates at these changes in direction, so a skim of compound alone is rarely enough where tape has lifted or the corner has opened. Proper preparation and retaping give the repair a much better chance of staying flat.
Do not repair over water damage
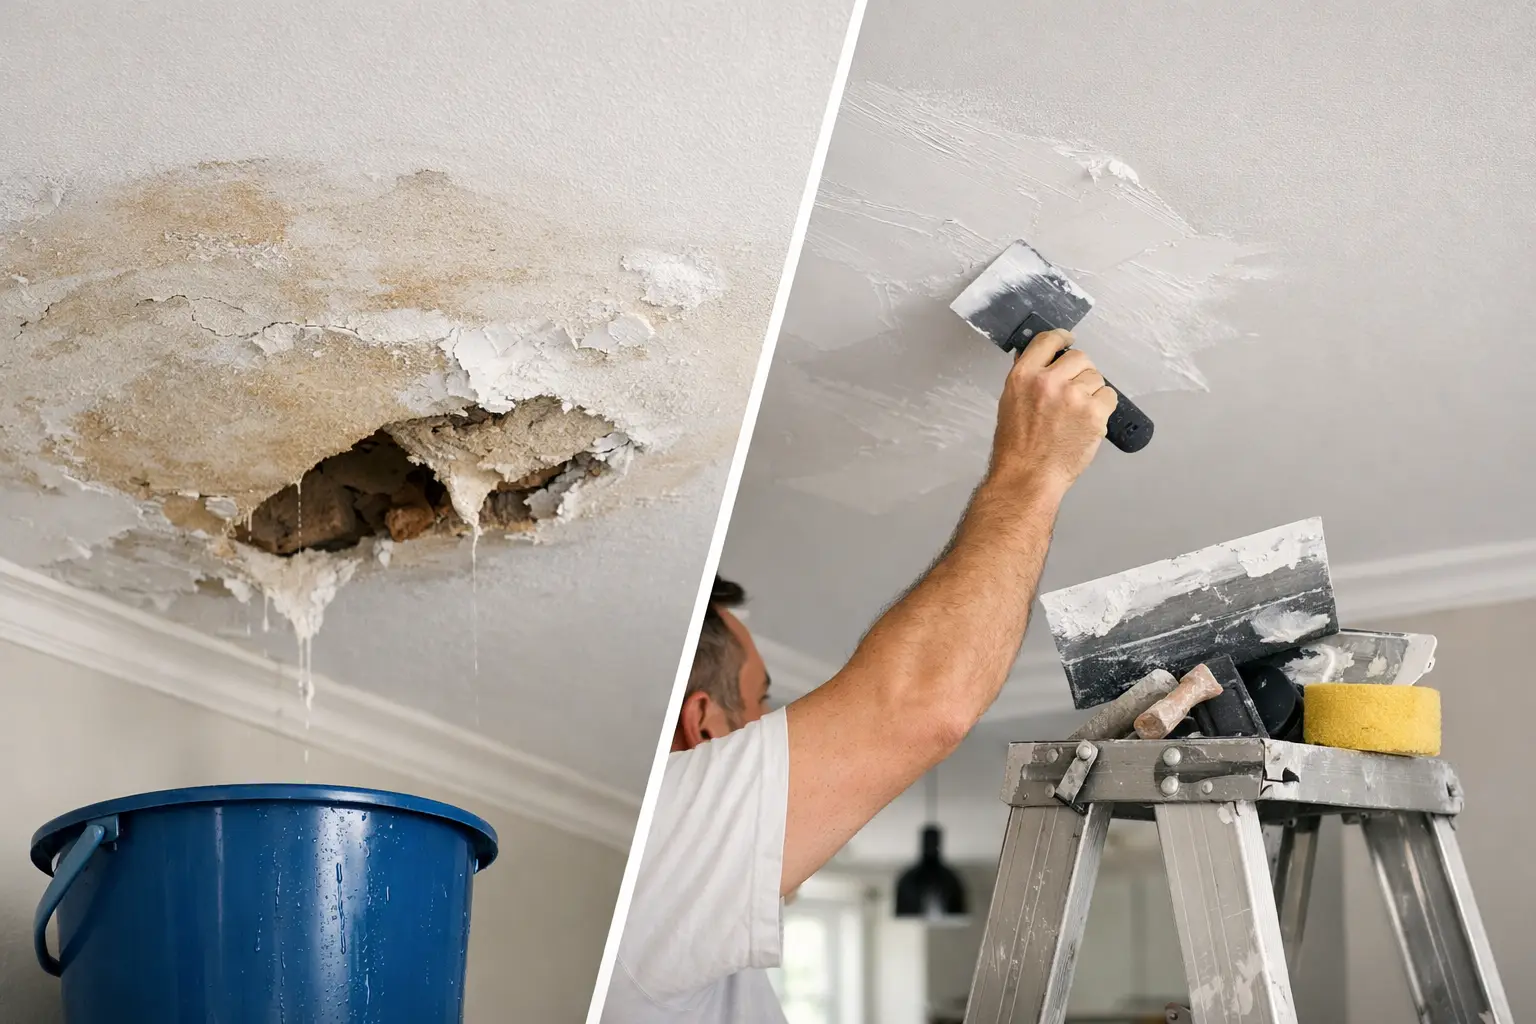
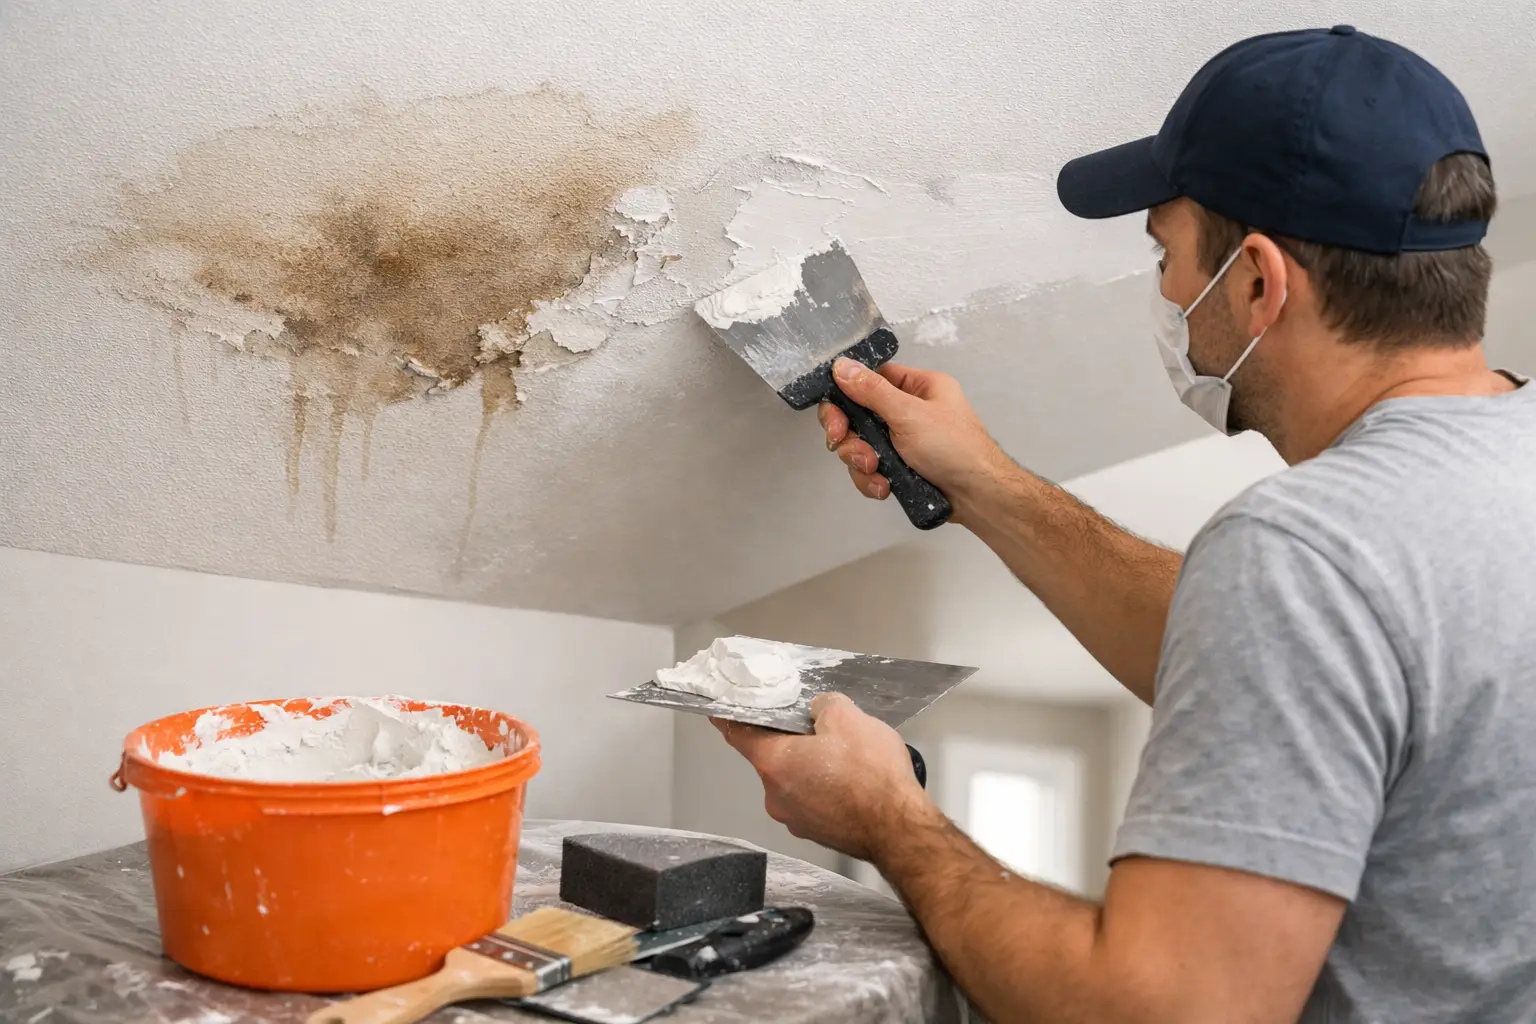
A brown stain, soft plasterboard, bubbling paint or mould near a crack points to moisture, not just settlement. The source may be roof plumbing, a leaking shower, external flashing, condensation or a pipe within the wall. It must be identified and fixed before the lining is repaired.
Wet or weakened plasterboard can lose its strength and may continue to stain through fresh paint. In many cases, the damaged section needs to be cut out, the cavity checked and dried, and new plasterboard installed before setting and painting. This creates a clean, stable base rather than trapping a problem behind a fresh finish.
Why DIY crack repairs often show through
Small hairline cracks can be manageable for a confident homeowner, particularly where the wall is flat, the crack is stable and the paint finish is low sheen. Even then, success comes down to preparation, drying time and sanding discipline rather than how much filler is applied.
The common DIY mistake is making the repair too narrow. A narrow fill can hide the crack but leave a ridge that catches light from windows, downlights or recessed LED coves. Another is sanding through the surrounding paint, then applying a patch coat that flashes differently from the rest of the wall.
There is also a practical trade-off between speed and durability. A flexible product may suit a tiny movement-prone gap, while a reinforced plasterboard joint is better for a failed sheet join. Using the wrong material can make a repair look acceptable for a few weeks and poor by the next change of season.
What a professional repair should include
A quality wall repair is not just a filled line. It should begin with an assessment of the crack, moisture and surrounding surfaces, followed by honest advice about whether repair can proceed now. The work area should be protected, dust managed and damaged materials removed only as far as necessary.
The repair itself should be reinforced where required, built up in suitable coats and sanded to blend naturally into the existing wall. Before paint, the surface should be checked from different angles and in normal room lighting. The goal is a paint-ready finish that disappears into the room, not a patch that looks flat only from directly in front of it.
For homeowners arranging painters separately, clear handover matters. Knowing whether the area needs spot priming, a local touch-up or repainting from corner to corner helps avoid colour variation. Where the existing paint is aged or sun-faded, repainting the full wall is often the cleaner result.
Planning the repair around your home
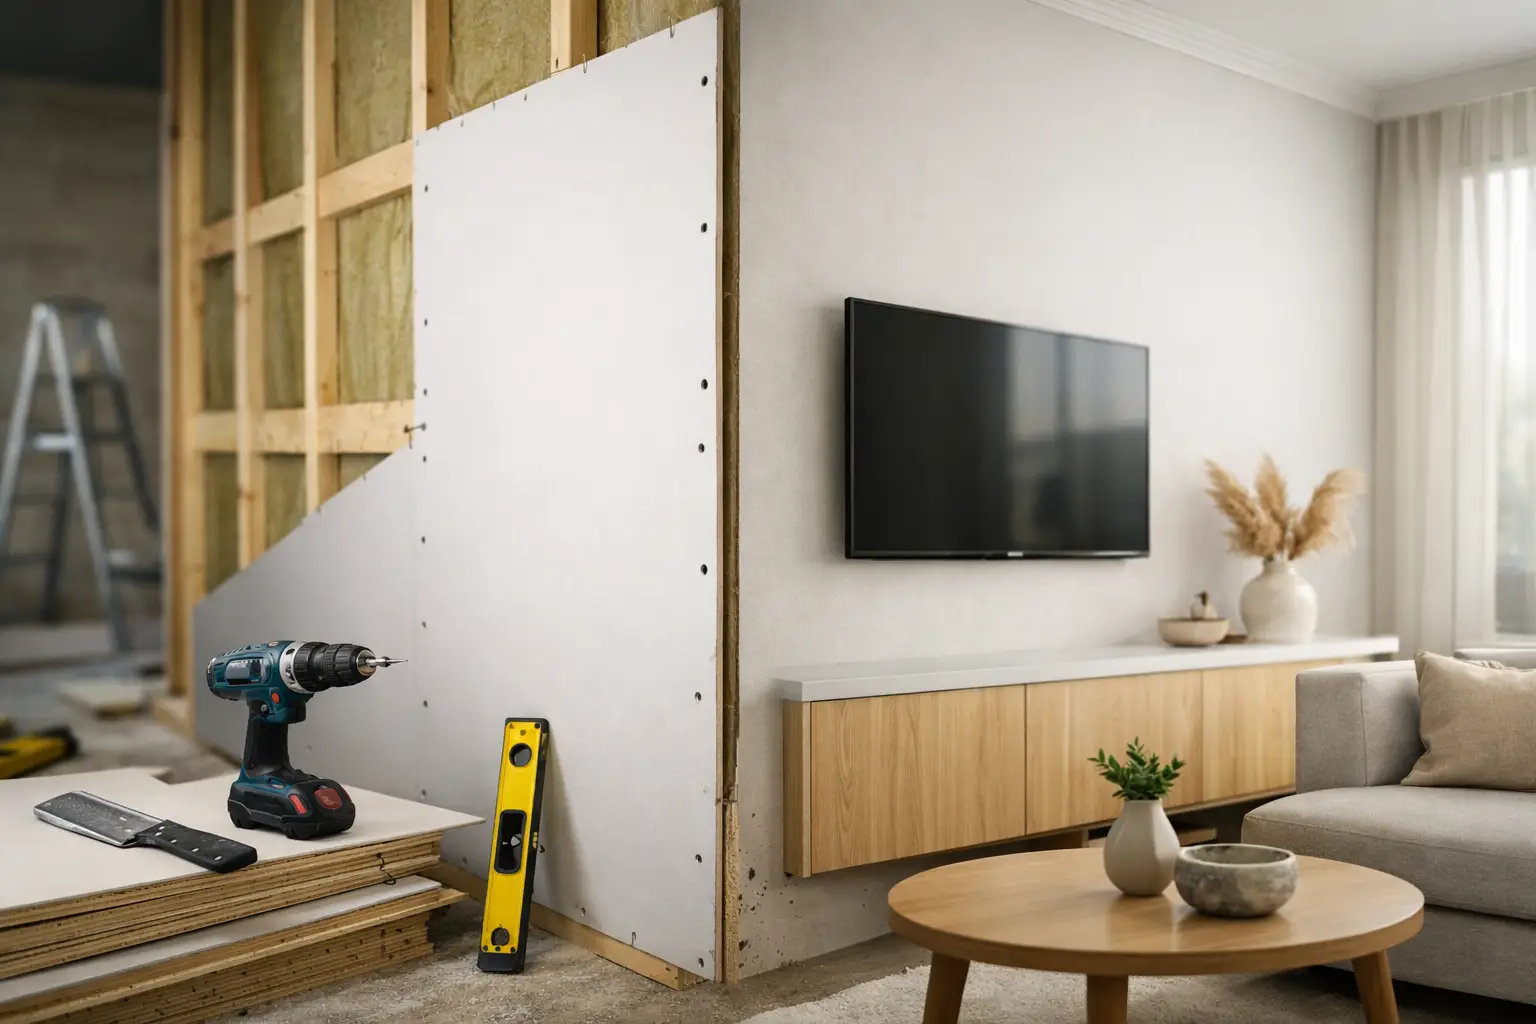
If you are renovating, repair settlement cracks after major structural, plumbing and electrical work is complete. New partition walls, bulkheads, ceiling alterations and lighting cut-outs can introduce minor movement or require fresh joints, so it makes sense to complete the dusty work before final surface repairs.
For lived-in homes, choose a repair approach that respects the space. Furniture should be covered or moved, floors protected and sanding dust kept under control. Yong's Carpentry takes a boutique approach to this work: the hands that quote your job are the hands that finish it, with fixed pricing and clear communication from assessment through to a tidy, paint-ready result.
A wall crack is rarely just a cosmetic annoyance, but it does not automatically mean major structural trouble either. Give it a sensible assessment, fix any underlying movement or moisture issue first, and the final repair can look as though the crack was never there.