Ceiling Repairs After a Roof Leak at Home
A brown ceiling stain can look minor on a Monday and become a soft, sagging panel by the weekend. Ceiling repairs after roof leak damage should never start with filler and paint alone. The roof leak must be found, repaired and given time to prove it is resolved before the ceiling is closed up again.
For Perth homeowners, the aim is not simply to hide the mark. It is to restore a safe, firm, paint-ready ceiling that blends with the surrounding surface, cornice and existing finish. Done properly, the repair should be difficult to spot once painted.
First, make the area safe and stop the water source
Water can travel a surprising distance through roof framing, insulation and plasterboard before it shows itself inside. The stain may sit well away from the damaged tile, flashing, valley or pipe penetration. A dry-looking patch does not necessarily mean the roof issue has stopped.
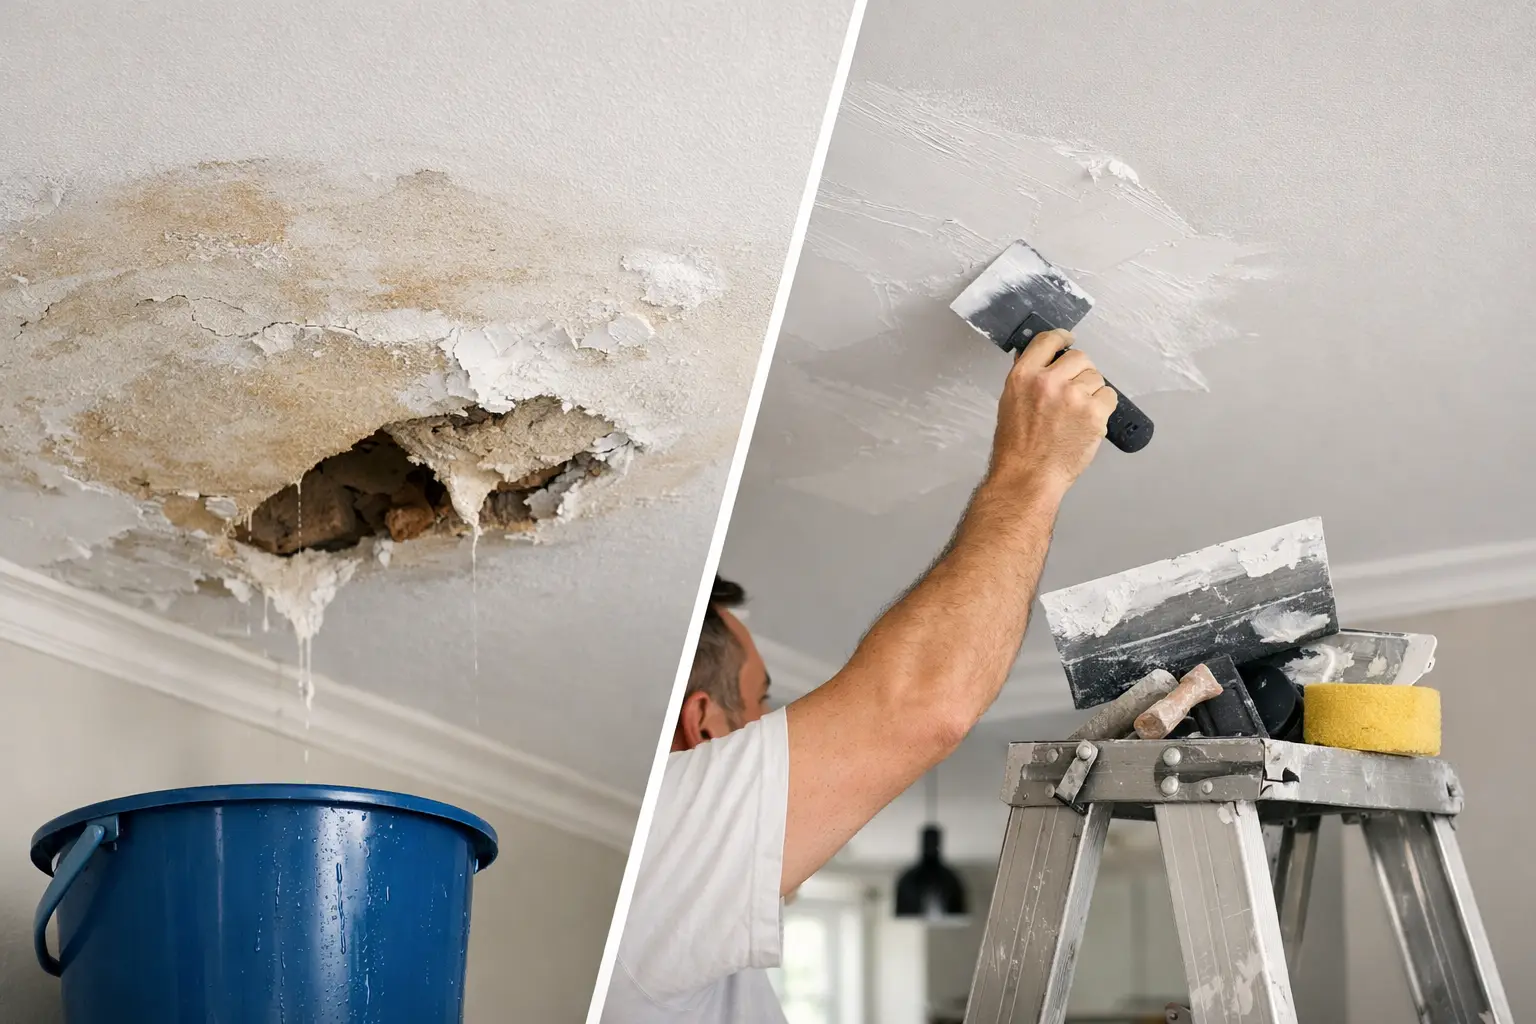
If water is actively dripping, place a bucket beneath it and move furniture, rugs and electrical items away from the area. If the ceiling is bulging, heavily stained, cracked or visibly sagging, keep people out from underneath it. Wet plasterboard becomes substantially heavier and can fail without much warning.
Turn off power to affected light fittings if there is any chance water has reached them. Do not remove a downlight, touch exposed wiring or open a wet ceiling cavity yourself. An electrician may need to inspect fittings before they are put back into service.
The roofing repair comes first. Depending on the cause, that might involve replacing broken tiles, resealing flashing, clearing valleys, repairing a penetration or addressing a failed roof sheet fixing. In some cases, condensation or a leaking air-conditioning line is the real source rather than the roof itself. Identifying the cause accurately saves the frustration of repairing the ceiling twice.
When ceiling repairs after roof leak damage can begin
The right time to repair depends on how wet the materials became, how long the leak lasted and whether the ceiling has returned to a stable condition. Rushing is the common mistake. A patched and painted ceiling can blister, stain through or crack again if moisture remains trapped above it.
A trade professional will look for more than surface dryness. They will assess whether the plasterboard has softened, whether insulation is wet, whether ceiling battens or framing show signs of deterioration, and whether mould or staining is present in the cavity. For a small, short-lived leak, ventilation and drying may be enough before a local repair. A prolonged leak usually calls for the affected lining to be removed.
There is a practical trade-off here. Keeping a ceiling panel can reduce cost if it remains firm, flat and dry. Replacing damaged plasterboard is the better value where the board is swollen, crumbly, bowed or delaminating. Trying to save compromised material often creates a visible repair line and a shorter-lasting result.
In Perth’s warmer weather, a ceiling can feel dry from below while the insulation above is still holding moisture. This is one reason a careful inspection matters. The surface finish is only as sound as the materials behind it.
Signs replacement is usually the safer choice
Replacement is generally recommended where the ceiling has sagged, the paper face has bubbled or peeled, the board feels soft, cracks have spread from the wet area, or there is a persistent musty odour. It is also sensible to replace lining around water-damaged light fittings once electrical safety has been checked.
A stain alone does not always mean the whole sheet must come out. However, if the stain is large, old or returning after painting, the ceiling cavity and the original leak need closer investigation. Stain-blocking paint has a role, but it is a finishing product, not a repair method.
What a proper ceiling repair involves
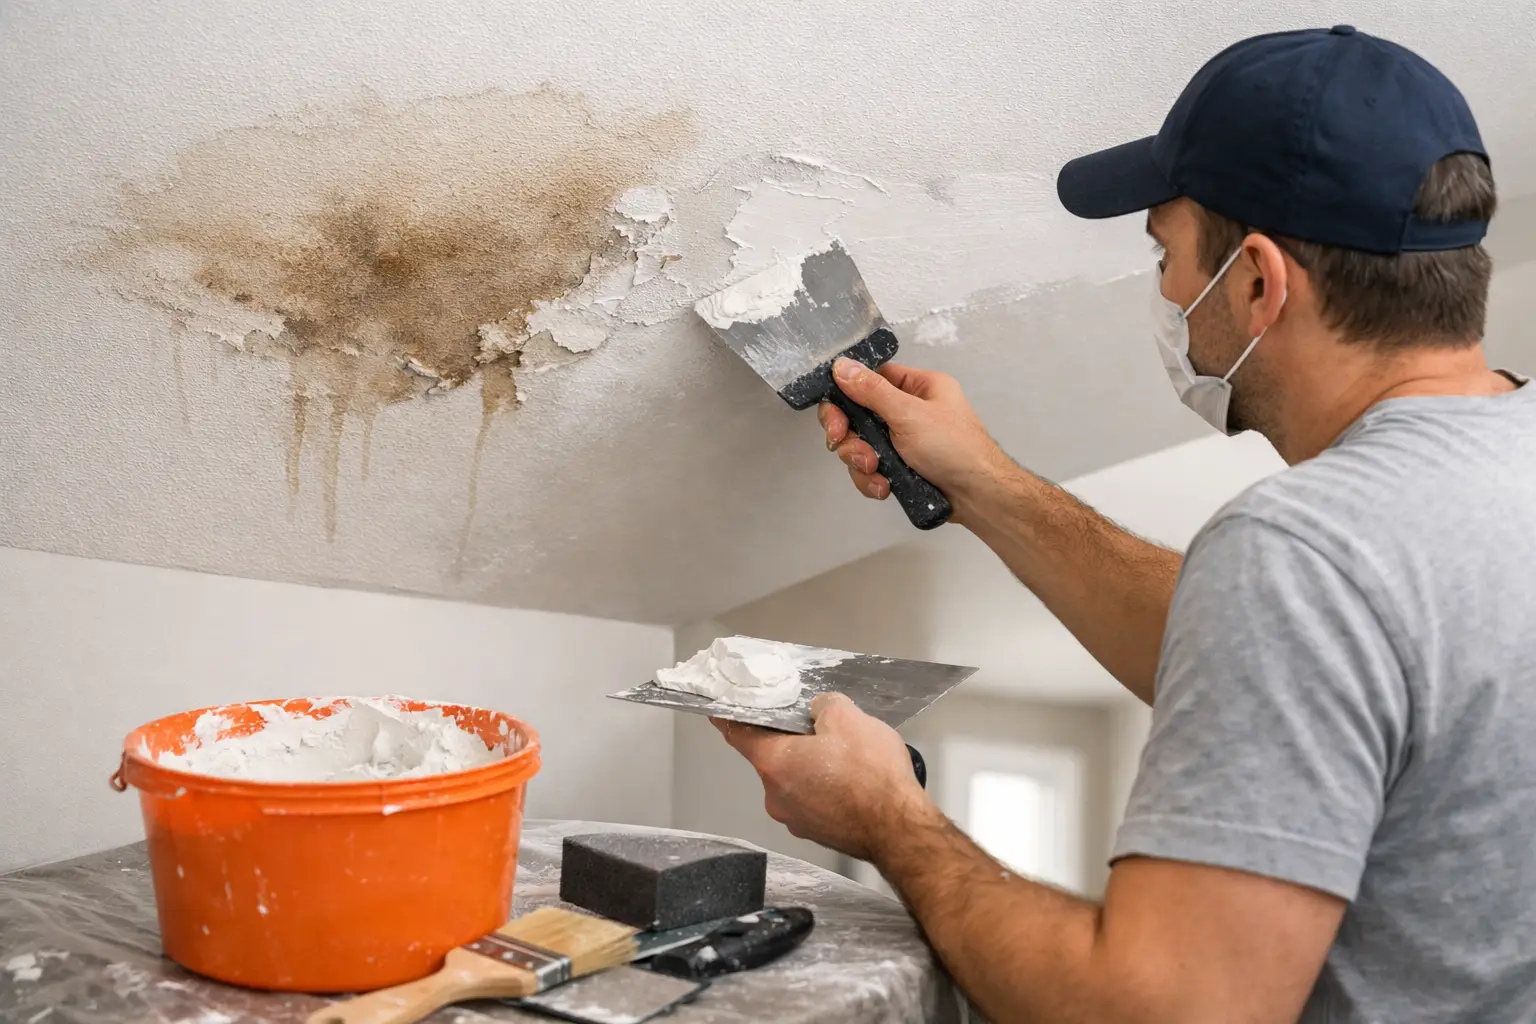
The best repair method is based on the condition of the ceiling, not a one-size-fits-all patch. A professional repair normally begins by protecting floors, furniture and nearby walls, then carefully removing any affected lining and damp insulation. This gives the cavity a chance to dry and allows framing to be checked.
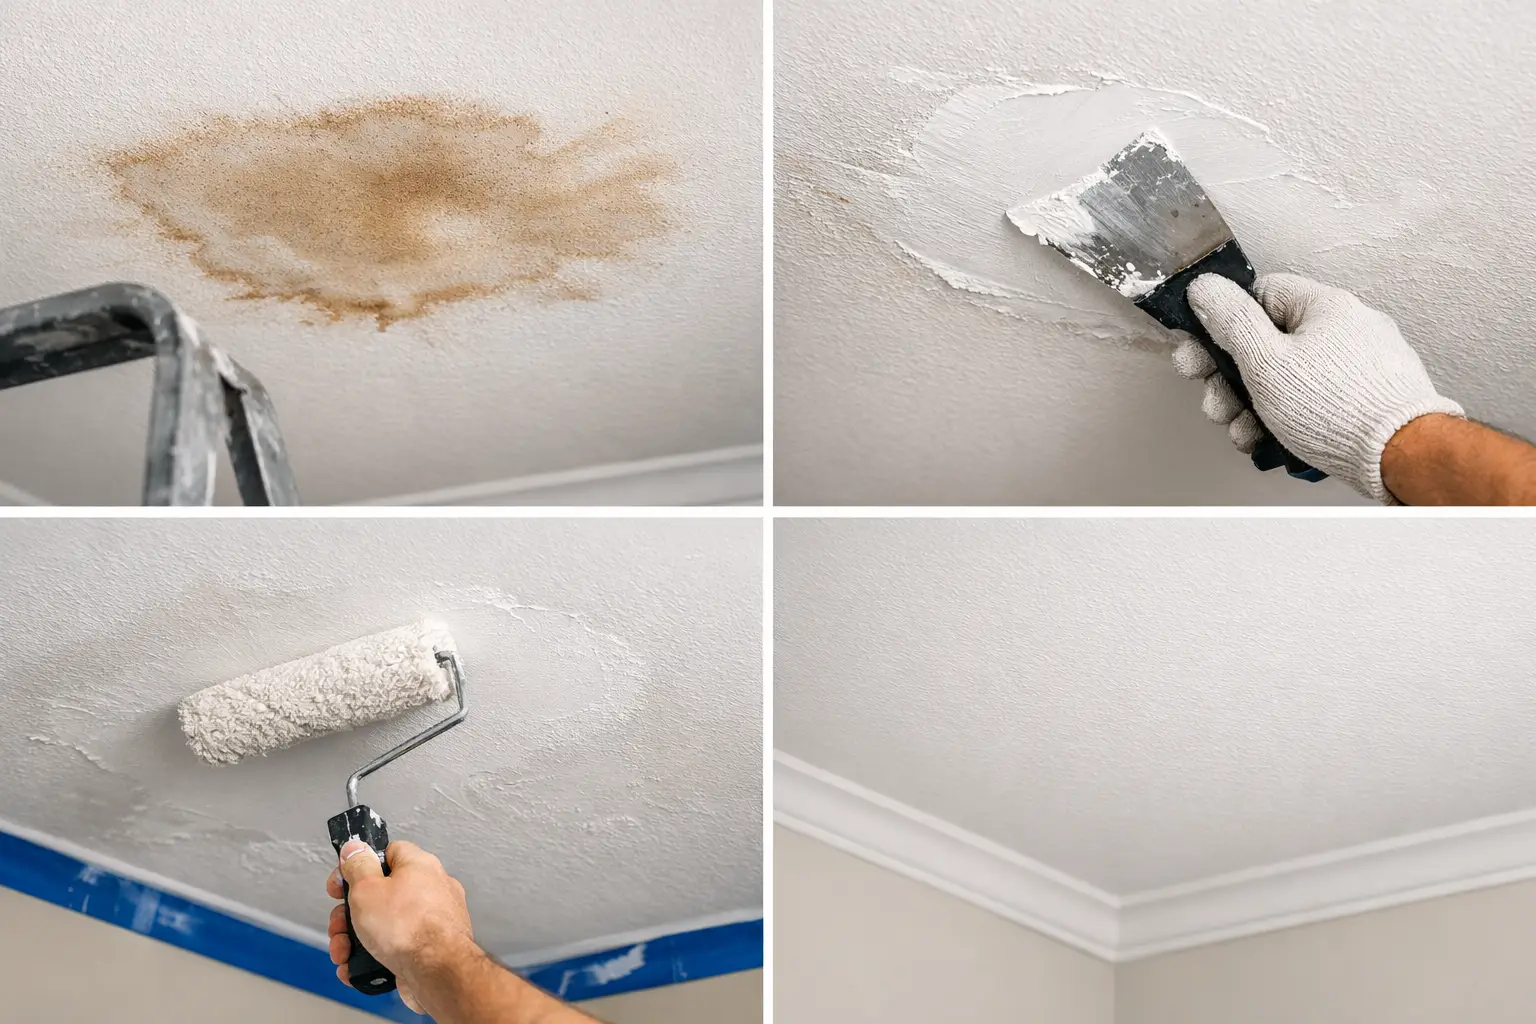
Once the area is sound, new plasterboard is cut and fixed to suit the existing ceiling. The joints are taped, set and feathered beyond the repair so there is no hard edge showing through after paint. More than one coat of compound is often needed, with drying time and sanding between stages. This is where an otherwise solid repair can be made or lost.
If the water damage reaches a cornice, it may need to be removed and replaced as part of the job. Matching the existing profile is particularly important in older homes, where a standard modern cornice can look noticeably wrong. A neat join, clean mitre and careful finishing make the repair feel like part of the original room.
Finally, the repaired area is sanded smooth and prepared for paint. Some repairs need a stain-sealing primer before the ceiling is repainted. For the most even result, particularly on broad or older ceilings, painting the full ceiling plane is often preferable to touching up one patch. A local touch-up can show as a different sheen, even when the colour is correct.
Why invisible repairs take more than patching the hole
Ceilings are unforgiving because light grazes across their surface. A repair that looks fine from directly below may reveal a ridge, hollow or sanding mark when morning light comes through a window or LED downlights are switched on.
The goal is a flat transition between old and new materials. That requires the right amount of joint compound, a wide feathered edge, controlled sanding and an understanding of how the room is lit. Repairs around bulkheads, recessed lighting coves and decorative cornice need extra care because the lines and shadow gaps make uneven work easy to see.
This is also why fixing only the visibly damaged spot is not always enough. Water can weaken board beyond the obvious stain. A slightly larger, square and properly supported replacement area often produces a cleaner and stronger result than a small irregular patch.
Mould, insulation and hidden damage
A roof leak can create problems above the ceiling that are not obvious from inside the room. Wet insulation loses effectiveness and may need replacing once it has dried or been removed. If mould is present, it should be handled carefully rather than sanded or painted over.
Small surface areas may be treatable after the moisture source is eliminated, but widespread mould, repeated leaking or concerns about timber condition deserve a more thorough assessment. The priority is always moisture control. Without that, cleaning products and fresh paint are only temporary cover-ups.
For landlords, it is worth documenting the roof repair, drying process and ceiling work. Clear records help show that the cause was addressed properly and give tenants confidence that the space is safe to occupy again.
Choosing the right person for the repair
Roofing and ceiling restoration are related but different trades. The roof must be made watertight, then the ceiling needs a specialist who can assess plasterboard, framing access, set joints neatly and leave a finish ready for painting. Good communication between the two prevents gaps in the process.
Ask whether the quote covers removal of damaged material, protection of the room, replacement plasterboard, joint setting, cornice work if required, sanding and paint preparation. It is also reasonable to ask how the contractor will confirm the area is dry enough to close up. A fixed scope and clear explanation are better than a vague allowance that grows after work begins.
At Yong’s Carpentry, the hands that quote the job are the hands that finish it. That boutique approach means the condition of the ceiling, the surrounding details and the final finish are considered from the first site visit, with tidy work practices and clear communication throughout.
Do not let a small stain set the standard
It is tempting to wait and see after a roof leak, especially when the ceiling appears to have dried. But soft plasterboard, loose cornice and concealed dampness rarely improve with time. Early assessment can limit the repair area and protect the rest of the room.
Once the leak is genuinely resolved, a careful ceiling repair restores more than the appearance of the room. It gives you confidence that the surface above your head is sound, clean and ready to live with again.