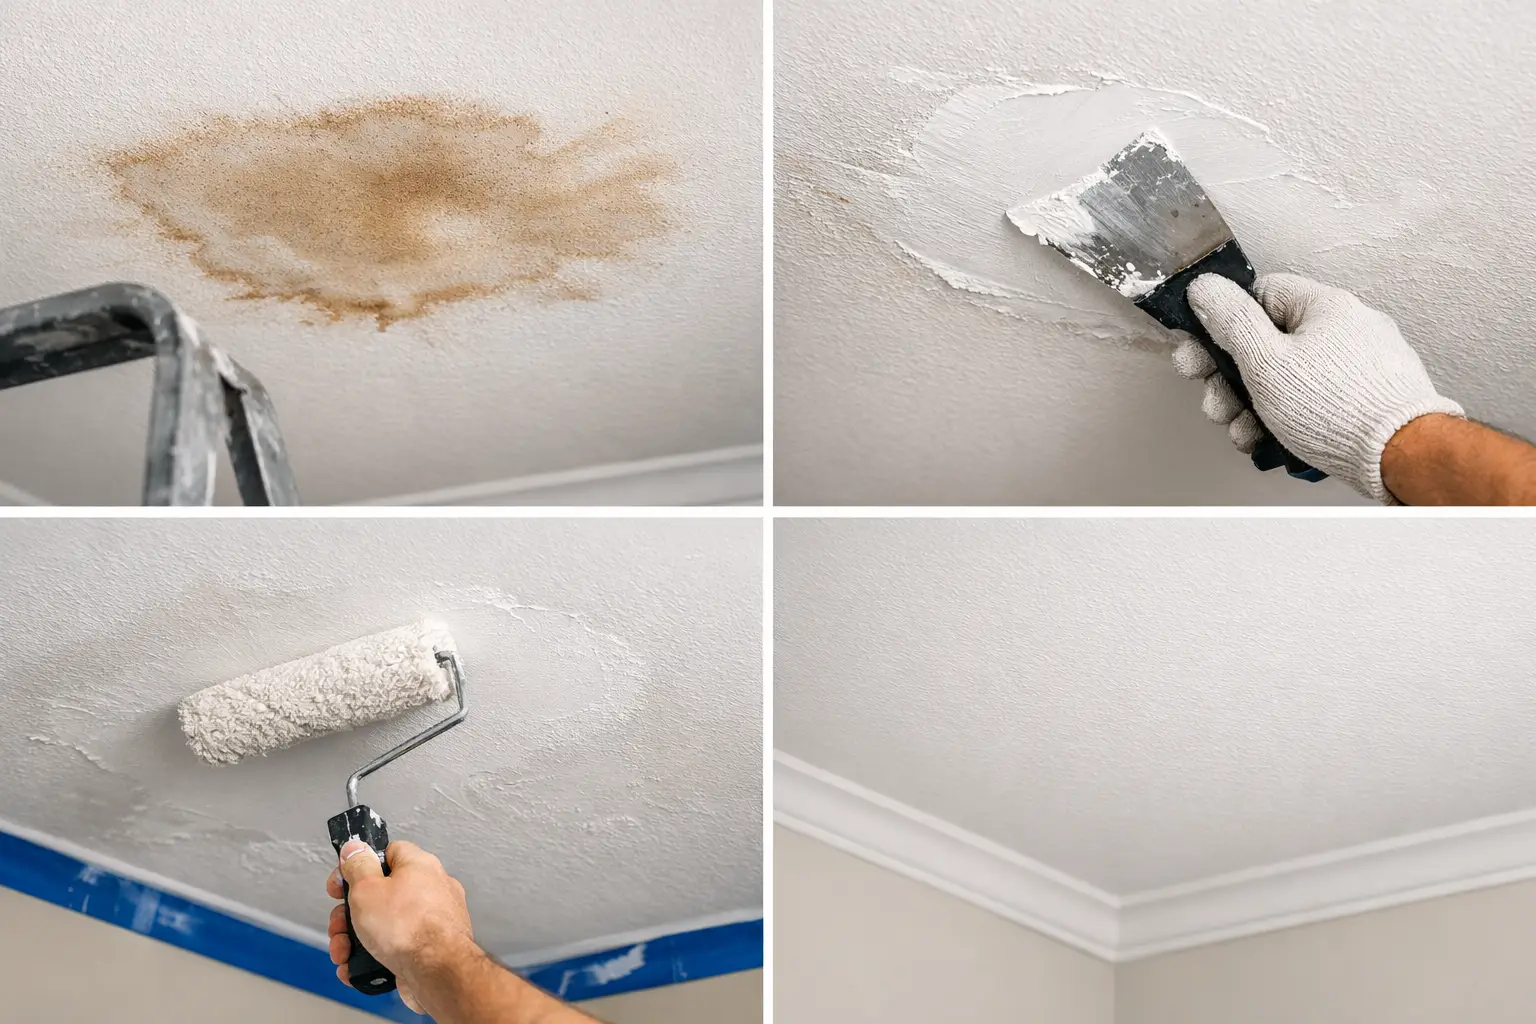
How to Repair Water Stained Plasterboard
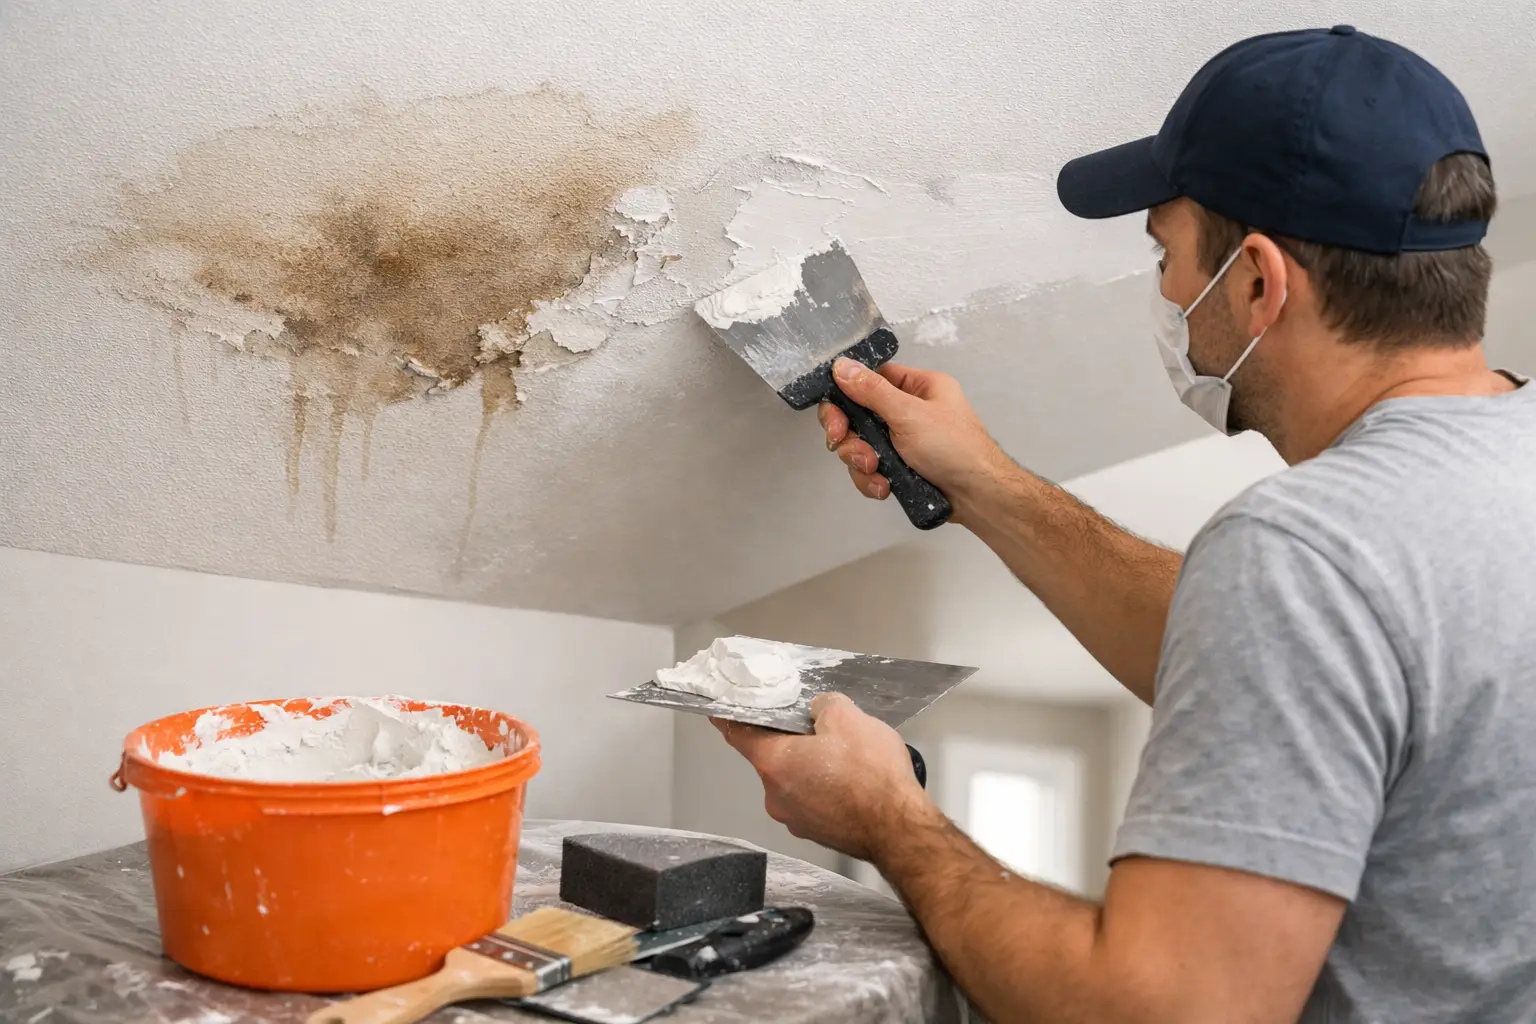
A brown ring on a ceiling or wall is rarely just a paint problem. Before you learn how to repair water stained plasterboard, the source of the moisture must be found and fixed. Otherwise, even a neatly painted surface can stain again, sag, crack or develop mould behind the finish.
For Perth homes, water staining often follows a roof leak after heavy rain, a failed bathroom waterproofing detail, a leaking pipe, an overflowing gutter or condensation around an uninsulated area. The visible mark may be small, but plasterboard can hold moisture well beyond the edge of the stain. A careful assessment is what separates a lasting repair from a quick cover-up.
Stop the water before repairing the board
Do not patch, seal or paint the plasterboard until the leak has been resolved. Check the roof space, plumbing above the area, gutters, flashing, bathroom fixtures and any nearby air-conditioning drainage. If the stain is below a bathroom, it may be necessary to investigate grout, silicone, a shower screen, waste pipe or waterproofing rather than the ceiling itself.
If water is still dripping through a ceiling, keep clear of the area. Switch off power to nearby lights or ceiling fans at the switchboard if it is safe to do so, and call a licensed electrician where water may have reached electrical wiring. A bulging ceiling is also a safety concern. Waterlogged plasterboard can fail suddenly, so avoid puncturing or pulling at it from below.
Once the cause has been repaired, give the area time to dry fully. Depending on the amount of water and ventilation, this can take several days. Fans and a dehumidifier can help, but they do not replace fixing the leak. A moisture meter gives the clearest reading, although a professional can also assess whether the board has dried and retained its strength.
Decide whether water stained plasterboard can be saved
A faint, dry stain on firm plasterboard may only need sealing and repainting. Press gently around the damaged area. Sound board should feel solid and flat, with no movement under light pressure.
Replacement is usually the better option if the plasterboard is soft, swollen, sagging, crumbly, peeling, mouldy or cracked around the stain. The same applies if ceiling screws have rusted through, joints have opened, or a ceiling has bowed after a significant leak. Plasterboard is faced with paper, and once that paper has broken down, a skim of compound and fresh paint will not restore its original strength.
Mould changes the decision too. A small amount of surface mould may be manageable once the material is completely dry, but extensive growth or persistently damp board should be removed. Do not sand mouldy plasterboard, as this can spread spores through the room. If you are unsure how far moisture has travelled, opening a controlled inspection section is often safer than guessing.
What you will need for a small repair
For a small, dry and localised patch, the basic materials are straightforward. Larger ceiling repairs, ornate cornices and damage close to electrical fittings are best left to an experienced plasterer.
- Safety glasses, gloves, a P2 mask and drop sheets
- A utility knife or plasterboard saw, straightedge and tape measure
- Matching plasterboard, timber backing or repair clips, screws and joint tape
- Base coat compound, topping compound, sanding block, stain-blocking primer and ceiling or wall paint
Protect flooring and furniture before starting. Water-damaged plasterboard creates more dust and loose material than a standard patch, particularly when cutting out softened edges.
How to repair water stained plasterboard step by step
1. Mark out sound material
Use the stain as a guide, not as the final boundary. Mark a square or rectangle that extends into firm, dry plasterboard on all sides. Straight cuts make it easier to fit a patch and create cleaner joins.
For a ceiling, inspect the framing position before cutting where possible. Cutting back to joists can make a larger repair more secure, but it is not always needed for a small opening. Never cut blindly near wiring, plumbing or ductwork.
2. Remove the damaged section
Cut along the marked lines and remove the affected board carefully. If the material is wet or sagging, support it as you work so it does not tear away and damage more of the ceiling.
Check the cavity before installing new board. Look for damp insulation, rusted fixings, mould, timber deterioration or ongoing signs of water entry. Replace wet insulation and allow framing to dry. Covering a damp cavity traps the problem where it cannot be seen.
3. Install solid backing and the new patch
For a small wall or ceiling patch between framing members, fit timber backing behind the existing plasterboard. It should extend past the opening so both the old board and new patch can be screwed securely to it. Keep screw heads slightly below the face of the board without breaking the paper surface.
Cut the replacement piece to fit with a small, even gap around the edge. It should sit flush with the surrounding surface. A patch that sits proud will be difficult to feather out, while one set too deeply can leave a visible hollow after painting.
4. Tape and set the joints
Apply joint compound, bed paper tape into the first coat, then cover it smoothly. Paper tape is generally preferred for flat joints because it creates a strong, crisp finish when properly embedded. Internal corners need careful taping, while external corners may require a corner bead depending on the location.
Once the base coat is dry, apply two wider finishing coats. Each coat should extend farther than the last, feathering the edges into the existing plasterboard. Drying times vary with product, humidity and room temperature, so do not rush this stage. Applying the next coat over damp compound can cause cracking, shrinkage and a poor finish.
5. Sand lightly and inspect under raking light
Sand only enough to remove ridges and trowel marks. Over-sanding can expose tape or fuzz the paper face. A work light held across the surface will reveal dips, humps and edges that ordinary overhead lighting may hide.
This is where invisible repairs are won or lost. Ceiling patches are particularly unforgiving because natural light across a broad, flat surface highlights even minor unevenness. If the repair is not level before paint, more paint will not conceal it.
6. Seal the stain and repaint correctly
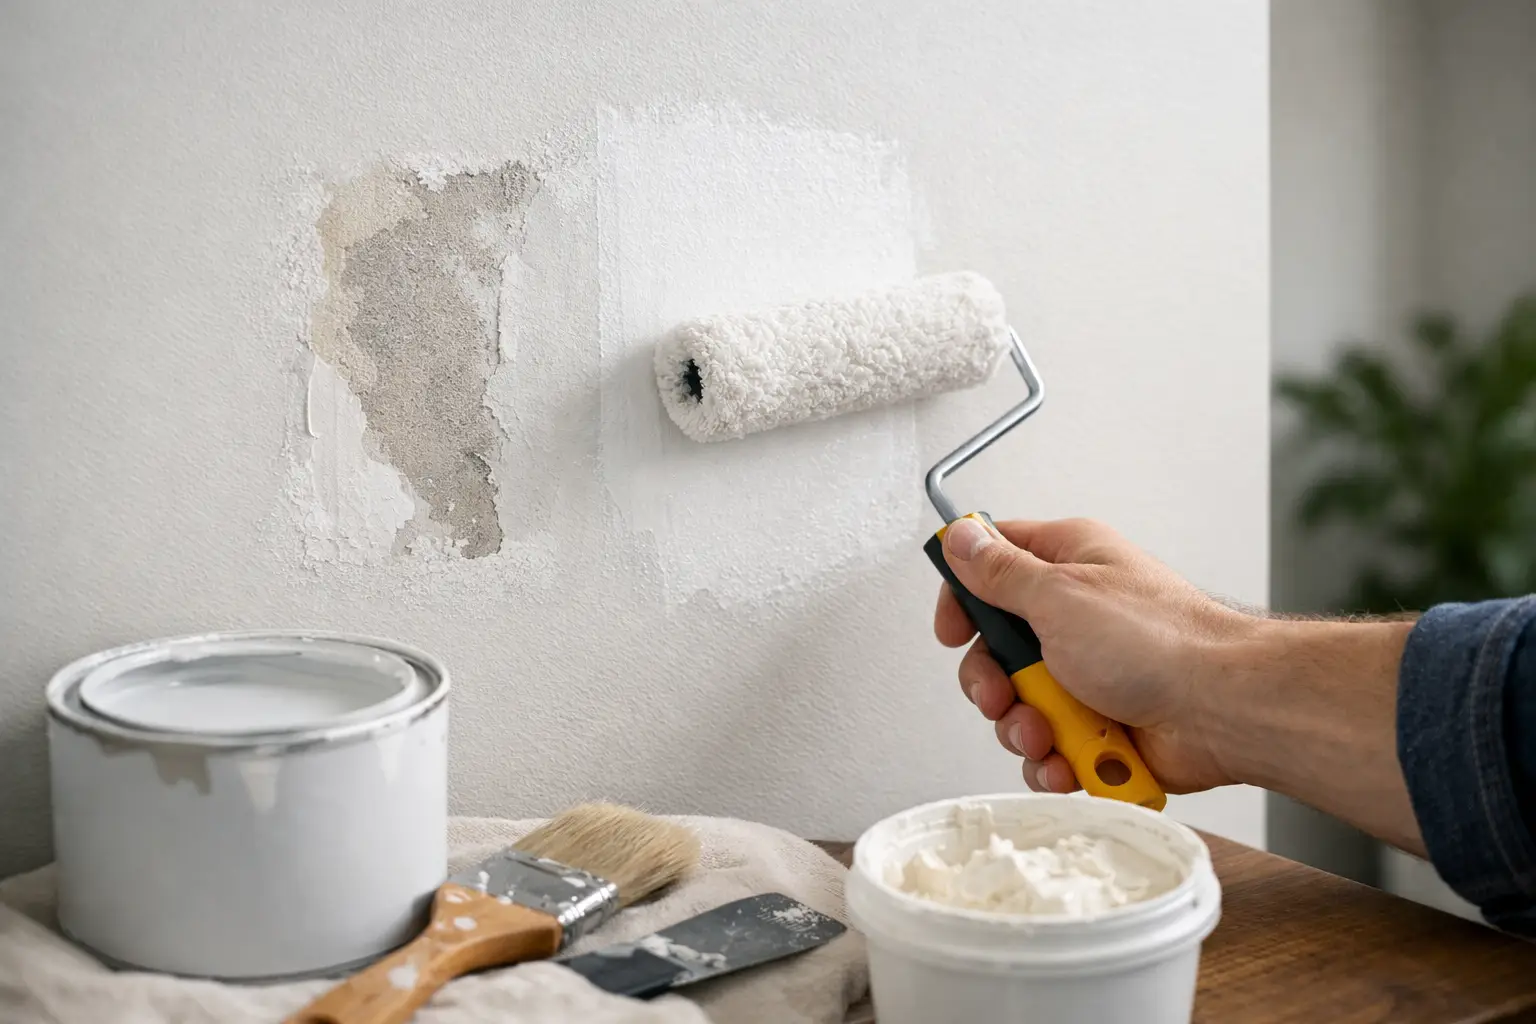
Prime the repaired area with a quality stain-blocking primer before applying topcoat. Standard water-based undercoat may not stop old brown water marks, tannins or rust from bleeding through. If the stain is heavy, apply a second coat of stain blocker after the first has dried.
For a wall, painting the entire wall is usually the safest way to avoid a visible colour difference. For ceilings, a full ceiling repaint often gives the most even sheen and prevents the patched area from flashing in different light. Match the existing paint finish as closely as possible. Most ceilings use a flat or low-sheen ceiling paint, while walls may be low sheen, satin or semi-gloss depending on the room.
When a professional repair is worth it
A homeowner can often handle a small, dry patch on an accessible wall. The trade-off is that ceiling repairs, wide stain areas and damage around cornices need more than basic patching skills. Matching an older cornice profile, rebuilding a sagging section, blending a textured finish or producing a paint-ready surface takes careful setting and sanding.
Professional help is especially sensible when the damage is larger than a hand span, the ceiling has sagged, mould is present, the leak source is uncertain, or wiring may be involved. A proper repair should include checking the cavity, removing compromised material, restoring the plasterboard surface and leaving a clean edge ready for paint. It should not simply hide the evidence.
At Yong's Carpentry, the hands that quote the job are the hands that finish it. That direct approach matters on water-damage work, where the details behind the stain are just as important as the final smooth finish.
A water stain can be a useful early warning, not merely an eyesore. Deal with the moisture first, replace board that has lost its integrity, and give the final setting and painting stages the patience they need. The result is a repair that looks right now and stays that way after the next wet season.