A Ceiling Water Stain Repair Example, Step by Step
A brown ring above the dining table can look like a simple paint job. In a proper ceiling water stain repair example, paint is the final step, not the repair itself. The real work is finding out whether moisture is still present, checking whether the plasterboard has lost strength, and rebuilding the surface so the patch disappears under normal daylight.
For Perth homeowners, the cause may be a roof leak after heavy rain, a failed flashing, a bathroom leak in the storey above, or condensation around an uninsulated roof space. Each calls for a slightly different repair decision. Covering the mark before the cause is fixed usually means paying for the same work twice.
Ceiling water stain repair example: from mark to paint-ready
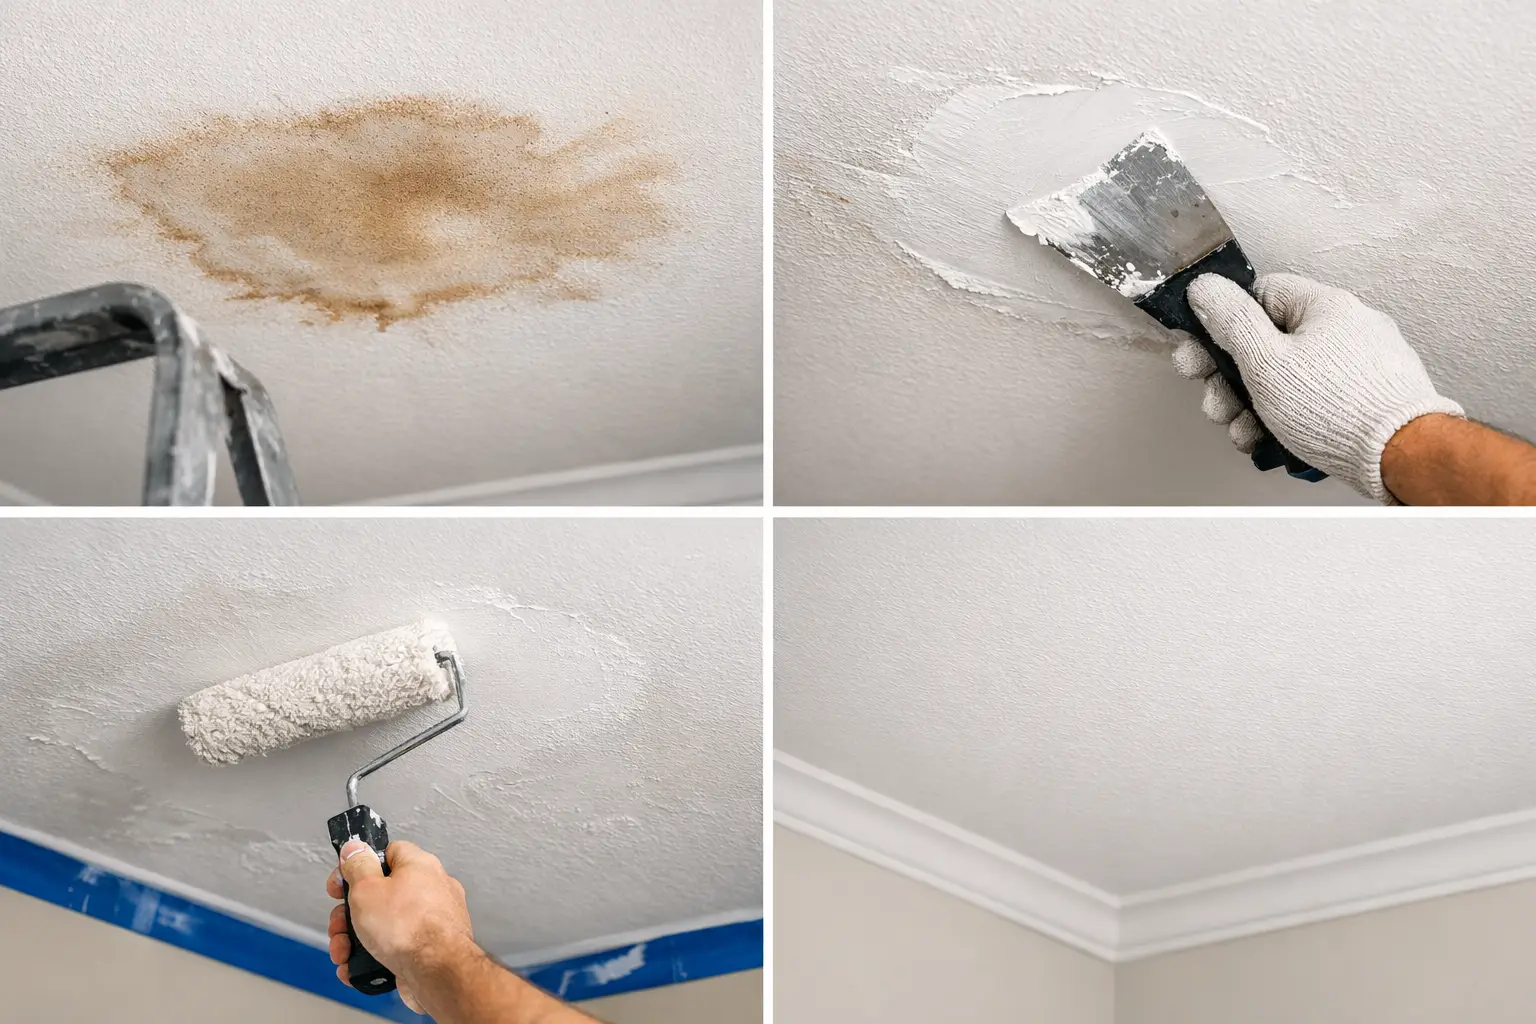
Consider a common single-storey home scenario. After a winter downpour, a homeowner notices a yellow-brown stain about 500 mm wide near a ceiling cornice. The roof repairer identifies and fixes a lifted tile and damaged flashing above the area. A few dry days later, the visible stain remains, and the paint has started to look slightly dull.
The first question is not, “Can this be painted?” It is, “Is the ceiling still sound?” A tradesperson checks for a soft feel when gently pressed, sagging between ceiling joists, cracked joints, swollen paper facing and any rust marks around fixings. A moisture meter can help confirm that the area has properly dried, particularly where the leak was slow or insulation held moisture against the back of the sheet.
In this example, the plasterboard is firm and flat. There is no mould growth, no ongoing moisture reading and no sagging. That makes a local surface repair reasonable. If the board were soft, bowed or crumbling, it would need to be cut back to solid material and replaced rather than skimmed over.
The stained area is lightly sanded to remove loose paint and give the new coating a clean surface to bond to. Any fine crack at the joint is opened and reinforced where needed, then set with compound in thin, controlled coats. The goal is not simply to fill a low spot. It is to feather the repair wide enough that it does not create a visible edge once the ceiling is painted.
After drying, the area is sanded smooth, checked from different angles and sealed with a stain-blocking primer. This stage matters. Water stains often contain tannins, mineral salts or old contaminants that can bleed through ordinary ceiling paint, even after several coats. A suitable sealer locks down the discolouration before the finish coats go on.
The ceiling is then repainted, usually across the full ceiling plane rather than only over the patch. Ceiling paint can fade, collect cooking residue and change slightly in sheen over time. Spot painting may look acceptable when wet, then show as a dull or bright rectangle once dry. Painting the whole ceiling produces the most even result, particularly in rooms with strong window light or LED downlights.
Why a stain can remain after the leak is fixed
A repaired roof, pipe or shower leak stops new water entering the home. It does not reverse what moisture has already done to paint and plasterboard. The brown outline is often left behind as water evaporates and deposits impurities at the edge of the wet area. In some cases, the paper face of plasterboard has been permanently marked.
There is also a timing issue. A ceiling can feel dry on the surface while the cavity above remains damp. Painting too soon can trap moisture, reduce adhesion and leave a blistered finish. Drying time depends on how much water entered, ventilation, insulation, weather and whether the ceiling cavity can be safely aired. There is no reliable one-day rule.
A small, old stain that has stayed unchanged through several rain events may only need sealing and repainting. A fresh stain that grows after rain, feels cool or damp, or is accompanied by a musty smell needs investigation before any cosmetic work starts.
When a local repair is enough - and when replacement is safer
A careful patch repair is often the right value choice when the plasterboard is dry, firm and securely fixed. It avoids unnecessary demolition and can leave a smooth, paint-ready surface. The trade-off is that the existing texture, paint age and lighting must all be considered to make the finish blend cleanly.
Replacement is the better call when water has weakened the board or affected a larger area. Signs include a sagging ceiling, a bulge near a joint, peeling paper, visible mould, repeated cracking or ceiling fixings pulling through. Water-damaged insulation may also need to be assessed and removed, particularly if it has remained wet.
Safety comes first where electrical fittings are nearby. If water has run through a downlight, smoke alarm, fan or light fitting, switch off the relevant circuit if it is safe to do so and arrange for a licensed electrician to inspect it. Do not remove fittings or probe inside the ceiling cavity yourself. A ceiling that is visibly bowed or holding pooled water should be treated as urgent, with the area below kept clear.
The details that make an invisible ceiling repair
Ceiling repairs are unforgiving because light travels across a broad, flat surface. A repair that looks fine from directly underneath can reveal every ridge when morning sun enters through a window or when recessed LEDs are turned on at night.
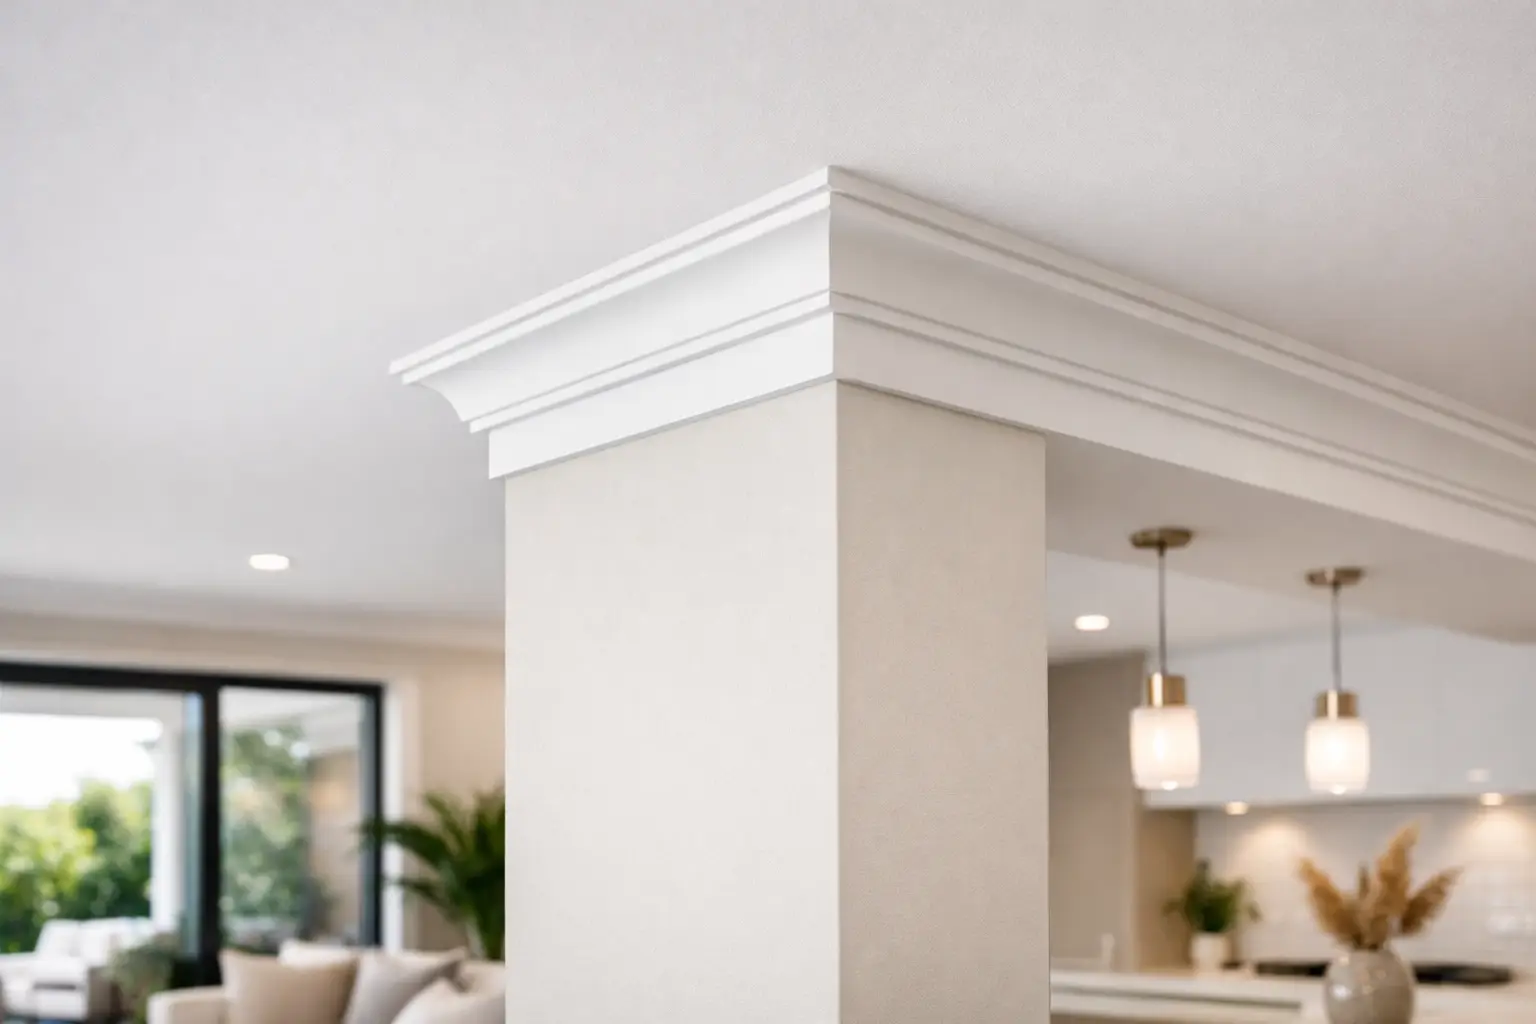
Good preparation makes the difference. Joints need the right reinforcement, compound coats need enough width to disappear into the surrounding ceiling, and sanding needs to be controlled so the paper face is not damaged. Cornice lines also need attention. Where the stain reaches a cornice, the repair should leave a crisp edge without breaking the profile or leaving caulk smeared across the wall.
Paint matching deserves equal care. The original ceiling colour may be white, but there are many whites, and years of light and household use can alter the appearance. Even a close colour match may stand out if one section has a different sheen. For this reason, a full-ceiling repaint is frequently the sensible finish to an otherwise small repair.
Tidy work practices matter inside a lived-in home. Floors and furniture should be protected, sanding dust contained as far as practical, and the work area left clean. At Yong's Carpentry, the hands that quote the job are the hands that finish it, so the person assessing the stain can explain whether a targeted repair or replacement will give the better long-term result.
What to do before booking a ceiling repair
Take a clear photo when the stain first appears, then another after rain or after using the bathroom above. This helps show whether the mark is active. If you know the likely source, arrange for that fault to be repaired first and keep any details from the roof plumber or leak detection specialist.
Avoid scraping, drilling or repeatedly pressing on the affected ceiling. A dry-looking mark can still conceal weakened plasterboard. If the area is stable, improve ventilation and allow time for it to dry naturally. A dehumidifier may assist in enclosed rooms, but it does not replace fixing the source of the leak.
When obtaining a quote, ask what is included: removal of damaged material where required, jointing, sanding, stain sealing, cornice work, paint preparation and whether the price allows for full-ceiling painting or only a local patch. Clear scope and fixed pricing prevent a small water stain from becoming a vague, open-ended job.
A water mark is your home showing you where something went wrong. Once the source is dry and the ceiling is properly assessed, a careful repair can leave the room looking as though it never happened - and give you confidence that the finish is more than paint hiding a problem.