Wall Rendering for Smooth, Paint-Ready Interiors
A freshly painted wall will not hide a poor surface. In fact, daylight from a window, downlights and recessed LED strips tend to make uneven patches, joins and trowel marks more obvious. Quality wall rendering is therefore less about applying material quickly and more about preparing the background properly, building the surface in the right stages and finishing it for the lighting in your room.
For homeowners planning a renovation, repairing old damage or updating a tired interior, the right approach depends on what is already behind the paint. A solid brick wall, old cement render, plasterboard lining and a water-damaged section each call for different materials and preparation. Getting that decision right is what produces a clean, paint-ready result that lasts.
What wall rendering means inside a home
Wall rendering commonly describes applying a cement-based or acrylic coating over masonry to level, protect or alter its appearance. It is often associated with exterior brickwork, but interior rendered walls are common in older Perth homes, additions, feature areas and rooms where existing masonry needs attention before painting.
Inside, the term can also be used loosely to describe plastering, patching or skim coating. These are related jobs, but they are not identical. Cement render is generally used to straighten or build up masonry surfaces. A fine plaster finish or setting compound is used where a smoother, paint-ready surface is required. On plasterboard, the work is usually joint setting and skimming rather than traditional rendering.
The distinction matters because the wrong product can crack, debond or leave a finish that never looks right under paint. A careful trade assessment should identify the wall construction, existing coatings, moisture history and final look before any material is mixed.
When an interior wall needs rendering or plaster preparation
Rendering is a practical option when brick or blockwork is uneven, old render has become patchy, or a wall needs to be brought into line before painting. It can also help prepare a masonry feature wall for a refined finish instead of leaving a rough, heavily textured surface.
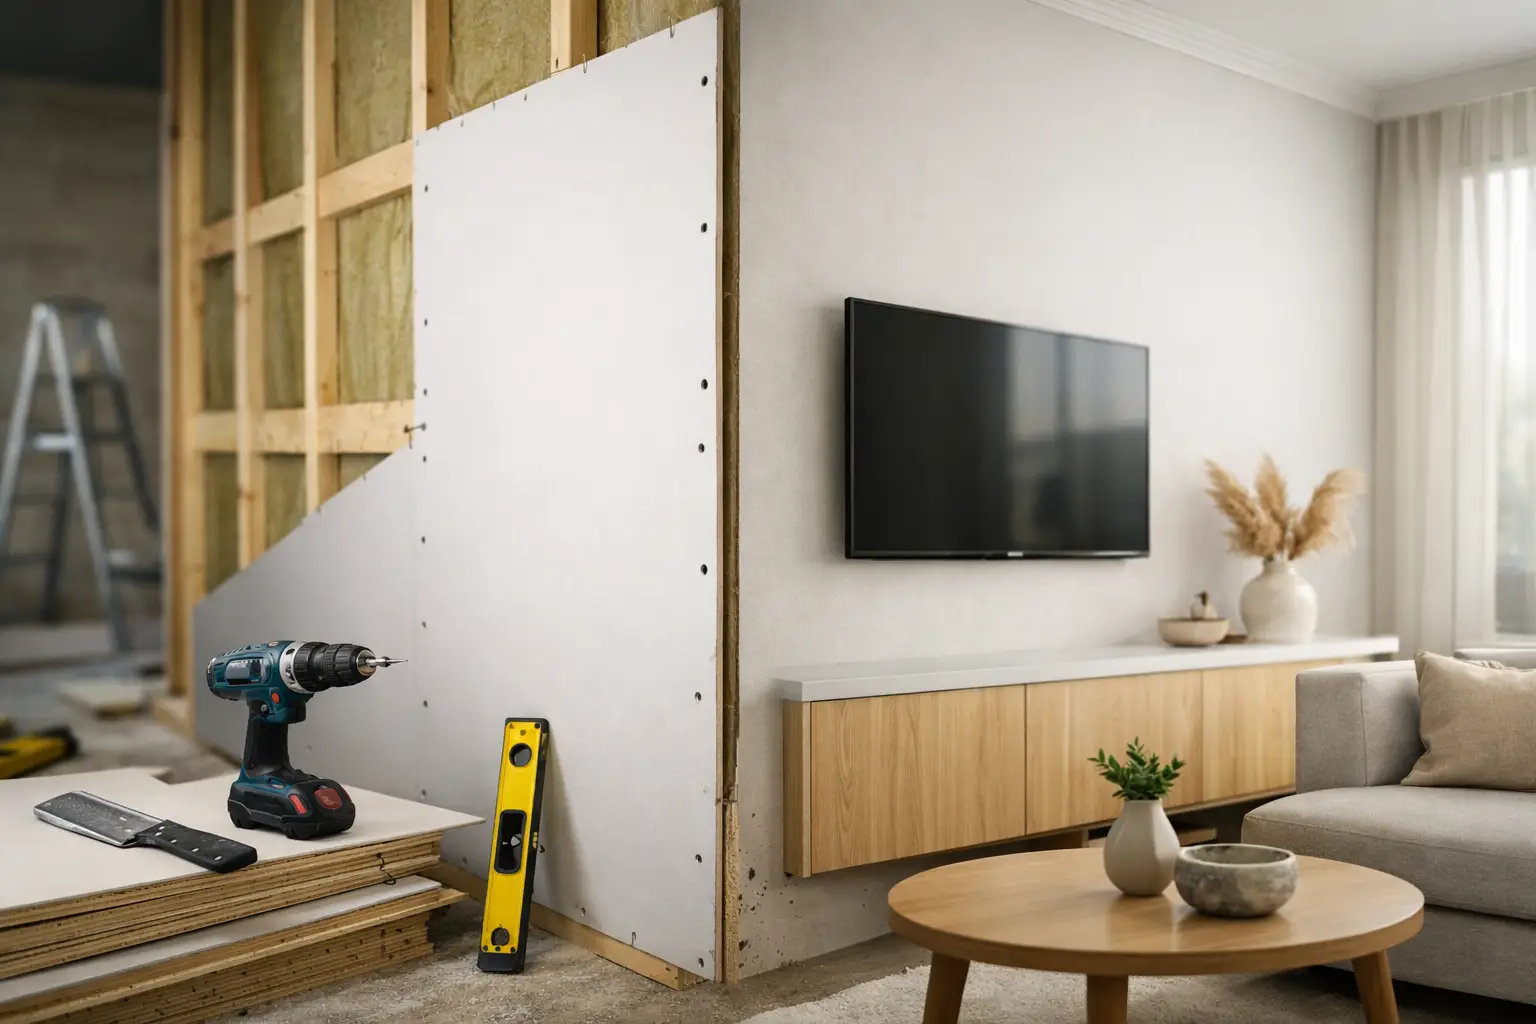
Sometimes the better solution is a new plasterboard lining. If an old wall is significantly out of square, covered in failing render, packed with uneven services or difficult to repair cleanly, lining it can create a straighter result with less uncertain patchwork. This is particularly useful during renovations where new insulation, electrical work or recessed details are being added.
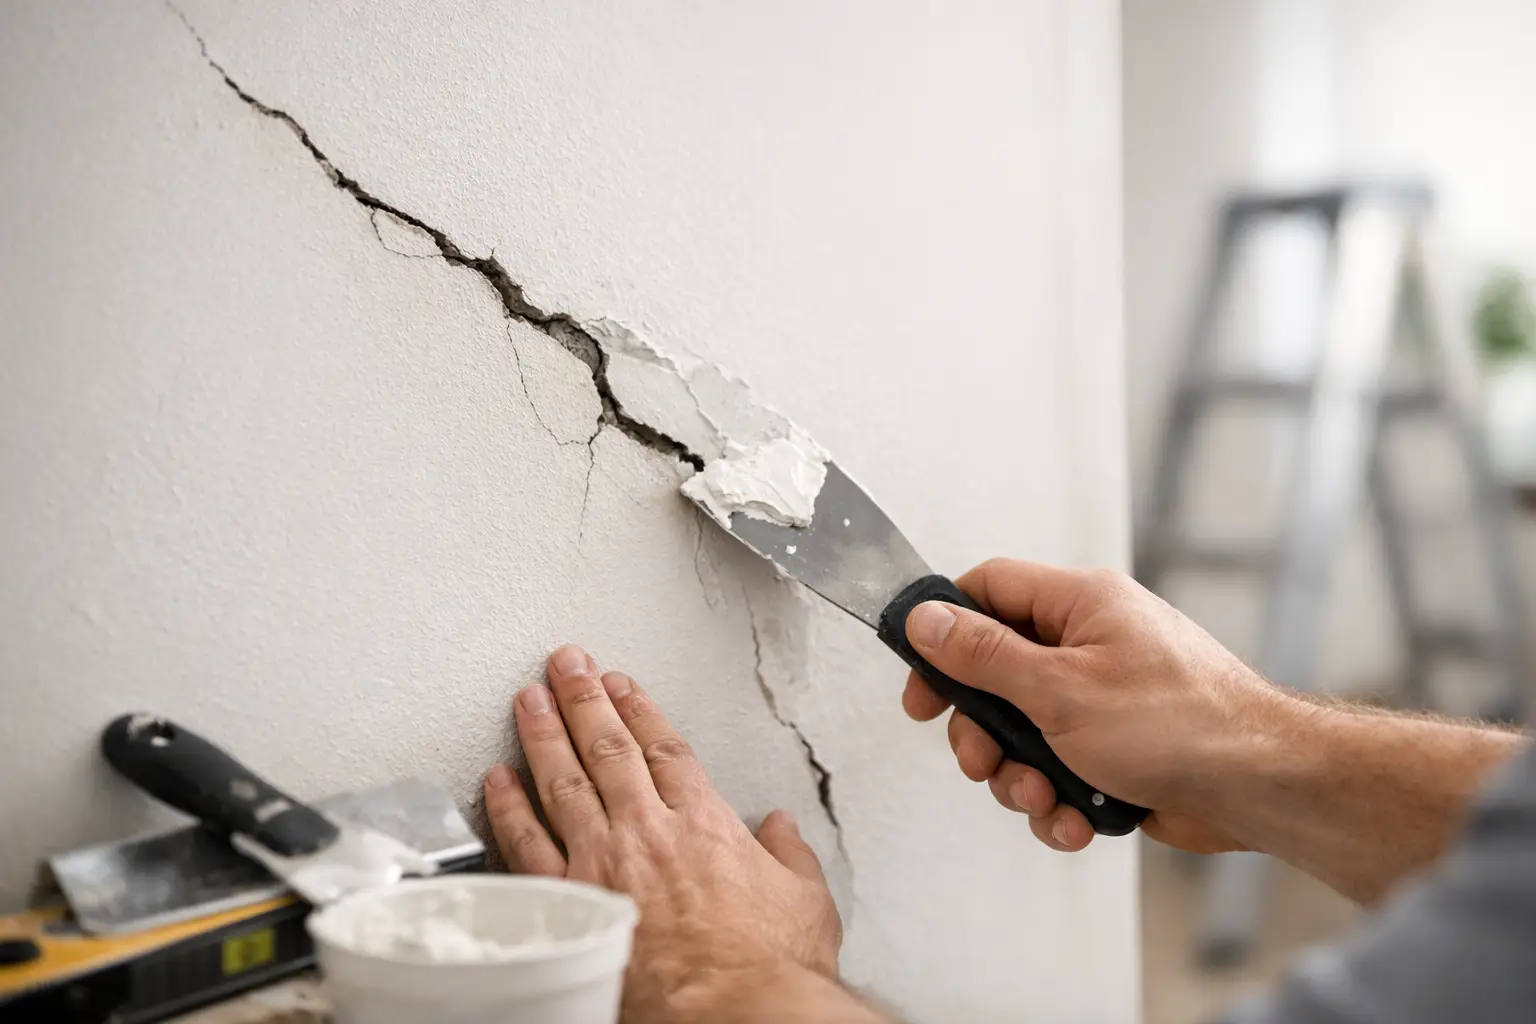
For isolated damage, a local repair may be all that is needed. Small cracks, dents, removed picture hooks and minor water staining do not automatically justify rendering an entire room. The aim should be to make the repair disappear after painting, while avoiding unnecessary work and cost.
The surface underneath decides the result
A sound finish begins with a stable base. Loose paint, hollow render, powdery masonry, wallpaper adhesive and old flaky coatings must be dealt with before new layers go on. Applying fresh material over a weak surface may look acceptable initially, then fail when the coating underneath releases.
Moisture needs particular attention. If a wall has been affected by a leaking roof, pipework issue or rising damp, the source must be fixed first. Plastering over a damp wall simply traps the problem behind a new finish. Staining may return, salts can affect adhesion and the repair can deteriorate again.
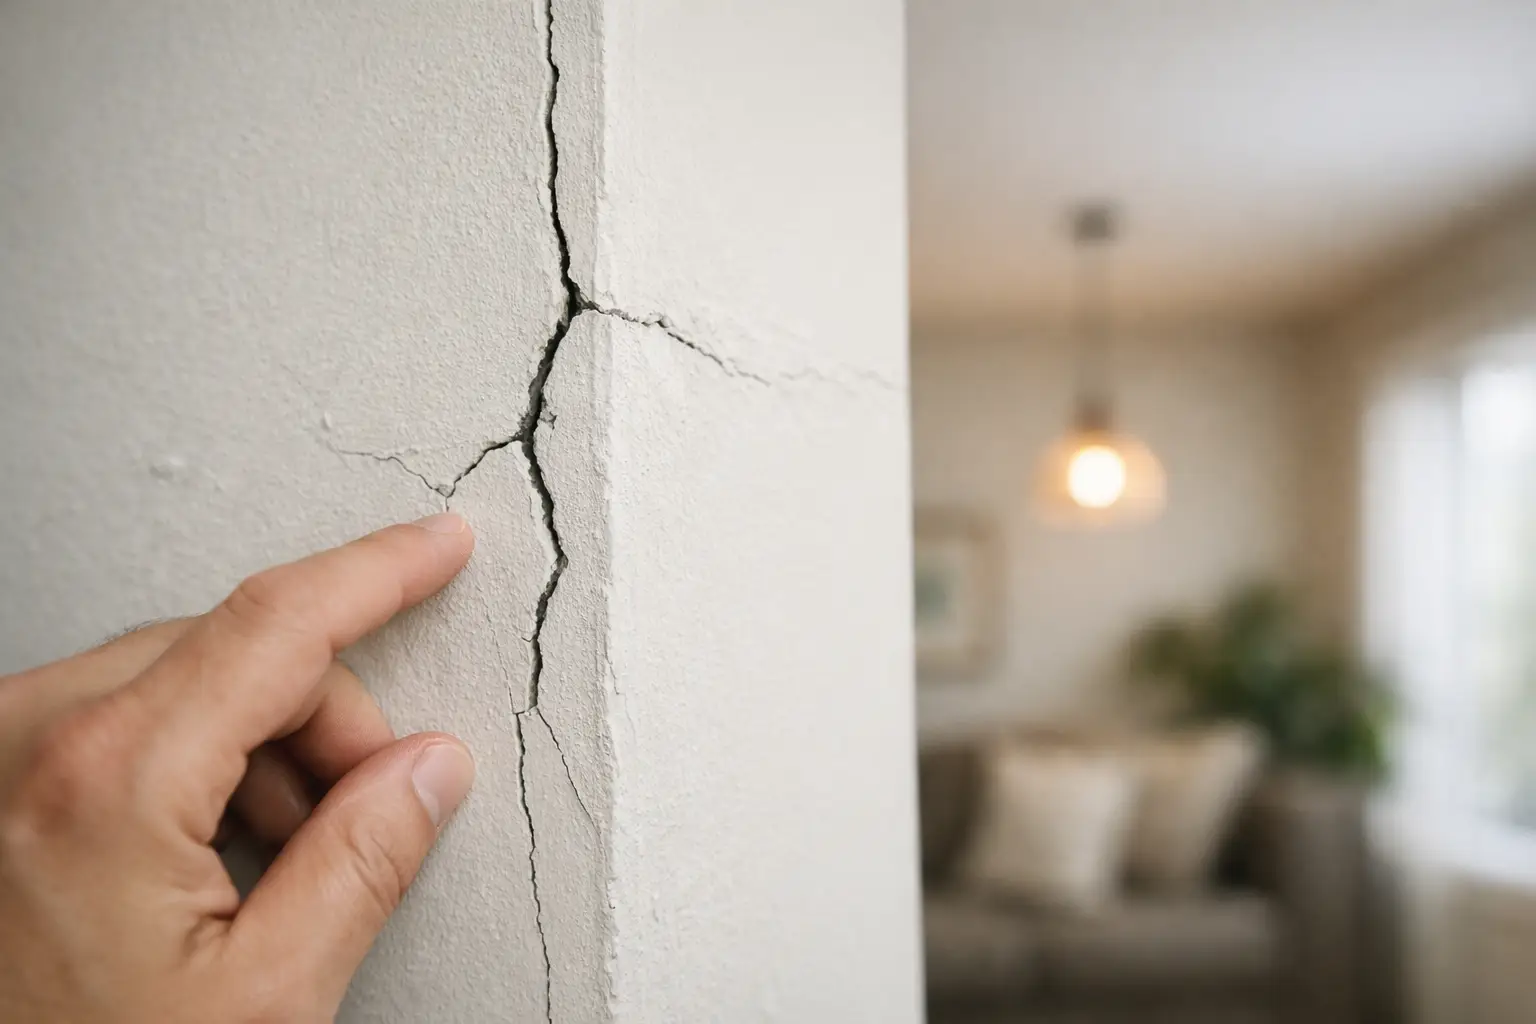
A proper inspection also checks for movement cracks. Fine surface cracks can sometimes be opened, reinforced and filled as part of the preparation. Wider or recurring cracks may indicate building movement, a failed joint or another issue that needs addressing before cosmetic work begins. Honest advice at this point can save a homeowner from paying twice for the same repair.
How a smooth rendered wall is built
The process varies by wall type, but good work follows a clear sequence. First comes protection. Floors, furniture, nearby cabinetry and access paths should be covered so dust and splashes stay contained. Tidy work is not an extra - it is part of respecting a lived-in home.
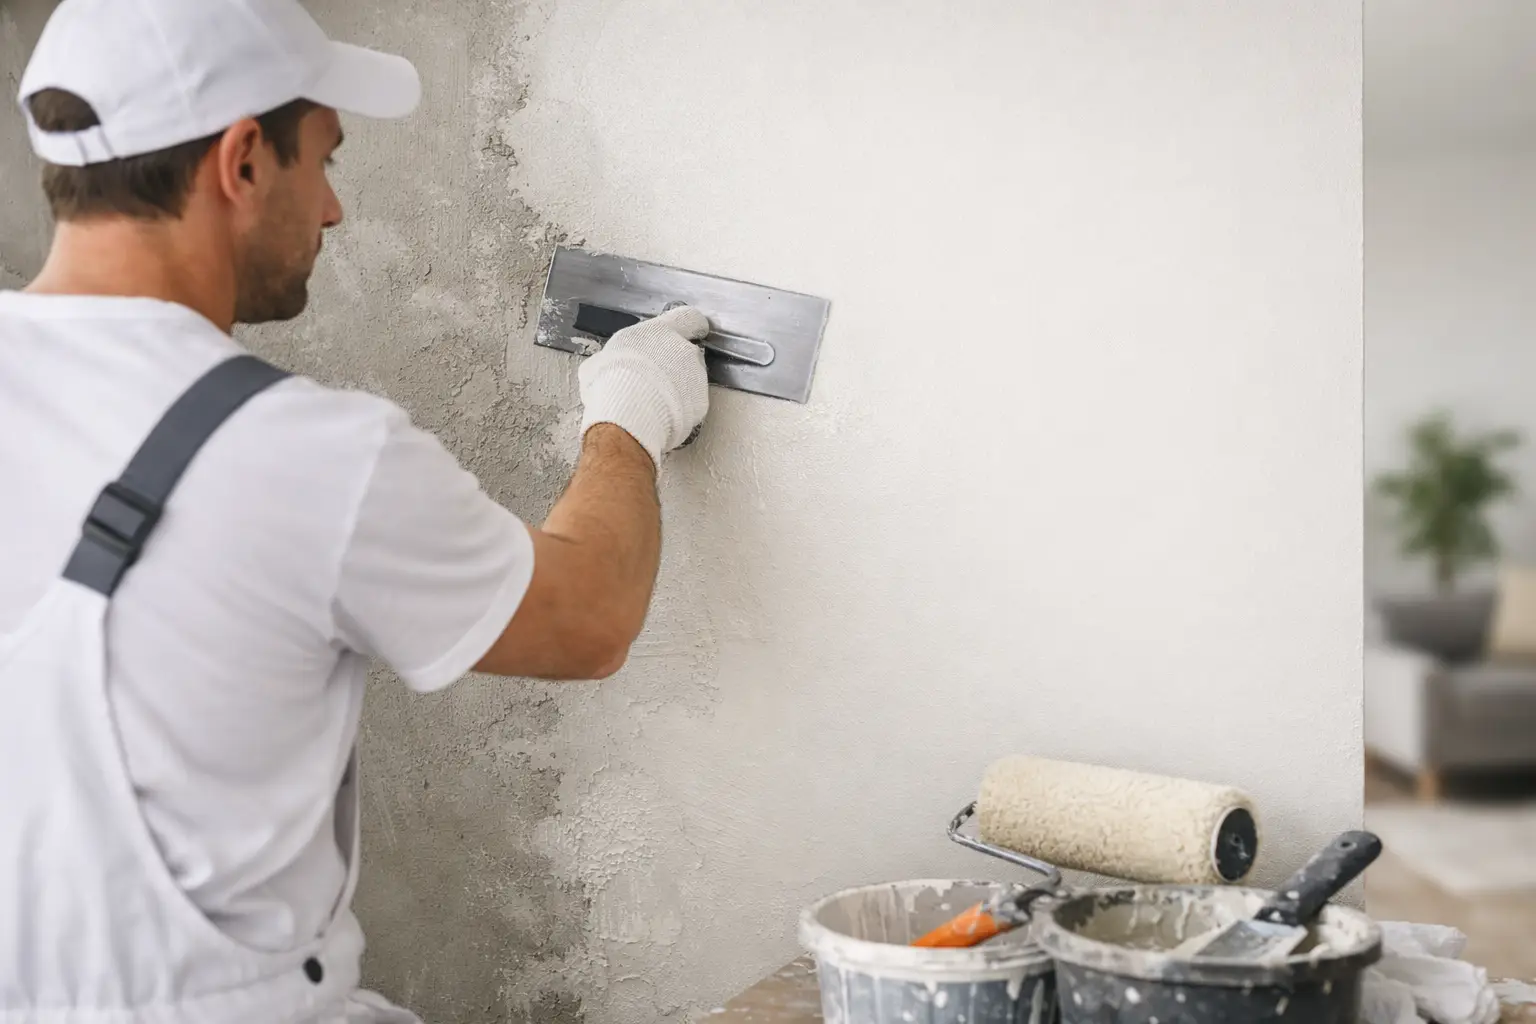
The wall is then cleaned, scraped back and prepared for adhesion. Depending on the substrate, this may involve a bonding agent, mesh reinforcement over vulnerable areas, patching deep hollows or repairing loose sections. On masonry, a base coat may be used to bring the wall closer to level before a finer finishing coat is applied.
The final stage is where patience shows. The surface is ruled, trowelled and refined to suit the intended finish. A wall planned for flat paint and strong side lighting needs a much higher standard than a lightly textured surface in a low-light utility area. Once dry, minor imperfections can be filled and sanded before the wall is primed and painted.
Drying time is not a detail to rush. Thick patches, cool weather, poor ventilation and damp backgrounds can all extend curing time. Painting too soon can lead to poor adhesion, uneven sheen or visible patching. A reliable tradesperson will explain the likely sequence instead of promising an unrealistic turnaround.
Choose the finish for the room and the light
A perfectly smooth wall has a clean, modern look, but it also reveals defects more readily. This is most noticeable in hallways with long sightlines, living rooms with large windows and ceilings or walls lit by LEDs that graze across the surface. In these spaces, extra preparation is worthwhile.
A lightly textured finish can be more forgiving and may better suit some older homes, especially where it matches surrounding walls. Heritage work requires another level of care. Existing profiles, decorative transitions and original wall character should be assessed before repairs begin. Replacing every old surface with a generic flat finish can make an otherwise well-kept home feel mismatched.
Colour and paint sheen also change what you see. Dark colours and low-angle lighting highlight undulations, while high-sheen paints draw attention to even small flaws. If you are considering feature lighting, bulkheads or a new cove detail, it makes sense to plan the wall finish at the same time rather than treating it as an afterthought.
Common shortcuts that cause trouble later
The fastest-looking repair is not always the best-value repair. A few common shortcuts regularly create callbacks, repainting and frustration:
- Skimming over loose paint or hollow render rather than removing it first.
- Filling deep holes in one heavy application instead of building them in suitable layers.
- Ignoring an active leak or damp source behind staining and bubbling paint.
- Sanding and painting before compounds and render have dried properly.
- Matching a patch only by touch, without checking it in the room's natural and artificial light.
These issues are avoidable with careful preparation and clear expectations. The right solution may take a little longer, but it protects the appearance of the finished room.
What to ask before accepting a quote
A quote for wall rendering should describe more than a square-metre rate. Homeowners should know whether loose material will be removed, how cracks will be treated, whether mesh or bonding products are required, and whether the price includes sanding and a paint-ready finish.
It is also reasonable to ask how dust will be managed, who will carry out the work and what happens if hidden damage is uncovered once the wall is opened up. Fixed pricing is valuable when the scope is clear, while genuine concealed issues should be explained with photographs and discussed before extra work proceeds.
For a small repair, the finish quality matters more than the size of the patch. A repair should blend into the surrounding surface and work with existing cornices, skirtings and paint lines. For larger projects, consistency across every wall matters just as much. The hands that quote the job should understand the finish being promised and be accountable for delivering it.
At Yong's Carpentry, that boutique approach means the experienced tradesperson assessing the wall is personally involved from planning through to completion. It keeps communication straightforward and gives homeowners one clear point of contact.
A wall worth painting starts with honest preparation
The best rendered or plastered wall does not demand attention after the room is finished. It sits flat under the light, accepts paint evenly and lets the cabinetry, artwork or new ceiling detail take centre stage. Whether your wall needs a small invisible repair, a fresh lining or a full rendered finish, start by dealing with the surface underneath. That is where a lasting result is made.