How to Frame an Internal Wall in Your Home
A new internal wall can turn an open room into a practical home office, create privacy for a growing family or define a separate living zone. Knowing how to frame an internal wall helps you understand the work involved, but the quality of the set-out and finish will determine whether it feels like part of the original home or an obvious add-on.
For most Perth homes, a non-load-bearing timber or steel stud partition is the right solution. The framing itself is only one part of the job. It must sit straight, allow for wiring and insulation where needed, tie neatly into the ceiling and floor, and provide a solid base for plasterboard, doors, skirting and cornice.
First, confirm the wall can be built where you want it
Before measuring timber, establish whether the proposed wall is purely a partition. A new internal wall should not carry roof, ceiling or upper-floor loads unless it has been designed for that purpose. If you are changing a wall that may be structural, removing part of an existing wall, or building beneath a beam, seek appropriate professional advice before work begins.
The floor and ceiling also matter. In a concrete-slab home, the bottom plate needs suitable fixings into the slab. On a timber floor, fixings must land securely and should not damage services below. At ceiling level, the wall needs a reliable fixing point. This can be straightforward under ceiling joists, but suspended ceilings, raked ceilings and ceiling battens often require more planning.
Check for electrical cables, plumbing, air-conditioning lines and any existing services in the wall or ceiling space. Electrical work must be completed by a licensed electrician. Planning this before the wall is sheeted avoids cut-outs, patching and last-minute compromises.
Plan the layout before you frame an internal wall
Accurate set-out is what keeps a partition wall square, straight and easy to line. Start by marking the proposed wall position on the floor. Measure from fixed points such as external walls, window openings or other established room lines, rather than relying on a wall that may already be out of square.
Transfer the floor line to the ceiling using a laser level or plumb bob. This step is essential. If the top and bottom plates are not directly above one another, the finished wall can lean or create awkward plasterboard joints. Mark both ends, snap a chalk line where appropriate, then check dimensions again before fixing anything permanently.
Decide whether the wall includes a doorway. A standard internal door needs more than an opening cut into the studs. The rough opening must allow for the door jamb, packers and adjustment, with trimmer studs supporting the lintel or header above. The exact opening size depends on the door unit and jamb system being installed, so confirm those dimensions before the frame is built.
It also pays to think ahead to the finished room. Will there be a TV bracket, wall-mounted cabinetry, grab rails or heavy shelving? Install noggings or extra timber backing at the correct heights while the frame is open. It is a small amount of work now and far cleaner than opening a finished plasterboard wall later.
Choose timber or steel studs
Both timber and steel can form a durable internal partition, and the better choice depends on the home and the wall design. Timber framing is familiar, easy to modify on site and useful where solid fixing points are needed for joinery or doors. It can, however, vary slightly in straightness and must be selected carefully to avoid twisted or bowed lengths.
Light-gauge steel framing is straight, lightweight and resistant to termite damage. It is often a sensible choice for simple non-load-bearing walls, particularly where a crisp, consistent line is the priority. Steel requires purpose-made screws and proper consideration for heavier fittings, as a thin steel stud alone is not always enough for substantial loads.
For either option, use materials suited to interior work and keep the framing dry and protected during installation. The aim is not simply to get a wall standing. It is to create a stable, flat plane that gives the plasterboard installer every chance of achieving a smooth, paint-ready finish.
Fix the plates and install straight studs
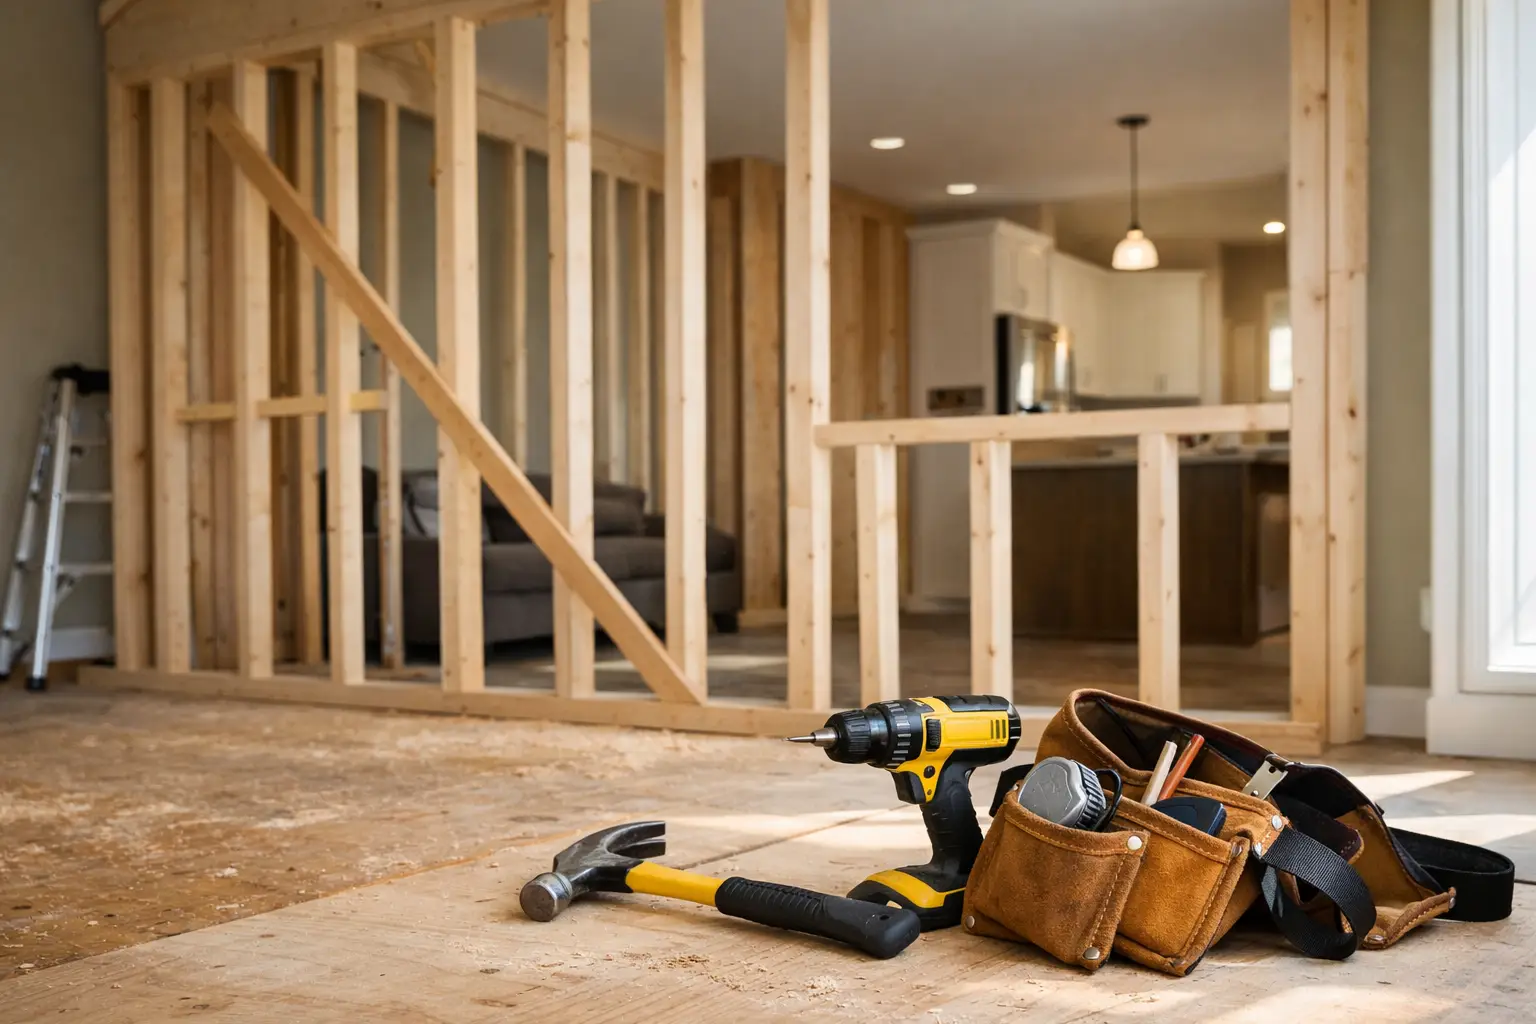
The basic frame consists of a bottom plate fixed to the floor, a top plate fixed to the ceiling structure, vertical studs and horizontal noggings between them. Begin with the bottom and top plates, checking that they are plumb with each other and aligned to the marked layout.
Studs are then cut to fit snugly between the plates and placed at regular centres to suit the plasterboard sheet layout. Consistent spacing matters because plasterboard edges need solid support. Where sheets will join, where a corner is formed, or where a door opening is located, provide adequate framing for secure fixing and a clean junction.
Check each stud with a level as you go. Do not assume the plate alignment alone will keep every stud true. A minor bow or twist can telegraph through the plasterboard, particularly under low-angle light from windows, downlights or feature lighting.
Noggings add stiffness and provide support along the wall. Their placement should also work with future services. If electrical cables need to pass through the studs, use suitable protective measures so screws or nails cannot later penetrate the cable. This is a detail that is hidden once lined, but it is critical to safety and long-term peace of mind.
Framing a doorway properly
Door frames receive regular movement and impact, so they need more care than a plain wall section. Build the opening with full-height king studs, trimmer studs and a properly supported header above the opening. Keep the opening plumb and square, then confirm its width and height against the door jamb before lining the wall.
A frame that is even a few millimetres out can make hanging the door harder, create uneven gaps or leave the latch misaligned. Taking time to set it accurately avoids a door that rubs, swings open or looks uneven once painted.
Allow for insulation, sound and services
An internal wall is an opportunity to improve privacy. If the wall separates a bedroom from a living area, a study from a hallway, or a laundry from a living space, acoustic insulation between the studs can noticeably reduce everyday noise. The framing should be complete and services roughed in before insulation is fitted.
For stronger sound control, consider the full wall system rather than insulation alone. Acoustic insulation, careful sealing around penetrations and appropriate plasterboard selection can all make a difference. The best approach depends on the level of privacy required and the available wall thickness.
This is also the point to arrange electrical wiring, data points, switches and any plumbing. Photograph the open framing before plasterboard goes on, with a tape measure visible where useful. Those photos can be valuable years later when locating studs or planning alterations.
Prepare for a clean plasterboard finish
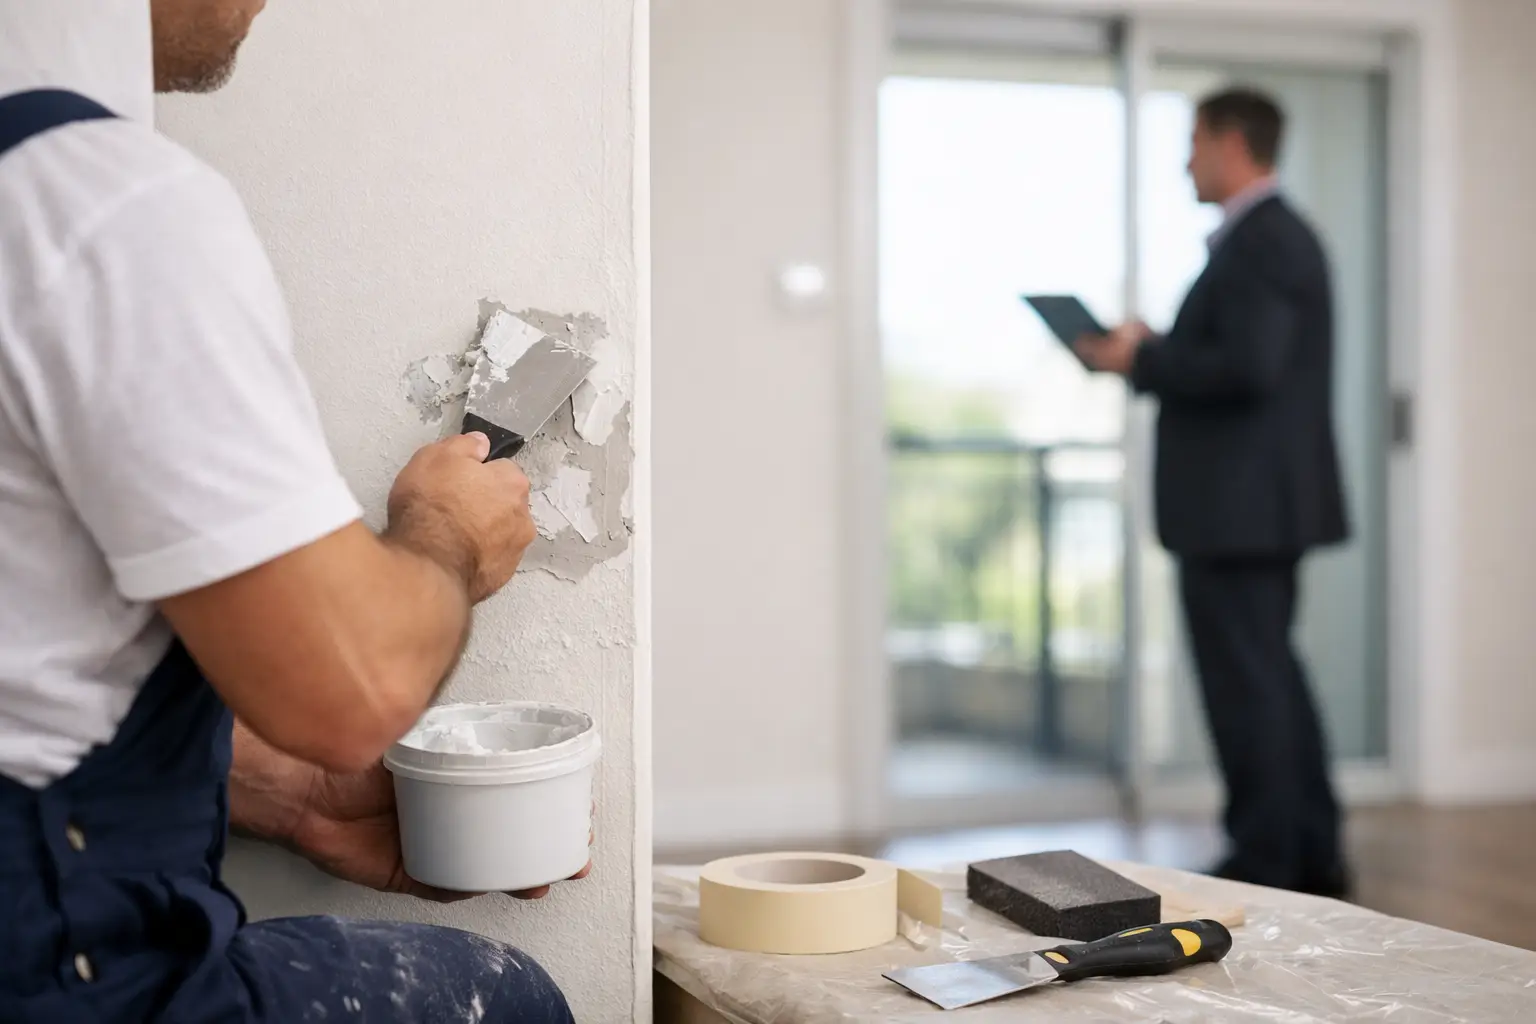
A well-framed wall makes plasterboard lining faster and produces a better result. Before sheets are installed, run a straightedge across the face of the studs and correct any proud or recessed areas. Check corners, door openings and ceiling intersections for straightness. Plasterboard compound can disguise minor imperfections, but it cannot fully rescue a poor frame.
Choose plasterboard suitable for the room. Standard board is common in dry living spaces, while wet areas need moisture-resistant linings and correctly managed waterproofing systems. Fire-rated or acoustic-rated boards may be required or worthwhile in particular locations.
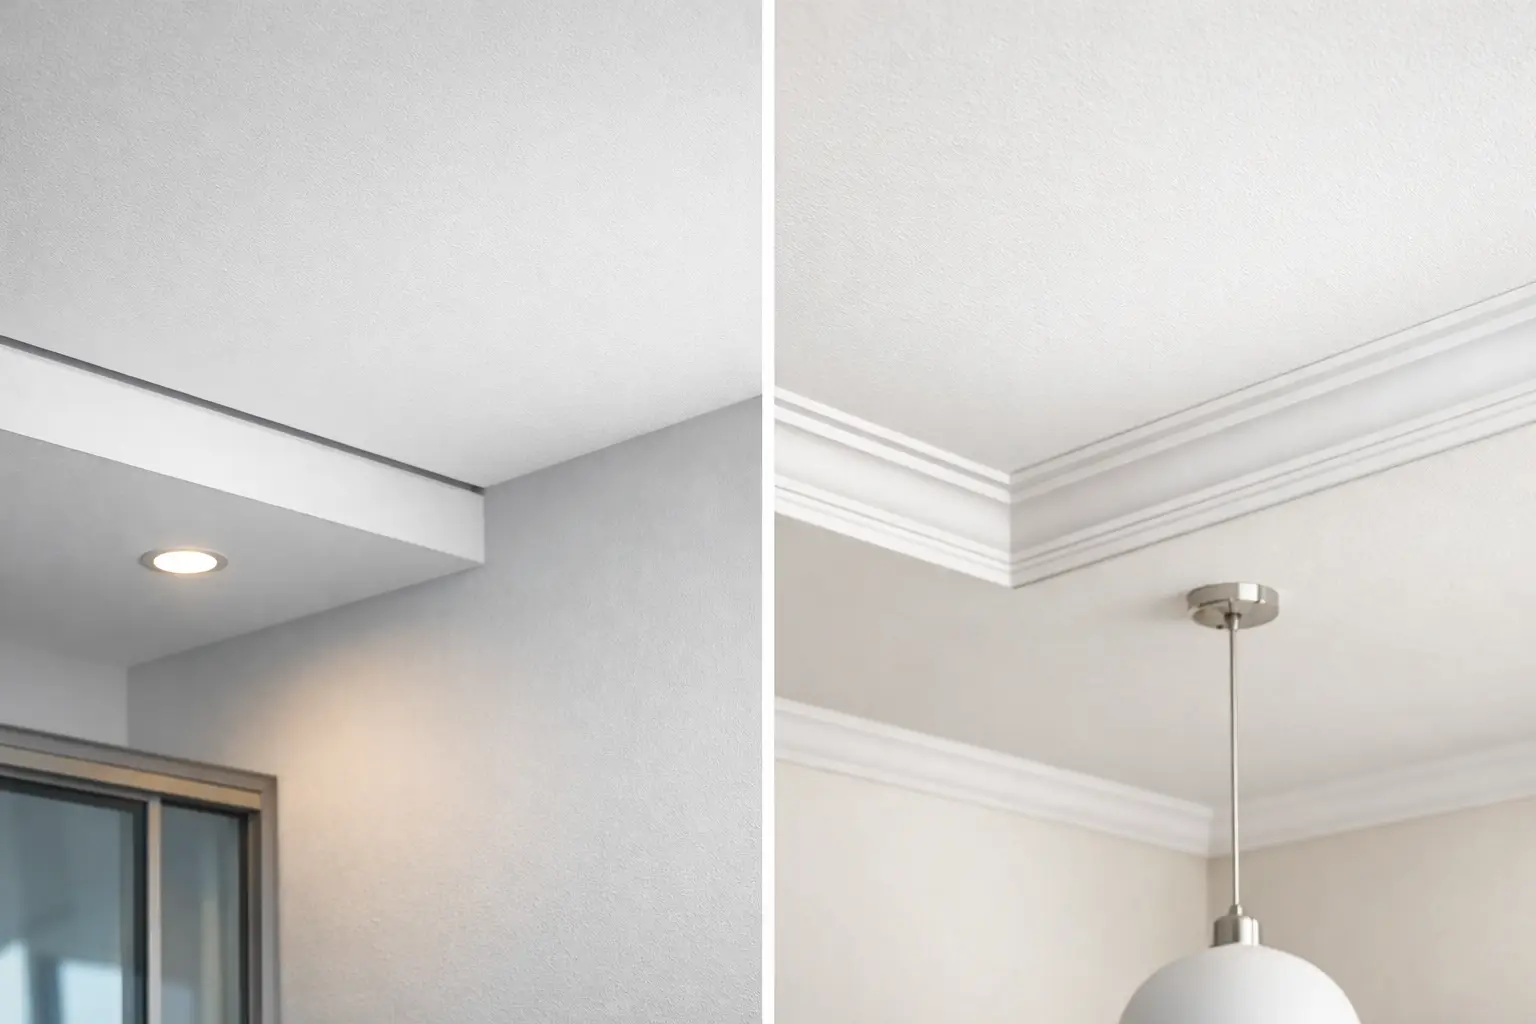
Once sheeted, joints are taped and finished, corners are protected and the wall is sanded ready for painting. Skirting, architraves and cornice complete the visual connection to the rest of the home. Matching existing cornice profiles or repairing the ceiling junction carefully is often what makes a new partition feel original rather than newly added.
When a professional installation is the better option
A straightforward partition can look simple on paper, yet older homes rarely offer perfectly level floors, square rooms or predictable ceiling structures. Water damage, sagging ceilings, uneven slabs and heritage details can quickly turn a basic frame into a repair and finishing project.
For homeowners who want fixed pricing, tidy work practices and one accountable tradesperson from quote to completion, Yong's Carpentry can plan and personally finish internal wall framing, plasterboard lining and the details around it. The hands that quote your job are the hands that finish it, which means clearer communication when a doorway, ceiling line or existing cornice needs a practical solution.
The most useful test is simple: stand where the finished wall will sit and think about how the room needs to work five years from now. A carefully placed, straight and properly finished partition will keep earning its place long after the paint has dried.