Cove Lighting Trends for Perth Homes in 2026
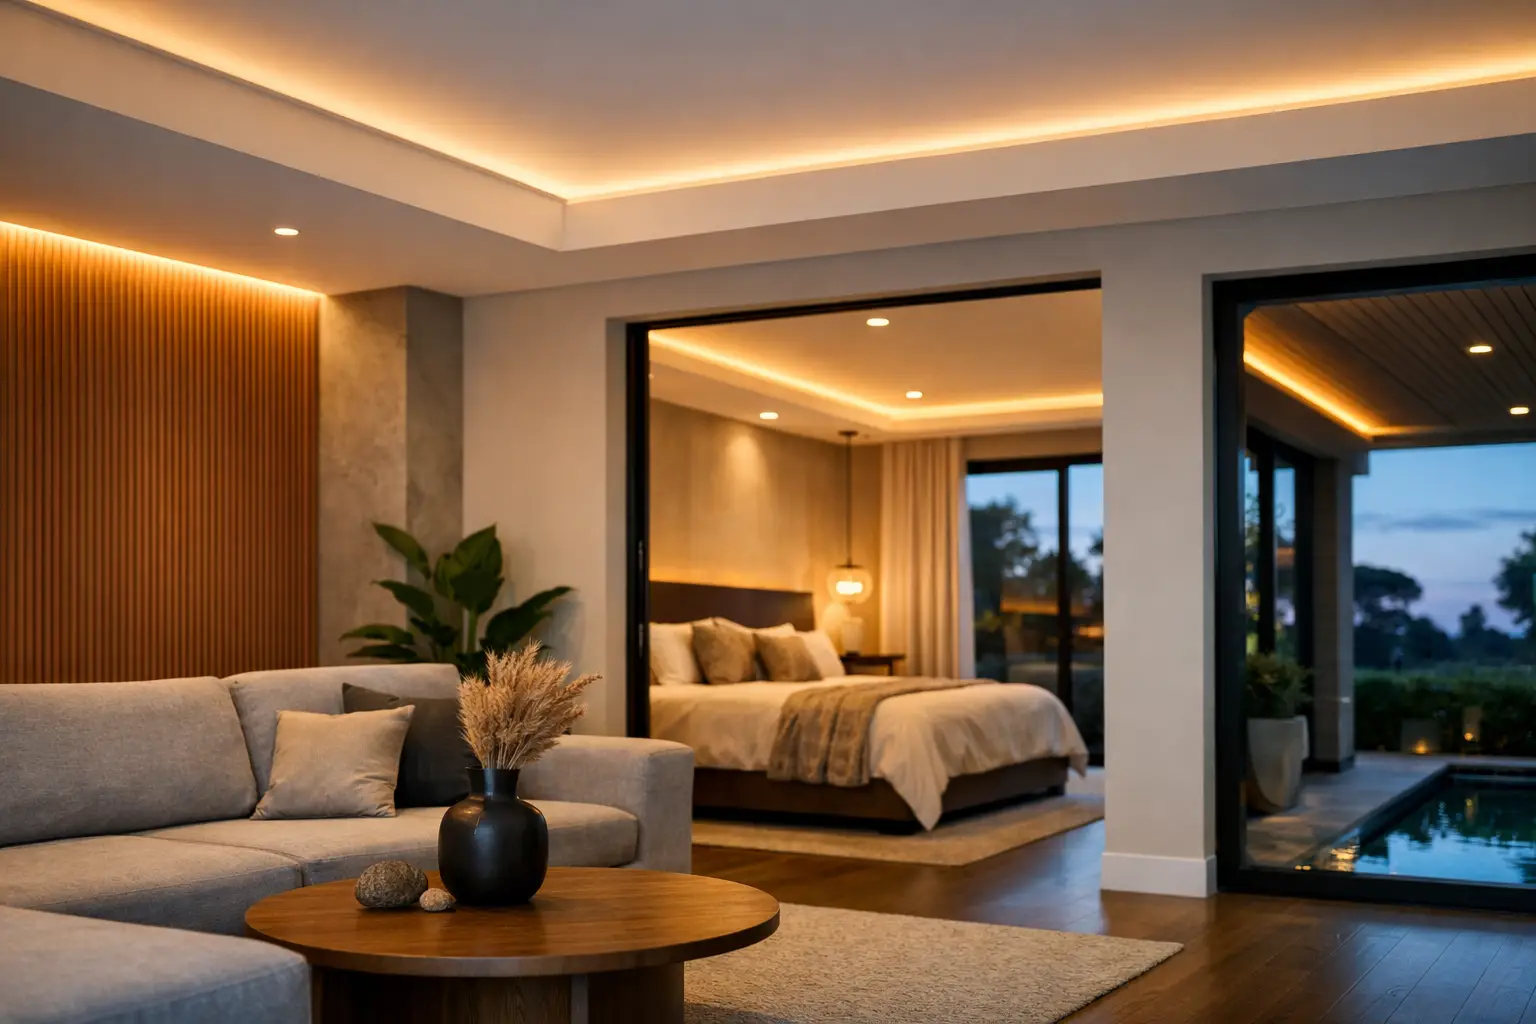
A well-built lighting cove changes a room without asking for attention. When the LEDs are off, it should read as a crisp ceiling detail or a clean bulkhead. When they are on, the light should wash softly across the ceiling rather than expose every joint, cable or uneven line. That is why the most useful cove lighting trends are less about novelty and more about thoughtful placement, warm light and plastering finished to a paint-ready standard.
For Perth homeowners renovating a living area, bedroom or open-plan kitchen, a recessed LED cove can add depth without making the room feel busy. The result depends on proportion, ceiling height, electrical planning and the quality of the plasterboard work behind the strip light. Here is what is shaping the look in 2026, and where a restrained approach usually delivers the better long-term result.
Cove lighting trends are moving towards softer rooms
The bright, cool-white blue glow once common in feature ceilings is giving way to calmer lighting. Homeowners are choosing coves to create atmosphere at night, support everyday living and make standard-height rooms feel more considered.
The strongest current designs keep the source of light concealed. You see an even glow on the ceiling or wall, not individual LED dots or the aluminium channel itself. This calls for accurate set-out, straight framing and a clean internal recess. A small inconsistency can become obvious as soon as grazing light runs across a surface.
There is also a move away from putting a cove around every edge of the room. One carefully positioned run can be more effective: above a television wall, around a dining zone, along a hallway ceiling or beside a bedroom bulkhead. It gives the architecture a purpose instead of turning the ceiling into a light show.
Warm white and dimmable LEDs lead the way
For most homes, warm white LED lighting between 2700K and 3000K is the safe choice for a relaxed, residential feel. It sits comfortably with timber flooring, natural stone, beige and off-white paint colours, and warmer metal finishes. In bedrooms and living rooms, it is generally more flattering and easier to live with than a harsh cool white.
Dimming is no longer an optional extra where the cove is intended for evening use. A cove that looks impressive at full output can be too bright while watching television or settling children for bed. A properly selected dimmable LED system lets the same detail provide low ambient light at night and practical brightness when needed.
Colour-tunable and RGB systems still have a place, particularly in media rooms or entertaining spaces. They are not the best default for every room. Coloured light can date quickly, and low-quality strips may produce uneven colour or visible spotting. If the goal is a timeless renovation, warm white with reliable dimming is usually the more sensible investment.
Match the light to the room's job
A bedroom cove benefits from low, soft light that can replace a bedside lamp for late-night movement. In a lounge, it works best as part of layered lighting alongside downlights, lamps or wall lights. Kitchens need more care: cove lighting adds ambience, but it does not replace clear task lighting over benches and cooking areas.
The principle is simple. Use a cove for mood and spatial depth, then provide separate lighting for tasks. Relying on one light source to do both usually produces either a gloomy work area or an overly bright room.
Floating ceilings and shadow gaps stay popular
A floating ceiling effect remains one of the most requested looks, especially in contemporary renovations. Rather than forming a traditional cornice line, the ceiling or bulkhead is set back to create a narrow shadow gap. Hidden LED lighting can sit within that reveal and make the ceiling appear to hover.
This works particularly well over kitchen islands, dining tables and lounge zones in open-plan homes. It helps define an area without adding a full-height partition wall. In a larger room, a dropped plasterboard section can also help conceal services, create a home for downlights and add visual order to an otherwise plain ceiling.
The trade-off is height. A bulkhead or floating ceiling takes up ceiling space, so proportions matter. In a low-ceilinged room, an oversized drop can feel heavy and make the room smaller. A shallower, simpler recess may achieve the same lighting benefit without crowding the space.
Shadow gaps also demand precision. The line must stay consistent across corners, around openings and beside existing walls that may not be perfectly straight. This is not an area to treat as a quick add-on after painting has begun.
Clean geometry is replacing ornate feature ceilings
Decorative stepped ceilings, multiple curves and elaborate coloured lighting have not disappeared completely, but many homeowners are now favouring cleaner geometry. A single linear cove, a square recessed panel or a simple perimeter reveal is easier to integrate with modern furniture and less likely to date.
That does not mean every home needs a minimalist ceiling. Period homes and rooms with existing decorative cornices can benefit from a more sympathetic approach. The aim may be to retain the character of the cornice while introducing discreet indirect light elsewhere, such as within a new bulkhead or behind a feature wall.
The best design responds to what is already in the house. A sharp modern shadow gap beside ornate heritage-style cornices can look disconnected unless the transition has been properly considered. Likewise, installing a bulky traditional-looking cove in a streamlined new extension can interrupt the intended style.
Indirect wall washing is becoming more deliberate
Ceiling coves are increasingly paired with feature walls, particularly timber battens, textured plaster finishes, stone-look cladding and large-format artwork. The lighting is not there simply to brighten the wall. It is used to bring out texture and give the surface depth after dark.
This is where the direction of light matters. Light grazing down a textured wall will reveal every variation, which can be striking when the wall is designed for it. The same effect can highlight poor patching, uneven paint or old plasterboard imperfections. Before installing a wall-wash cove, the surface needs to be assessed honestly.
For a smooth painted wall, a softer upward ceiling wash is often more forgiving. For a deliberately textured feature, a more focused wash can create the desired drama. It depends on the finish, viewing distance and how much natural light the room receives.
Concealed details matter more than expensive fittings
A premium result is rarely about the LED strip alone. It comes from what you do not see: a straight recess, sufficient depth to hide the light source, accessible drivers, neat corners and a surface prepared for paint.
The LED channel needs to be positioned so the strip does not create a row of dots on the ceiling. Diffusers, suitable channel profiles and the correct setback all help produce an even wash. There also needs to be a practical plan for drivers and electrical connections. If a component requires service later, it should not mean cutting open a finished ceiling unnecessarily.
In Western Australia, electrical wiring and final connections must be completed by a licensed electrician. Planning the carpentry, plasterboard and electrical work together prevents costly rework. The framing must allow the electrician a clear route, while the electrician needs to know exactly where the cove and access points will sit before the ceiling is closed.
Retrofitting a lighting cove needs realistic expectations
A new build or major renovation gives the cleanest pathway because the ceiling is already open. In an existing home, a cove can still be added, but the approach depends on the ceiling construction, location of wiring and whether a new bulkhead makes sense visually.
A narrow perimeter bulkhead is often the practical retrofit option. It can create the required depth for indirect light while providing a route for wiring. The join between new and old plasterboard needs careful setting, sanding and preparation so it disappears under paint. This is especially relevant in lived-in homes where dust control, furniture protection and tidy work practices matter just as much as the finished line.
Cost is shaped by more than the length of the LED strip. Ceiling height, access, electrical work, corners, existing cornices, driver locations and painting preparation all affect the scope. A fixed-price quote based on an on-site inspection is more useful than a rough per-metre figure that leaves these details out.
Plan the cove before choosing paint and furniture
Lighting coves should be decided before final paint selection, not after. Warm white light can make some whites appear creamier, while cooler light may pull out grey or blue undertones. Test paint samples under the proposed lighting temperature where possible.
Also consider curtains, cabinetry and ceiling fans. A perimeter cove needs enough clearance to avoid clashing with curtain tracks or competing with tall joinery. In bedrooms, the line of light should be planned so it does not shine directly into the eyes of someone lying in bed.
For homeowners who want a result that feels built in rather than added on, the conversation should start with the room, not the LED strip. The hands that quote the job should be able to assess the ceiling lines, explain what will work at that height and plan a detail that can be personally finished to a high standard.
A lighting cove earns its place when it makes the room calmer, more useful and better resolved after dark. Choose the detail that suits the home you have, allow for proper electrical coordination, and keep the finish clean enough that the light only shows what you intended it to show.