Wall Finishes That Make a Home Feel Properly Done

A freshly painted room can still look unfinished when the wall beneath it is uneven, patchy or poorly repaired. That is why wall finishes deserve attention before a painter opens a tin. The right finish controls how light moves through a room, how easily walls clean up, and whether repairs disappear or remain visible every afternoon when the sun comes through the window.
For Perth homeowners, the best choice usually comes down to the condition of the existing walls, the age and style of the home, and the result you want after painting. A smooth, paint-ready finish suits most interiors, but textured coatings, rendered surfaces and heritage details each have their place. The key is getting the preparation right first.
What wall finishes actually include
Wall finishes are often treated as a paint decision, but paint is only the final layer. The finish begins with the substrate - plasterboard, masonry, old plaster or a previously painted wall - and includes the lining, jointing, patching, sanding, sealing and surface treatment needed to make it ready for its final coating.
In a newer home, this may mean setting plasterboard joints cleanly, installing corner beads and sanding the surface to a level suitable for painting. In an older property, the work can be more involved. Cracks may need stabilising rather than simply filling, water-damaged plasterboard may need replacement, and old decorative profiles may need careful matching.
A good wall finish should look calm, flat and consistent from different angles. It should not draw attention to itself. That sounds simple, but achieving it takes proper preparation, controlled sanding and an understanding of how different materials behave.
Smooth plaster finishes for most interiors
For living rooms, bedrooms, hallways and renovated kitchens, a smooth plaster finish is usually the most practical option. It creates a clean backdrop for paint, cabinetry, artwork and lighting, and it works equally well in contemporary homes and more traditional interiors.
The quality of a smooth finish becomes especially noticeable on long hallway walls, beside large windows and under downlights. These areas show up every small ridge, joint or sanding mark. A wall that looks acceptable in low light can look rough once daylight moves across it.
The trade-off is that smooth walls demand more care during both preparation and painting. Dark paint colours, satin or semi-gloss paints, and strong directional lighting will highlight imperfections more than a soft matt finish. If you are planning a deep navy feature wall or have recessed LED lighting washing down a surface, it is worth allowing for a higher level of preparation.
For most homes, the goal is a paint-ready surface that gives the painter a reliable base rather than asking paint to hide uneven workmanship. Paint can improve a wall's appearance, but it cannot correct poor jointing or a lumpy repair.
When skim coating is worthwhile
A skim coat is a thin, even layer of finishing plaster applied across a wall to improve consistency. It can be useful where old walls have minor pitting, widespread patch repairs, stubborn texture or uneven surfaces left after wallpaper removal.
It is not necessary for every room. If plasterboard is sound and the joints are well set, local preparation may be enough. But when a wall has been repaired repeatedly over the years, a skim finish can give the whole area one consistent surface instead of leaving a collection of visible patches under fresh paint.
Textured wall finishes: practical, but not always timeless
Textured coatings can help disguise small imperfections and suit certain architectural styles. They are common on some older homes and can be a practical finish for hard-wearing areas. Fine texture can also soften glare on a large wall where light is particularly harsh.
However, texture is not a shortcut for poor repairs. Heavy texture may hide a minor undulation, but it can make future patching harder and can date a room quickly if it does not suit the rest of the home. It also collects dust more readily than a smooth painted wall and can be more difficult to clean.
If you are renovating one room in an otherwise textured home, consider whether matching the existing finish will look more natural than introducing a smooth wall beside it. Conversely, when modernising a whole area, removing or levelling outdated texture may be the better long-term choice. The right answer depends on how much of the home is being updated and whether continuity or a fresh new look matters more.
Rendered and masonry walls need the right preparation
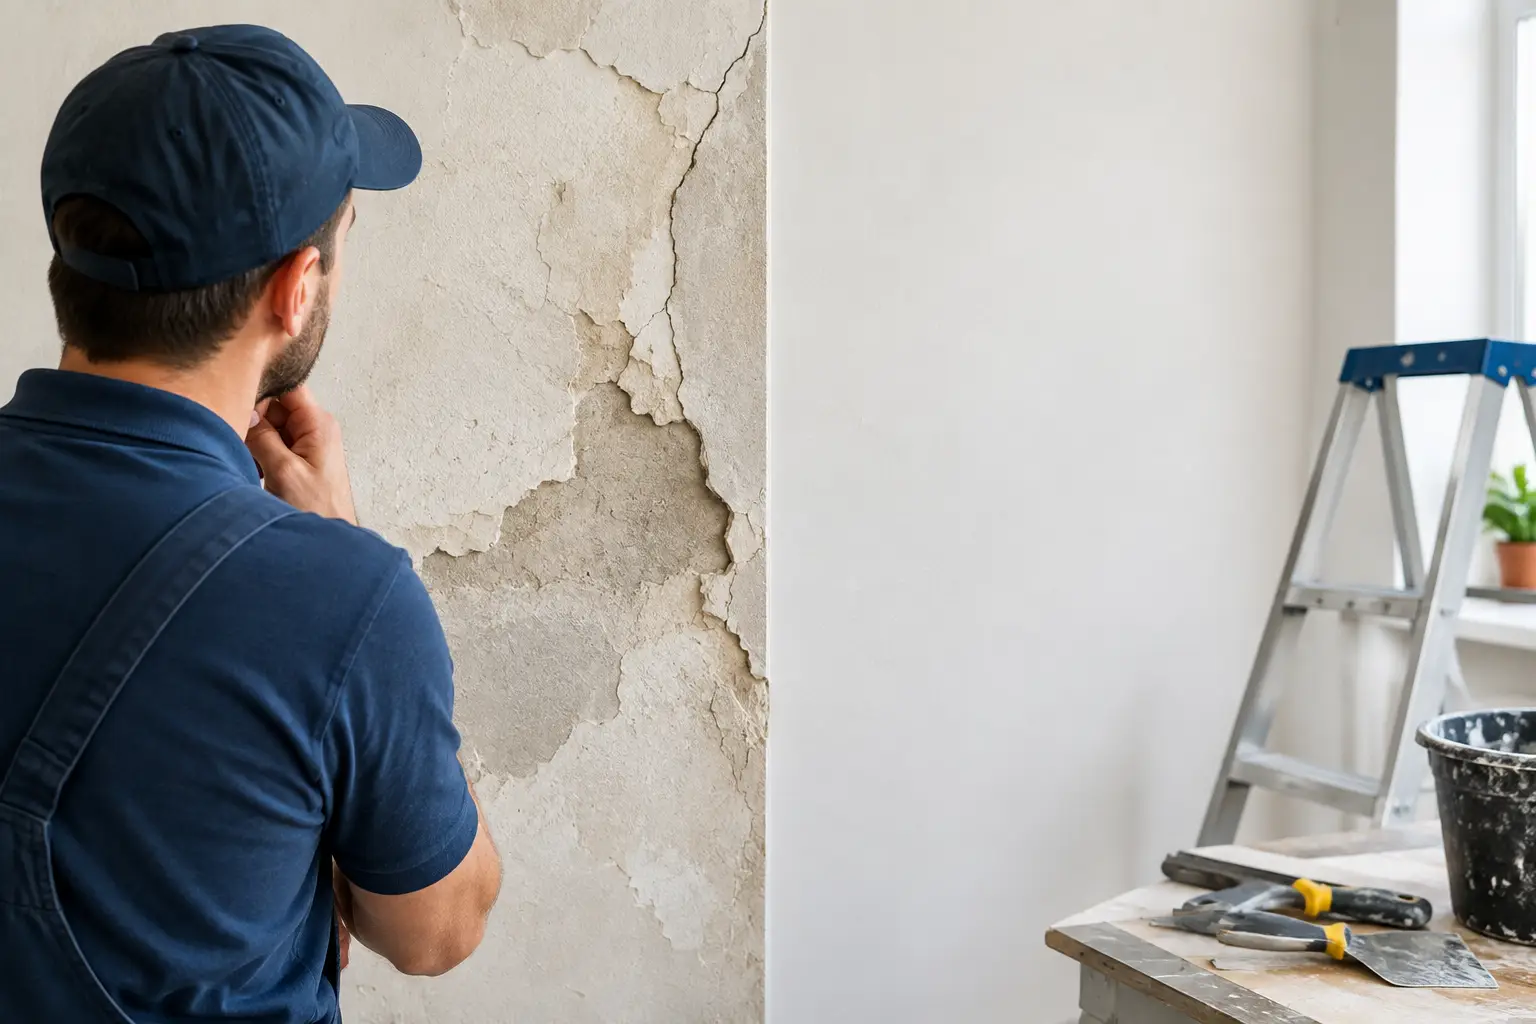
Brick, blockwork and rendered walls require a different approach to plasterboard. Hairline cracking, hollow sections, moisture marks and failing paint should be assessed before new coatings are applied. Painting over an active problem can make it look better briefly, but the issue will usually return.
Internal render may need patching where it has cracked or been damaged, followed by careful feathering so the repair does not show through paint. Where the wall is damp, the source needs attention first. This could be a roof leak, plumbing issue, failed external waterproofing or condensation problem. Replacing damaged lining or applying a fresh finish without resolving moisture is wasted effort.
Older homes can also have walls that are slightly out of level or carry evidence of past alterations. Trying to make every surface perfectly flat may not be realistic or necessary. A skilled approach is about making the wall look intentional and clean while respecting the construction of the house.
Repairs should disappear, not just be filled
A proper repair is more than applying compound to a crack. The cause needs to be considered. Settlement cracks, movement around door frames, water damage and impact holes each need a different response.
A crack that has opened because two materials are moving differently may need reinforcing before it is set and sanded. Water-damaged plasterboard often needs cutting back to sound material, not just covering stained or softened sections. A hole in a high-traffic hallway needs a solid patch behind it so it will not flex and crack again.
The finish is where the standard shows. A repair should blend beyond the damaged area, be sanded without gouging the surrounding surface, and be ready for primer and paint. When light hits the wall, the eye should travel across it without stopping at the repair.
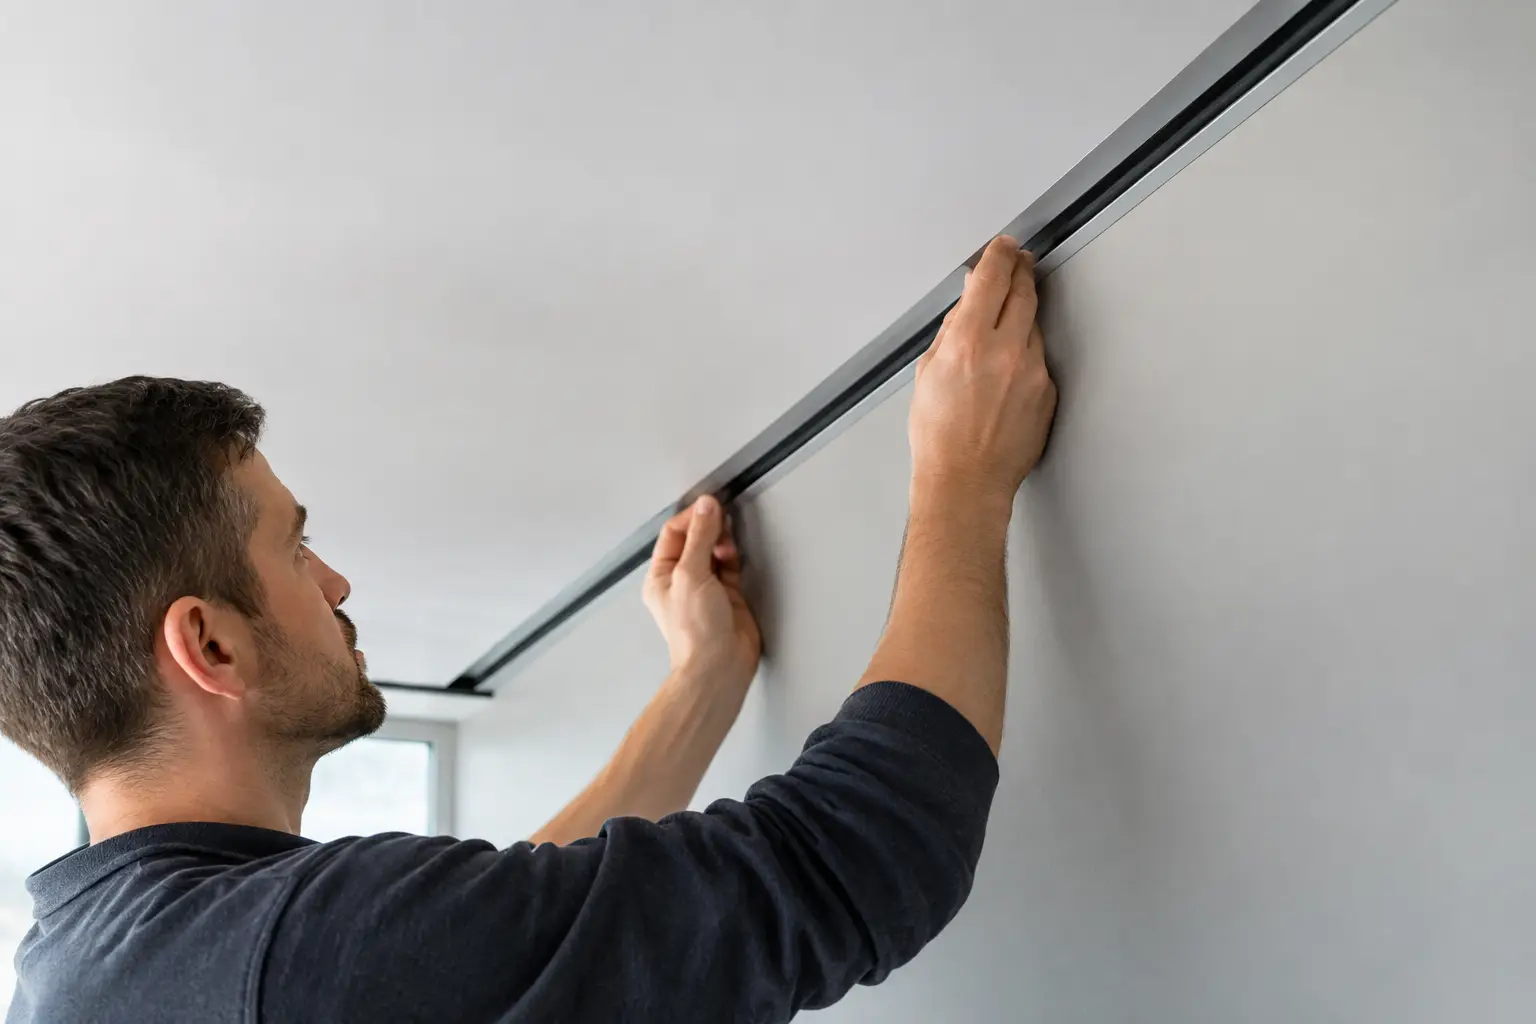
This is particularly important for ceiling-to-wall junctions, cornices and bulkheads. These lines frame a room, so gaps, uneven joins and rough patches are hard to ignore. If a heritage cornice has been damaged, matching its profile and making the join look original takes more care than fitting a standard modern cornice.
Match the finish to the room and the light
Before choosing a finish, stand in the room at different times of day. Perth's bright light can expose surface flaws that are easy to miss during a quick inspection. Large windows, west-facing rooms and rooms with downlights close to the wall all call for careful preparation.
Consider how the room will be used as well. A family hallway may benefit from a durable, washable paint over a smooth prepared wall. A formal lounge may suit a refined plaster finish with subtle colour. A utility area may prioritise easy maintenance over a perfect feature-wall appearance.
Feature walls deserve some restraint. A deep colour, textured coating, panelling or decorative plaster can work well, but combining several strong finishes in one room can make it feel busy. Often, a single well-finished wall paired with clean adjacent surfaces has more impact than adding detail everywhere.
What to expect from a careful wall finishing job
The process should be clear before work starts. A proper on-site assessment identifies the wall type, damage, likely cause of any cracking, access requirements and the finish level needed for the planned paint and lighting. This is also the point to discuss whether the work is a local repair, a full-wall skim coat, new plasterboard lining or part of a larger ceiling or partition project.
Preparation matters inside an occupied home. Floors, furniture and nearby surfaces should be protected, dust should be managed, and the work area left tidy at the end of the day. Sanding creates fine dust even when precautions are taken, so honest communication about the process is part of good service.
Fixed pricing also helps avoid uncertainty. The scope should state what is being repaired or installed, what finish is included, and whether painting is part of the work or the surface will be left paint-ready. If hidden damage is uncovered after a water leak or demolition, it should be discussed before extra work proceeds.
At Yong's Carpentry, the hands that quote the job are the hands that finish it. That direct approach makes it easier to agree on the required standard and maintain it through to the final sand and clean-up.
A finish worth noticing only when it is missing
The best wall finish rarely announces itself. It gives paint an even base, makes new joinery sit neatly against the wall, and lets lighting do its job without revealing every imperfection. Whether you are repairing one damaged section or renovating several rooms, choose the finish that suits the wall, the light and the way your home is used - then make sure the preparation receives the same care as the final colour.