A Guide to Ceiling Soundproofing That Works
The footsteps that travel through a ceiling are rarely fixed by a thicker coat of paint or a new cornice. A proper guide to ceiling soundproofing starts by identifying the noise, because a ceiling treatment that helps with television noise may do very little for hard heel strikes, dropped toys or scraping chairs overhead.
For homeowners, the goal is usually not complete silence. It is a quieter, more comfortable room with less interruption to sleep, work and family life. Achieving that takes the right build-up behind the plasterboard, careful sealing and realistic expectations about what the rest of the building allows.
What This Guide to Ceiling Soundproofing Covers
Ceiling noise usually arrives in two ways. Airborne noise is sound carried through the air, such as voices, music, television or barking. Impact noise is vibration created directly in the floor above, including footsteps, furniture movement and objects hitting the floor. Impact noise is generally harder to control from below because the vibration has already entered the structure.
Sound can also travel around the ceiling rather than straight through it. Gaps around light fittings, unsealed ceiling penetrations, shared walls, ductwork and wall cavities can all become paths for sound. This is called flanking transmission, and it is why a seemingly solid new ceiling can still disappoint if the edges and services are ignored.
A worthwhile plan therefore combines some or all of four principles: adding mass, absorbing sound in the cavity, separating the new lining from the structure, and sealing air gaps. The best combination depends on the existing ceiling, access above it, the source of the noise and how much ceiling height can be lost.
Start With the Noise and the Existing Ceiling
Before selecting materials, spend a few days listening carefully. Is the problem limited to one bedroom under a living area? Does it happen mainly at night? Can you hear words clearly, or is it a dull thump? These details point to different solutions and prevent money being spent on the wrong treatment.
The ceiling construction matters just as much. Many homes have plasterboard fixed directly to timber joists, with little or no insulation in the cavity. Others may have an older lath-and-plaster ceiling, a suspended ceiling, ornate cornices or previous repairs that need to be protected. In apartments and townhouses, strata rules, fire requirements and access restrictions may also affect the available options.
An on-site inspection should look for cracks, water staining, loose sheets, recessed lights, air-conditioning vents and ceiling access points. Any moisture issue must be repaired first. Closing up a wet cavity with insulation and new lining risks mould, staining and another round of ceiling work later.
The Ceiling Systems That Make the Biggest Difference
Insulation in the ceiling cavity
Acoustic insulation is a useful first layer where the ceiling cavity can be accessed. It helps absorb airborne sound and reduces the hollow effect inside the void. It is most effective when installed evenly, without large gaps or compressed sections.
Insulation alone is rarely enough for significant footfall noise. It can improve speech and television transfer, but it does not fully stop vibration passing through joists. Think of it as part of a system, not a complete soundproofing solution.
Extra plasterboard for mass
Adding one or two layers of dense plasterboard increases the mass of the ceiling. More mass makes it harder for airborne sound to set the lining into motion. Using staggered joints and sealing the perimeter properly is essential, otherwise sound can find the gaps between sheets.
This approach can be practical when ceiling height is tight, but direct-fixing extra board to the existing framing has limits. It still leaves a solid connection between the structure above and the new ceiling, so impact noise may remain noticeable.
Acoustic clips and furring channels
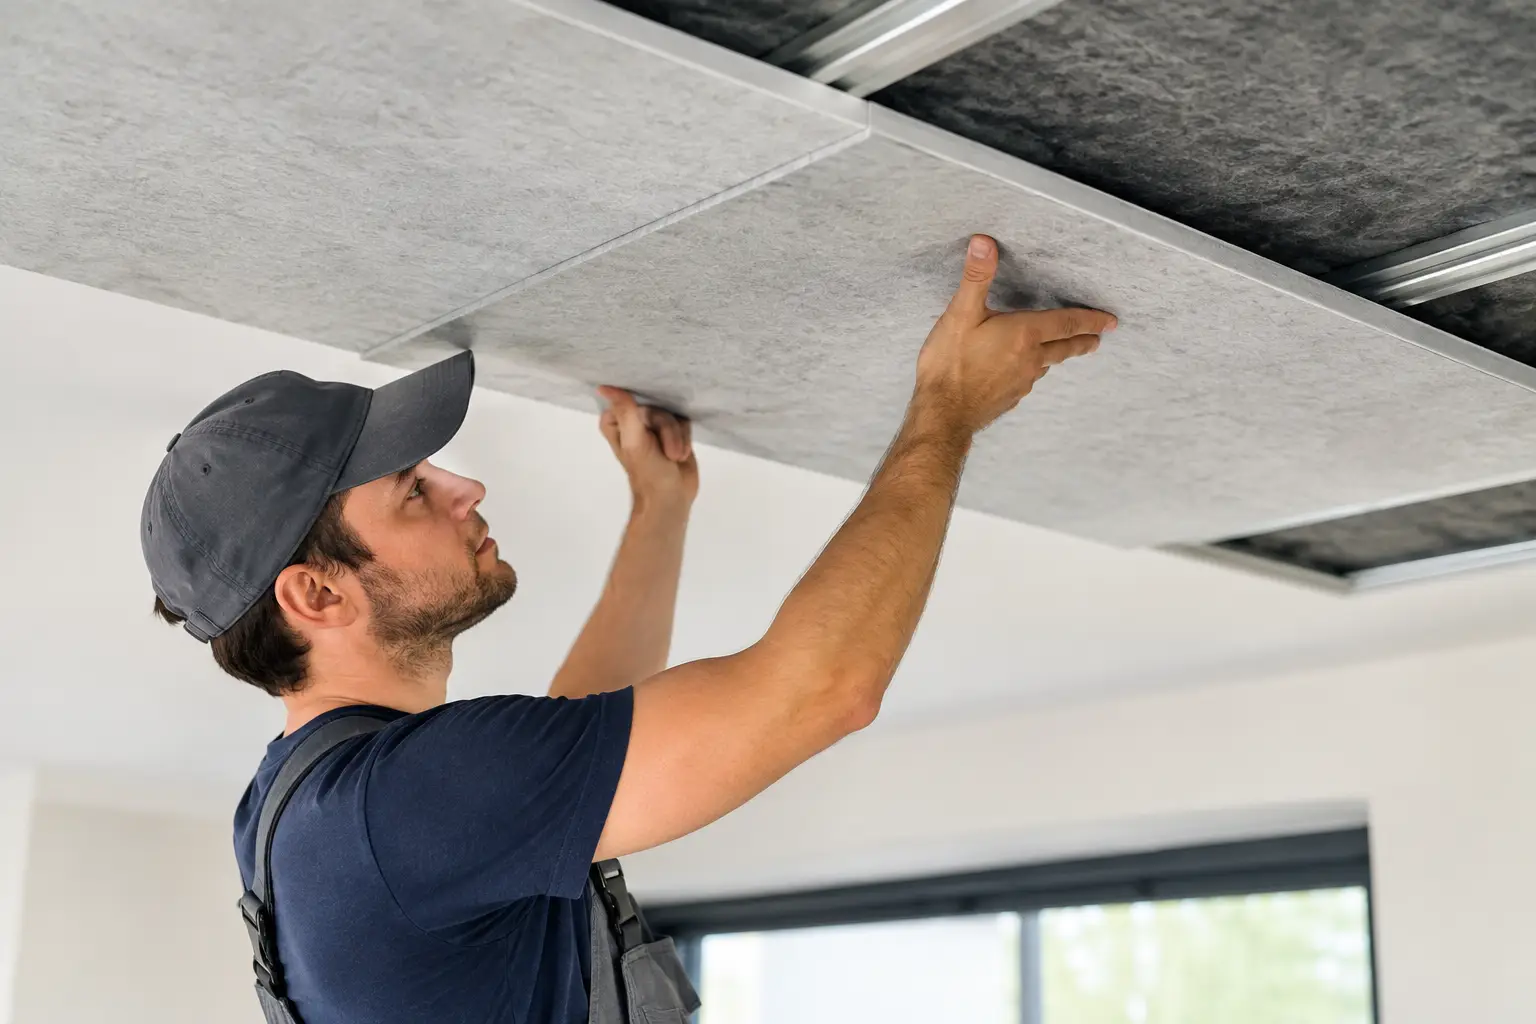
For stronger results, a new plasterboard ceiling can be mounted on acoustic clips and furring channels. The clips introduce a degree of separation between the joists and lining, helping to reduce vibration transfer. Acoustic insulation in the cavity and one or two layers of plasterboard below create a more effective assembly.
This is often the preferred method when upstairs foot traffic is the main complaint. The trade-off is cost, complexity and lost ceiling height. Services such as lights, vents and cornices need to be planned carefully, and the installer must avoid short-circuiting the system by rigidly fixing the new lining back into the joists.
A suspended acoustic ceiling
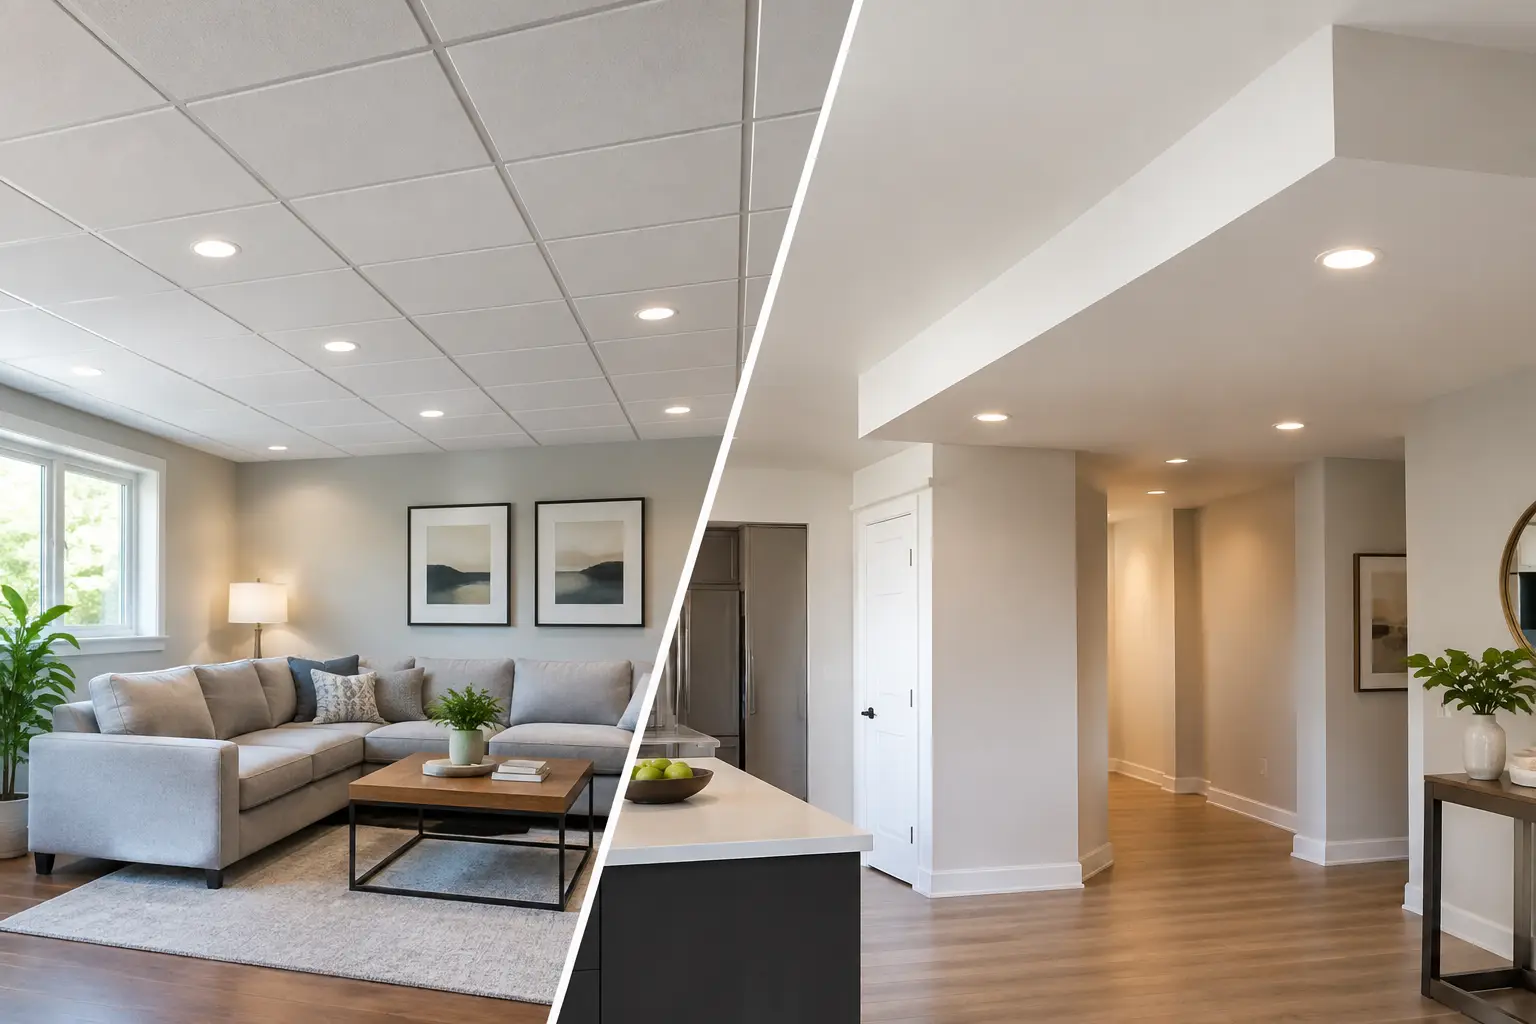
A suspended ceiling creates a larger separated cavity below the original structure. It can provide very good improvement when designed correctly, particularly in rooms with enough height to spare. It also creates opportunities to conceal new lighting or services.
However, it is not automatically the right answer in a standard-height bedroom or a home with decorative features worth retaining. A lower ceiling can change the proportions of the room, affect door and window reveals, and require cornice alterations. The finish should look intentional, not like a compromise.
Details That Decide Whether the System Performs
Soundproofing work is less forgiving than ordinary ceiling lining. Small gaps that would be invisible after painting can weaken acoustic performance. The perimeter of the ceiling should be sealed with an appropriate flexible acoustic sealant before final finishing. Openings around downlights, manholes, vents and pipes need equal attention.
Recessed downlights deserve particular care. Cutting multiple large holes in a sound-rated ceiling reduces the benefit of the plasterboard layers. Depending on the design, surface-mounted fittings, carefully selected enclosed fittings or properly detailed acoustic housings may be better choices. Electrical work should always be completed by a licensed electrician.
The same principle applies to access hatches. A lightweight, loose-fitting manhole can become the weakest point in an otherwise upgraded ceiling. If roof access is required, it should be planned as part of the system and sealed correctly.
Finishing quality still matters. Extra board layers, new bulkheads and altered cornices must meet cleanly, with joints set straight and sanded to a paint-ready finish. A ceiling can be acoustically improved and still look poor if the plastering is rushed.
Know When the Floor Above Must Be Treated
A ceiling upgrade has a ceiling on what it can achieve, especially with impact noise. If heavy footsteps and furniture dragging are the main issue, the most effective solution may include the floor above. Carpet with quality underlay, acoustic underlay beneath hard flooring, rugs in high-traffic areas and felt pads under chairs can reduce noise at its source.
This is particularly relevant in apartments, where hard flooring installed without suitable underlay can create ongoing problems for the residence below. Building by-laws may set acoustic requirements, but resolving an existing issue can still require cooperation from the upstairs owner or occupant.
A good contractor should be upfront about this. Promising complete isolation from below is not honest when the floor structure, shared walls or upstairs finishes continue to carry vibration. The aim is measurable improvement through the best practical combination of source control and ceiling treatment.
Planning the Work Without Creating More Disruption
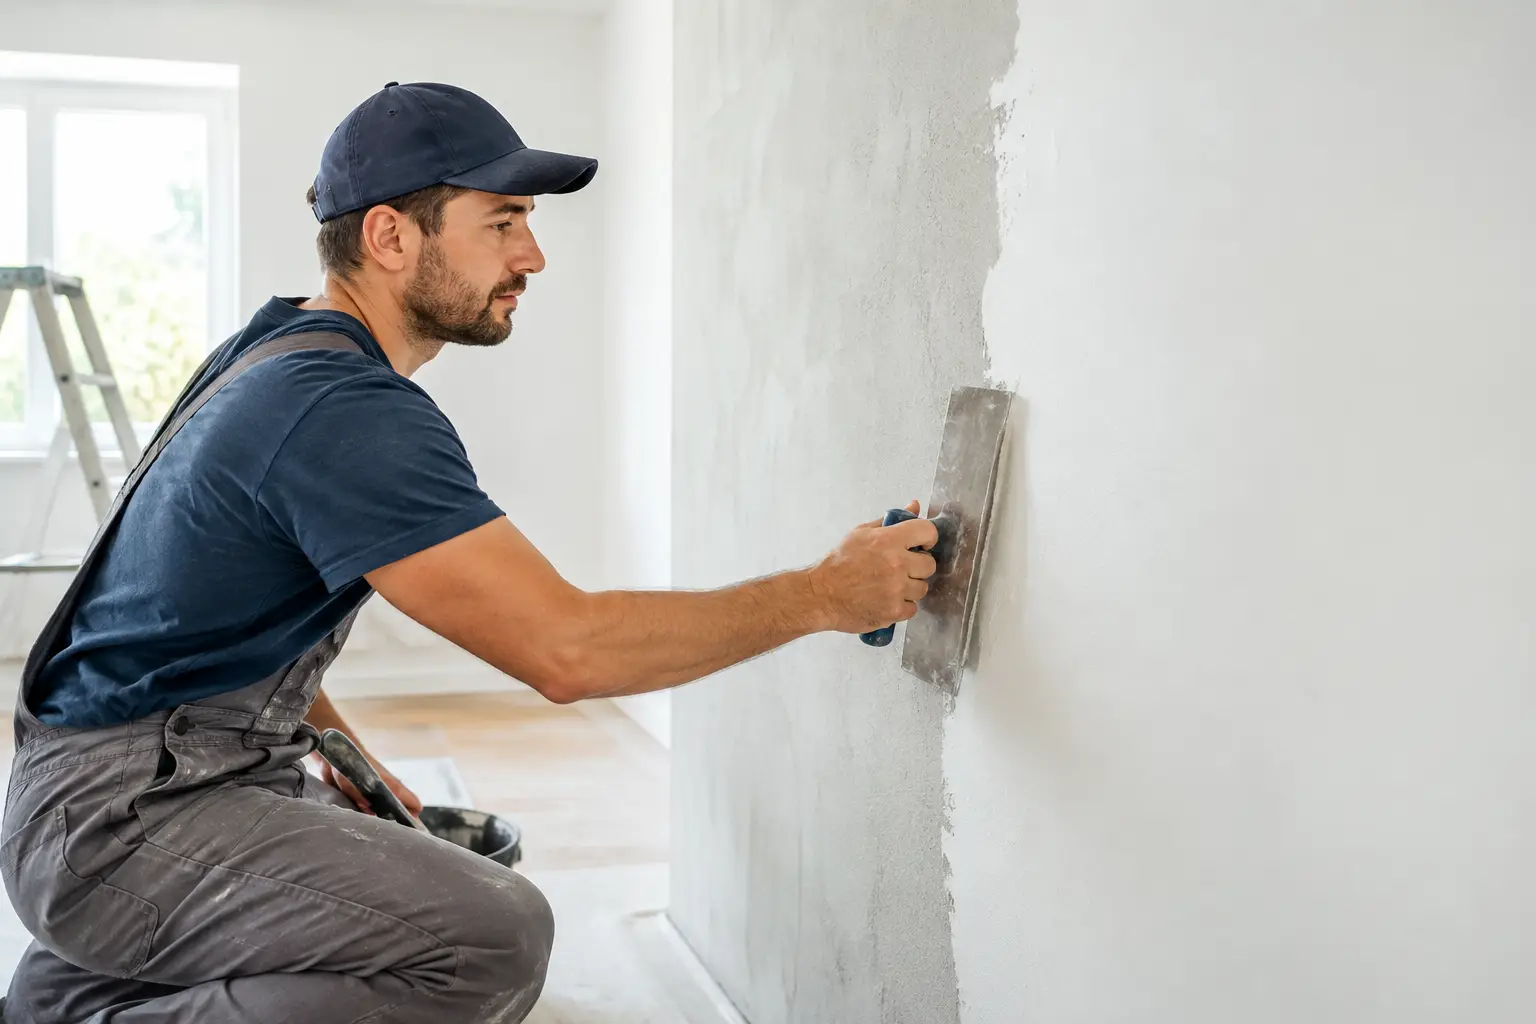
Ceiling soundproofing is dusty work if it involves removing old linings, drilling, cutting and sanding. Protecting floors and furniture, containing dust and leaving the space tidy are part of doing the job properly, especially in lived-in homes.
Ask for a clear scope before work begins. It should state whether the existing ceiling will remain or be removed, what insulation and plasterboard layers are included, how lighting and vents will be handled, whether cornices are being replaced, and what paint preparation is provided. Fixed pricing is only useful when the inclusions are equally clear.
For homes with water-damaged ceilings, heritage cornices or uneven existing work, allow for an assessment before choosing a standard package. Matching an older profile or making a repair disappear takes more care than lining a clean, empty room. The hands that quote the job should understand the finish required at completion, not just the materials required on day one.
Common Shortcuts to Avoid
Do not rely on acoustic foam stuck to the ceiling. Foam can reduce echo within a room, but it does not add meaningful sound insulation between floors. It is often confused with soundproofing because it is marketed for studios and gaming rooms.
Avoid filling every cavity with whatever insulation is available without checking its suitability, electrical clearances and installation method. Also be cautious of adding heavy board layers to a damaged or sagging ceiling without confirming that the framing and existing lining can support the approach.
Finally, do not treat downlights, vents and perimeter gaps as afterthoughts. In acoustic work, the small details are often where the result is won or lost.
The most useful next step is to identify the exact noise you want to reduce, then have the ceiling and surrounding structure assessed before committing to materials. A carefully planned system may cost more than a quick overlay, but it is far more likely to deliver the quiet, cleanly finished room you were hoping for.