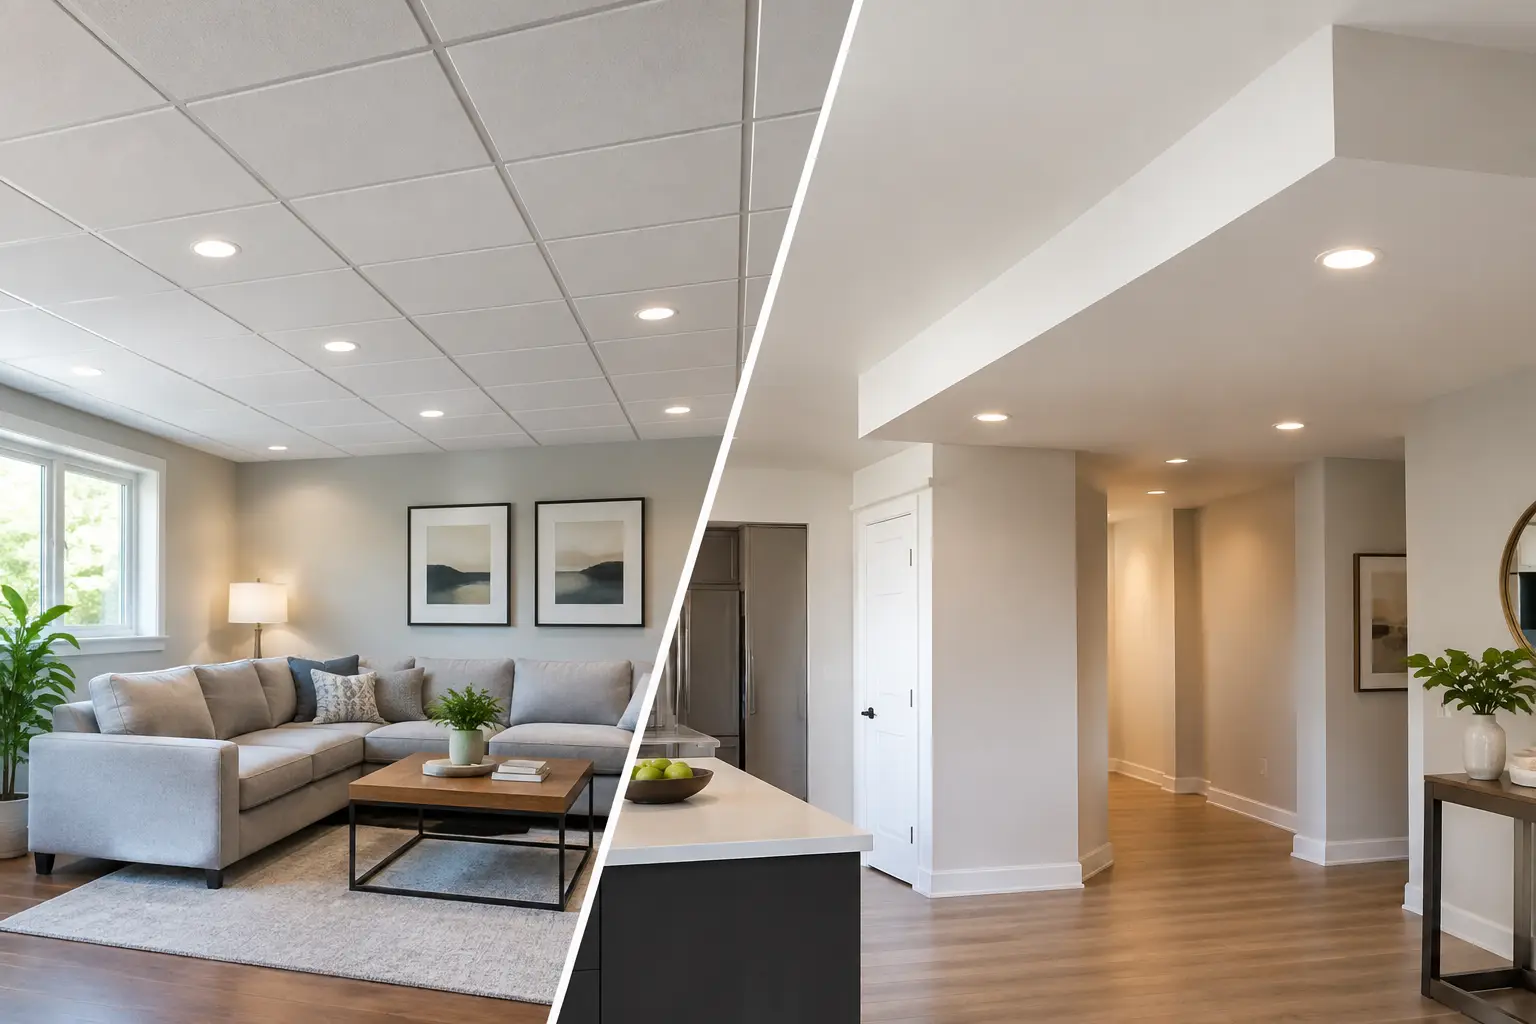
How to Level Uneven Walls for a Smooth Finish
A wall can look acceptable until late-afternoon light runs across it, a new coat of paint goes on, or cabinetry is fitted beside it. Knowing how to level uneven walls starts with understanding whether you are dealing with a minor surface defect or a wall that is genuinely out of plumb. The right repair gives you a smooth, paint-ready finish. The wrong one can hide the problem briefly, then leave cracks, shadows or uneven junctions behind.
For most homes, the best method depends on the wall material, the depth and spread of the unevenness, and what caused it in the first place. A shallow dip in plasterboard can often be skimmed and sanded. A bowed wall, water-damaged lining or movement crack may need a more substantial repair.
First, work out why the wall is uneven
Do not reach for topping compound before checking the wall. Place a long straightedge, level or taut string line across the area in several directions. This shows whether the issue is a local hollow, a raised joint, a broad bow, or a wall that is leaning from top to bottom.
Small ripples are common around plasterboard joints, old patch repairs and areas where paint has built up over many years. These are usually cosmetic. Larger discrepancies can point to loose plasterboard, poorly set framing, failed adhesive, moisture damage or building movement. If the wall feels soft, flexes when pressed, has brown water stains, or shows recurring cracks, deal with the underlying cause before levelling the surface.
Water damage is a common example. A repaired leak does not automatically mean the wall lining is sound. Wet plasterboard can lose strength, sag around fixings and leave swollen paper edges. Covering it with compound may create a neat result for a while, but the repair can fail once the material continues to move.
Choose the right method to level uneven walls
There is no single product or technique that suits every wall. The aim is to create a flat plane, not simply fill the most obvious hole.
For shallow dents, ripples and visible joints
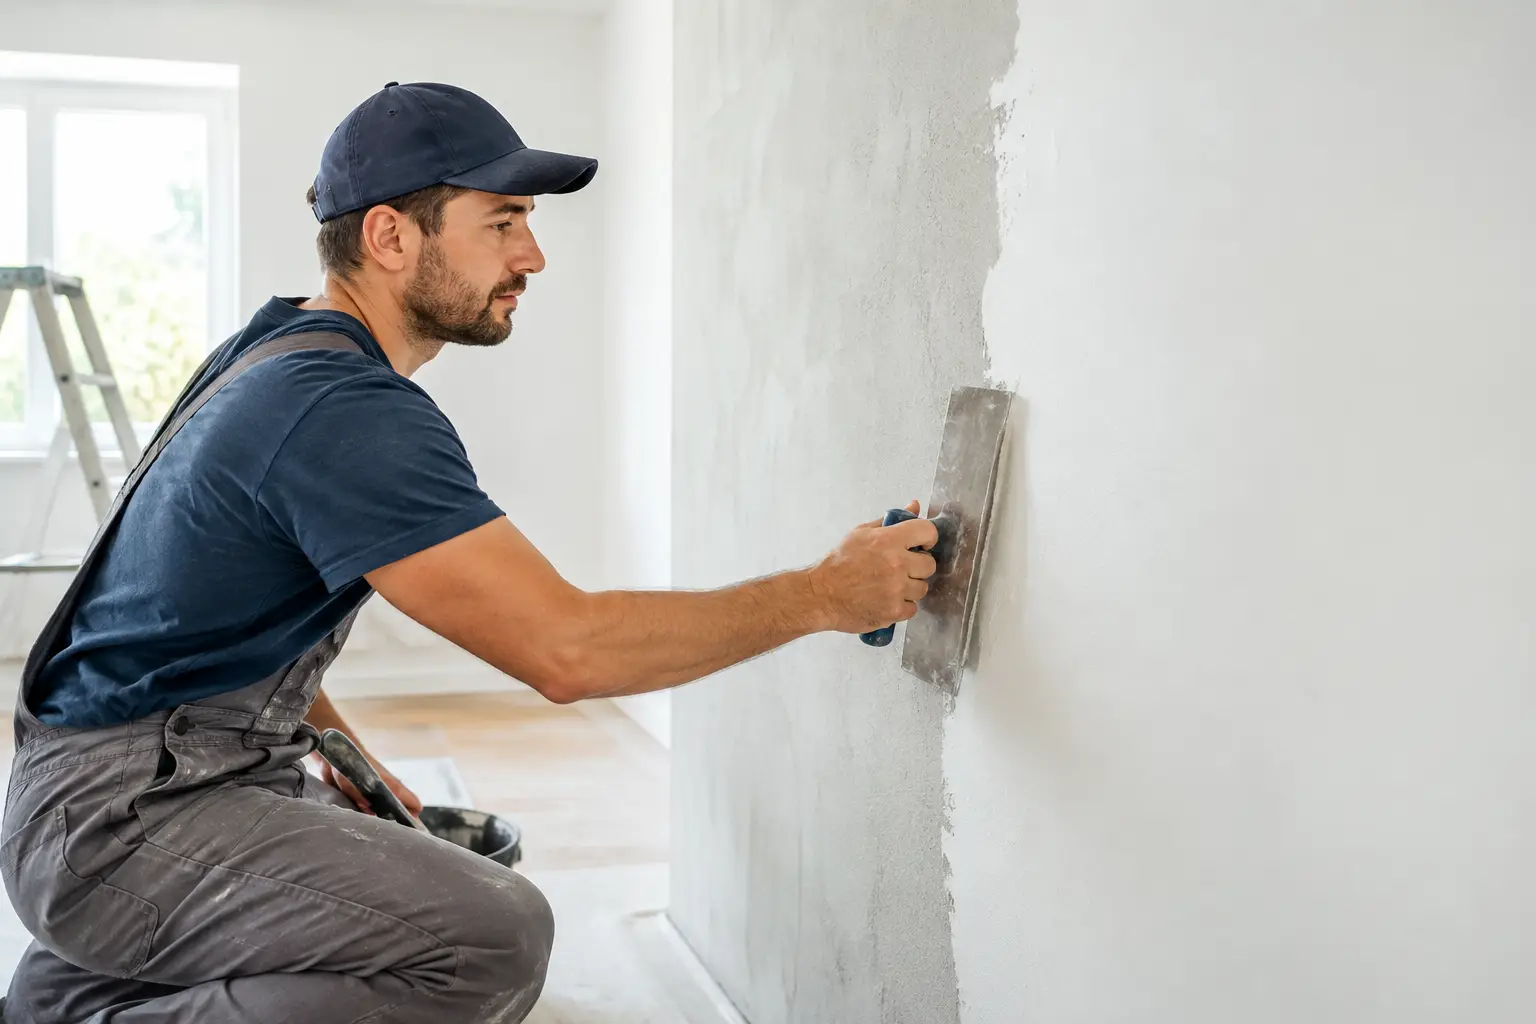
A setting compound or quality plaster compound is usually suitable for imperfections of a few millimetres. Scrape away loose material first, sand down any high spots, and remove dust. Apply the compound in broad, thin coats using a wide trowel or taping knife, feathering well beyond the damaged area.
Several thin coats are more reliable than one heavy coat. Thick compound takes longer to dry, is harder to sand evenly and is more likely to shrink or crack. Check the area with a straightedge between coats rather than relying on how it looks from directly in front of the wall.
For plasterboard joints, use the correct joint tape where cracking or a failed joint is present. Compound alone will not reliably bridge a moving joint. Once dry, sand lightly, inspect under side lighting, then apply a final skim if needed.
For widespread low spots and tired wall surfaces
When much of a wall is wavy but otherwise stable, a full skim coat can create a consistent finish. This is a skilled process because the compound has to be carried across the high and low points without creating new ridges. The goal is a continuous flat surface that blends into corners, skirtings, cornices, door frames and adjoining walls.
A skim coat is often a sensible choice before repainting a room with strong natural light, installing feature lighting, or fitting a large mirror or wall-mounted television. Those finishes tend to expose defects that ordinary paint may have disguised.
It is also worth considering the final paint. Low-sheen and gloss finishes highlight imperfections far more than flat ceiling white or matt wall paint. A wall that looks fine before painting can show every trowel mark once light reflects across it.
For deep hollows, bowed walls or poor framing
A wall that is significantly out of plane may need more than a skim coat. Building up deep areas with plaster compound is slow, costly and can produce a weak repair if the material is applied too thickly.
In these cases, the practical solution may be to remove and replace the plasterboard, pack and straighten the framing, or install new plasterboard over battens to establish a level face. This loses a little room depth, but it provides a much cleaner result where the original wall is badly bowed or the studs are uneven.
For new partition walls and major renovations, getting the framing true before plasterboard goes up is the most efficient option. A careful tradesperson checks the studs, noggins and wall line before lining begins. Correcting a framing issue at that stage is far easier than trying to compensate for it later with plaster.
For masonry, render and solid plaster walls
Brick, concrete and rendered walls need a different approach. Sound but uneven masonry can often be brought level with a suitable render or plaster base coat, followed by a finer finish coat. The surface must be clean, stable and properly prepared so the new material bonds as intended.
Cracks in masonry walls deserve closer attention. Fine surface cracking may be repairable, but broader, stepped or expanding cracks can indicate movement that should be assessed before cosmetic work begins. Levelling over an active crack only delays the visible problem.
Preparation makes the finish last
Good levelling work is mostly preparation. Furniture should be moved or covered, floors protected, and nearby fittings masked where required. Loose paint, failed patching, powdery surfaces and damaged plaster all need to be removed back to a firm edge.
If you are repairing a plasterboard wall, check for popped screws or nails. Refix loose sheets into solid framing before patching, then set the fixings below the surface without breaking the plasterboard paper. A loose sheet will keep moving, no matter how carefully the joint compound is applied.
Prime stained areas with an appropriate stain-blocking sealer after the moisture source has been fixed and the wall has dried fully. This step helps prevent old water marks, smoke staining or tannin marks from bleeding through fresh paint. For a paint-ready result, the repaired wall should feel smooth to the hand and look flat under raking light, not just look good from one angle.
Common mistakes homeowners should avoid
The most common mistake is filling low spots without knocking down high spots first. If a raised joint or old patch is left in place, adding compound around it makes the repair wider and more noticeable.
Another is sanding too aggressively. It is easy to scuff the paper face of plasterboard or expose joint tape, which then requires more repair work. Use a sanding block or pole sander with light, even pressure and inspect regularly. Dust extraction and proper protection also matter, particularly in occupied homes.
Avoid using ordinary gap filler for broad wall levelling. It is useful for small cracks and trim gaps, but it is not designed to create a wide, flat plaster finish. Likewise, do not patch over damp, crumbling or unstable material simply because it is quicker.
When professional wall levelling is worth it
A small nail hole or isolated dent is a reasonable DIY job. Professional help is usually worthwhile when the wall has widespread waves, recurring cracking, water damage, heritage plaster details, large areas requiring skimming, or visible defects around cornices, doors and bulkheads.
This is particularly true when the wall will sit behind a new kitchen, built-in cabinetry or feature lighting. Those installations are expensive to alter once fitted, and an uneven wall can create awkward gaps that no amount of flexible sealant truly disguises.
At Yong's Carpentry, the hands that quote the job are the hands that finish it. That means the cause of the unevenness can be assessed properly, the repair method explained clearly, and the work completed with the surrounding surfaces in mind. Fixed pricing and tidy preparation also make a significant difference when work is being carried out inside a lived-in home.
A flat wall is about more than appearance
Level walls help paint sit evenly, cabinetry fit neatly and new finishes look intentional. More importantly, a proper repair addresses the reason the surface became uneven rather than covering it with a quick cosmetic layer. If you are unsure whether a wall needs a skim, a patch or replacement lining, have it checked before painting - it is the simplest time to get the finish right.