How to Fix Ceiling Cracks Properly
A hairline line above the lounge is easy to ignore - until it grows, reappears after painting, or starts telegraphing through the whole ceiling. If you are wondering how to fix ceiling cracks, the real question is not just how to fill them, but why they appeared in the first place and whether the repair will actually hold.
Some cracks are cosmetic. Others point to movement, failed joints, moisture damage or a poor original installation. Getting a lasting result means treating the cause, not just smearing filler over the top and hoping fresh paint hides it.
How to fix ceiling cracks without making them worse
The biggest mistake homeowners make is patching too lightly. A ceiling crack is often sitting along a plasterboard joint, which means there has already been some movement. If you simply press in a bit of filler and sand it smooth, the crack can return within months - sometimes weeks.
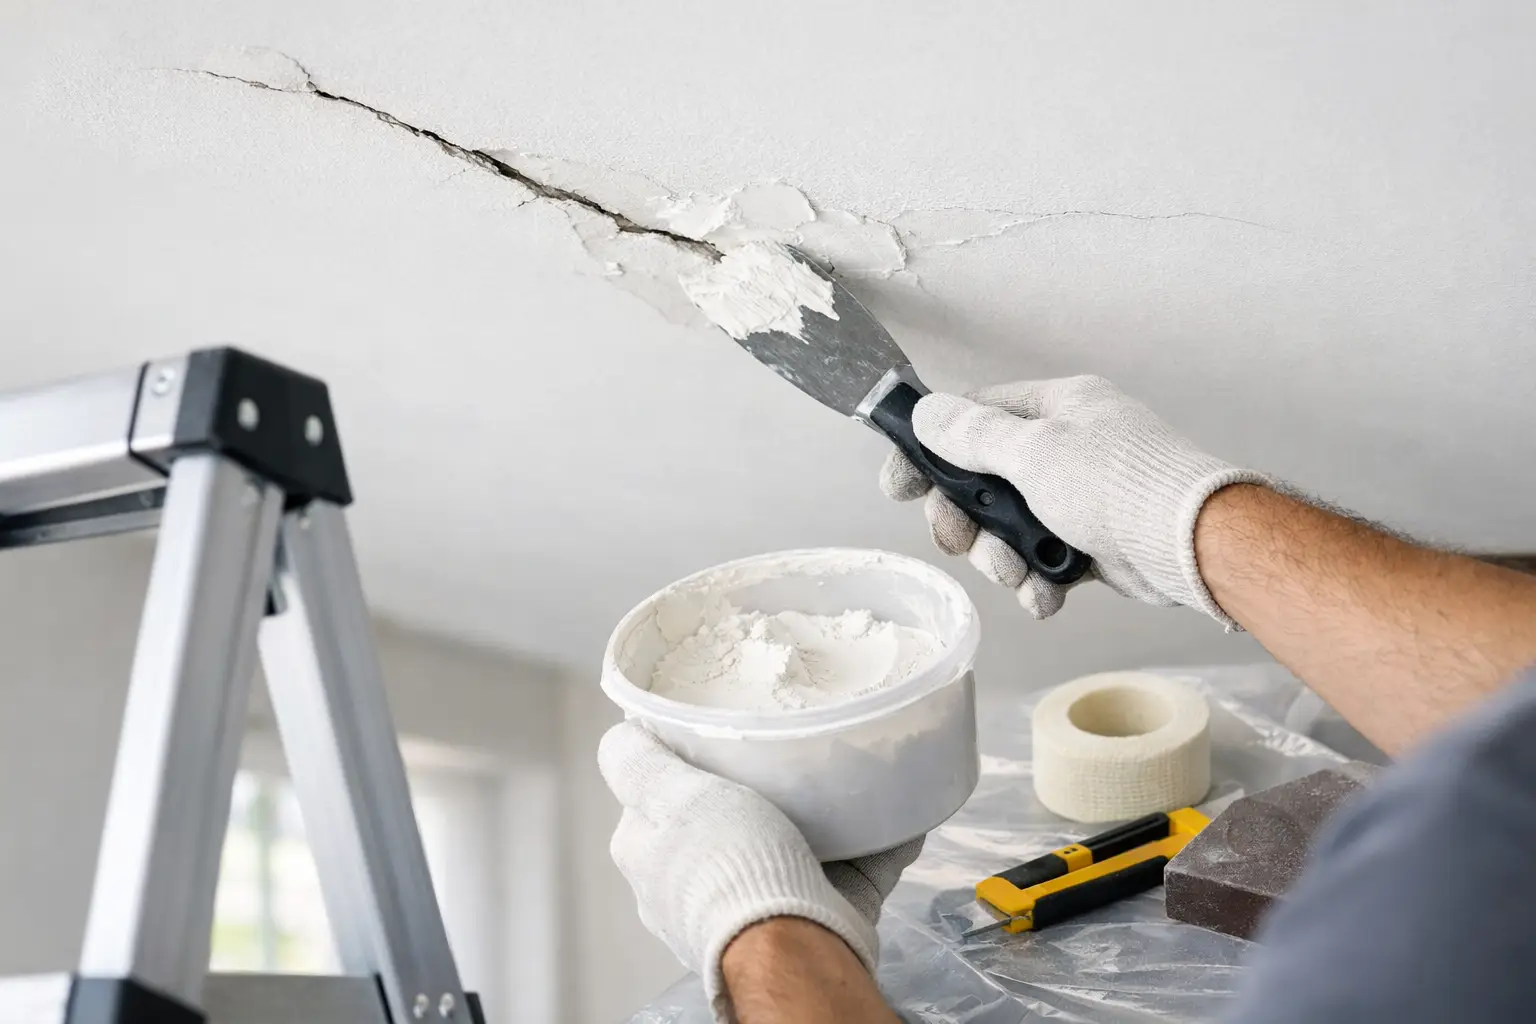
A sound repair usually involves opening the crack slightly, removing any loose material, reinforcing the area with tape where needed, applying the right compound in thin coats, then sanding and sealing before paint. That sounds straightforward, but the finish overhead has to be flat, not just filled. Even a minor hump or hollow can stand out badly once sunlight hits the ceiling.
The other issue is access and cleanliness. Ceiling work is awkward, dusty and easy to overwork. In lived-in homes, protecting floors, furniture and fittings matters just as much as the patch itself.
What causes ceiling cracks?
Not every ceiling crack has the same cause, and that affects the repair method. In many homes, especially older ones, minor cracking comes from seasonal movement. Materials expand and contract, trusses shift slightly, and joints can show up over time.
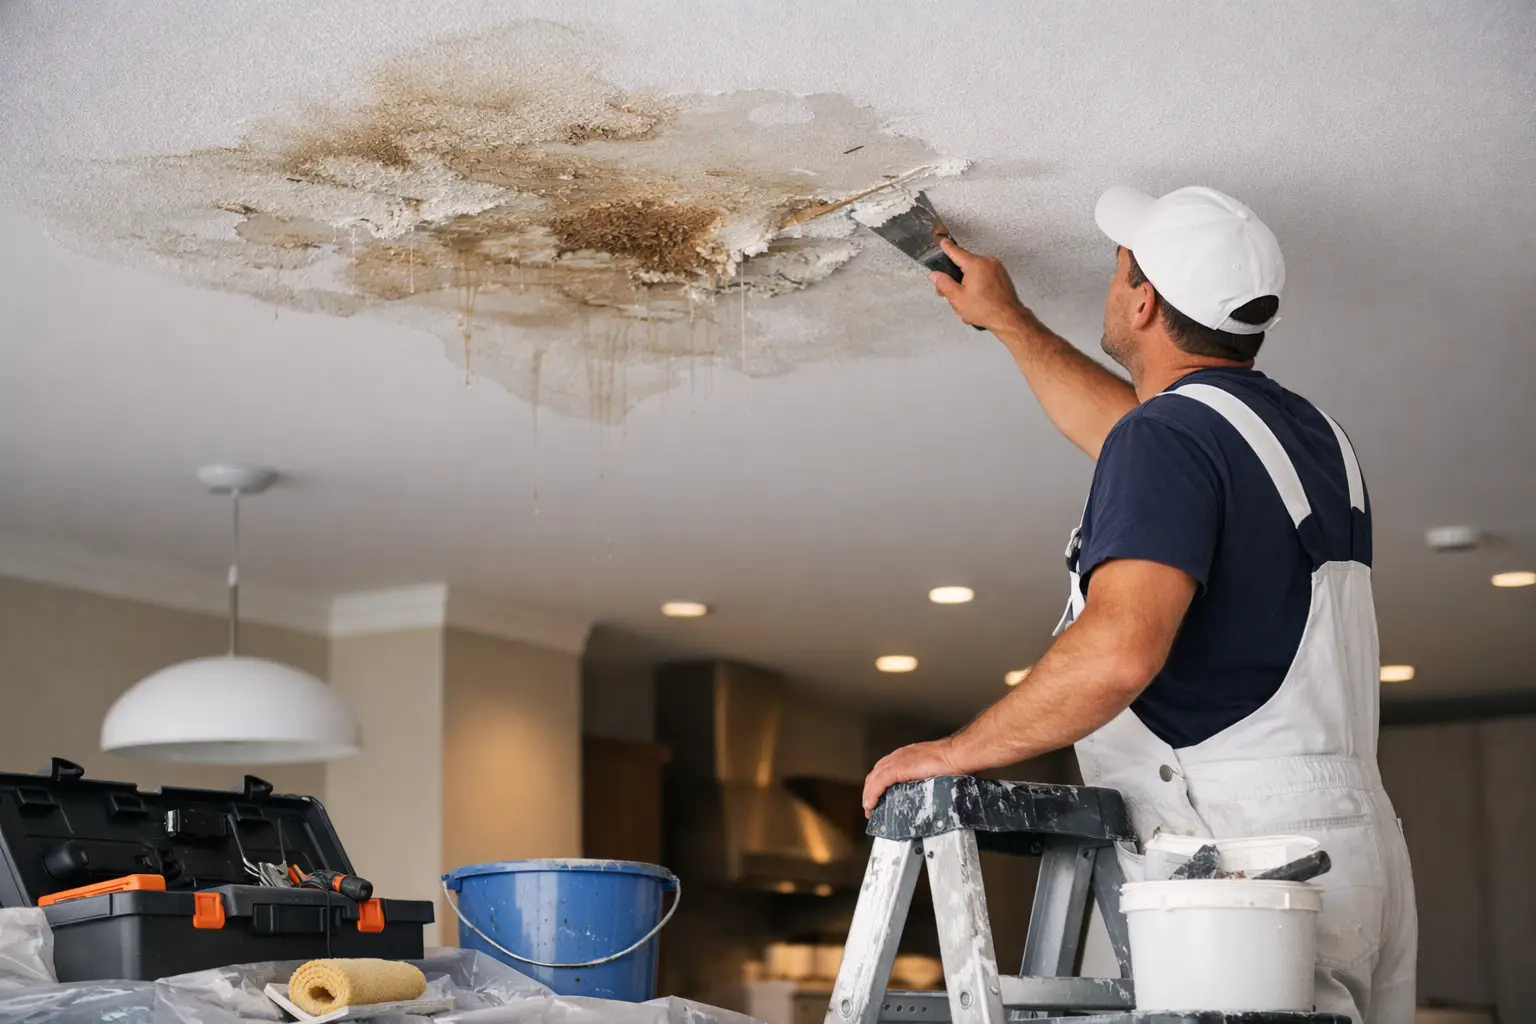
In other cases, the crack follows a plasterboard joint because the original taping or setting was weak, or because the ceiling has taken movement it was never reinforced to handle well. Water damage is another common trigger. Even if the leak has stopped, softened plasterboard, stained paper face and weakened joint compound can leave a fragile area that keeps failing.
Then there are warning-sign cracks. If the ceiling is sagging, the crack is widening, the cornice is separating, or doors and windows nearby are also sticking, it may be more than a surface issue. At that point, patching the visible line is not the first job.
Hairline cracks vs structural warning signs
Hairline cracks are fine, narrow and usually stable. They often appear at joints and can be repaired successfully if the board underneath is sound.
Wider cracks, repeated cracking in the same spot, or cracks paired with sagging and staining deserve closer attention. If the ceiling feels soft, shows signs of moisture, or has dropped around fixings, the damaged section may need to be cut out and replaced rather than repaired in place.
When a DIY ceiling crack repair is reasonable
A DIY repair can make sense if the crack is short, narrow, dry and clearly cosmetic. If the ceiling is otherwise level, there is no sagging, and no evidence of water ingress, a careful patch may hold well.
You will need a stable platform, a utility knife, broad filling blades, joint compound or a suitable setting compound, fibreglass or paper tape if the joint needs reinforcement, sanding gear, stain sealer if required, and matching ceiling paint. The exact product matters less than using a compatible system and not rushing the drying time.
The process starts with checking whether the crack is active. If the area is moving, soft or drummy, stop there. If it is sound, lightly open the crack so loose edges are removed. Dust it properly. If the crack sits along a joint and has depth, bedding tape into compound usually gives a stronger result than filler alone.
Build the repair in thin coats, feathering each coat wider than the last so the patched area blends back into the ceiling plane. That part is where most DIY jobs go wrong. People fill the crack but do not flatten the surrounding area, so the repair flashes through the paint. After sanding, seal any repaired or stained sections before repainting.
Why patched ceiling cracks often come back
Return cracking usually comes down to one of four issues: no tape, too much filler in one hit, poor preparation, or movement that was never addressed. Sometimes the patch is technically filled, but the bond to the old surface is weak. Sometimes the original board joint has already failed and needs more than a skim.
This is why a ceiling can look fine on day one and disappointing again after the next hot spell or after a few months of normal house movement.
When to call a specialist
There is a point where trying to save money with a quick patch costs more in repainting, mess and repeat repairs. If the crack runs long distances, follows several joints, keeps reopening, or sits in a high-visibility area, a specialist repair is usually the better option.
The same applies where there is water damage, sagging sheets, loose cornice, textured finishes, heritage detail or obvious previous patching. These jobs are less about basic filling and more about restoring the ceiling so it looks even, stable and paint-ready again.
A proper tradesperson will also tell you when the crack is a symptom rather than the problem. That honesty matters. Homeowners do not want a temporary patch sold as a permanent solution.
For owner-occupied homes especially, there is real value in tidy work, fixed pricing and clear communication. Ceiling repairs happen above everything you live with every day - lights, furniture, floors and soft furnishings. Good preparation and clean finishing are part of the job, not extras.
How professionals fix ceiling cracks for an invisible finish
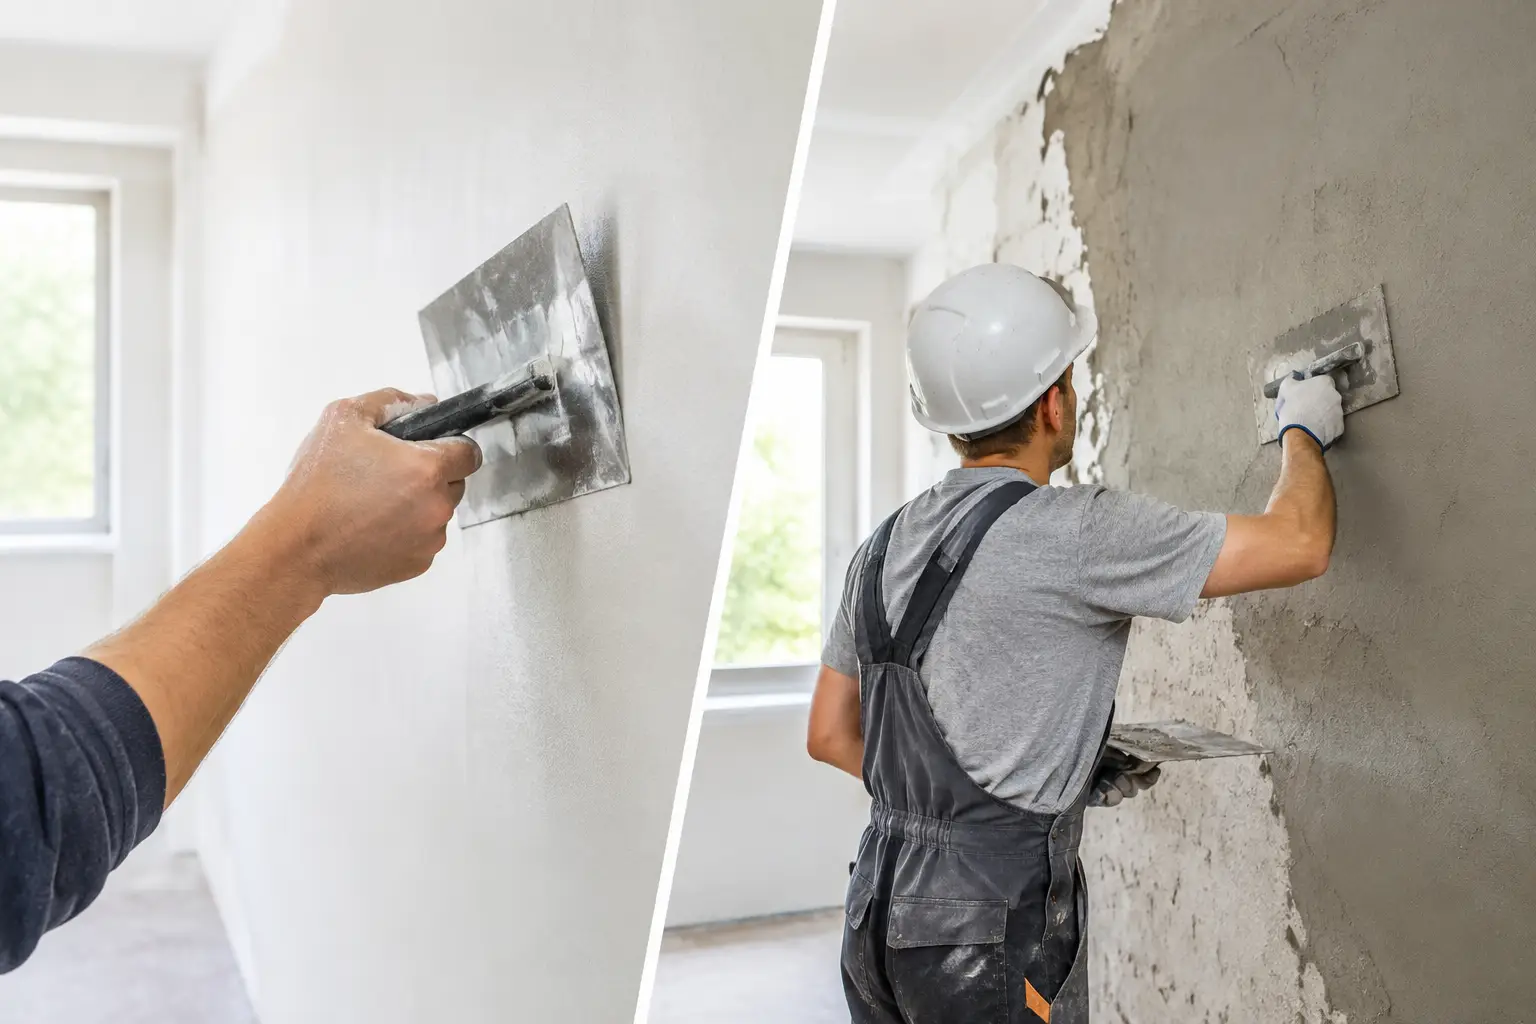
A professional repair starts with diagnosis. The crack is assessed for cause, not just size. If the board is sound, the repair may involve re-taping and setting the joint, then broad feathering to remove any visible line. If the board has failed or been water damaged, the affected section may need replacement before setting and sanding.
The goal is not merely to close the crack. It is to restore the plane of the ceiling so the repair disappears once painted. That often means a wider area of setting than homeowners expect. A neat-looking strip repair can still show badly under natural light if the transition is too sharp.
Where the ceiling ties into cornice or decorative profiles, experience matters even more. Matching existing lines and keeping edges crisp is skilled work. In older homes, profile matching and sympathetic repairs can preserve character without making the ceiling look patched.
This is where a boutique approach has advantages. When the same person assesses the crack, explains the method and completes the repair, there is usually less guesswork and better accountability. That is the standard Yong's Carpentry works to on interior wall and ceiling repairs.
A few practical checks before you repair anything
Before doing anything overhead, make sure the crack is dry and stable. If there are brown marks, bubbling paint or a musty smell, rule out moisture first. If the ceiling is sagging, do not scrape or load it up with filler. If your home has had significant movement, it may be worth checking whether the cracking is isolated or part of a broader issue.
Also think about the final finish. Even a solid patch can stand out if the ceiling paint has aged or the sheen does not match. In some cases, spot painting is enough. In others, repainting the whole ceiling gives the cleaner result.
That trade-off matters. A small repair may be quick, but if the room gets strong side light, the patched area can still catch the eye unless the finish is blended properly.
The repair that lasts is the one done for the cause
Ceiling cracks are common, but they are not all equal. Some need a careful set and sand. Some need re-sheeting. Some need the leak fixed first. The right repair is the one that suits the reason the crack is there.
If you are deciding whether to tackle it yourself or bring someone in, be honest about the crack, the ceiling condition and the finish you want to live with. A ceiling is one of the largest surfaces in the room. Once repaired properly, it should disappear back into the background - exactly where it belongs.