Skim Coating Versus Replastering - Which Is Best?
A wall can look tired for very different reasons. Fine dents, old paint texture and shallow imperfections may only need a new smooth surface. Bubbling plaster, recurring cracks or water damage can point to a deeper problem. When weighing up skim coating versus replastering, the right choice comes down to what is happening beneath the finish, not simply how rough the wall looks from across the room.
For homeowners, the goal is usually the same: a clean, straight, paint-ready wall or ceiling that does not reveal its repair work in afternoon light. Getting there may involve a light skim coat, a more substantial plaster repair, or replacing damaged lining altogether.
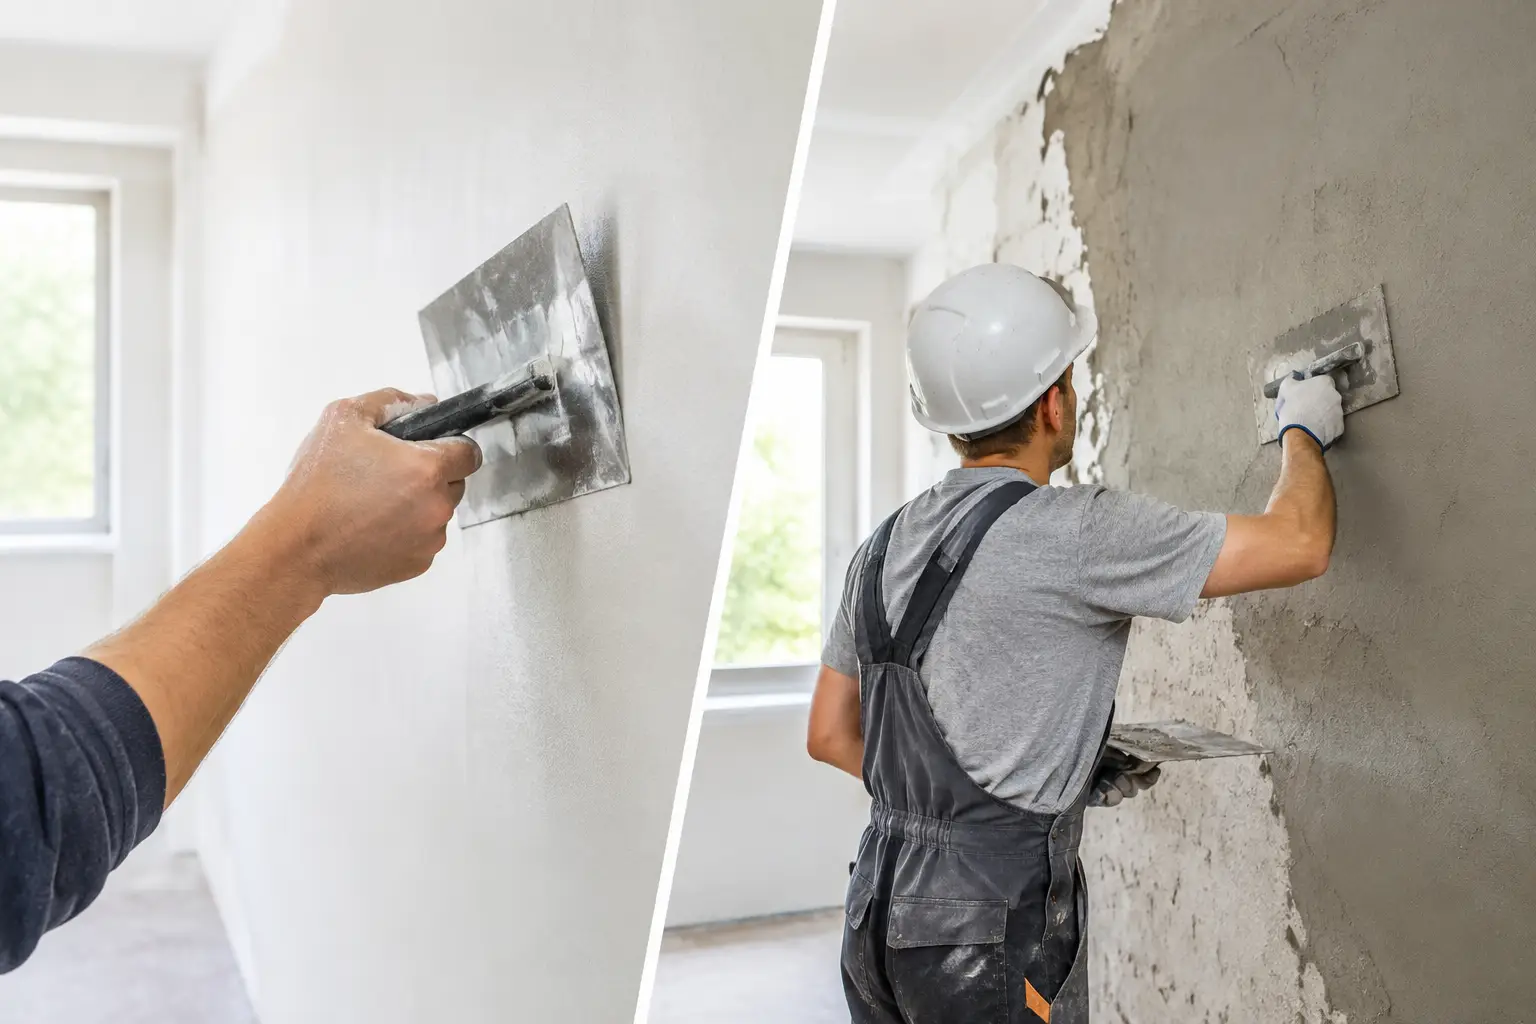
Skim coating versus replastering: the key difference
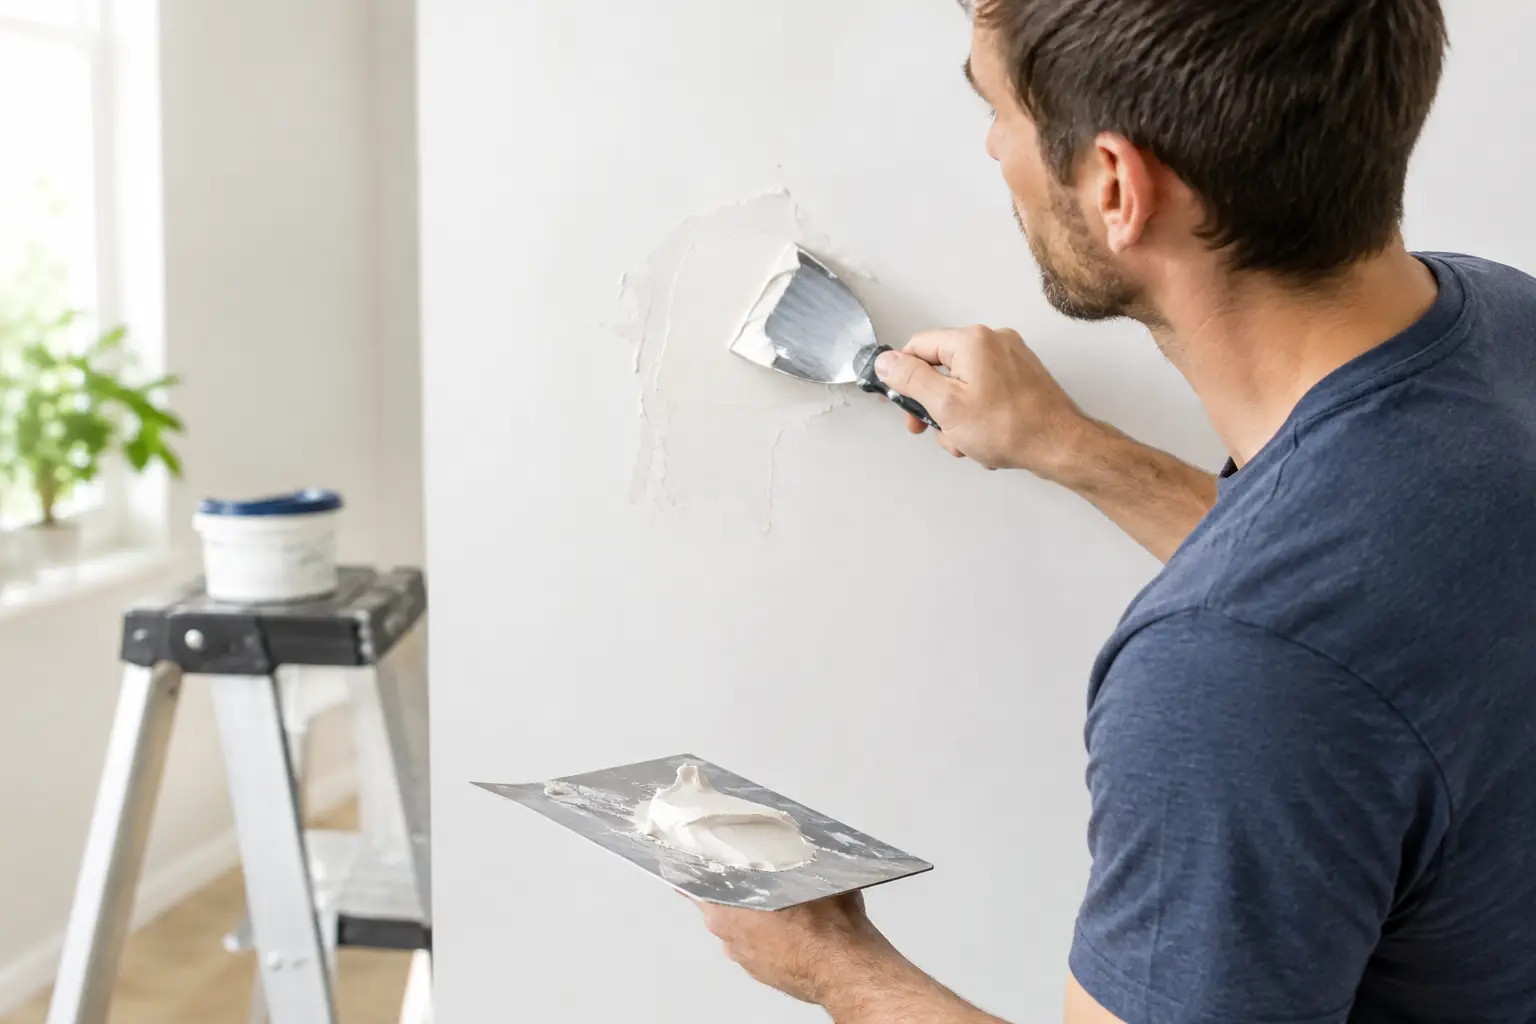
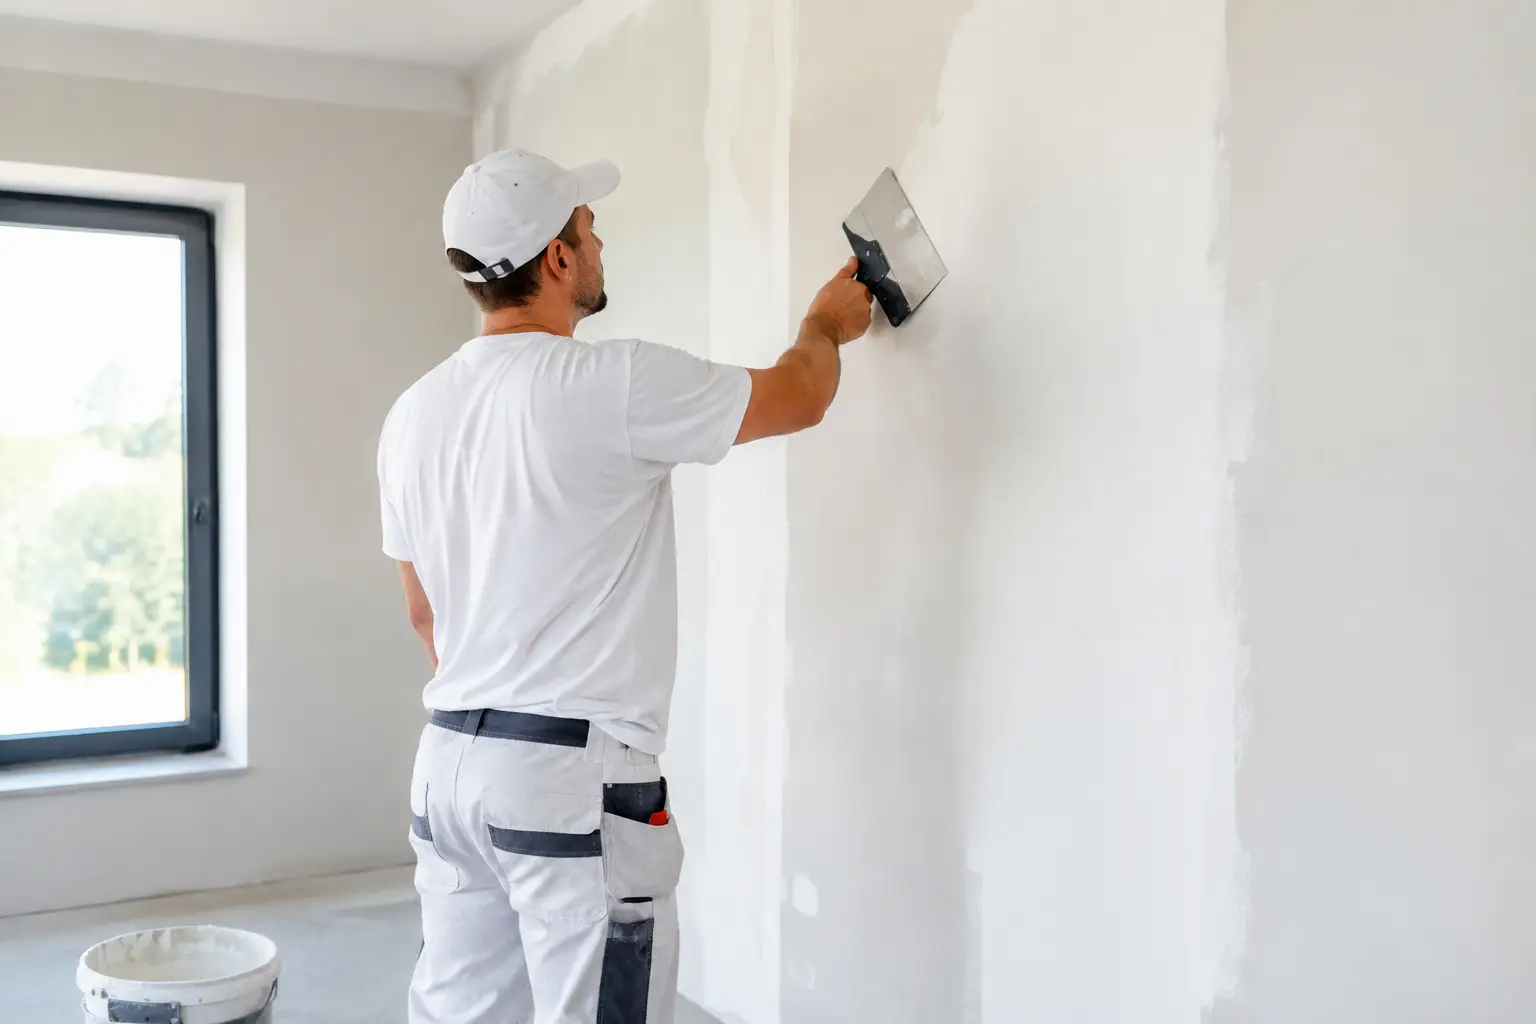
Skim coating is the application of a very thin layer of finishing compound or plaster over an existing sound surface. It is used to level minor imperfections, cover patched areas, soften texture and create a uniform surface ready for painting. The existing plasterboard or plaster remains in place.
Replastering is more involved. It generally means removing loose, failed or unsuitable material and rebuilding the affected surface with new plaster. Depending on the wall construction and the extent of damage, that may include patching and setting plasterboard joins, repairing traditional solid plaster, or replacing sections of damaged wall or ceiling lining before the new finish is applied.
The distinction matters because a skim coat improves the surface. Replastering addresses failure in the surface or substrate itself. Applying a beautiful skim over loose plaster, active moisture damage or movement cracks only hides the issue for a short time.
When a skim coat is the sensible option
A skim coat suits walls and ceilings that are fundamentally sound but visually uneven. It is often a good solution after old wallpaper removal, where adhesive and minor paper tears have marked the wall, or after several small repairs have left visible changes in texture.
It can also be useful in renovated rooms where new and old plasterboard meet, provided the joints are stable and properly prepared. In homes with heavy roller texture, patchy paint edges or visible touch-up areas, a full skim can bring everything back to one consistent plane.
A skim coat is usually less disruptive than replastering because there is no need to remove large areas of material. That does not mean it is a quick paint-over. The wall still needs careful preparation, appropriate bonding, several controlled passes where required, drying time and detailed sanding. Rushing the sanding stage is how otherwise good repairs become obvious once paint goes on.
For ceilings, skim coating can be particularly effective where there are shallow joint lines, minor dents or a generally uneven finish. It is not the answer for a sagging ceiling, a water-stained area that has not been dried and repaired, or sheets that are pulling away from framing.
When replastering is worth the extra work
Replastering is the better choice when the existing finish is no longer secure or cannot provide a reliable base. Signs include plaster that sounds hollow, flakes away when touched, has persistent bubbling, or shows widespread cracking beyond a few isolated hairlines.
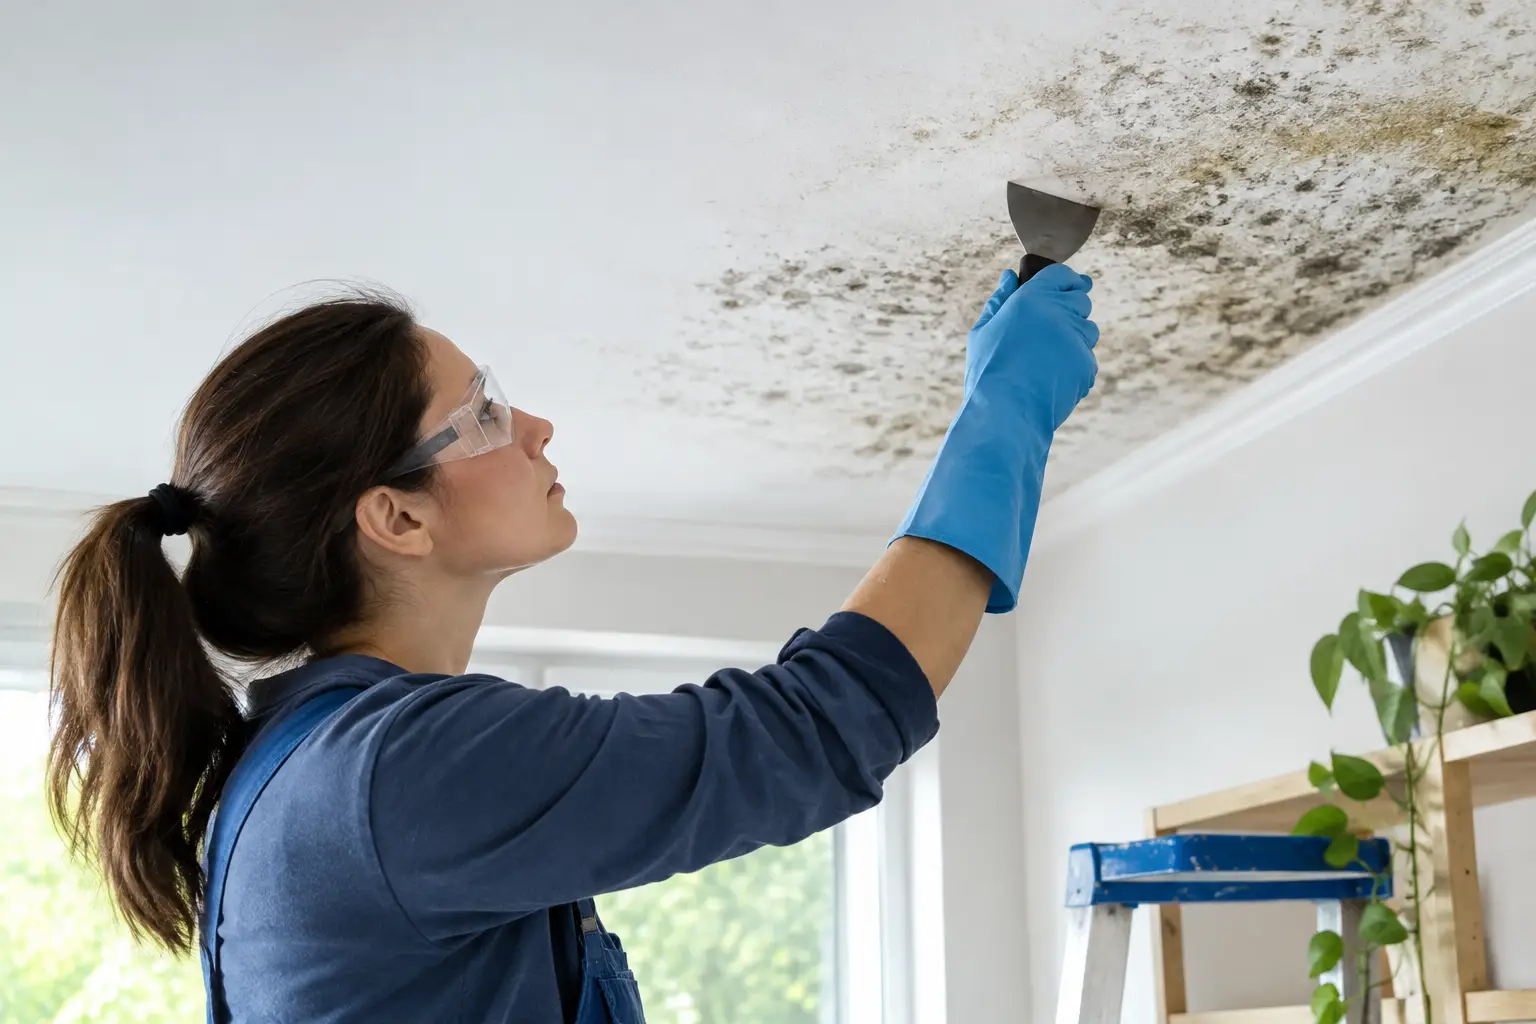
Water damage is one of the clearest examples. A ceiling may appear dry after a roof leak or plumbing issue has been fixed, but the plasterboard core, joint tape and setting compound can remain weakened. Staining can also bleed through fresh paint. The source of moisture must be resolved first, then damaged materials should be removed and rebuilt as needed.
Movement cracks need a measured approach. A fine crack above a doorway may be a small cosmetic issue, but a crack that repeatedly reopens can indicate movement at a joint, inadequate fixing, framing movement or structural concerns. Filling it without correcting the cause is rarely a lasting repair.
Older homes can require more specialised replastering. Traditional plaster walls and decorative details do not always respond well to modern patching shortcuts. Matching an existing cornice profile, restoring a section beside a picture rail, or blending repairs into aged solid plaster calls for patient hand finishing. The aim is not merely to make the damaged area look acceptable. It is to make the repair disappear into the original work.
Look beyond the visible damage
Before choosing either option, inspect the entire affected area in natural light. Run a straightedge over the wall if possible, and look along the surface rather than directly at it. This reveals raised joins, hollows and patch edges that standard room lighting can hide.
Next, consider the history. Has there been a leak, a recent renovation, settling, termite work, electrical work or an impact? Is the damage isolated, or is it appearing in several rooms? A fresh crack in one repaired patch is different from a pattern of cracks across walls and ceilings.
Paint condition matters too. Glossy paint, loose old coatings, powdery surfaces and wallpaper residue can prevent a skim coat from bonding properly. Preparation may include scraping, sanding, sealing or removing failed material before new plaster work begins.
For Perth homes, seasonal heat and ventilation can affect drying times, particularly in enclosed rooms or during wet weather. A proper plan allows each coat to dry rather than forcing the process and risking shrinkage, sanding marks or paint failure later.
What the work involves in a lived-in home
Both options create dust, but the scale differs. A local skim repair may involve modest protection and controlled sanding. Full replastering or ceiling replacement requires more preparation, more material removal and more thorough containment.
Good workmanship begins before the first coat is applied. Floors, furniture and adjacent finishes should be protected. Damaged sections should be cut back to sound material with clean edges, then rebuilt so the repair sits flush. On plasterboard work, joints need the correct tape, setting and feathering width to avoid a raised line under paint.
The final result also depends on the paint system. A newly skimmed or replastered surface must be fully dry, dust-free and sealed with a suitable primer before top coats. Painting too soon can lead to flashing, uneven sheen or visible patching, especially on darker colours and low-sheen finishes.
Cost: why the cheapest option can cost more later
Skim coating is generally less expensive than replastering because it uses less material and less demolition. It can be an excellent value choice where the surface is stable. However, it becomes false economy when applied over poor-quality substrate or unresolved moisture damage.
Replastering costs more because it includes removal, rebuilding, setting and finishing. It may also uncover related work, such as damaged insulation, corroded ceiling fixings or a leak that needs to be addressed before repairs can start. A clear on-site assessment is the best way to avoid vague allowances and surprise additions.
Ask for the scope to be explained in plain English: what will be removed, what will be retained, how the area will be protected, whether painting is included, and what finish level is expected. Fixed pricing works best when the condition of the wall or ceiling has been properly inspected first.
Choosing the right repair for your wall or ceiling
Choose skim coating when the surface is sound, dry and firmly attached, but needs visual levelling. Choose replastering when material is loose, damaged, contaminated by water, severely cracked or too uneven to correct with a thin finish.
There is also a middle ground. Many repairs involve cutting out one failed area, rebuilding it correctly, then skim coating the broader wall or ceiling so the new work blends invisibly. This is often the best outcome in a lived-in home where only part of the surface has failed.
At Yong's Carpentry, the hands that quote the job are the hands that finish it. That direct approach makes it easier to assess what the surface genuinely needs, protect the home properly and leave a finish that is ready for the next stage.
A smooth wall should not be a temporary cover-up. Whether the answer is a careful skim coat or a more thorough replaster, choosing the repair that suits the cause will give your room the clean, lasting finish it deserves.