How to Repair Ceiling Mould and Stop It Returning
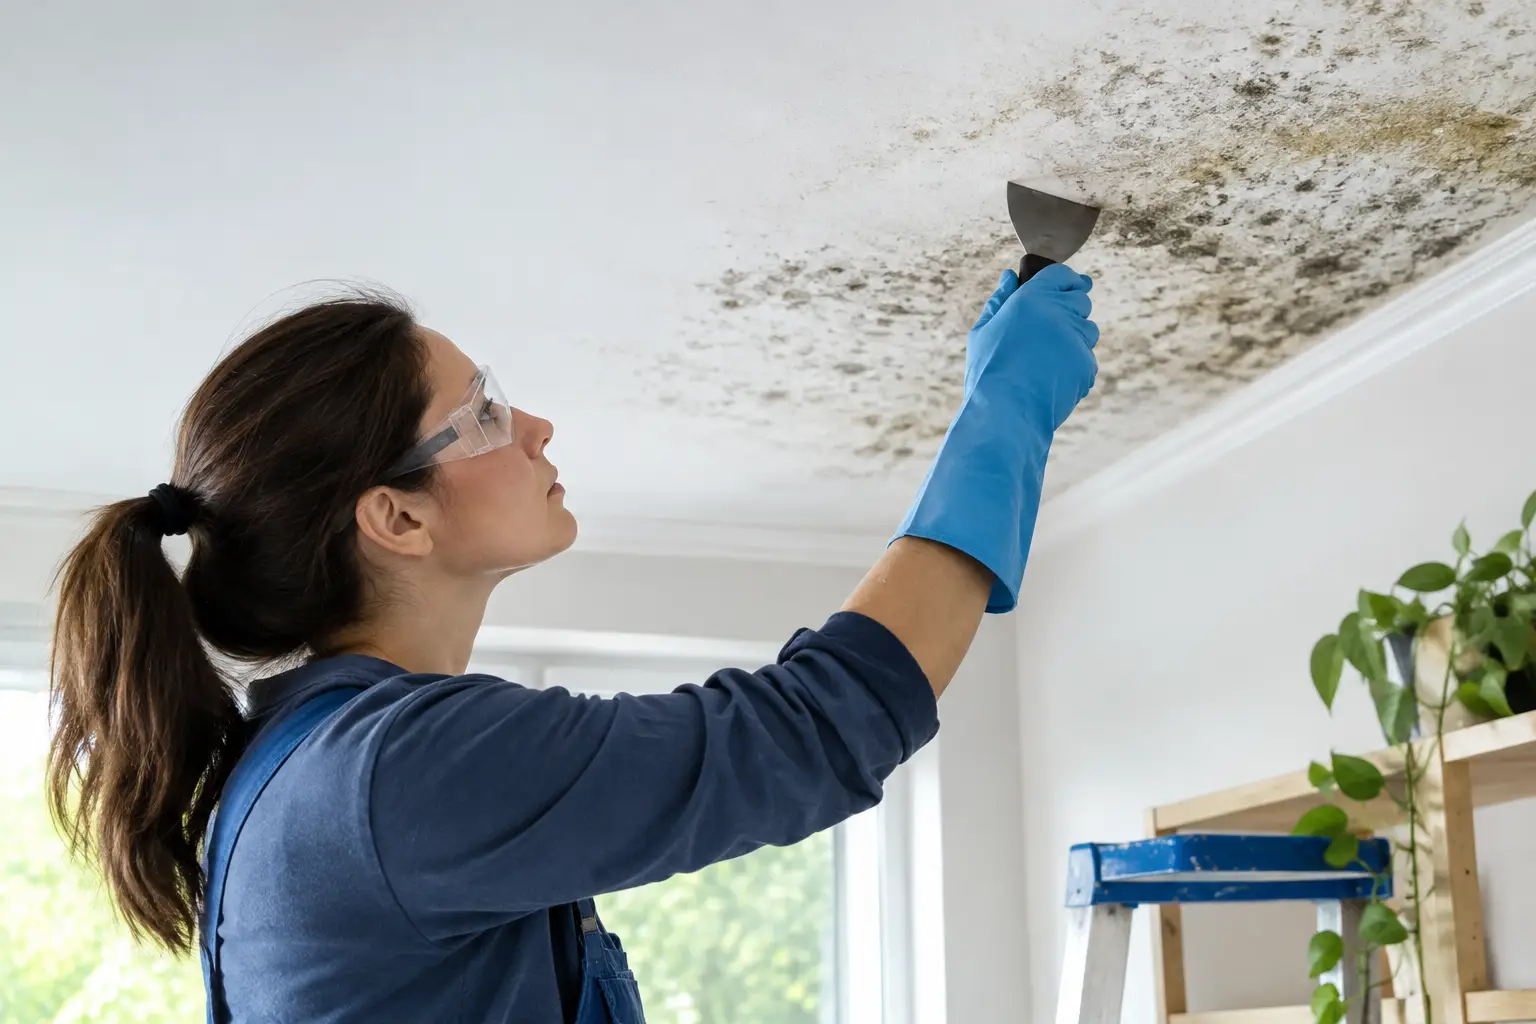
A small black patch above the shower, a grey shadow in a bedroom corner or speckling near an air-conditioning vent can make an otherwise tidy room feel neglected. Knowing how to repair ceiling mould is not simply a matter of wiping it away and applying paint. A lasting repair starts by finding the moisture that allowed mould to grow in the first place.
For Perth homeowners, that moisture may come from a roof leak after heavy rain, steam from a poorly ventilated bathroom, condensation around air-conditioning, or a plumbing leak in the ceiling cavity. Treat the stain without fixing the cause and it will often return through the new paint.
First, work out why mould is on the ceiling
Mould needs moisture, a surface to settle on and limited airflow. Plasterboard ceilings, cornices and painted surfaces can all support growth when those conditions persist. The pattern of the mould usually provides useful clues.
Mould concentrated above a shower or bath is commonly caused by steam and inadequate extraction. Growth around an outside wall or bedroom ceiling can point to condensation, particularly where rooms are closed up overnight. A localised stain with a yellow or brown water mark is more likely to be a roof, pipe or air-conditioning leak. If the plasterboard is sagging, soft to touch or visibly stained, assume water damage is involved until proven otherwise.
Do not rush to clean before checking the area above and around the ceiling. Look for damaged roof tiles, flashing issues, overflowing gutters, leaking pipework, split air-conditioning drain lines and unvented bathroom fans. In a top-floor unit or townhouse, the source may sit outside your own ceiling space, so report the issue promptly to the relevant strata manager or property manager.
When a ceiling mould repair is safe to tackle yourself
A small, superficial patch on sound painted plasterboard can often be cleaned carefully by a homeowner. This is usually suitable where the mould covers a limited area, there is no ongoing leak, and the ceiling remains firm and flat.
Wear gloves, eye protection and a well-fitted P2 mask. Keep children, pets and anyone with respiratory sensitivities out of the room while you work. Open windows where practical, but avoid creating strong airflow that could spread spores through the home. Never dry-brush mould or sand it before cleaning.
Use a mould cleaner suited to painted interior surfaces, following the product directions closely. A mild detergent solution may be adequate for light surface growth. Apply it with a damp cloth or sponge rather than soaking the ceiling, then wipe away the residue. The goal is to lift the growth without forcing excess water into the plasterboard or joints.
Bleach is often treated as the default answer, but it is not always the best choice for ceilings. It can discolour paint, create strong fumes and does not resolve moisture within porous materials. Mixing bleach with other cleaning products is dangerous. If you use any chemical cleaner, ventilate the room well and use only one product at a time.
Allow the surface to dry completely before deciding whether repainting is needed. A fan, open window and a properly working exhaust fan will help. Painting over a damp ceiling traps the problem and can lead to bubbling, peeling and another mould outbreak.
Signs the ceiling needs professional repair
Cleaning alone will not restore a ceiling that has absorbed water or lost its structural integrity. Plasterboard is especially vulnerable: once its paper face is softened, stained or delaminated, a cosmetic treatment may hide the damage briefly but will not produce a reliable finish.
Arrange an inspection when you notice sagging plasterboard, a cracking joint, loose cornice, a recurring stain, a musty odour, or mould that returns after cleaning. The same applies if the affected area is extensive, the source cannot be identified, or a leak has been running for any length of time.
Older homes require extra care. If you suspect asbestos-containing materials, particularly in an older ceiling lining, textured coating or backing material, do not cut, drill, sand or remove it yourself. Have the material assessed before disturbing it. The repair method depends on what is present and how badly the ceiling has been affected.
For a proper water-damage repair, the damaged section may need to be removed after the leak is fixed and the cavity has dried. New plasterboard is then fitted, set, sanded and blended into the surrounding ceiling. Where cornice has been affected, matching the existing profile matters. A close repair can still look obvious once painted if the line, curve or joint is wrong.
How to repair ceiling mould for a paint-ready result
The best repair sequence is practical and deliberate: stop the moisture, dry the area, clean or remove affected material, then prepare and paint the ceiling. Skipping a stage is where most failed repairs begin.
If the ceiling is sound after cleaning, spot-prime any persistent water stain with a stain-blocking primer suitable for interior ceilings. Standard ceiling paint alone may not hold back old tannin or water marks. Once the primer has dried, apply a mould-resistant ceiling paint in the correct sheen level. Most ceilings suit a low-sheen or flat finish, although bathrooms may benefit from a washable system designed for humid areas.
If the plasterboard has been repaired or replaced, the joins need to be taped, set and sanded flat before priming. This is detail work. A ceiling can look smooth from directly below but reveal ridges, patch edges and sanding marks as soon as light comes across it from a window or downlight. Good preparation is what gives the final coat an even, invisible result.
Take particular care around recessed lighting, exhaust fans and air-conditioning grilles. These openings can be points of condensation or air leakage. The fitting may need to be checked, resealed or upgraded as part of the repair rather than simply painted around.
Prevent mould from returning
Bathrooms need ventilation that actually removes moist air outdoors, not just a noisy fan that runs briefly during a shower. Run the exhaust fan during bathing and for a period afterwards. If the fan is weak, clogged or ducted poorly, cleaning the ceiling will only buy time.
In bedrooms and living areas, improve airflow by opening windows when weather permits, avoiding drying washing indoors where possible, and leaving space between large furniture and external walls. Reverse-cycle air-conditioning can also contribute to condensation where rooms are kept closed for long periods, so check filters, drainage and operation if mould appears near vents.
A roof leak should be repaired before any internal ceiling work begins. It is tempting to restore the visible surface straight after rain, but the ceiling cavity and framing need time to dry. Repairing too early can trap moisture behind a fresh finish and create a larger problem later.
Landlords should document the cause, photos and repairs, especially where a tenant has reported a leak or ventilation issue. Clear records make it easier to confirm that the property has been repaired properly rather than repeatedly touched up.
A repair that looks right and lasts
Ceiling mould is often a warning sign, not the whole problem. A neat result depends on identifying the source, protecting the home during the work and knowing when the plasterboard or cornice needs more than a clean.
For repairs involving water damage, sagging sheets, failed joints or difficult cornice matching, a specialist can assess the full area and provide fixed pricing before work begins. At Yong's Carpentry, the hands that quote your job are the hands that finish it, with tidy preparation and a paint-ready ceiling repair designed to stay that way. Address the moisture early, and you protect both the finish you can see and the structure above it.