How to Install Ceiling Battens the Right Way
A ceiling can look flat from the floor while hiding uneven joists, loose fixings or a layout that will make plasterboard joints difficult to finish. Knowing how to install ceiling battens properly is what turns that rough structural plane into a straight, secure base for a paint-ready ceiling.
For homeowners, battens are rarely the visible part of the job, but they have a major effect on the result. Poor set-out can lead to a wavy ceiling, cracked joins, screws popping through later or awkward problems around lights, vents and cornice. This is one stage where careful measuring is worth more than rushing to get boards up.
What ceiling battens do
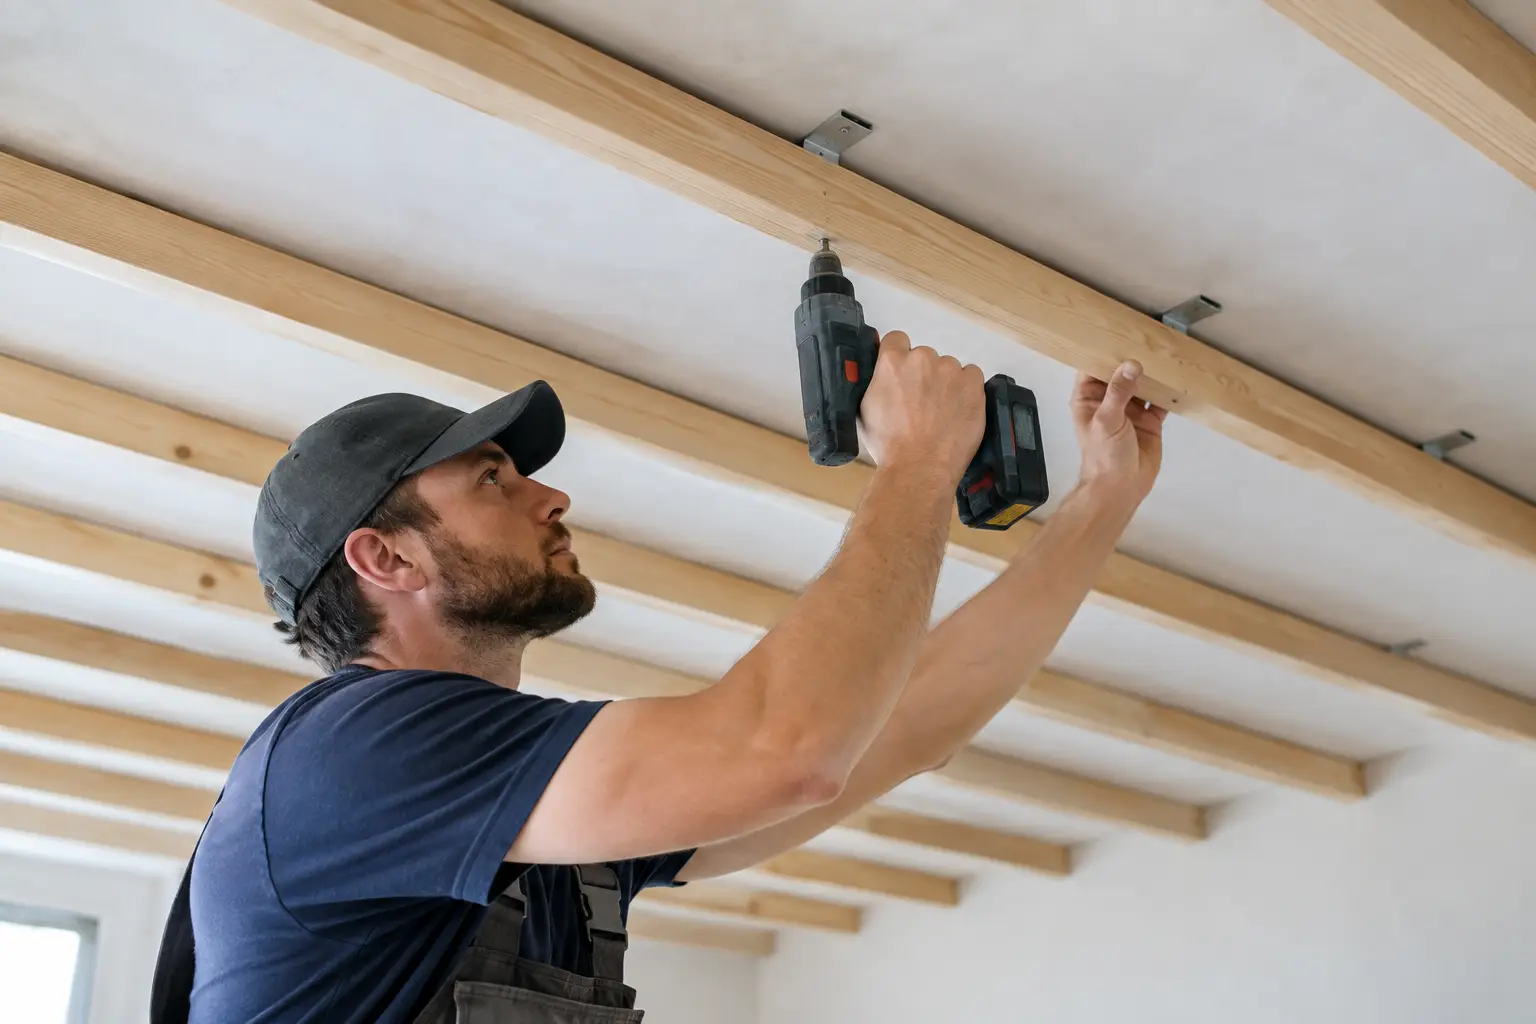
Ceiling battens are narrow timber or steel sections fixed below the roof framing or existing ceiling structure. They provide an even fixing surface for plasterboard and can help correct minor variation in the framing above. They also create a service cavity, giving space to run approved electrical wiring, fit downlights or position insulation where the ceiling build-up allows it.
In many Perth homes, timber battens are used beneath roof trusses or ceiling joists before plasterboard is installed. Steel furring channels are another option, particularly where a suspended system is needed to straighten a noticeably uneven ceiling or accommodate services. The right system depends on the span, the ceiling height available, the weight being carried and the condition of the structure.
Battens are not a cure for structural movement, water damage or failing roof framing. If the existing ceiling is sagging, stained or cracked, find the cause first. Repairing a leak or addressing damaged timber before lining the ceiling prevents the same problem from returning through a new finish.
Before you install ceiling battens
Start by confirming exactly what the battens will fix to. In a new build or major renovation, this is usually exposed ceiling joists or bottom chords of trusses. In an existing home, avoid fixing blindly through an old plasterboard ceiling. You need to locate the framing accurately and make sure the existing lining is stable, particularly if you are planning to overboard it.
Check the highest and lowest points across the ceiling with a laser level or a straightedge and string line. A laser makes the process faster and more reliable because it reveals where the framing drops or rises across the whole room. Mark a consistent finished ceiling line around the walls before fixing anything.
This measurement stage also determines whether simple direct-fixed battens are suitable. If the framing is only slightly out, packers or shims can bring battens into line. If there is substantial variation, a suspended metal ceiling system may give a straighter result without excessive packing. Every added layer reduces room height, so balance the need for a level ceiling against clearances at doors, windows, cornice and bulkheads.
Plan the services before the battens go up. Downlights, exhaust fans, air-conditioning grilles, smoke alarms and feature lighting all need space, support and safe clearances. Electrical work must be completed by a licensed electrician. It is much easier to coordinate cable routes and light positions while the frame is open than after plasterboard has been installed.
Tools and materials for a clean set-out
The materials and fixings must suit the system and the framing. Timber battens should be straight, dry and appropriate for interior use. Warped or twisted timber is false economy because it transfers the problem directly to the plasterboard.
For a typical installation, you will need a laser level or string line, tape measure, pencil, chalk line, drill-driver, suitable drill bits, saw, screws or approved fixings, packers, safety glasses and a stable work platform. A ladder is not ideal for repeated overhead work. It encourages overreaching and makes accurate fixing harder.
The spacing of battens should match the plasterboard thickness, board orientation and manufacturer requirements. As a general rule, closer centres provide better support and reduce the chance of flexing, but the exact layout should be designed around the lining system. Do not guess spacing based on what looks right from below.
How to install ceiling battens step by step
Mark the framing and board layout
Locate and mark every joist or truss line. Then plan where plasterboard sheet edges and joints will land. The goal is to ensure board edges have full backing and that joints do not fall unsupported between battens.
Run battens perpendicular to the ceiling framing unless your chosen system specifies otherwise. This arrangement helps bridge minor inconsistencies in the framing and gives the boards regular support. Mark the first batten position carefully because every later line follows from it.
It also pays to plan the room from the visible side. Avoid leaving a narrow plasterboard strip at a prominent wall if the sheet layout can be adjusted. A balanced board layout looks better and is easier to set, flush and sand.
Fix the first batten dead straight
Set the first batten to the established level line, using packers where necessary. Fix it securely into sound framing with the correct fasteners and fixing intervals for the batten material and load. Do not rely on a few widely spaced screws to pull bowed timber straight.
Recheck the batten after fixing. A screw can draw one point up or down, especially where timber is uneven. If the line is wrong at this stage, correct it now rather than trying to hide the issue with compound later.
Continue across the ceiling with consistent spacing
Use a spacer block, laser marks or measured layout lines to keep each batten parallel and at consistent centres. Check level frequently in both directions. A ceiling can be level along the battens but still dip across them if one line has been packed incorrectly.
Where two battens meet, join them over solid framing rather than leaving a floating butt joint. Keep the join neat and secure, and avoid placing weak or irregular joins where plasterboard edges will need firm support. Add noggings or extra blocking where needed for sheet edges, access panels, heavy light fittings or other specified loads.
If you are working around a bulkhead, recessed LED cove or new partition wall, set out these elements before the ceiling lining. These details need solid framing and accurate junctions. Trying to add support after sheets are fixed often means cutting into finished plasterboard and creating unnecessary patching work.
Allow for services and insulation
Once battens are installed, coordinate electrical rough-in and other services before plasterboard. Keep cable routes protected from future screws and follow the electrician's requirements for clearances around lights and heat-producing fittings. Downlights should never be treated as a simple cut-out decision after the ceiling is closed.
Insulation is also easier to install at this stage. Use products suited to the ceiling assembly and do not compress them tightly around fittings or services. Good insulation can improve comfort, but it must not interfere with ventilation, electrical safety or the specified clearance of recessed lights.
Check the finished framework before sheeting
Before plasterboard arrives, stand back and inspect the whole grid. Place a long straightedge across multiple battens in several directions. Look for proud battens, low points, loose fixings and any areas without enough backing for sheet joins.
This is the last easy opportunity to make corrections. A few minutes spent planing a high point, adding a packer or installing extra backing can prevent visible waves and repair work after painting.
Common mistakes that affect the finished ceiling
The most common problem is fixing battens to framing without checking level. Roof trusses and joists are structural components, not a guaranteed finished surface. Even a small inconsistency can catch the light once a smooth painted ceiling is complete.
Another mistake is overlooking the plasterboard layout. Unsupported edges, poorly placed joins and insufficient backing can contribute to cracks or movement at the surface. Similarly, using damaged timber, undersized fixings or inconsistent spacing leaves the lining with less support than it needs.
Services create another avoidable issue. Cutting around downlights, fans and access points without a coordinated plan can weaken the ceiling and make future maintenance difficult. If your project includes multiple lights, a feature ceiling or a new air-conditioning outlet, detailed planning is usually more cost-effective than trying to solve clashes on site.
When to bring in a ceiling specialist
A straightforward, exposed-frame ceiling may be manageable for an experienced renovator with the right tools and knowledge. The risk changes when the work involves an existing ceiling, water damage, uneven framing, heritage cornice, bulkheads or recessed lighting details. These jobs depend on accurate levels and a finish that holds up under paint and changing seasons.
For a homeowner, a professional installation also provides clear responsibility from set-out through to the final surface. At Yong's Carpentry, the hands that quote the job are the hands that personally finish it, with the framing, plasterboard and detail work considered as one system rather than separate tasks.
A well-installed batten ceiling should disappear once the room is finished. That quiet, level surface is the result of careful planning overhead - before the first plasterboard sheet is ever lifted.