What Is Included in Ceiling Restoration Work?

A stained ceiling or a widening crack can make an otherwise well-kept room feel neglected fast. More importantly, it can signal moisture, movement or a failed previous repair behind the surface. If you are asking what is included in ceiling restoration, the honest answer is that it depends on the cause and extent of the damage - but a proper job is far more than patching, sanding and painting over the problem.
Ceiling restoration is a methodical process that returns a damaged, sagging or tired ceiling to a safe, straight and paint-ready condition. It may involve investigation, removal of compromised material, structural checks, new plasterboard, joint setting, cornice work and final surface preparation. The goal is a finish that looks right in the room, not a repair that becomes obvious again six months later.
What is included in ceiling restoration?
A well-scoped ceiling restoration begins with an on-site assessment. The ceiling is checked for visible issues such as water stains, cracking, sagging plasterboard, loose cornice, popped screws and uneven joins. But the inspection should not stop at what is visible from the floor. A specialist also considers likely causes: a leaking roof, overflowing gutter, failed plumbing connection, poor ventilation, termite damage, roof-space traffic or movement in the building.
The restoration scope is then built around the condition of the ceiling. A small local repair may need only a section of plasterboard replaced and blended into the existing surface. A ceiling affected by prolonged water damage may require larger sections removed, insulation checked, framing assessed and cornices replaced. Fixed-price quoting is most useful when the work has been inspected properly first, so you know what the allowance covers before work starts.
Finding and addressing the cause of damage
Repairing a water-damaged ceiling before the leak is fixed is a false economy. The surface may look better briefly, but moisture can return, stain through fresh paint and weaken the replacement materials.
Where water damage is involved, restoration usually includes identifying the likely entry point and confirming that it has been repaired or isolated before ceiling work proceeds. A ceiling specialist can identify the effect of the leak, while roof plumbing, roofing or general plumbing repairs may need to be completed by the relevant trade. These works are commonly separate from the ceiling restoration quote, unless clearly included.
Moisture also needs time to dry. In some cases, controlled drying and a follow-up check are sensible before new plasterboard is installed. This adds time, but it avoids trapping dampness above a newly finished ceiling.
Protecting the room and removing failed materials
A tidy restoration starts with protecting the lived-in parts of the home. Floors, furniture and nearby joinery should be covered or moved as needed, and the work zone contained as practically as possible. Ceiling removal creates dust, even with careful preparation, so access routes and clean-up arrangements matter.
Damaged plasterboard, loose setting compound, failed tape and water-affected insulation are removed only as far as necessary to reach sound material. This is where the difference between a cosmetic patch and a durable repair becomes clear. Leaving soft board, mould-affected backing or loose edges behind can compromise the new finish.
If an older home has textured coatings or suspect materials, testing or specialist advice may be required before disturbance. This is not an area for assumptions. Safe handling requirements can change the scope, timing and cost of the work.
Checking the ceiling structure
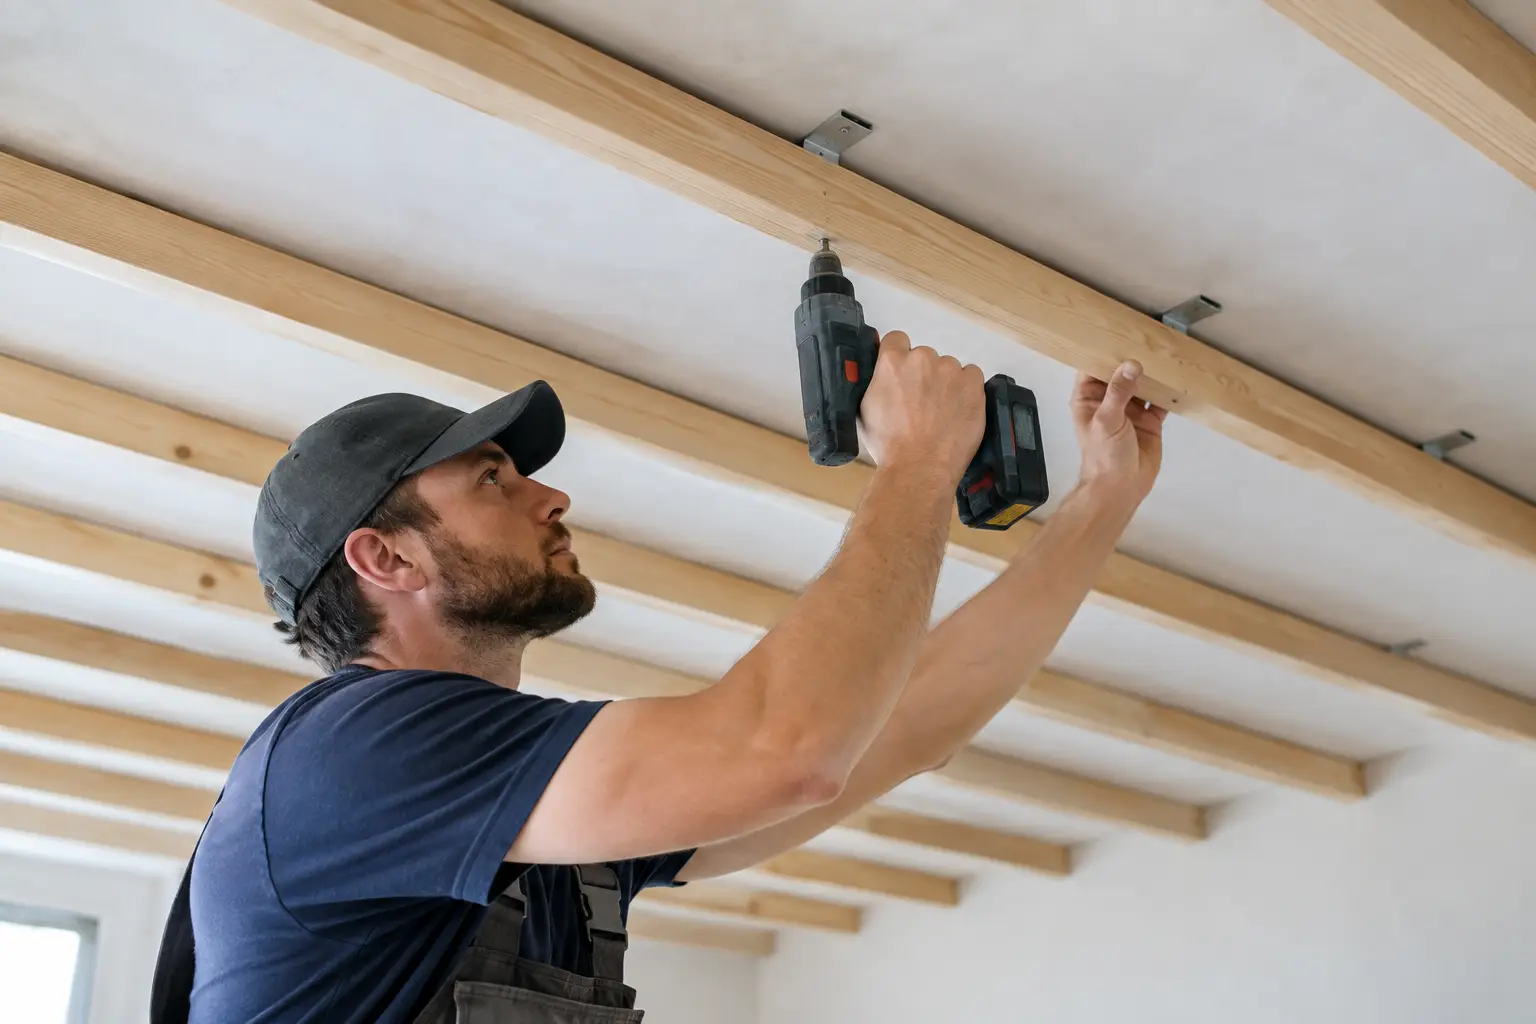
Once the damaged lining is removed, the framing above it can be assessed. Ceiling battens, timber joists, metal furring channels and fixing points need to be sound, dry and suitably aligned. If a ceiling has sagged, the cause may be failed fixings, inadequate support, water-affected timber or a previous installation that was not fixed correctly.
Minor levelling or additional fixing points can often be incorporated into the restoration. More substantial structural movement, roof truss concerns or widespread timber damage may need separate investigation. A reliable quote explains this distinction rather than concealing it behind vague allowances.
Electrical items deserve attention at this stage too. Downlights, exhaust fans, smoke alarms and wiring may need to be disconnected and reinstated by a licensed electrician where required. If you are considering new recessed LED lighting, a restoration can be an efficient time to plan it, before the ceiling is closed and finished.
Replacing plasterboard and creating a smooth finish
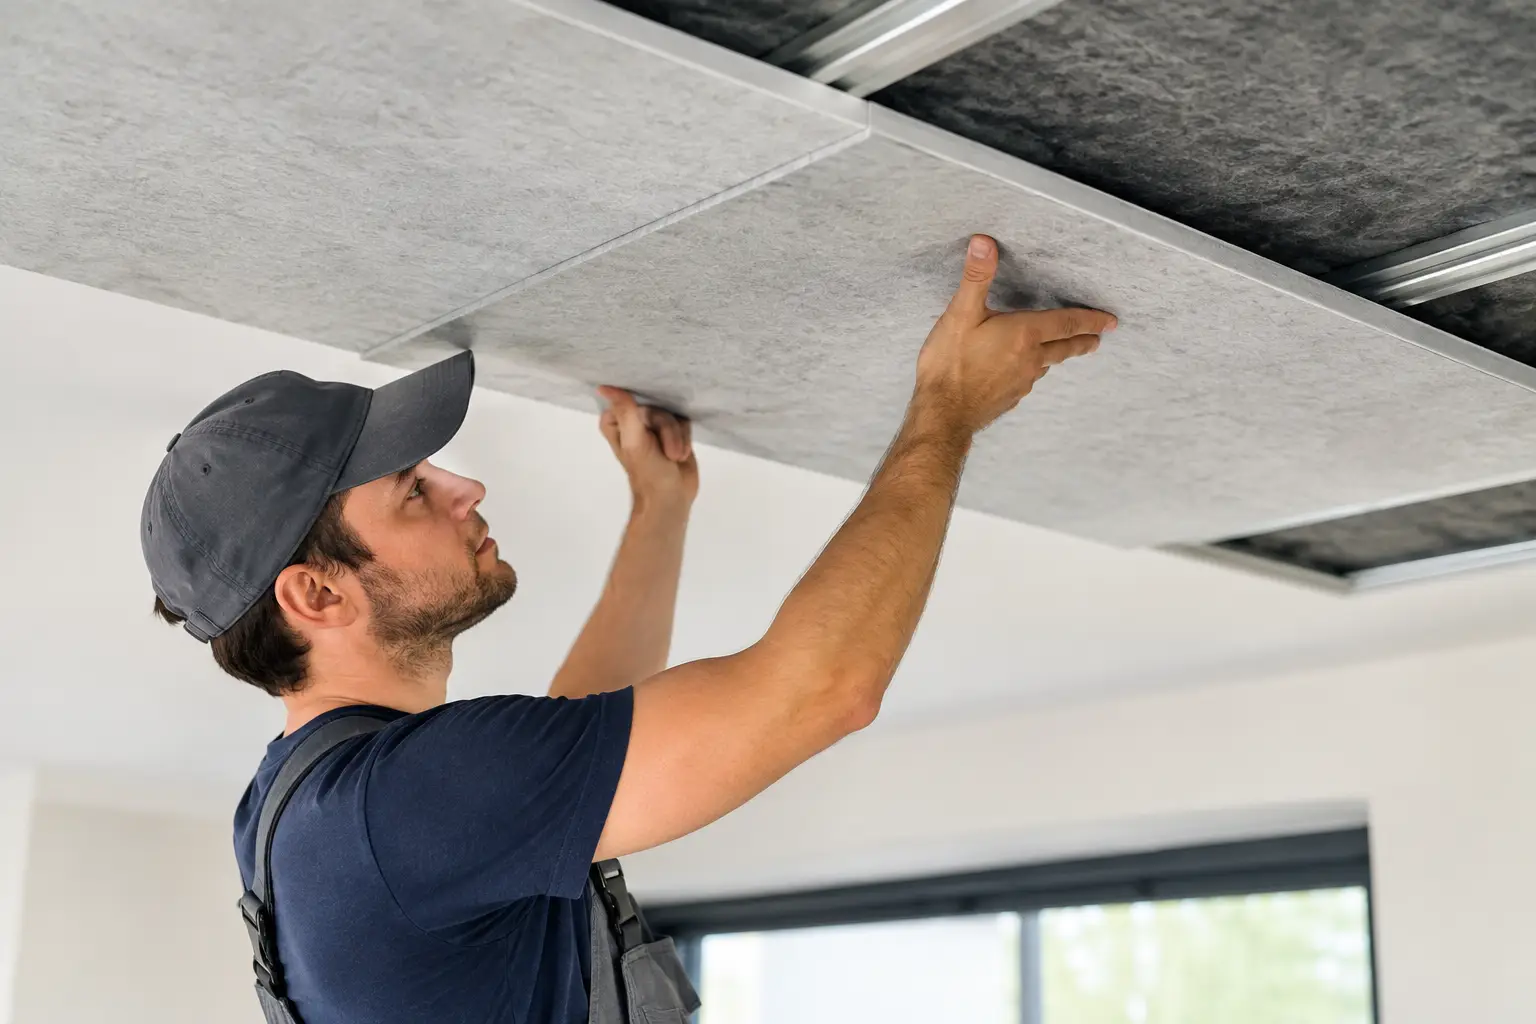
After the structure is ready, new plasterboard is cut, fitted and securely fixed to match the existing ceiling level. Correct board thickness, fixing spacing and edge support all affect the final result. On older homes, matching an existing ceiling may require more care than it first appears, particularly where there are subtle level changes or unusual room shapes.
The new board is then jointed to the existing ceiling. Joints are taped, set in coats and sanded between applications to build a flat transition. This process cannot be rushed without risking visible ridges, cracking or flashing under paint. A paint-ready ceiling should look even in normal daylight and under the harsh angle of evening downlights.
A good restoration also considers access panels, vents and cut-outs. These details should sit neatly and be positioned with a clear purpose, rather than leaving awkward patches that interrupt the ceiling line.
Cornice repair and profile matching
Cornices often suffer alongside the ceiling itself. They can crack at mitres, pull away from the wall, become water-stained or break during removal of damaged ceiling sections. Ceiling restoration may therefore include resetting loose cornice, replacing damaged lengths and repairing joins.
For homes with decorative or heritage-style cornices, matching the profile matters. A near match can look noticeably wrong once painted, especially where the new section meets original detail in a main living area. Profile matching takes careful measuring, appropriate materials and patient finishing so the repair belongs with the rest of the room.
Straight modern cornices are generally simpler to replace, but neat corners and clean adhesive lines still make a visible difference. The detail around the perimeter is what frames the finished ceiling.
Is painting included in a ceiling restoration?
Painting is one of the most common points of confusion. Some restoration scopes finish at a sanded, paint-ready surface, while others include sealing, stain blocking, undercoating and top coats. Neither approach is automatically better. What matters is that the quote states exactly where the plastering work ends and painting begins.
For water-stained ceilings, stain-blocking preparation is particularly important. Standard ceiling paint may not stop old marks from bleeding through. If the whole ceiling is being repainted, colour matching is less of an issue. If only a repaired section is painted, however, differences in sheen, age and sun exposure can leave a patch visible even when the plaster repair itself is excellent.
In many cases, painting the full ceiling gives the most consistent result. It can also be worthwhile to repaint adjoining ceilings in open-plan spaces where the repaired area catches the eye.
What may sit outside the restoration scope
A clear ceiling restoration quote should identify exclusions as well as inclusions. The following items are often separate unless they are specifically allowed for:
- roof repairs, plumbing repairs and leak detection
- electrical disconnection, new wiring or light fitting installation
- mould remediation beyond minor surface treatment
- asbestos or other hazardous-material testing and removal
- repainting walls, decorative finishes or full-room painting
This is not about passing responsibility around. It gives each trade a clear role and helps prevent surprise costs. For a straightforward repair, most of these items may not apply at all. For a larger water-damage restoration, coordinating them in the right order protects the quality of the finished ceiling.
How to judge whether the restoration has been done properly
The finished surface should be straight, secure and ready for paint, with no obvious patch edges, loose tape, sanding scratches or uneven cornice joins. In the weeks after completion, it should remain stable rather than developing cracks along the repair line.
The less visible measures matter as well: the source of moisture has been dealt with, compromised materials have been removed, and the new lining is fixed to sound backing. These are the details that support an invisible repair rather than a short-term cover-up.
For Perth homeowners, an owner-operated specialist such as Yong's Carpentry offers a practical advantage on this type of work: the hands that quote the job are the hands that finish it. That continuity makes it easier to discuss the cause of the damage, agree on the finish you expect and keep the home protected and tidy throughout the work.
Before approving a ceiling restoration, ask what is being removed, what is being replaced, whether the cause has been resolved, how cornices and paint preparation will be handled, and which trades are included. A clear answer now is the best way to achieve a ceiling that disappears back into the room for all the right reasons.