Interior Wall Finishing for a Paint-Ready Result
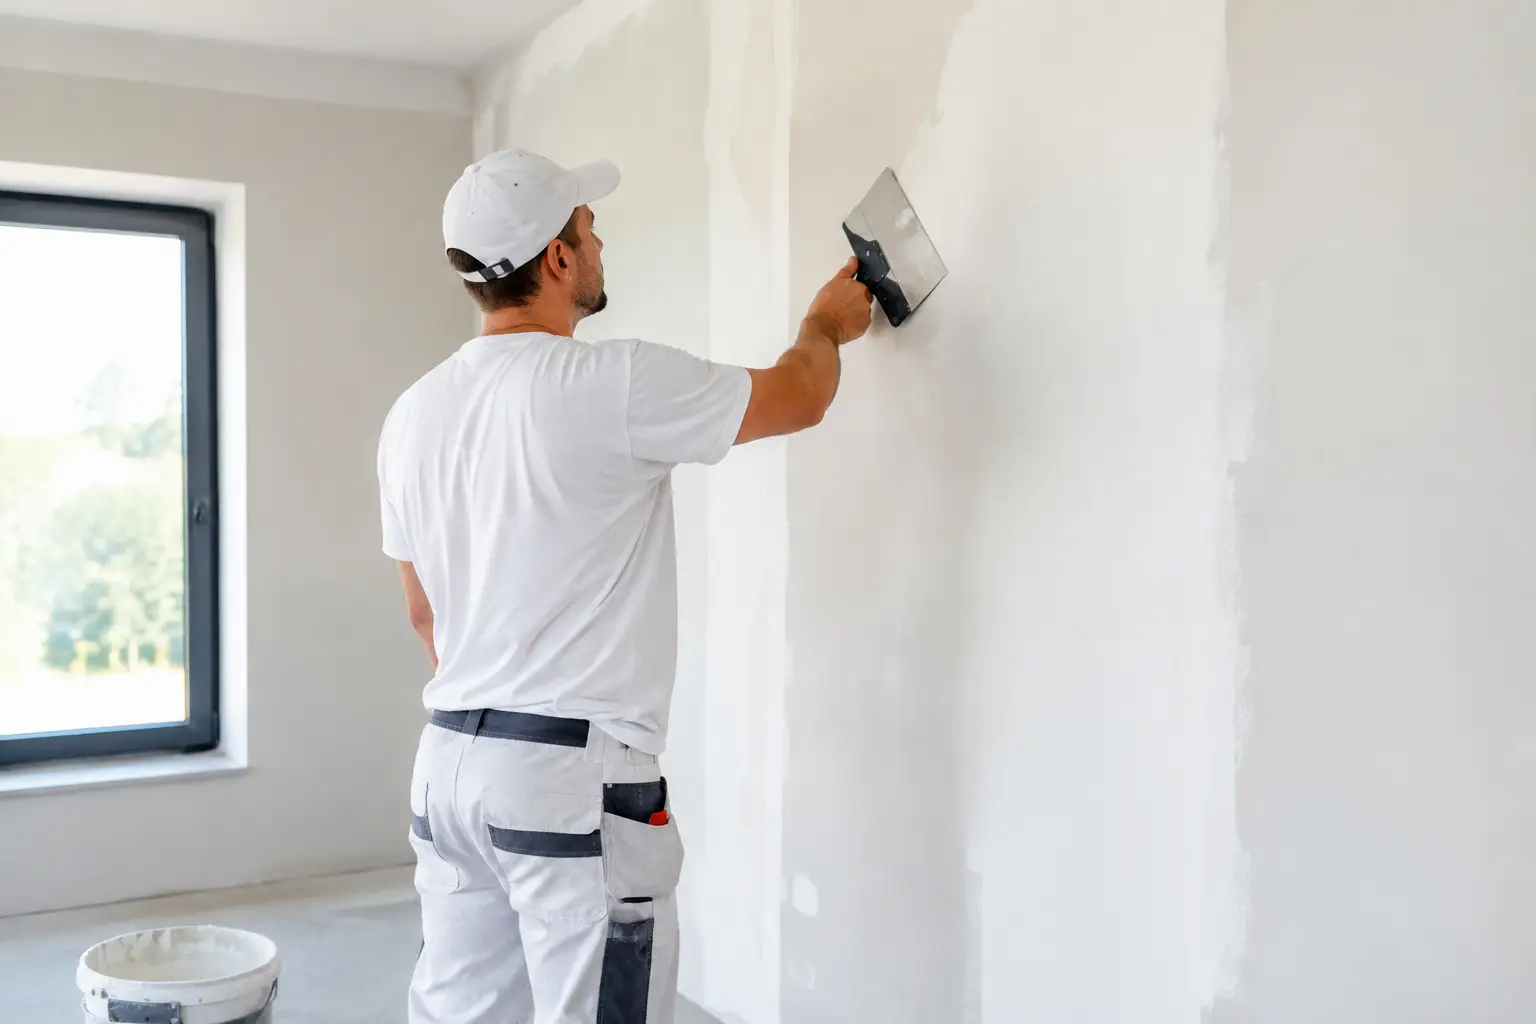
A wall can look straight from across the room and still show every join, patch and ripple once the paint goes on. That is why interior wall finishing is not simply the last step after plasterboard is installed. It is the careful work that determines whether a renovated room feels clean and complete, or constantly draws your eye to imperfections.
For homeowners, the goal is usually straightforward: walls that are smooth, sound and ready for painting, without unnecessary disruption in the home. Getting there takes the right preparation, materials and trade judgement - particularly in older Perth homes where movement, previous repairs and uneven framing can all affect the final result.
What interior wall finishing actually includes
Interior wall finishing covers the work needed to take a wall from exposed framing, plasterboard or damaged surface to a stable, paint-ready finish. Depending on the project, that may include plasterboard lining, joint setting, sanding, patch repairs, skim coating, corner beads, cornice work and preparation for paint.
The process changes with the condition of the wall. A newly lined partition wall needs accurate board installation and clean jointing. A wall with water damage needs the cause addressed first, then damaged materials removed and rebuilt. A heritage home may need an older cornice profile repaired or matched so the new section does not look like an obvious addition.
This is where experience matters. Applying more compound is not always the answer. A good finish begins with a sound surface, correct fixing and enough time between coats. Rushing any of those stages often creates problems that only become visible after painting, especially under downlights or morning sun.
The finish starts behind the surface
A paint-ready wall is built in layers. Before setting compounds or sanding begin, the installer should assess whether the wall is secure, dry and reasonably true. Loose plaster, bowed framing, failed fixings and moisture issues need attention first. Covering them may improve the appearance briefly, but it will not produce a lasting repair.
For plasterboard work, sheets should be fixed firmly with joins positioned and supported correctly. External corners need protection, usually with a corner bead, because they are exposed to knocks from furniture, vacuum cleaners and everyday traffic. Internal corners need to be straight and neatly reinforced so they do not crack or look soft beneath paint.
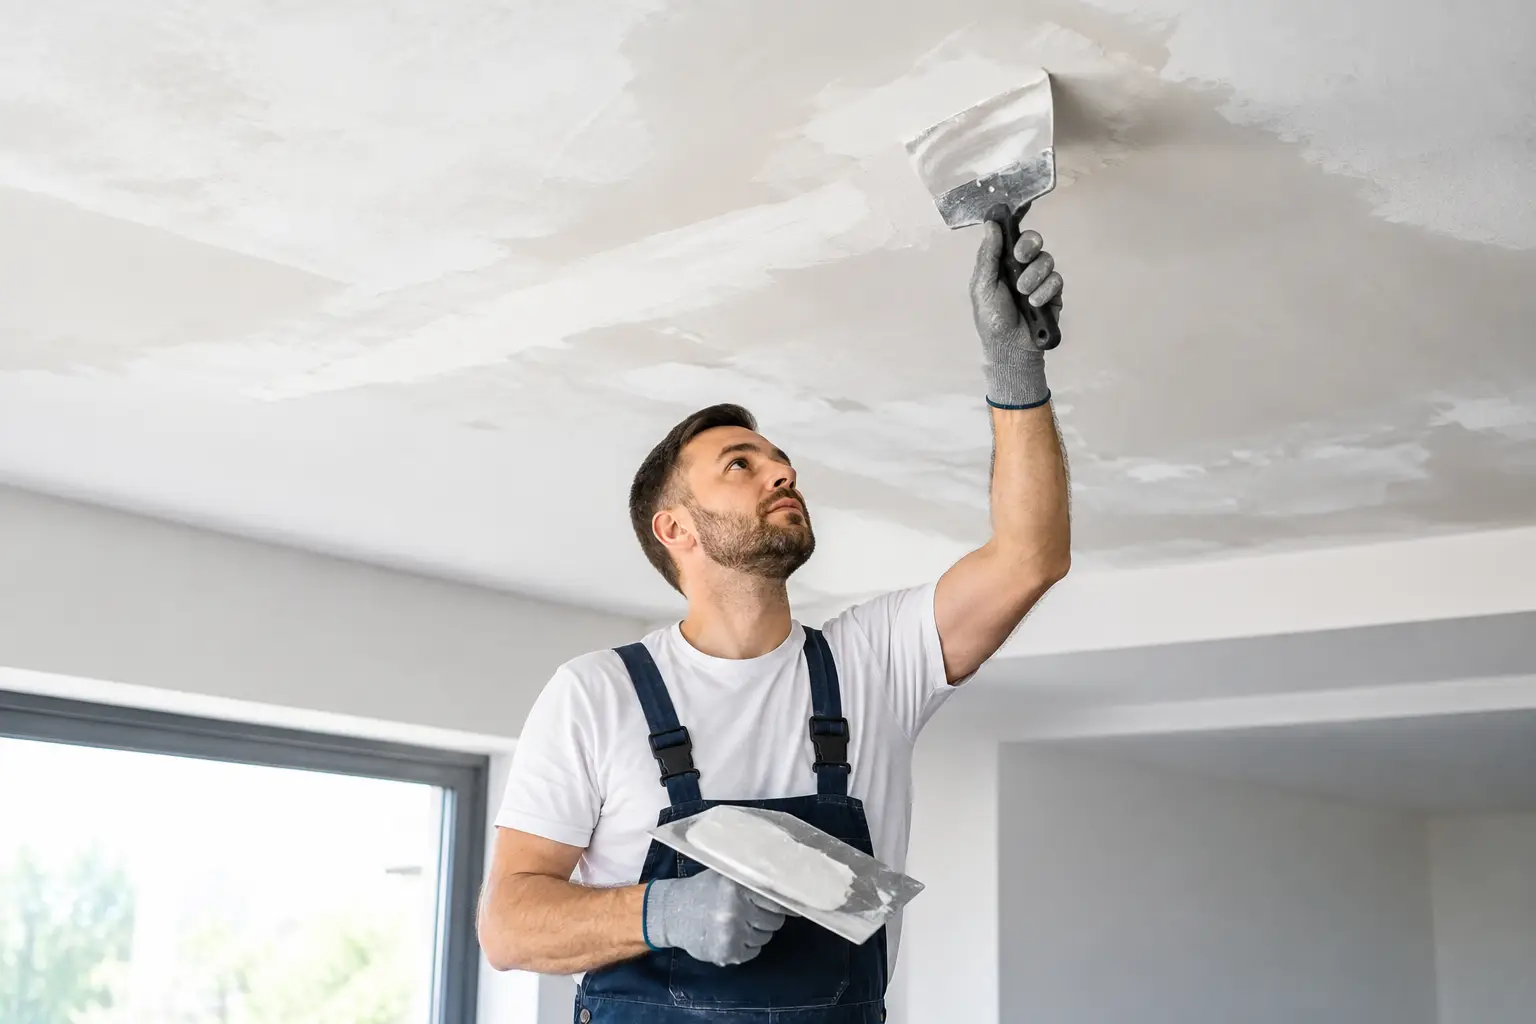
Jointing then happens over several stages. Tape reinforces the joins, and setting compound is feathered progressively wider with each coat. This gradual feathering is what helps the wall read as flat under light. A narrow, heavy join may look acceptable before painting, but it can leave a visible band once a low-sheen or darker paint colour is applied.
Sanding is equally important, but it is not about sanding as much as possible. Over-sanding can expose tape or create hollows. The aim is an even transition between the joint and board face, followed by proper dust removal before sealing and painting.
Light reveals what a quick inspection misses
Feature lighting has made wall finishing less forgiving. Recessed LED lights, wall washers and large windows can cast light almost parallel to the surface, highlighting even small undulations. This does not mean every wall needs a premium skim coat from floor to ceiling. It does mean the finish should be discussed in relation to the room, lighting and chosen paint.
A hallway with standard ceiling lights may require a different level of refinement from a living area with strong daylight and a dark feature wall. A careful tradesperson will raise this before the job starts, rather than treating every wall as identical.
Repairs need more than a patch over the top
Cracks, dents and holes are common, but the repair method should match the cause. A small picture-hook hole can be filled and sanded with minimal fuss. A recurring crack near a door opening may indicate movement, poor joint reinforcement or framing issues. Repairing it properly can involve opening the area, strengthening the join and resetting it rather than repeatedly filling the visible line.
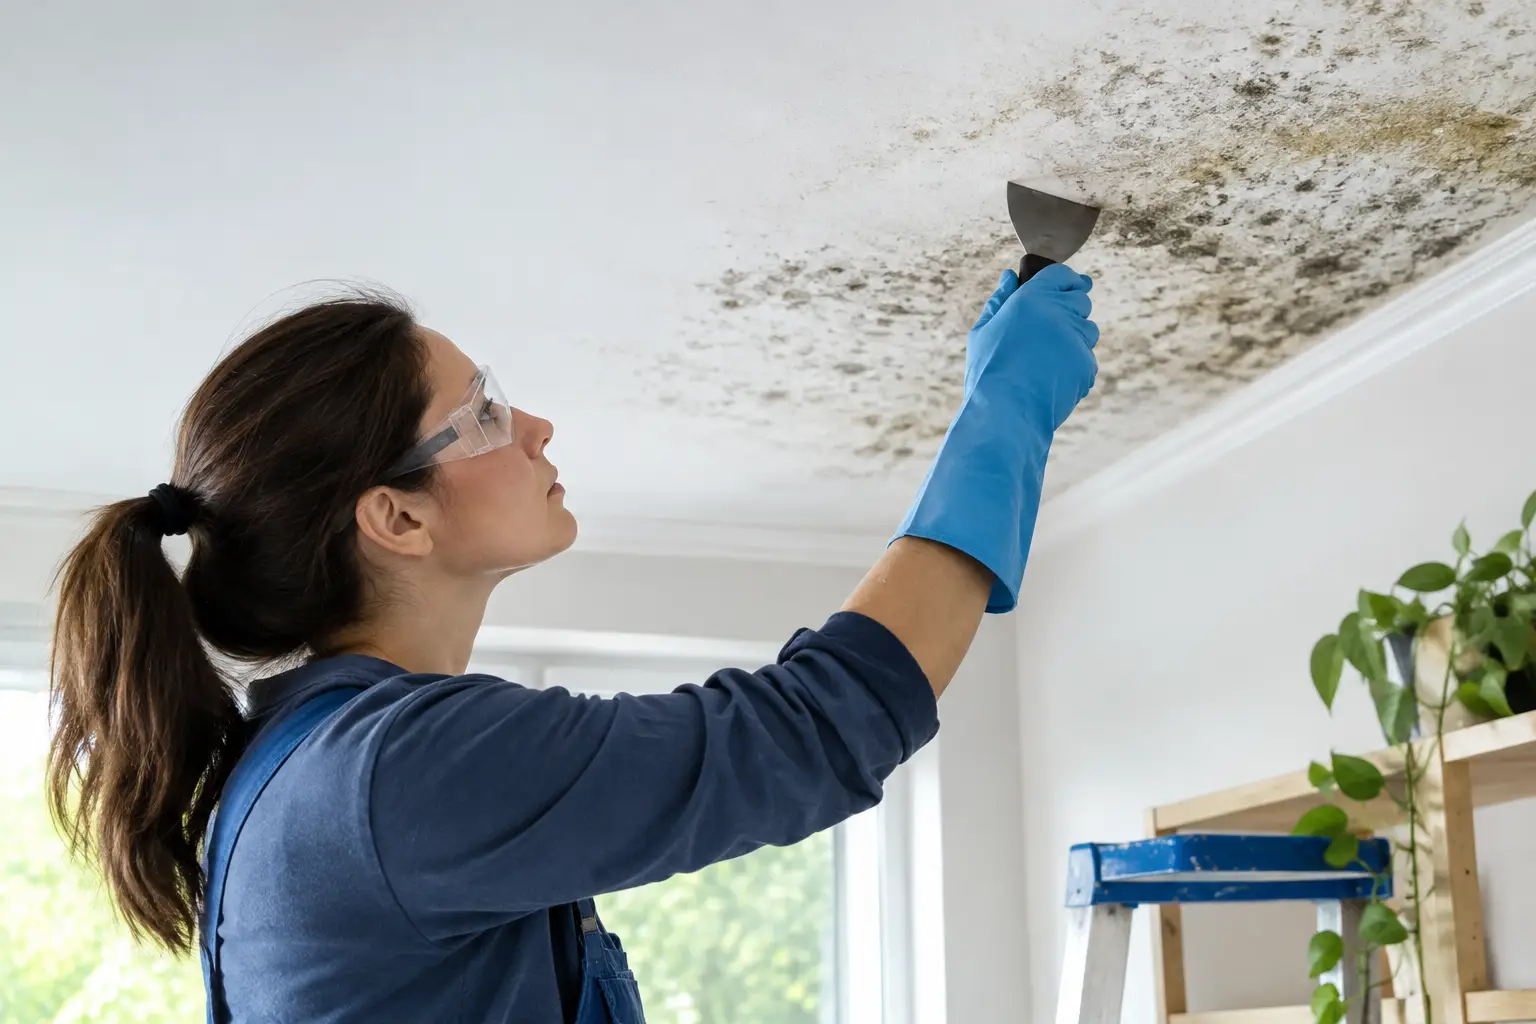
Water-damaged walls require particular care. Staining, bubbling paint and swollen plasterboard can indicate an active leak or past moisture event. The source should be resolved and the area fully dry before replacement and finishing work begins. Otherwise, new materials may be installed over a problem that has not gone away.
Invisible repair work is a balance of technical preparation and visual matching. Texture, existing paint build-up, cornice details and the surrounding wall condition all matter. The best repair is one that blends into the room after painting, rather than looking like a square patch was added later.
Choosing the right finish for the room
There is no single interior wall finishing approach that suits every home. The right option depends on the wall condition, the level of change planned and the way the room will be used.
For a new room, plasterboard lining with professionally set joins is usually the clearest path to a clean finish. For a tired but generally sound wall, local repairs and careful preparation may be enough before repainting. Where old surfaces are uneven, heavily patched or textured, skim coating can provide a more consistent base - although it involves more labour and should be priced accordingly.
Bathrooms, laundries and other wet areas need materials suited to moisture exposure, along with correct detailing around fixtures and waterproofing zones. These areas should never be treated like an ordinary bedroom wall. Similarly, rental properties may benefit from durable, practical repair solutions, while a major renovation may justify a higher-detail finish to suit new lighting and premium paint.
The important thing is clarity before work begins. A fixed-price quote should describe what is being repaired or installed, the expected finish, exclusions such as painting, and any conditions that may require further work once damaged areas are opened up. Clear communication avoids the uncertainty that often comes with vague allowances.
What homeowners can do before work starts
Good preparation makes the job cleaner and easier for everyone. Move smaller furniture, artwork and fragile items away from the work area where possible. Larger items can often be shifted or protected on site, but access should be discussed during the quote.
Expect some dust when sanding is required, even with careful containment and cleanup. Floors, furniture and nearby openings should be protected, and a tidy tradesperson will manage rubbish as the work progresses rather than leaving the site difficult to live in. If the room remains in use, let the contractor know early. The work sequence can often be planned around family routines, pets or access needs.
It also helps to decide on paint colour and lighting before the finishing stage is complete. Deep colours, gloss levels and directional light can change how the surface appears. Sharing those details gives the person finishing the walls a better basis for recommending the appropriate level of preparation.
Why one point of accountability matters
Wall finishing is detail work. The person assessing the issue needs to understand how it will be repaired, how the room will be protected and what the final surface should look like. When quoting, planning and completion are passed between different people, those details can be lost.
Yong's Carpentry takes a boutique approach to wall and ceiling work: the hands that quote your job are the hands that finish it. That direct involvement supports practical advice, consistent workmanship and a clear point of contact from the first site visit through to final cleanup.
For homeowners, that means fewer assumptions. You can ask why a crack needs reinforcing, whether a bulkhead will affect the cornice line, or how a repair will sit under new LED lighting, and receive an answer from the person responsible for the finish.
A finish worth inspecting before the painters arrive
Before painting begins, inspect walls in natural and artificial light. Look along the surface rather than only straight at it, and check corners, joins, repaired areas and the line where wall meets ceiling. Minor touch-ups are far easier at this stage than after primer and topcoats are applied.
A properly finished wall should not demand attention. It should provide a calm, even backdrop for the room around it - proof that the detail was handled properly before the paint went on.