A Homeowner's Guide to Plasterboard Patching
A small hole in a wall can look like a simple weekend job. Then the paint flashes differently, the patch sinks as it dries, or a ceiling repair reveals the original water stain a month later. This guide to plasterboard patching explains what separates a temporary cover-up from a repair that disappears once painted.
The right method depends on the damage, where it sits and why it happened. A door-handle dent in a hallway wall is very different from a sagging ceiling after a roof leak. Getting that diagnosis right before any compound goes on the wall saves time, mess and repeat repairs.
Start by finding the cause of the damage
Plasterboard is a finish material, so visible damage sometimes points to a problem behind it. Before patching, check for moisture, movement or loose framing. A repair made over an active problem will usually crack, stain or soften again.
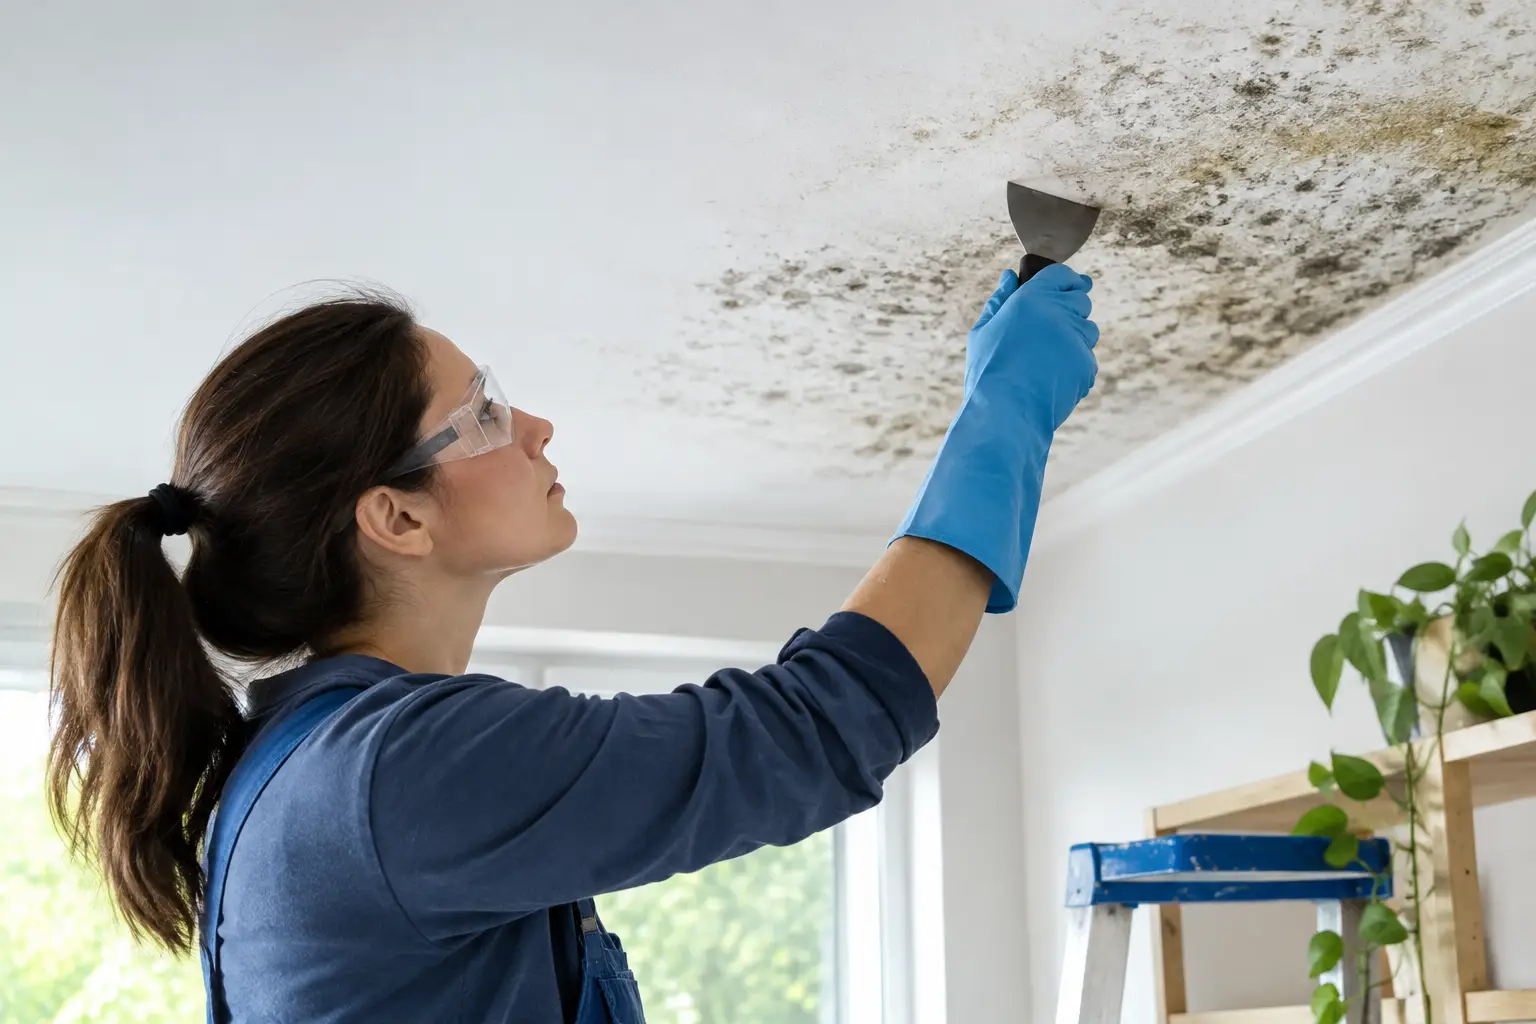
Water damage needs particular care. If the ceiling or wall is still damp, has a musty smell, or shows spreading brown marks, locate and fix the leak first. In Perth homes, roof leaks, failed flashing, air-conditioning drainage and plumbing issues are common causes. Wet plasterboard often loses its strength, so drying the surface alone may not be enough. Sections that have swelled, sagged or become soft should generally be cut out and replaced.
Cracks also need reading rather than simply filling. A fine hairline crack along a plasterboard joint may be caused by normal seasonal movement. A wide crack, recurring crack, or one paired with doors sticking or cornice separation may suggest more significant movement. Patching the surface can improve the appearance, but it will not correct structural movement.
Guide to plasterboard patching by damage type
Small dents, nail pops and shallow holes
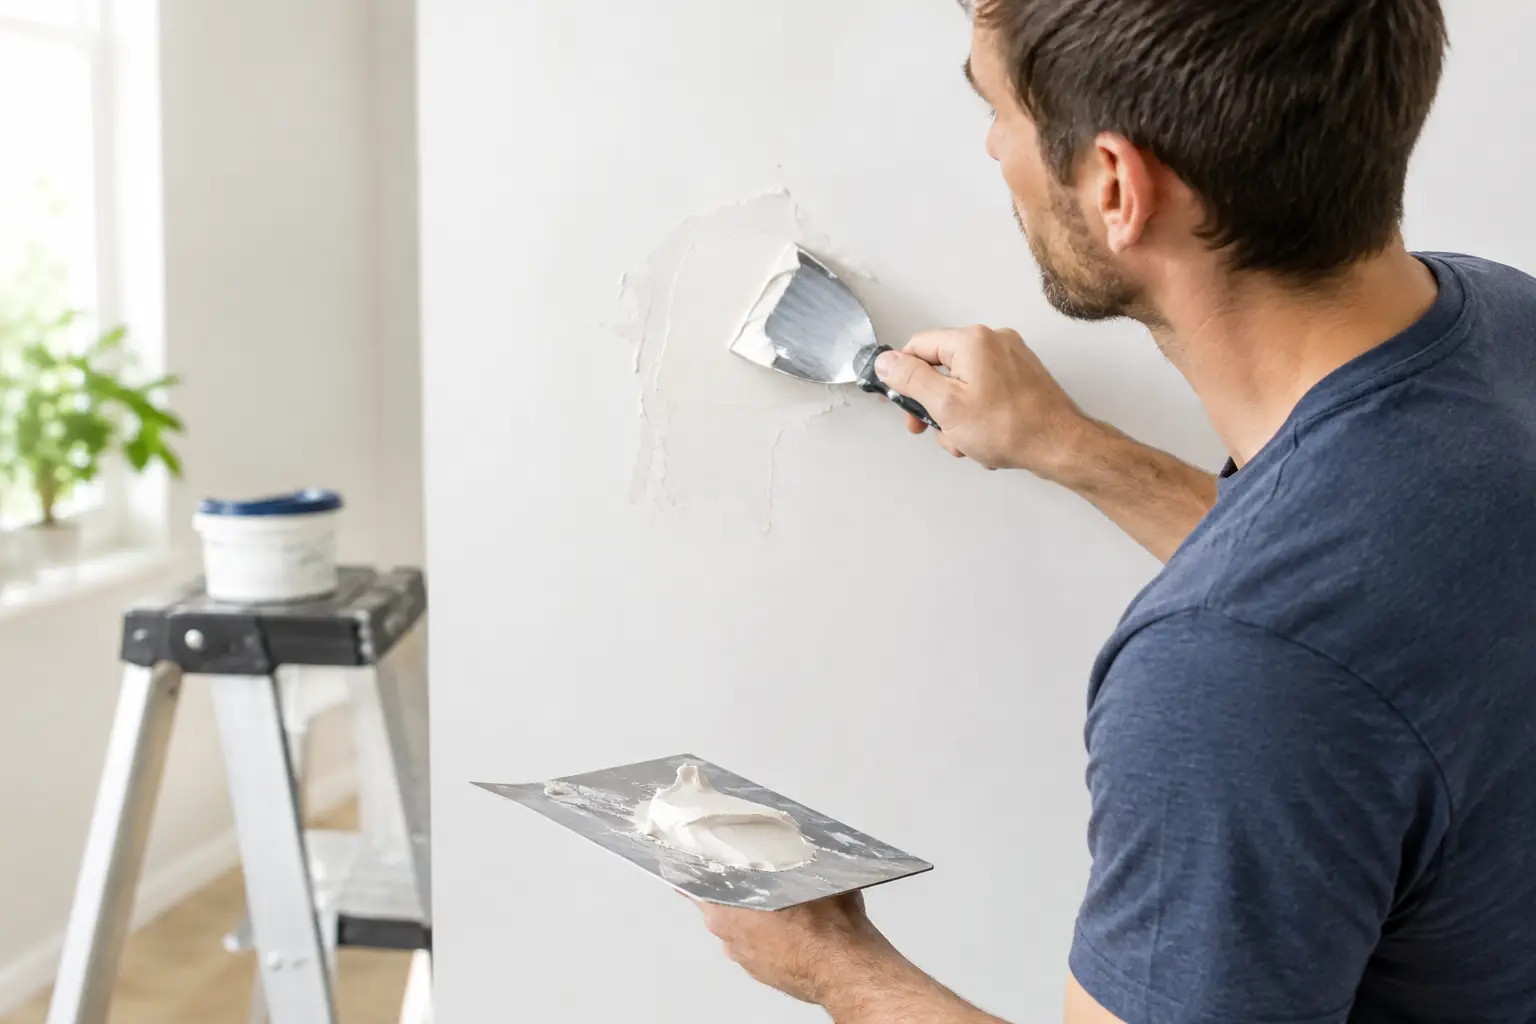
Small dents, screw holes and nail pops can usually be repaired with patching compound. Scrape away loose paper and raised edges first. For a nail pop, drive a plasterboard screw into sound board near the popped fastener to secure the sheet, then remove or set the old fastener below the surface.
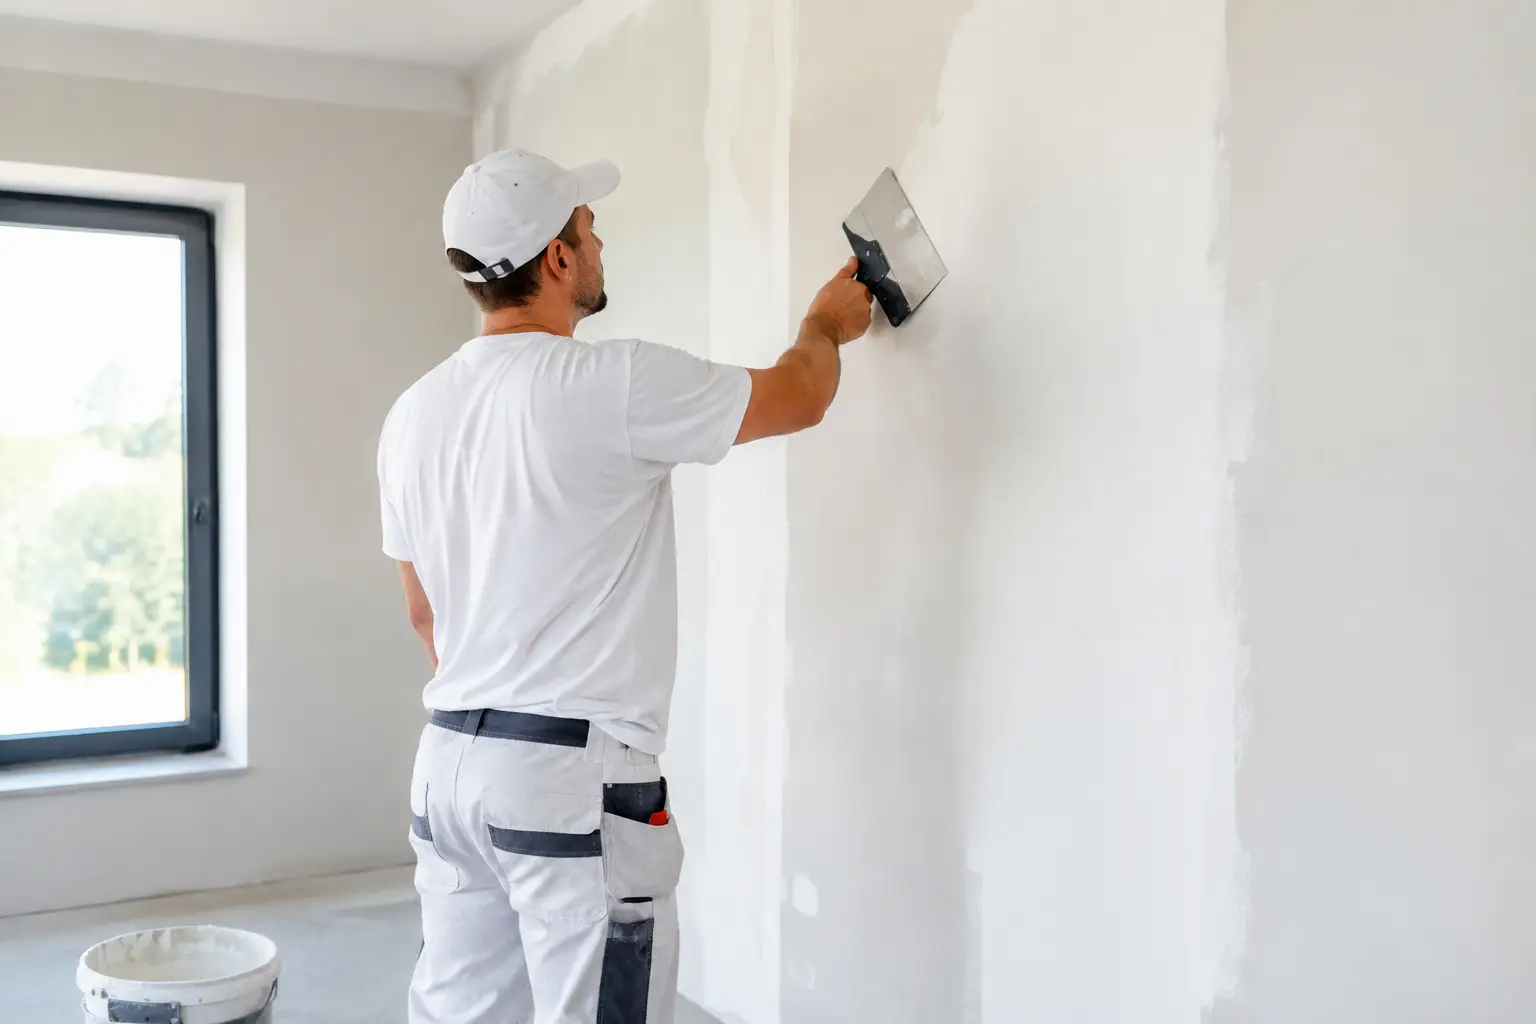
Apply compound in thin, wide coats rather than one thick blob. Each coat should extend further beyond the repair, feathering the edge so it blends into the wall. Light sanding between dry coats helps, but aggressive sanding can scuff the face paper and create another surface to repair.
Medium holes from knocks or fittings
Holes left by old light fittings, wall vents or accidental impacts need backing before they are filled. Without support, a patch can flex and crack. The usual approach is to cut the damaged area into a neat square or rectangle, fit timber backing behind the board, then screw a new plasterboard piece into place.
The joins are taped before they are stopped with compound. Paper tape gives a strong, flat joint when bedded properly, while mesh tape can suit some small repairs but is less forgiving where movement is likely. The goal is not just to hide the cut line. It is to create a broad, gradual transition that cannot be seen under side lighting.
Large holes and damaged ceiling sections
A large opening should be treated as a small reinstatement job, not a giant patch. The damaged board is cut back to firm material and, where practical, to framing. New plasterboard is installed with adequate support, then the joints are taped, stopped and feathered across a wide area.
Ceilings demand extra attention because gravity works against fresh compound and light often exposes uneven work. A repair near a downlight, air-conditioning grille or cornice may also require careful cutting and reinstatement. If insulation, electrical wiring or water damage is involved, do not assume the visible hole tells the whole story.
The finish is where repairs succeed or fail
Most patching problems appear at the finishing stage. The repair may be solid, but if the compound ridge is too narrow or the surface has been sanded unevenly, it becomes obvious after painting. This is especially true on long hallway walls, near windows, and on ceilings with recessed LEDs. Light travelling across the surface makes even slight undulations visible.
A quality repair is built in layers. First, the tape is embedded and the joint is covered. The next coat widens the repair, and the final coat refines the surface. Each layer needs to dry fully before the next is applied. Rushing this process can trap moisture, cause shrinkage and leave a hollow or uneven finish.
Sanding should make the repair level, not merely smooth to the touch. Run a straightedge or broad knife across the area and look at it from the side with a work light. Your hand can miss a shallow hump that paint will reveal immediately.
Primer is another step worth keeping. Fresh compound is more porous than painted plasterboard, so it can absorb paint differently and leave a dull patch known as flashing. Prime the repaired area, then apply finish coats across the wall or ceiling as needed for an even colour and sheen.
Matching texture, cornice and older finishes
Smooth walls are often easier to repair than textured or older surfaces. Orange-peel texture, stipple finishes and heavy roller patterns need to be recreated after the patch is flat. This takes testing and restraint. Too much texture can look as noticeable as none at all.
Decorative cornice adds another layer of complexity. A cracked or water-damaged section may need to be removed and replaced with a matching profile, then joined and finished without disrupting adjacent lengths. In older homes, exact profiles are not always readily available, and a close match may need more careful sourcing or repair work.
Heritage-style homes also tend to have walls and ceilings that are less uniform than newer construction. That does not prevent an excellent result, but it changes the approach. The repair must be assessed in context, including surrounding paint, cornice lines, existing movement and the level of finish expected across the room.
When a DIY patch makes sense
A homeowner can often handle a small, dry wall dent or a few picture-hook holes with patience and the right materials. The work is low risk when there is no sign of moisture, no crack movement, no electrical issue nearby and no need to match a complex texture.
Be realistic about the finish, though. Patching compound, sanding dust and repeated coats can turn a one-hour expectation into a full weekend, particularly for first-time repairs. Ceiling work is also physically awkward and creates more dust overhead.
It is usually wiser to call a specialist when the damage is larger than a small hand-sized hole, involves a ceiling, follows water damage, keeps cracking, affects cornice, or needs to be invisible in a prominent room. The same applies when a property needs to be ready for tenants, sale photography or painting on a fixed schedule.
Preparing your home for a clean repair
Good patching work starts with protecting the room. Move furniture away from the affected area where possible, cover remaining pieces, and clear fragile items from nearby shelves. Fine sanding dust can travel further than expected, even with careful containment.
Tell the tradesperson about previous leaks, old repairs, wiring locations and any spare paint you have. These details help avoid surprises and can make colour matching easier. If the repair is in a lived-in area, agree on access, parking and timing before work begins so the job can proceed without unnecessary disruption.
For homeowners who want direct accountability, Yong's Carpentry takes a boutique approach: the hands that quote the work are the hands that personally finish it. That matters on repair jobs, where careful assessment and final surface quality are inseparable.
A well-patched wall should not ask for attention. Once the cause has been addressed, the surface prepared properly and the paint applied evenly, the best repair is simply the one you stop noticing every time you walk into the room.