How to Hide Uneven Ceiling Joints Properly
A ceiling joint can look fine until late-afternoon light hits it. Then every raised tape edge, hollow line and uneven join becomes impossible to ignore. Knowing how to hide uneven ceiling joints starts with one honest question: is the joint only visually uneven, or is the ceiling still moving? The right answer determines whether a careful plaster repair will hold or whether the area needs a more substantial fix.
For homeowners, the goal is not to simply cover a line for a few months. It is to achieve a smooth, paint-ready ceiling that stays that way through Perth’s warm summers, seasonal movement and everyday use of the home.
Why ceiling joints become uneven
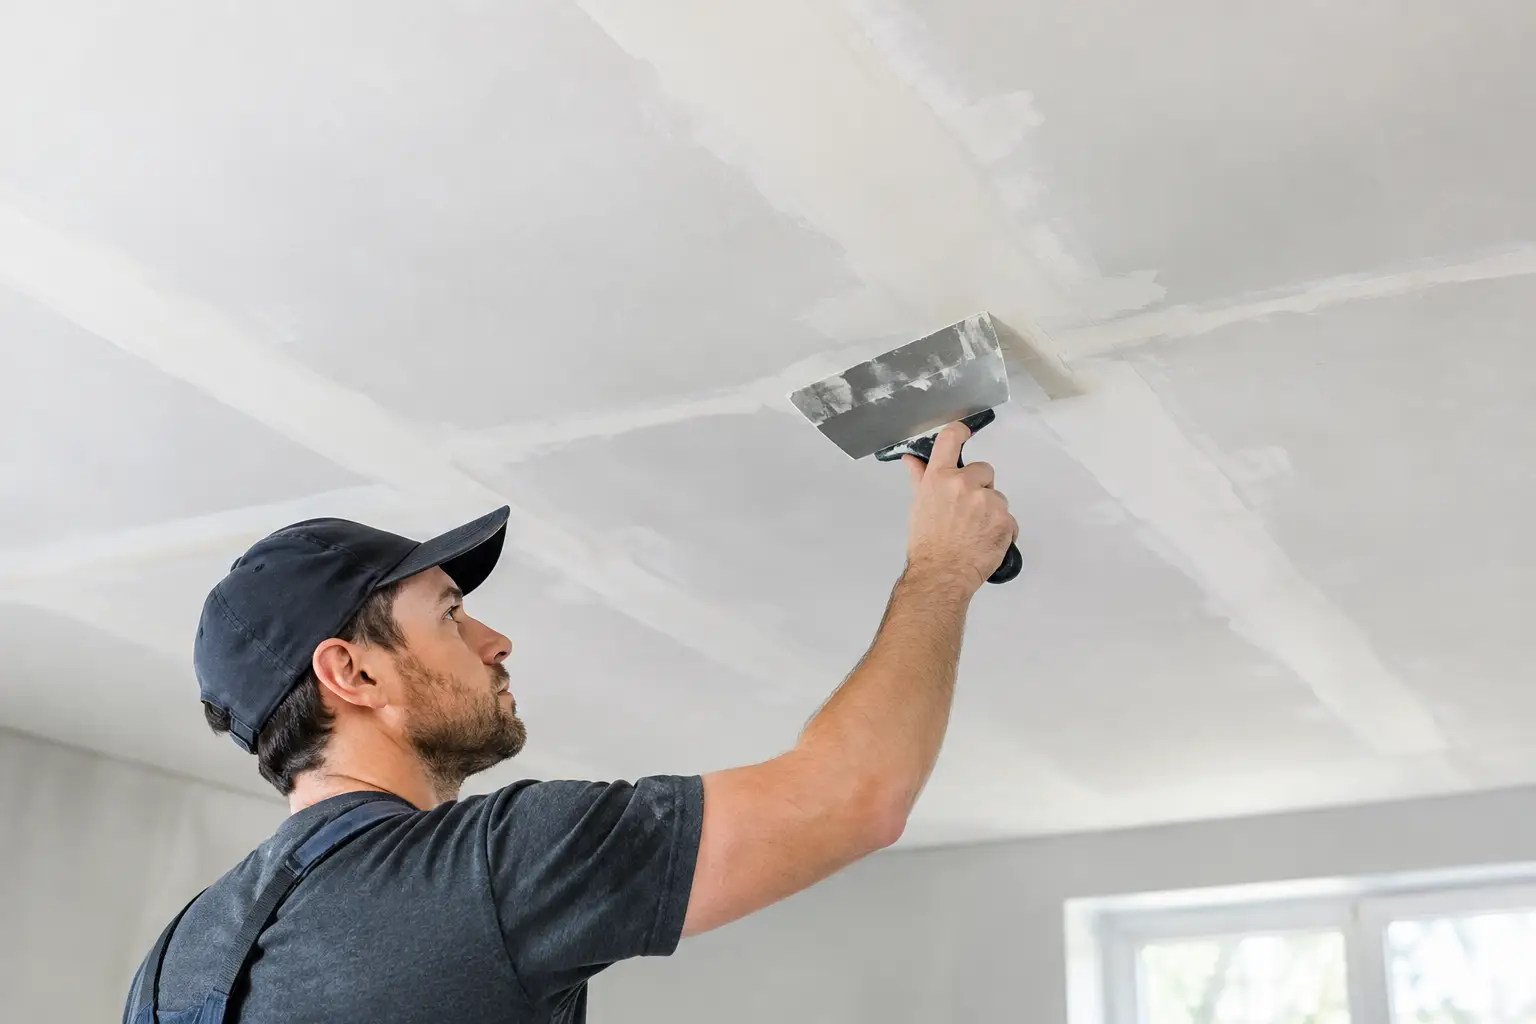
Most plasterboard ceilings have joints where sheets meet. These are normally taped, set with joint compound and feathered out so the transition disappears once painted. When the setting work is too narrow, poorly sanded or applied over an uneven substrate, the joint can remain visible as a ridge or shallow trough.
Movement is another common cause. Roof trusses can shift slightly, particularly where ceilings meet internal walls or around long spans. Water damage may soften plasterboard, loosen tape or stain the joint. In older homes, past repairs are often the issue: a crack has been filled repeatedly without addressing why it returned.
Lighting makes minor imperfections look worse. Downlights, pendant lights and large windows can cast a raking light across the ceiling, highlighting a joint that may barely show from another angle. This is why a repair that looks acceptable before painting can still stand out once a low-sheen finish is applied.
How to hide uneven ceiling joints without a short-term patch
The best method depends on the condition of the joint and how prominent it is. Painting over it, applying a thick bead of flexible filler, or adding more compound directly on top may soften the appearance briefly, but it rarely creates a professional result. More importantly, it can make the proper repair harder later.
Start by checking for movement or moisture
A straight, raised line with intact paint may be a finishing issue. A cracked line, loose tape, yellow-brown stain or sagging plasterboard is different. Press gently around the area. If the lining feels soft, flexes noticeably, or sounds hollow in places, the board or fixing system may need attention before any setting work begins.
Where water has entered from the roof, plumbing or an upstairs wet area, the source must be fixed first. Repairing a ceiling before the leak is resolved risks wasted work and recurring damage. Staining can also bleed through fresh paint unless it is properly sealed after the surface has dried.
If the ceiling is in an older Perth property and the material is unknown, do not sand, drill or cut into it until asbestos risk has been considered. A professional assessment is the sensible first step where there is any doubt.
Remove loose tape and failed compound
A durable repair begins with sound edges. Loose paper tape, crumbling compound and unstable paint need to be removed carefully. Simply pushing compound into a cracked joint leaves the failed material underneath, where it can continue to move and crack.
Once the area is opened up, the plasterboard edges and fixings can be checked. Additional screws may be needed where a sheet has pulled away from framing. Screw heads must sit slightly below the face of the board without breaking the paper surface. Overdriven screws are a common cause of future popping and cracking.
Re-tape the joint and feather it wide
For most visible joints, re-taping is the correct repair. Paper tape set into a suitable base coat provides strength across the join. Fibreglass mesh tape can suit selected repairs, but it is not automatically the best choice for a ceiling joint. The repair method should suit the joint type, ceiling movement and surrounding finish.
The key to hiding the repair is feathering. Rather than building a narrow, high ridge over the joint, the compound is spread progressively wider across several coats. Each coat is allowed to dry properly before the next is applied, then lightly sanded to remove high spots. The final coat should blend gradually into the existing ceiling surface.
This takes patience. A ceiling is viewed across a broad, flat plane, so small variations are more noticeable than they would be on a wall. Skilled setting is less about applying lots of compound and more about controlling thickness, width and edge transitions.
Check the finish under the right light
A work light held at a low angle across the ceiling is one of the most useful checks before painting. It reveals ridges, trowel marks and shallow depressions that normal overhead lighting can hide. This is the stage to correct a flaw, not after the painter has applied two coats.
A fine final sand is usually required, followed by careful dust removal. Ceiling dust travels through a home quickly, which is why tidy preparation and protection of nearby floors and furniture matter just as much as the repair itself.
When cornice is the better way to conceal an uneven edge
Not every uneven ceiling line is a plasterboard sheet joint. Sometimes the issue sits where the ceiling meets the wall, particularly after a wall has been straightened, relined or repaired. In these cases, new or replacement cornice can create a clean, consistent transition and conceal minor irregularities along the perimeter.
Cornice is not a cure for major movement or a sagging ceiling. It is, however, an effective finishing solution when the ceiling-to-wall junction is uneven but structurally sound. It can also be the right choice for homes where existing decorative profiles need repair or matching.
A heritage-style cornice deserves careful handling. Replacing a damaged length with a mismatched modern profile can make the repair more obvious than the original crack. The profile, projection and join details need to suit the room, particularly where the cornice runs into existing corners and ceiling roses.
When a bulkhead or feature detail makes more sense
For a long, persistently awkward ceiling joint, a bulkhead or recessed lighting cove can turn a problem area into an intentional architectural feature. This is most suitable during renovations, room reconfigurations or lighting upgrades, rather than as a first response to a small repair.
A well-designed bulkhead can conceal changes in ceiling level, services or difficult transitions while adding definition to an open-plan room. Recessed LED coves can provide soft indirect light, but they require accurate framing, lining and setting. Poorly finished bulkheads create even more visible joints, especially when lit from within.
This option costs more than a standard repair and changes the room’s appearance, so it should be chosen because it improves the space overall, not simply to avoid fixing a joint correctly.
Mistakes that make ceiling joints stand out
The quickest-looking fixes often create the most visible results. Heavy sanding can damage the plasterboard face and leave a fuzzy surface that paints unevenly. Applying one thick coat of compound can shrink, crack or form a hump. Using glossy paint on a ceiling amplifies surface flaws, while poor lighting checks allow them to remain unnoticed until the job is finished.
It is also risky to treat every crack as cosmetic. A recurring crack near a wall junction may relate to truss uplift or seasonal movement. A repair can still be made neat and durable, but the method needs to allow for the cause rather than fighting it with more rigid filler.
Choosing a professional ceiling repair
A good ceiling repair should leave more than a smooth patch. The tradesperson should identify the likely cause, protect the room, repair the substrate where needed, set the surface properly and leave it ready for paint. Fixed pricing and a clear explanation of the scope matter, especially when water damage or hidden fixing issues may affect the work required.
At Yong’s Carpentry, the hands that quote the job are the hands that finish it. That direct accountability is particularly valuable for ceiling work, where careful inspection and finishing detail make the difference between a repair that blends in and one that catches your eye every day.
If a ceiling joint is visible from the lounge room sofa or under your kitchen lights, it is worth having it assessed before another coat of paint goes on. The right repair is usually quieter than the problem: a flat, clean ceiling that simply lets the rest of the room look its best.