Ceiling Leak Restoration: What Happens Next

Illustrative image
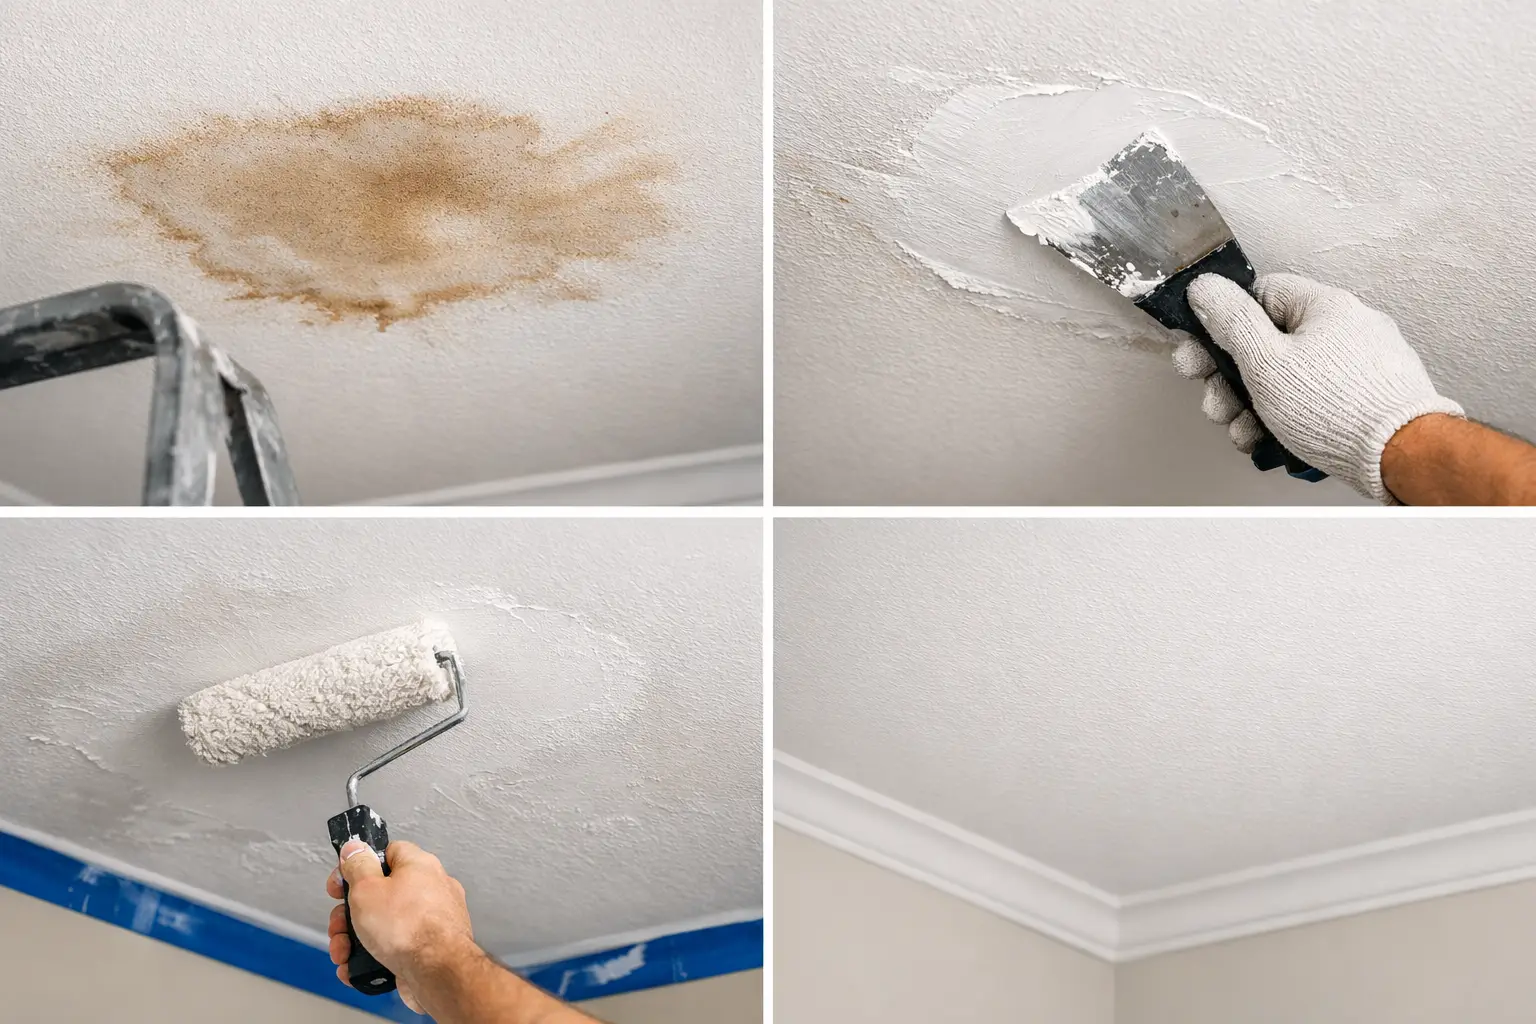
A brown ceiling stain can look like a minor cosmetic issue, but ceiling leak restoration should never begin with paint. Water may have travelled well beyond the visible mark, soaked insulation or plasterboard, and weakened the ceiling lining from above. The first job is always to stop the water source. The second is to make sure the ceiling is dry and sound before restoring its finish.
For Perth homeowners, leaks commonly show up after heavy rain, a failed roof flashing, blocked gutters, damaged tiles or a plumbing fault in an upstairs bathroom. Acting early protects more than the ceiling. It can prevent mould growth, electrical risks, damaged flooring and a repair area that becomes much larger than it needed to be.
Start with the cause, not the ceiling stain
A ceiling repair will only last if the leak has been fixed first. Painting over a water mark or patching soft plasterboard while moisture is still entering the home simply hides the problem for a short time. The stain returns, the paint can blister, and the new lining may sag or break down.
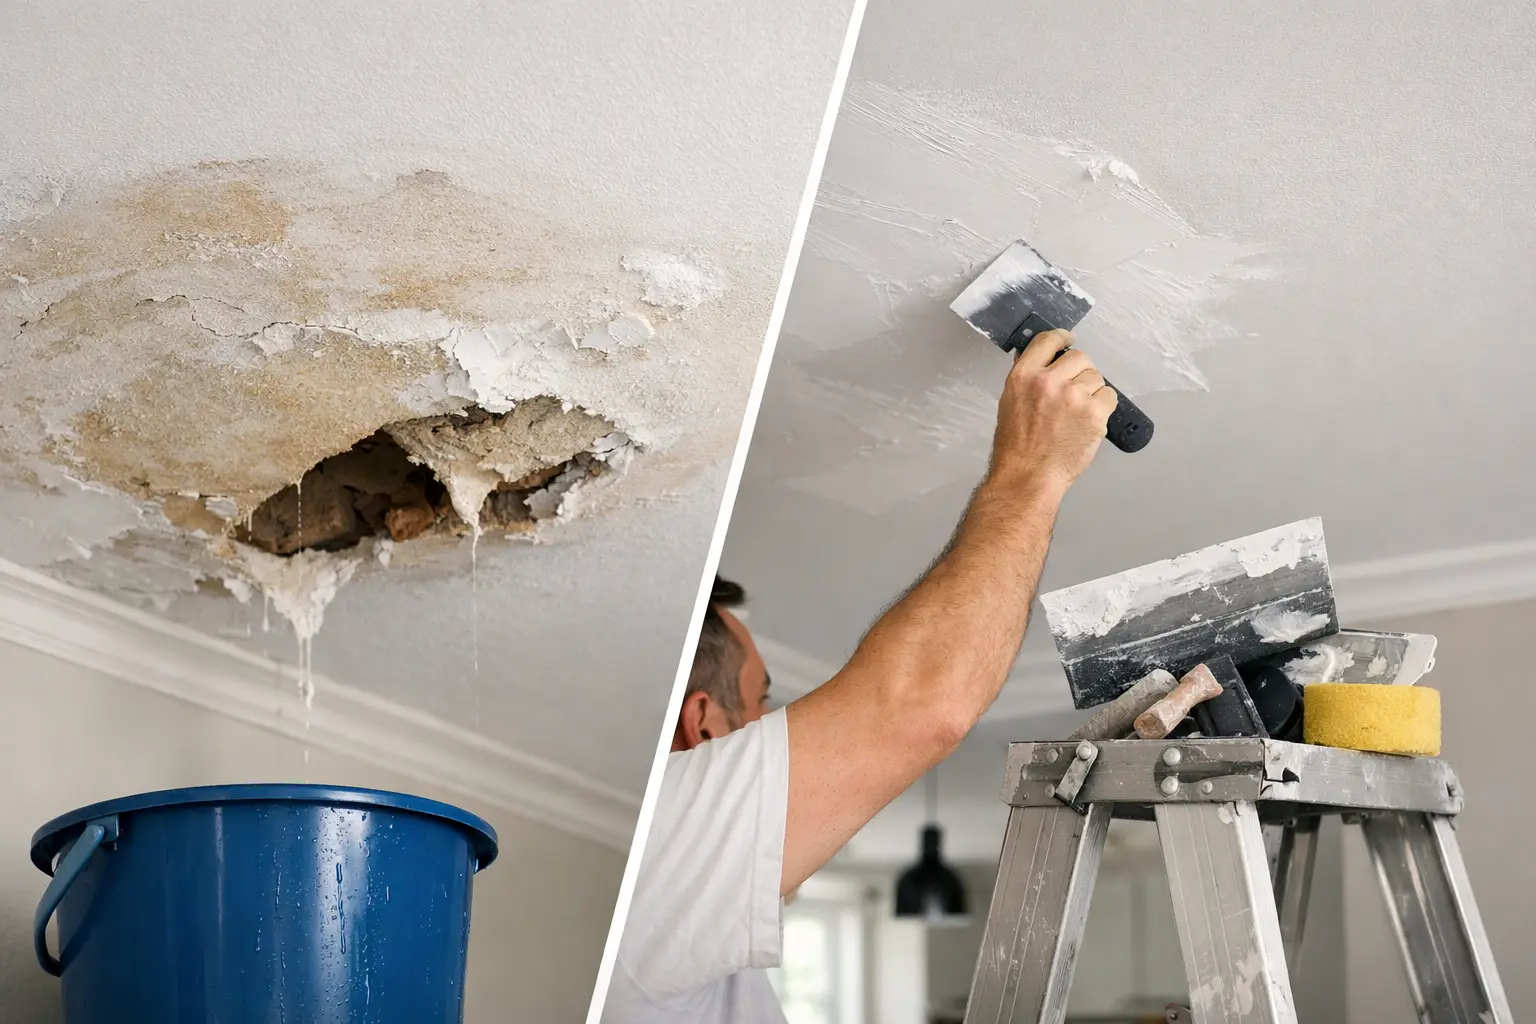
If water is actively dripping, move furniture and valuables away from the area and place a bucket underneath if it is safe to do so. Switch off power to affected lights or ceiling fans at the switchboard where possible. Do not touch wet fittings, attempt to remove a swollen ceiling sheet, or climb into a roof space where the structure may be unsafe.
The source may be obvious, such as a burst pipe directly above the room. Roof leaks are often less straightforward. Water can enter at one point and run along rafters, wiring or insulation before it appears on the ceiling somewhere else. A proper assessment may involve a roofer, plumber or leak detection specialist before internal restoration work starts.
Signs your ceiling needs more than a touch-up
A small, dry stain may only need stain sealing and repainting once the source is confirmed and the substrate is unaffected. Other signs point to damage behind the paint film and should be inspected before any cosmetic work begins.
- A ceiling that is bowed, swollen, soft or visibly sagging
- Paint that bubbles, flakes or peels around a stain
- Cracks spreading from a damp patch, cornice or light fitting
- A musty smell, mould spotting or recurring discolouration
Plasterboard is particularly vulnerable once its paper face and gypsum core become saturated. It may dry out after a minor incident, but water-damaged board can lose strength, distort at joins and leave a noticeable repair line later. In many cases, cutting out compromised material and replacing it is the more reliable option.
Older homes need extra care. Decorative cornices, patterned ceilings and heritage profiles may require matching rather than a basic replacement. A rushed patch can leave a visible change in profile or texture that stands out after painting, especially in rooms with strong natural light.
What professional ceiling leak restoration involves
The right scope depends on the cause, how long the leak has been present and the construction of the ceiling. A clean, invisible result is less about applying filler and more about following the correct sequence.
1. Assessing the affected area
The visible stain is measured against the likely path of the water, not treated as the full extent of damage. The ceiling lining is checked for softness, loose fixings, staining at joints and damage around cornices, vents, lights and access panels. If there is any concern about electrical fittings, those issues are addressed by the appropriate licensed trade first.
At this stage, an experienced ceiling specialist can explain whether the affected board can remain, whether a local cut-out is suitable, or whether a wider replacement will deliver a better long-term finish. This is also the time to identify issues such as mould, wet insulation or framing that needs to dry before the ceiling is closed again.
2. Drying before repairs begin
A ceiling must be properly dry before it is sheeted, set or painted. Drying time varies. A brief, contained plumbing leak may be resolved relatively quickly once repaired, while rainwater entering through a roof can leave insulation and timber damp for longer.
Trying to speed past this stage creates problems later. Moisture trapped above new plasterboard can cause staining, mould or joint movement. Where drying equipment or moisture testing is needed, it is worth allowing enough time to protect the quality of the repair.
3. Removing unsound material
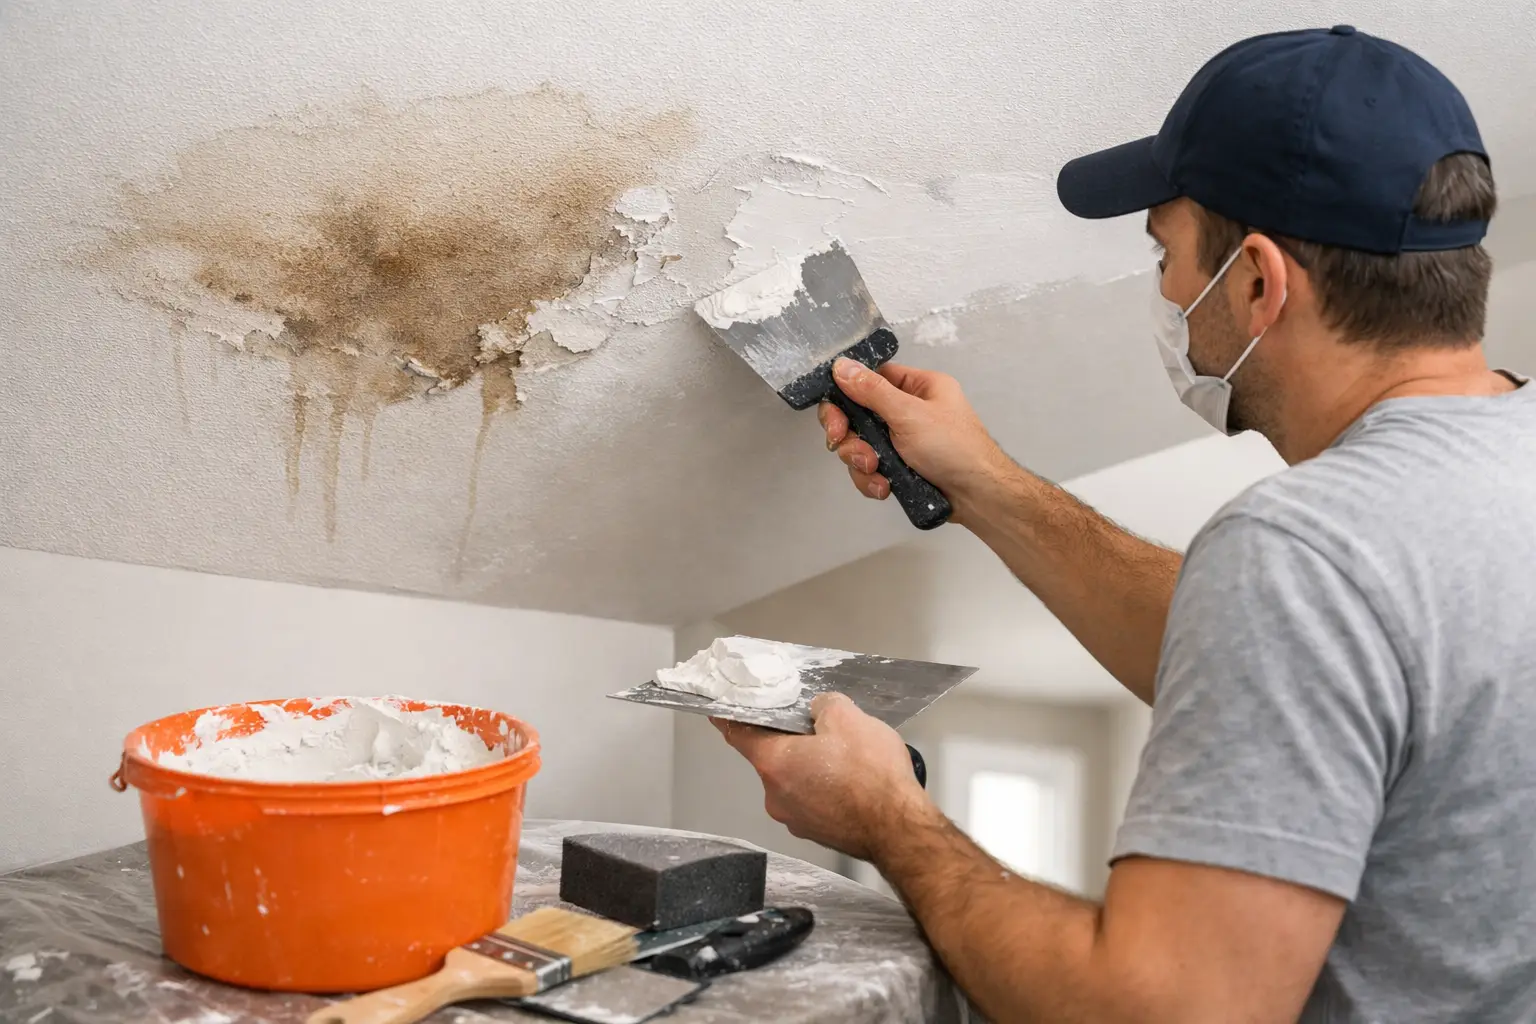
When plasterboard has sagged, softened or become mould affected, the damaged section is carefully removed back to sound material. The surrounding ceiling is protected, and the replacement section is fitted to sit flush with the existing lining.
This is where tidy workmanship matters. Clean cut lines, correct backing and well-positioned fixings create a stable base for the setting work. It is not simply a matter of putting a new square of board into a hole. The repair needs to account for ceiling movement, existing sheet joints and the way light falls across the room.
4. Setting, sanding and matching the finish
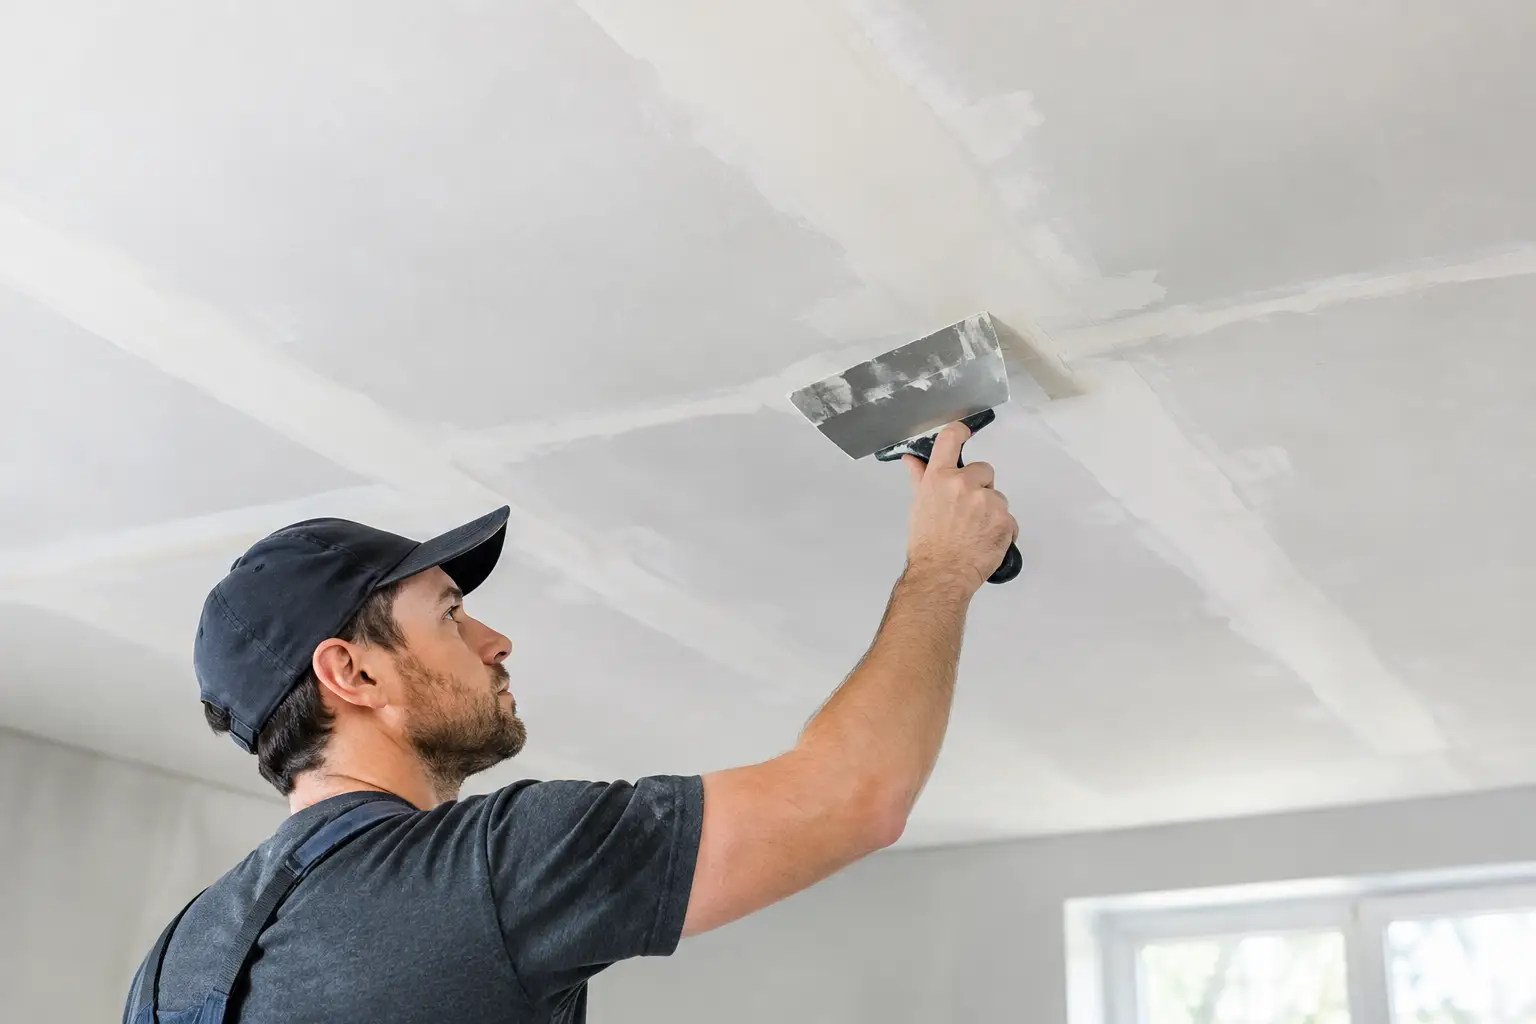
Joints are taped and set in stages to create a gradual, flat transition between old and new surfaces. Once dry, the area is sanded carefully and checked under practical lighting. Cornices are repaired or replaced where needed, with profile matching considered before work begins.
Texture matching can be the deciding factor between an acceptable repair and one that disappears after painting. Smooth ceilings, stippled finishes and older decorative surfaces each need a different approach. A paint-ready surface should look even from the doorway, not only when viewed directly underneath.
5. Sealing and repainting
Water marks need an appropriate stain-blocking primer before top coats are applied. Standard paint alone may allow tannins or old water staining to bleed back through, even when the ceiling looks dry.
For the most consistent result, repainting the full ceiling is often preferable to painting only the repaired patch. Spot painting can work in some situations, but colour fade, sheen differences and aged paint may leave the repair visible. The practical choice depends on the room, paint condition and the finish you expect.
Why a sagging ceiling should not wait
A sagging ceiling is different from a flat water stain. It can indicate that plasterboard has absorbed enough water to pull away from fixings, particularly in older ceilings or areas with heavy wet insulation above. The risk is not just appearance. Sections can become unstable and may fall without much warning.
Keep people out from directly underneath a badly bowed area, avoid disturbing it, and arrange an inspection promptly. Do not puncture, push up or screw through a sagging ceiling in an attempt to drain it. What looks like a simple release point can make a weakened lining fail unexpectedly.
Choosing the right repairer
Ceiling restoration sits between diagnosis and finish work. The person completing the repair needs to understand what damaged plasterboard looks like, but also how to rebuild the ceiling so joins, cornices and paint preparation do not reveal the repair later.
Ask whether the quote includes removal of damaged material, replacement plasterboard, setting, sanding, cornice work, stain treatment and site clean-up. A fixed-price scope is valuable because it makes clear what is being restored and what sits outside the work, such as roof or plumbing repairs. If the cause has not yet been fixed, a careful tradesperson should say so rather than promise a permanent finish too early.
At Yong's Carpentry, the hands that quote your job are the hands that finish it. That owner-led approach means the condition of the ceiling, the finish required and the practical details of working in a lived-in home can be discussed directly from the start.
Restore the ceiling once, properly
Water damage is frustrating, particularly when it interrupts a renovation, affects a bedroom or leaves a ceiling looking unsafe in a home you live in every day. The best result comes from a calm sequence: stop the leak, make the area safe, allow it to dry, then repair the lining and finish with care.
A ceiling should be restored to look like the leak never happened, but the lasting value is knowing the work beneath the paint has been handled properly too.
Need a hand with this? See our ceiling repairs in Perth, or ask for a free on-site quote.