How to Choose Paint-Ready Plaster for Your Home
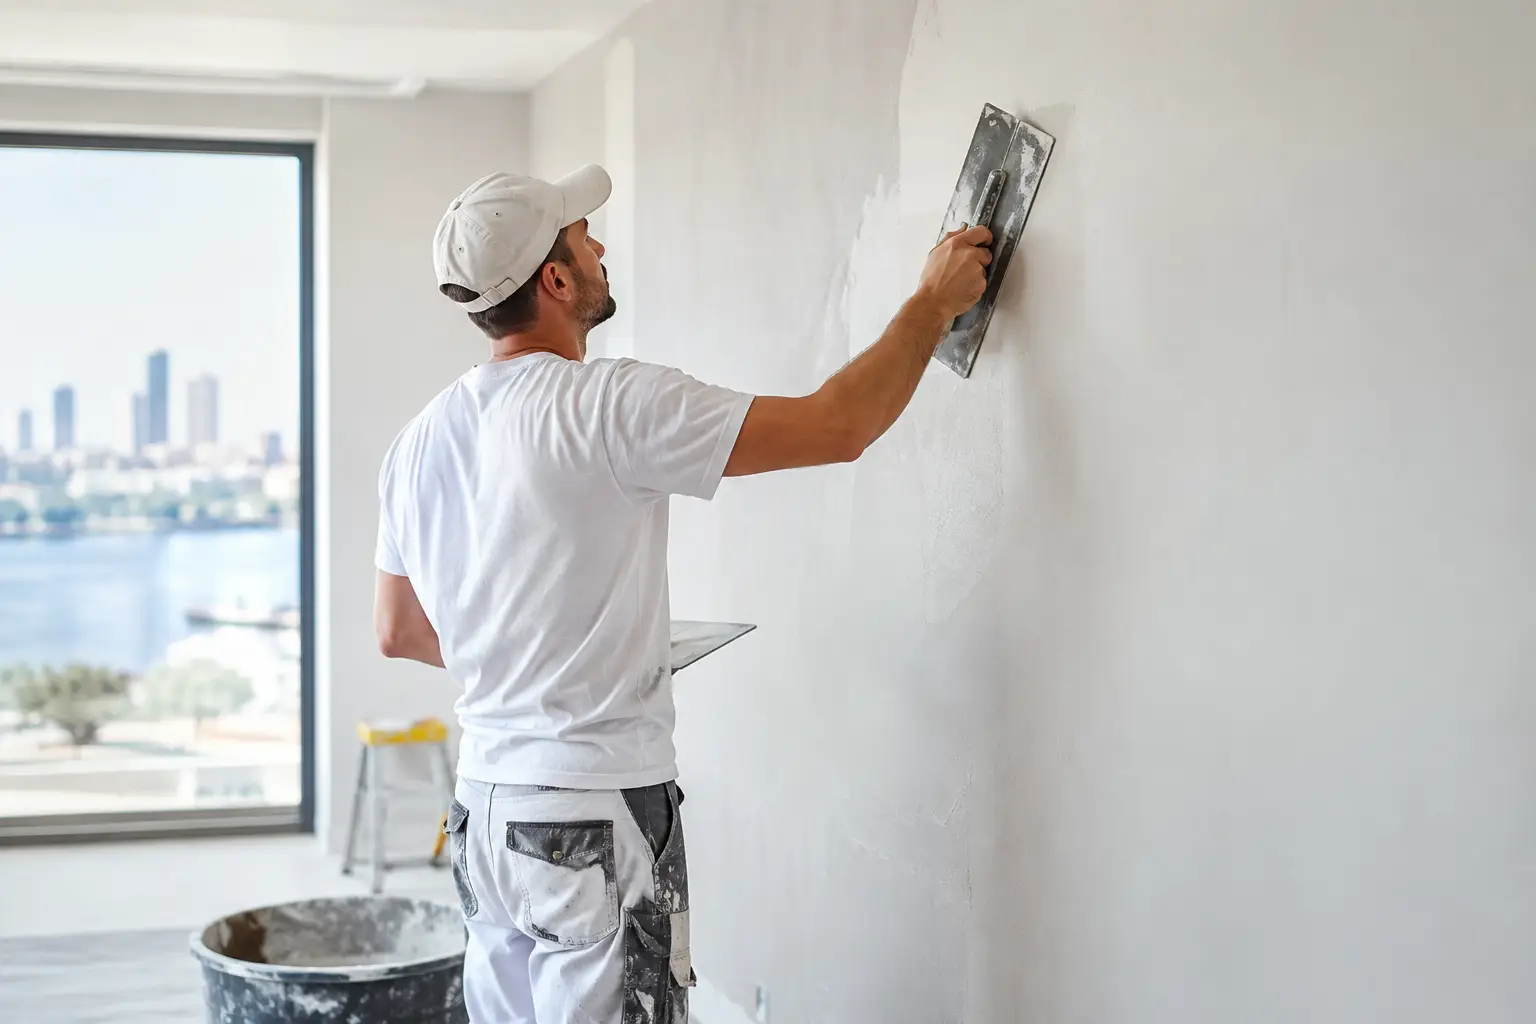
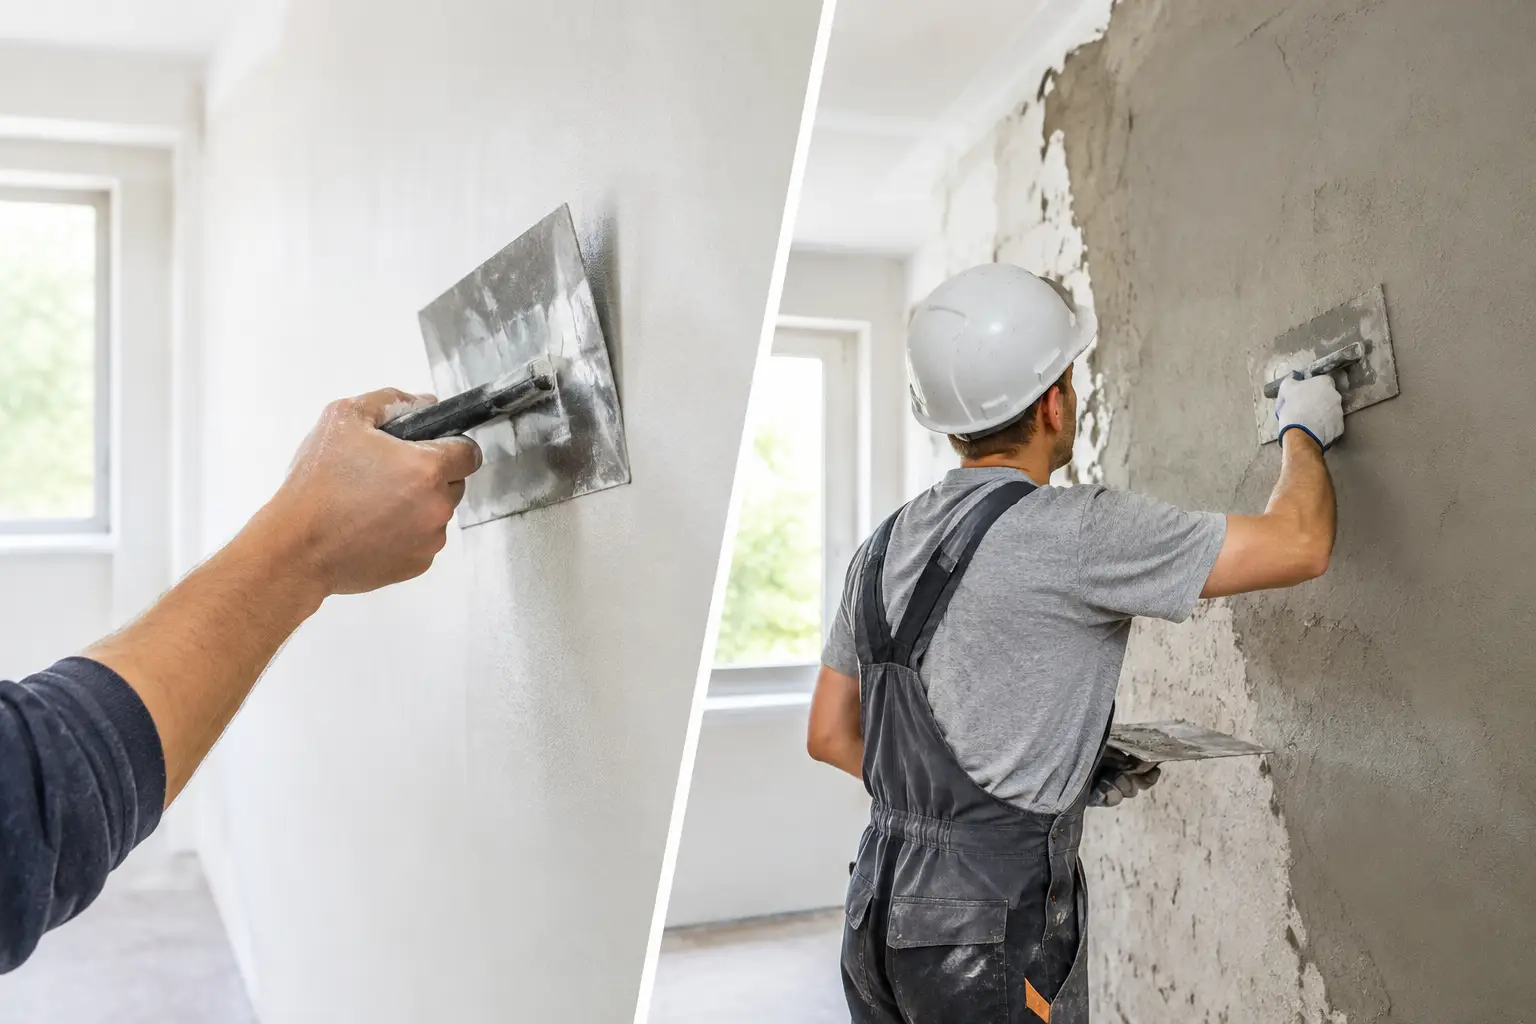
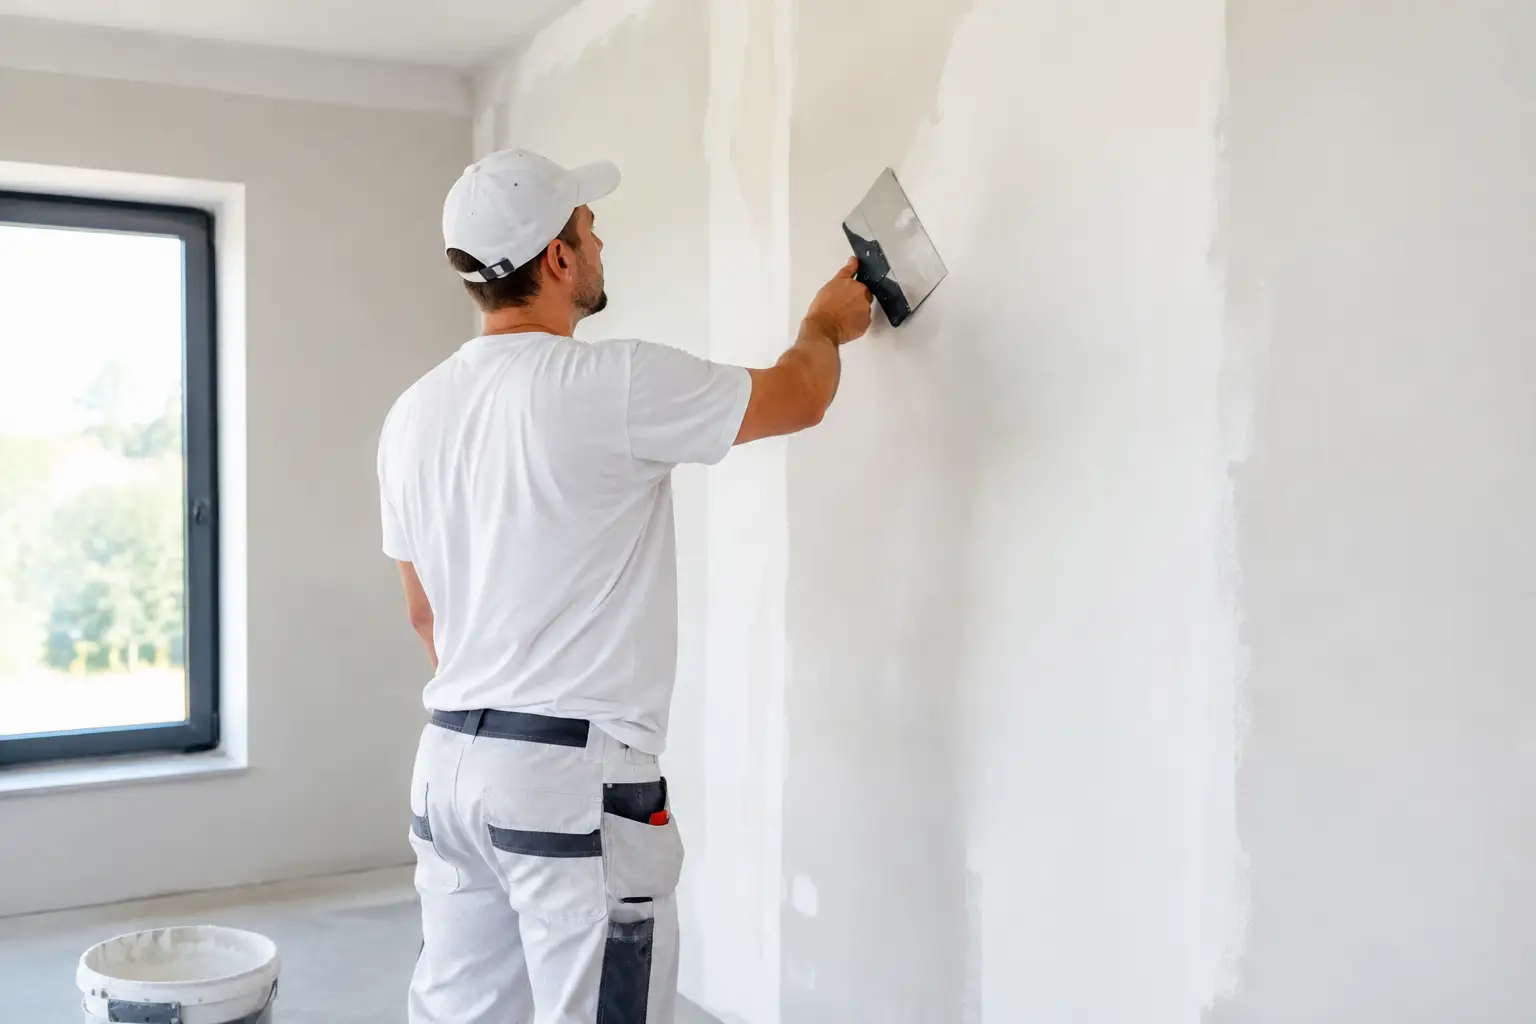
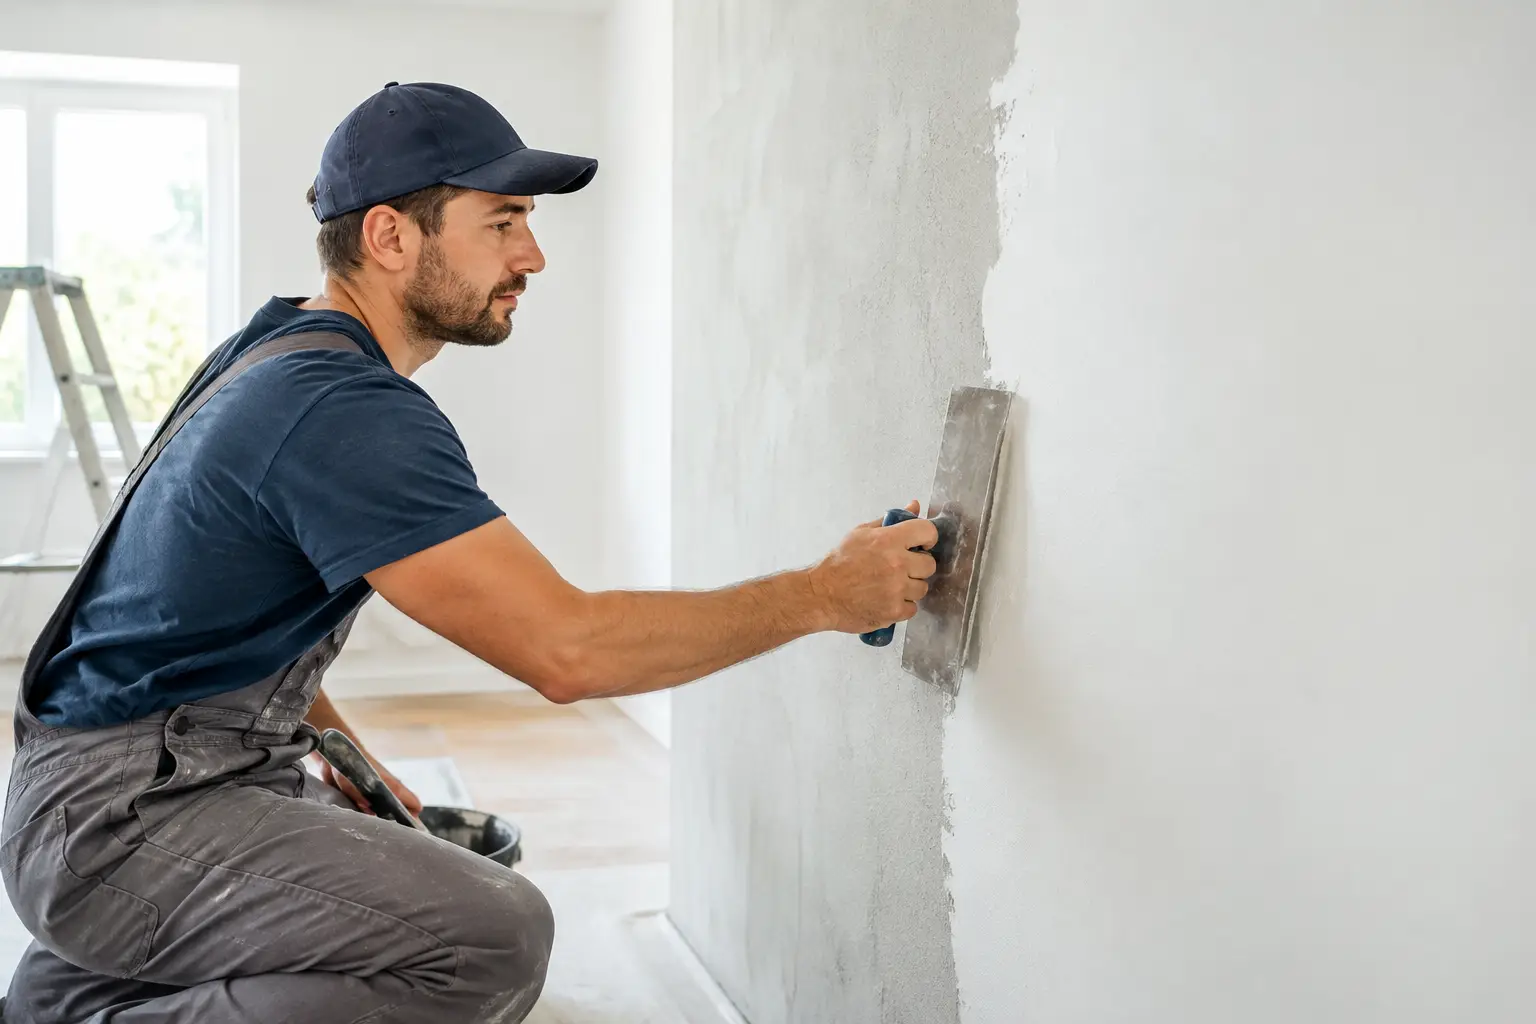
Illustrative image
A wall can look perfectly acceptable in the late afternoon, then show every join, patch and sanding mark once fresh paint catches the morning light. Knowing how to choose paint-ready plaster means looking beyond a smooth-looking surface and asking whether the wall or ceiling is genuinely prepared for the paint, sheen and lighting in your home.
For Perth homeowners, this matters most after repairs, renovations, water damage or a new plasterboard installation. Paint does not hide poor preparation. In many cases, it highlights it.
Start with the finish you expect after painting
Paint-ready does not always mean the same thing. A basic plasterboard finish may be suitable for a low-sheen wall in an ordinary bedroom, while a long hallway with downlights, a high-gloss feature wall or a large ceiling may need more careful setting and sanding. The final result depends on the plaster finish, the paint system and the way light falls across the surface.
Before choosing a plastering service or agreeing to a quote, be clear about where the work sits and what is being painted. Ceilings are particularly unforgiving because light often skims across them. So are walls near large windows, stairwells and recessed LED lighting coves.
A good tradesperson will ask about these details early. If they do not know whether the surface will receive flat ceiling paint, low-sheen wall paint or a darker feature colour, they cannot properly allow for the level of preparation required.
Ask what “paint-ready” includes
The phrase sounds straightforward, but it can mean very different things from one quote to another. A paint-ready plaster surface should normally include correctly set joints, internal corners and fastener heads, followed by careful sanding and a clean handover. It should be ready for the painter to apply the appropriate sealer and top coats, not left with obvious ridges, loose compound or dust across the room.
For repair work, paint-ready should also mean the repaired area has been feathered into the surrounding wall or ceiling. A patch can be structurally sound yet still show as a raised outline after painting if the edges have not been blended widely enough.
Ask the contractor to explain the scope in plain English. Is the price for setting and sanding only? Does it include patching minor dents around the work area? Will existing cracks be opened, reinforced and repaired properly, or simply filled over? Are damaged cornices included? Clear answers before work starts prevent the usual disagreement later: one person expected a finished surface, while the other allowed only for a basic patch.
Choose the right finish level for the room
Plasterboard work is commonly assessed by finish levels. For most residential interiors, a Level 4 finish is the usual standard before painting. This involves jointing compound applied over joints and fixings, then sanded to create an even surface suitable for normal decorative finishes.
That said, Level 4 is not a promise that every surface will look flawless under harsh side lighting or high-sheen paint. Where appearance is especially critical, a Level 5 finish may be worth discussing. This adds a skim coat or specialised surface treatment across the board face to reduce the chance of joint banding and visible variations.
When a higher-level finish is worth it
A more refined finish is usually a sensible investment for broad ceilings, walls facing strong windows, feature walls in darker colours, gloss or semi-gloss coatings, and areas with directional LED lighting. It can also be valuable in open-plan living spaces, where one large surface is visible from several angles.
It is not always necessary in a wardrobe, garage or a small wall that will be covered by cabinetry. The right choice depends on the surface, the lighting and your expectations. Paying for a higher finish everywhere may be unnecessary, but saving on preparation in a highly visible area often costs more when repainting or rectification is needed later.
Check the substrate, not just the surface
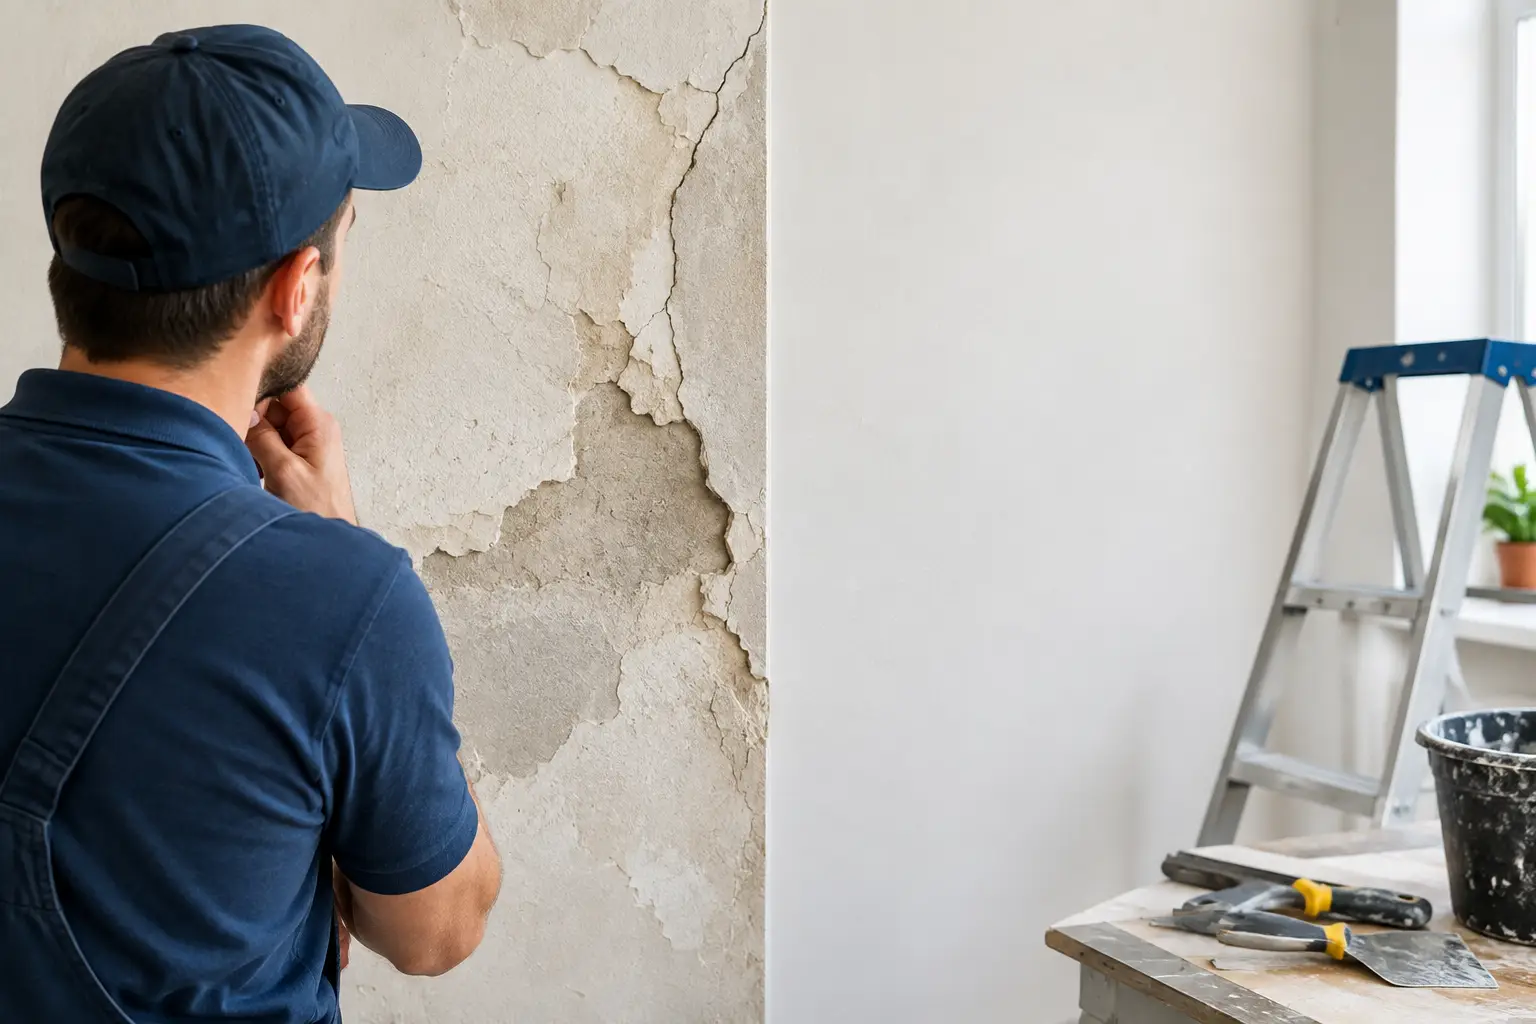
The best paint-ready plaster finish begins with a stable base. If a ceiling has sagged due to water damage, if framing movement has caused recurring cracks, or if existing plasterboard is loose, fresh compound alone will not create a lasting repair.
A careful inspection should identify the cause before the cosmetic work begins. Water staining, for example, may point to a roof leak, plumbing issue or failed upstairs waterproofing. The moisture source needs to be resolved and the area thoroughly dried before new plasterboard or compound is installed. Otherwise, staining, mould or deterioration can return beneath the new paint.
For cracks, ask whether reinforcing tape will be used and whether movement is likely to continue. Fine settlement cracks can often be repaired successfully. Wider or repeating cracks may need further investigation, particularly around doors, bulkheads or ceiling junctions.
Older Perth homes can add another consideration. Matching an existing decorative cornice, ceiling detail or textured finish takes more than filling a gap. The profile, line and transition need to be considered so the repair does not look like an obvious newer section after painting.
Look closely at preparation and protection
Quality plastering is dusty work, but it does not have to mean dust through every room. The way a contractor prepares the space says a great deal about the standard of the finished job.
Ask how floors, furniture and adjoining rooms will be protected. Will the work area be contained where practical? Will surfaces be cleaned after sanding? Will fixtures such as air-conditioning vents, light fittings or smoke alarms be treated carefully? These details matter in lived-in homes, especially where a ceiling repair or wall lining job is being completed while the family remains in residence.
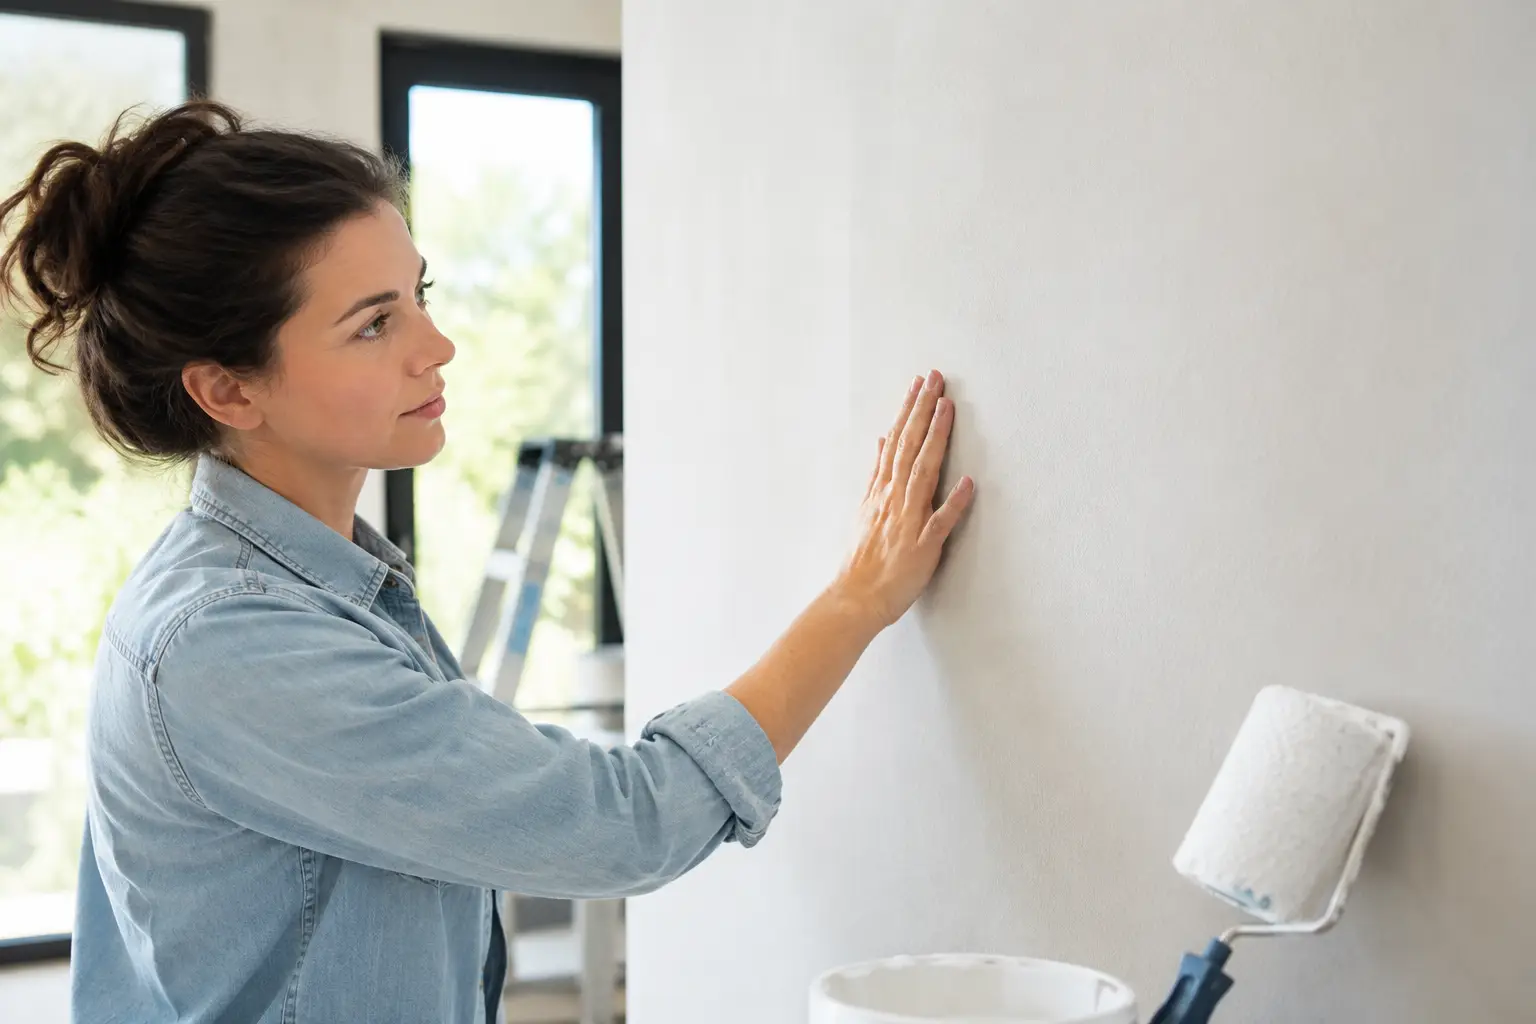
The final inspection should be done in sensible lighting, including light cast across the surface where possible. Run a hand lightly over repaired areas and look along the wall rather than directly at it. You are checking for raised joints, hollow spots, visible sanding scratches, ridges around patches and abrupt changes in texture.
Do not expect wet compound or newly sanded plaster to match painted walls in colour. You are assessing flatness, consistency and edge blending, not colour matching. The painter will still need to apply a suitable plasterboard sealer before top coats.
Do not rush drying, sealing or painting
A smooth finish can be spoiled by painting too soon. Joint compound needs adequate drying time, and that time varies with the product, thickness of application, ventilation and weather. In humid conditions or poorly ventilated rooms, drying can take longer than expected.
Once the plaster is dry and dust-free, the correct sealer is essential. Bare plasterboard and set compound absorb paint differently from an existing painted surface. Using the recommended sealer helps create an even base and reduces flashing, where repaired sections appear different in sheen after painting.
This is also why a small repair may need more painting than homeowners expect. Even when plastering is perfectly finished, touching up only the patch can leave a visible change in colour or sheen due to paint ageing, batch differences or application method. Often, painting the full wall or ceiling plane gives the cleaner result.
Compare quotes on scope, not price alone
The cheapest quote can be fair value, but only if it covers the same work. Compare whether each quote includes removal of damaged material, replacement plasterboard where required, joint setting, sanding, crack reinforcement, cornice work, site protection and clean-up. If one quote is much lower, it may exclude preparation steps that make the difference between an acceptable job and an invisible repair.
Fixed pricing is particularly helpful when the scope has been inspected properly on site. It gives you a clearer understanding of what is included and reduces the chance of vague allowances becoming extra charges later. For larger repairs or renovation work, written details are worth having before the first sheet goes on the wall.
It is also reasonable to ask who will actually complete the work. An owner-operated specialist offers a simple advantage: the person assessing the lighting, damage and finish requirements is the same person responsible for the final surface. At Yong's Carpentry, that direct accountability is central to the boutique approach - the hands that quote the job are the hands that finish it.
Questions to ask before approving the job
A quick conversation can reveal whether a contractor understands finish quality or is simply pricing by square metre. Ask what finish level they recommend for your paint and lighting, how they will treat cracks or water damage, what paint preparation is included, and when the surface can be sealed and painted.
Also ask how they manage dust, how they inspect work before handover, and whether workmanship is guaranteed in writing. A dependable plasterer should answer directly, explain any limits honestly and tell you where a higher level of preparation would make a visible difference.
The best paint-ready plaster is not simply the smoothest surface on the day. It is a properly repaired, carefully prepared base that lets the painter do their job well and leaves your walls and ceilings looking right long after the room is put back together.
Need a hand with this? See our render, plaster and paint-ready walls in Perth, or ask for a free on-site quote.