Can Plaster Repairs Be Invisible? What It Takes
Illustrative image
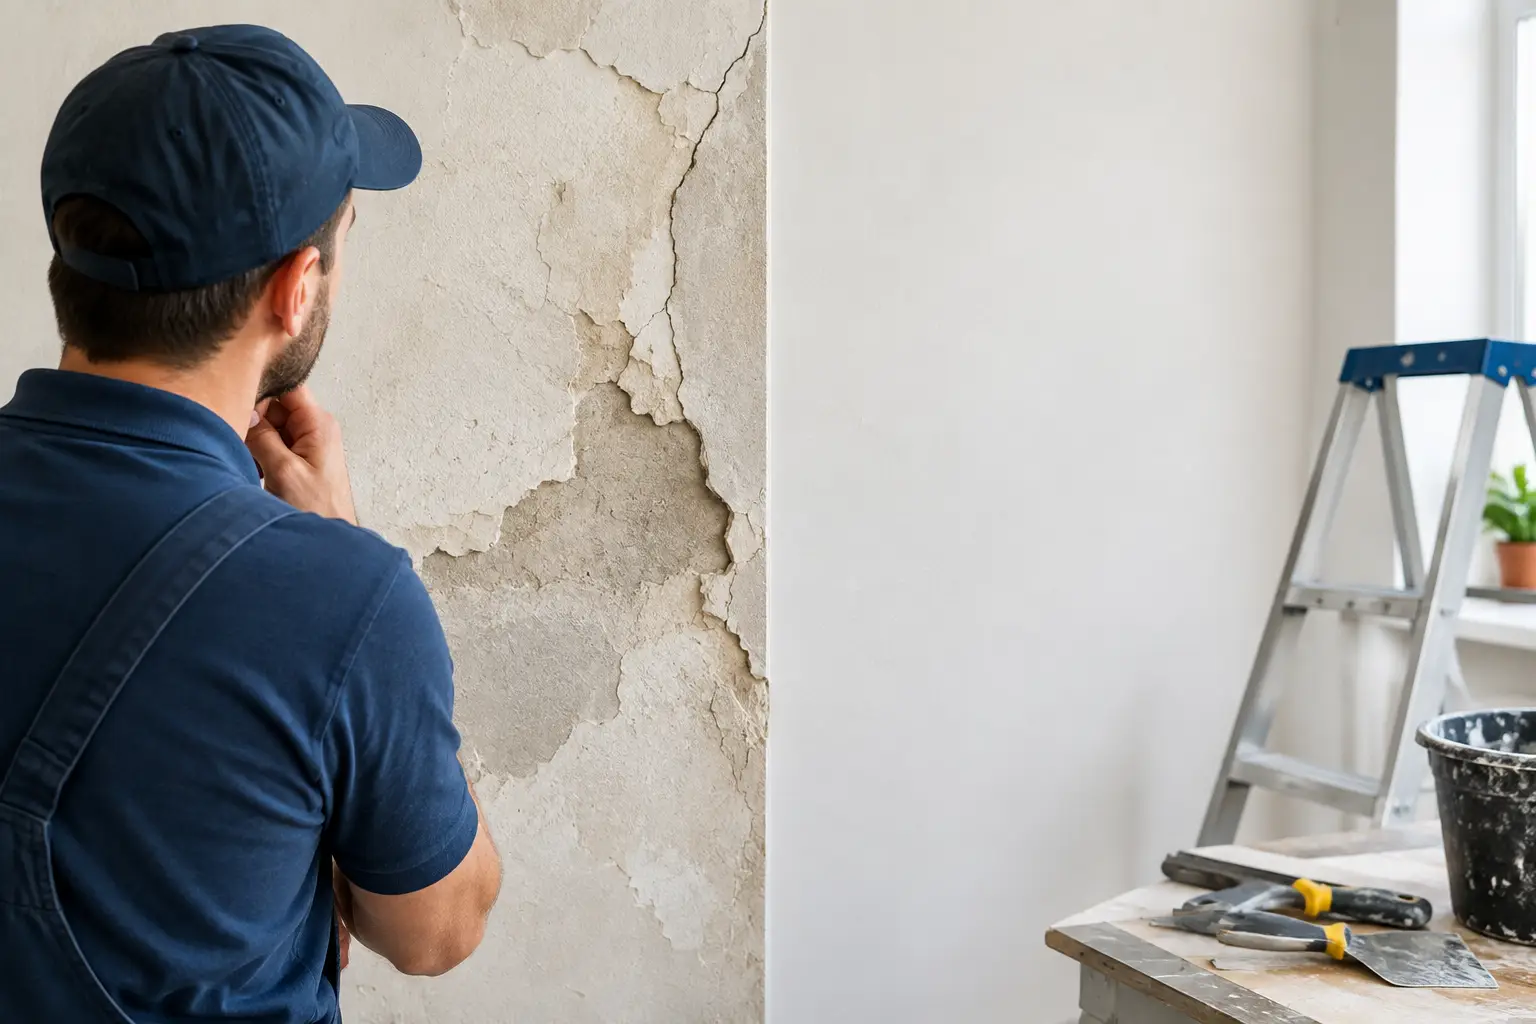
A patch can look perfectly smooth at 4 pm, then stand out like a square under morning light or after the first coat of paint. So, can plaster repairs be invisible? Yes, in many cases - but only when the repair addresses more than the hole, crack or water stain you can see.
An invisible result comes from careful preparation, the right materials and patient finishing. It also depends on the age of the home, the wall or ceiling texture, the lighting and whether the original damage has truly been resolved. A quick patch may be cheaper at first, but it often leaves a visible edge, uneven sheen or a crack that returns.
What an invisible plaster repair really means
For a repair to disappear, the finished area needs to sit flat, carry the same surface texture as the surrounding plaster and accept paint in the same way. That means no raised patch edge, hollow area, obvious sanding marks or change in sheen when light moves across the wall.
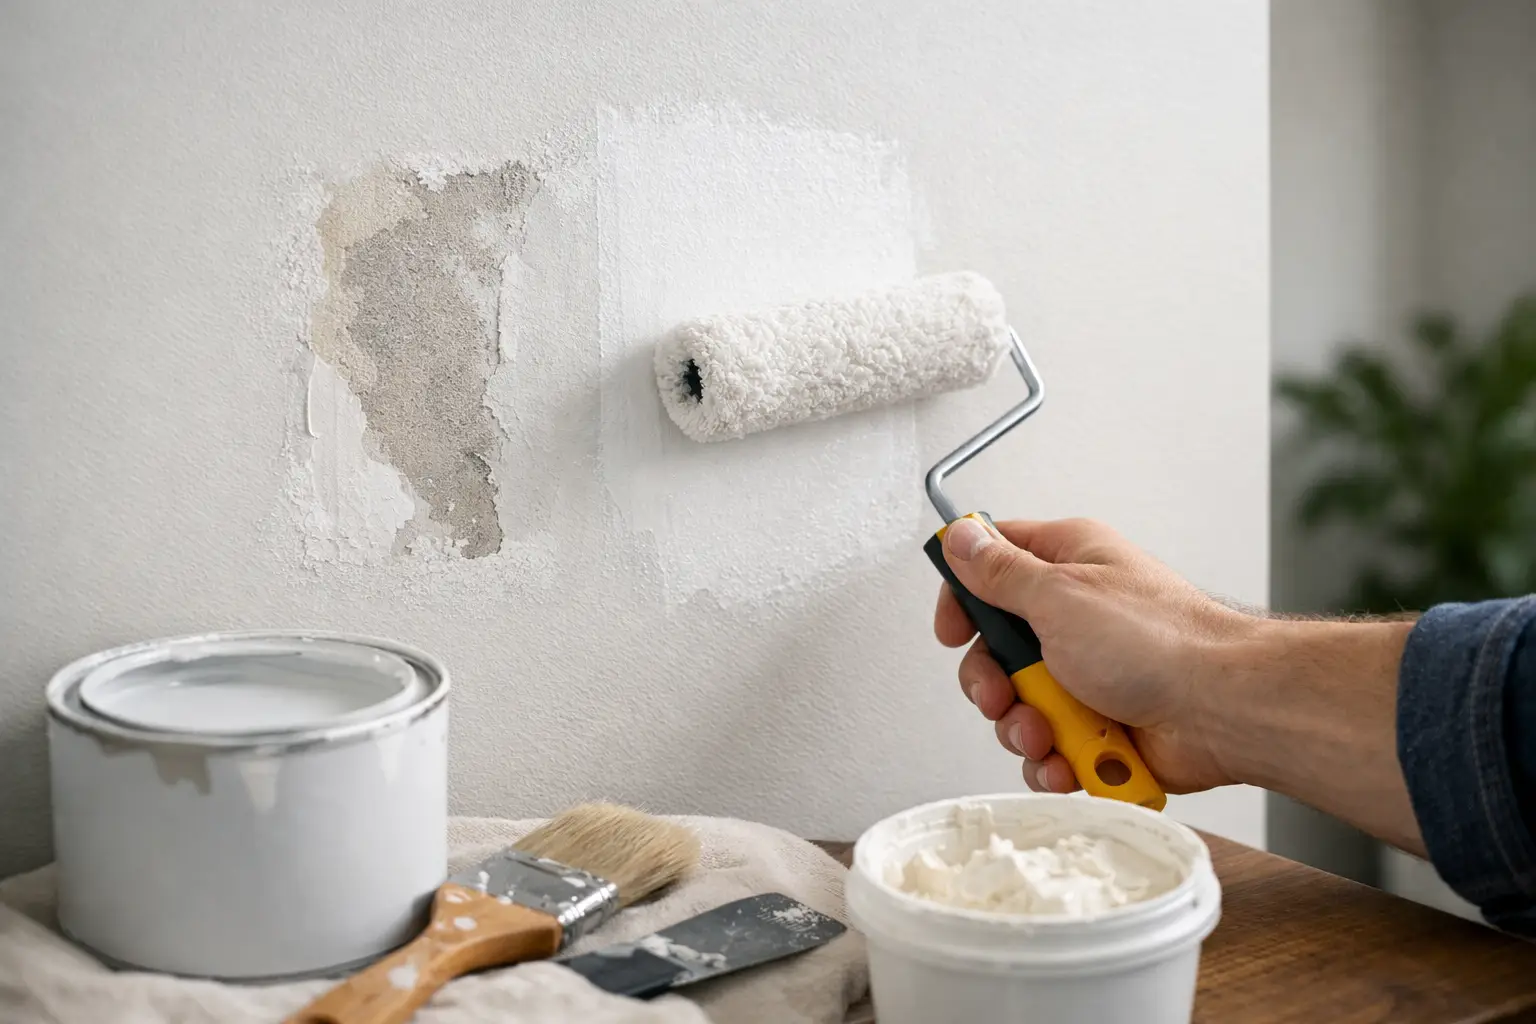
On a painted wall, the repair is only as invisible as the final paint finish. Even excellent plasterwork can become noticeable if an old wall is touched up with slightly different paint, if the roller nap does not match, or if only the small repaired area is painted. This is why a paint-ready repair and a fully colour-matched finish are related but different parts of the job.
Ceilings are less forgiving again. Light from windows, downlights and recessed LED coves can rake across the surface and reveal minor variations. A professional repair is assessed from more than one angle, not just from directly underneath.
The first step is finding the real cause
A visible crack or stain is usually a symptom. Filling it without checking why it appeared is how repairs fail.
Hairline cracks may be caused by normal seasonal movement, minor settlement or a plasterboard joint that has moved. Larger or recurring cracks can point to framing movement, loose sheeting, inadequate fixing or a building issue that needs further investigation. Water-damaged plasterboard must not be simply skimmed over while a roof leak, failed flashing, plumbing leak or condensation problem remains active.
Where water has entered a ceiling, the affected material may have softened, sagged or lost strength. Depending on the extent of damage, the correct repair may involve cutting out the compromised plasterboard, checking the framing, allowing the area to dry properly, then replacing, setting and sanding the new section. A stain blocker can help with residual marks, but it cannot make damaged board sound again.
The trade-off is straightforward: a proper assessment can make the job more involved than a basic fill-and-paint approach. It also gives the repair a much better chance of lasting.
Can plaster repairs be invisible on every surface?
Most standard plasterboard repairs can be made very difficult to spot once painted. Small dents, screw pops, old picture-hook holes, cut-outs from electrical work and localised water damage are all common examples.
The answer becomes more conditional on heavily textured walls, ornate ceilings and older homes. Matching a hand-applied texture, stipple finish or decorative plaster requires more than smoothing compound over a patch. The new surface must be built and blended to reproduce the existing pattern. If the original texture has aged, been painted many times or varies across the room, matching may involve a broader feathered area rather than a tight repair.
Heritage cornices and decorative profiles need the same careful approach. A replacement section has to match the profile, scale and line of the existing cornice, then be joined and finished so the repair does not interrupt the room. In some cases, making a small repair disappear is achievable. In others, replacing a longer run gives the cleaner result because it avoids several joins in a highly visible area.
The workmanship behind a clean patch
Invisible work is rarely about using more filler. It is about building the repair correctly in stages.
Sound backing and a stable repair area
A hole or damaged section needs firm support behind it. Loose plasterboard edges are trimmed back to sound material, and a larger opening is supported with appropriate backing or framing before new board is fitted. This prevents movement at the joint, which is one of the main reasons cracks reappear.
For cracks, the surface is prepared so the setting compound can bond properly. Depending on the crack and substrate, reinforcing tape may be needed to bridge the joint and spread movement across a wider area.
Feathering beyond the damaged spot
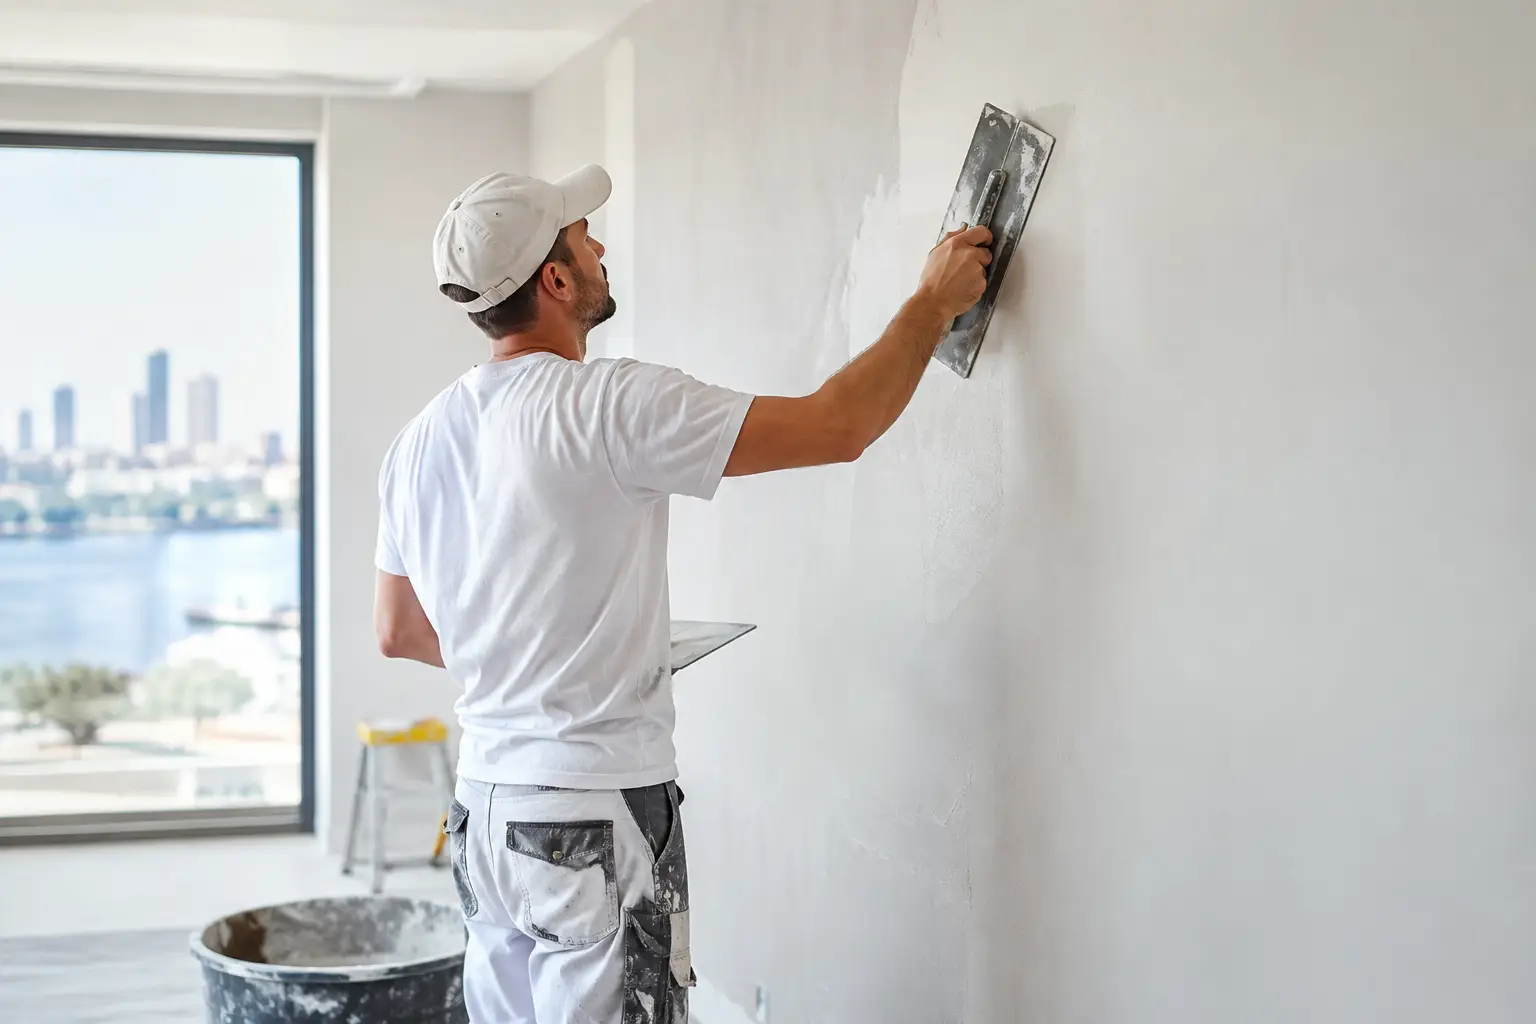
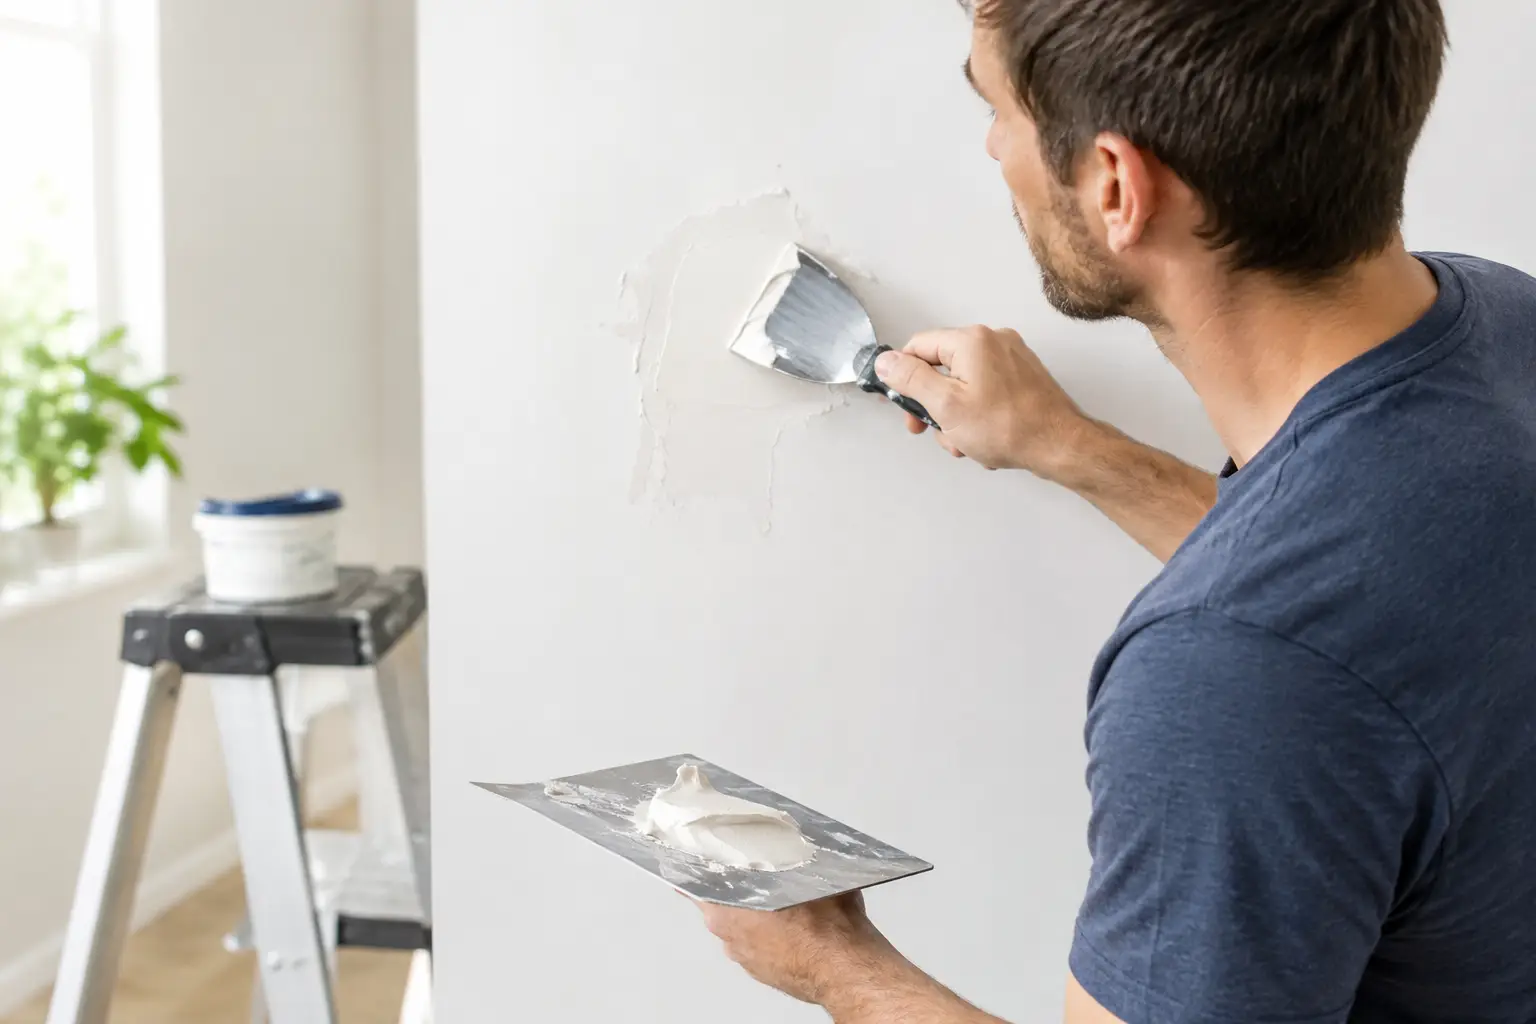
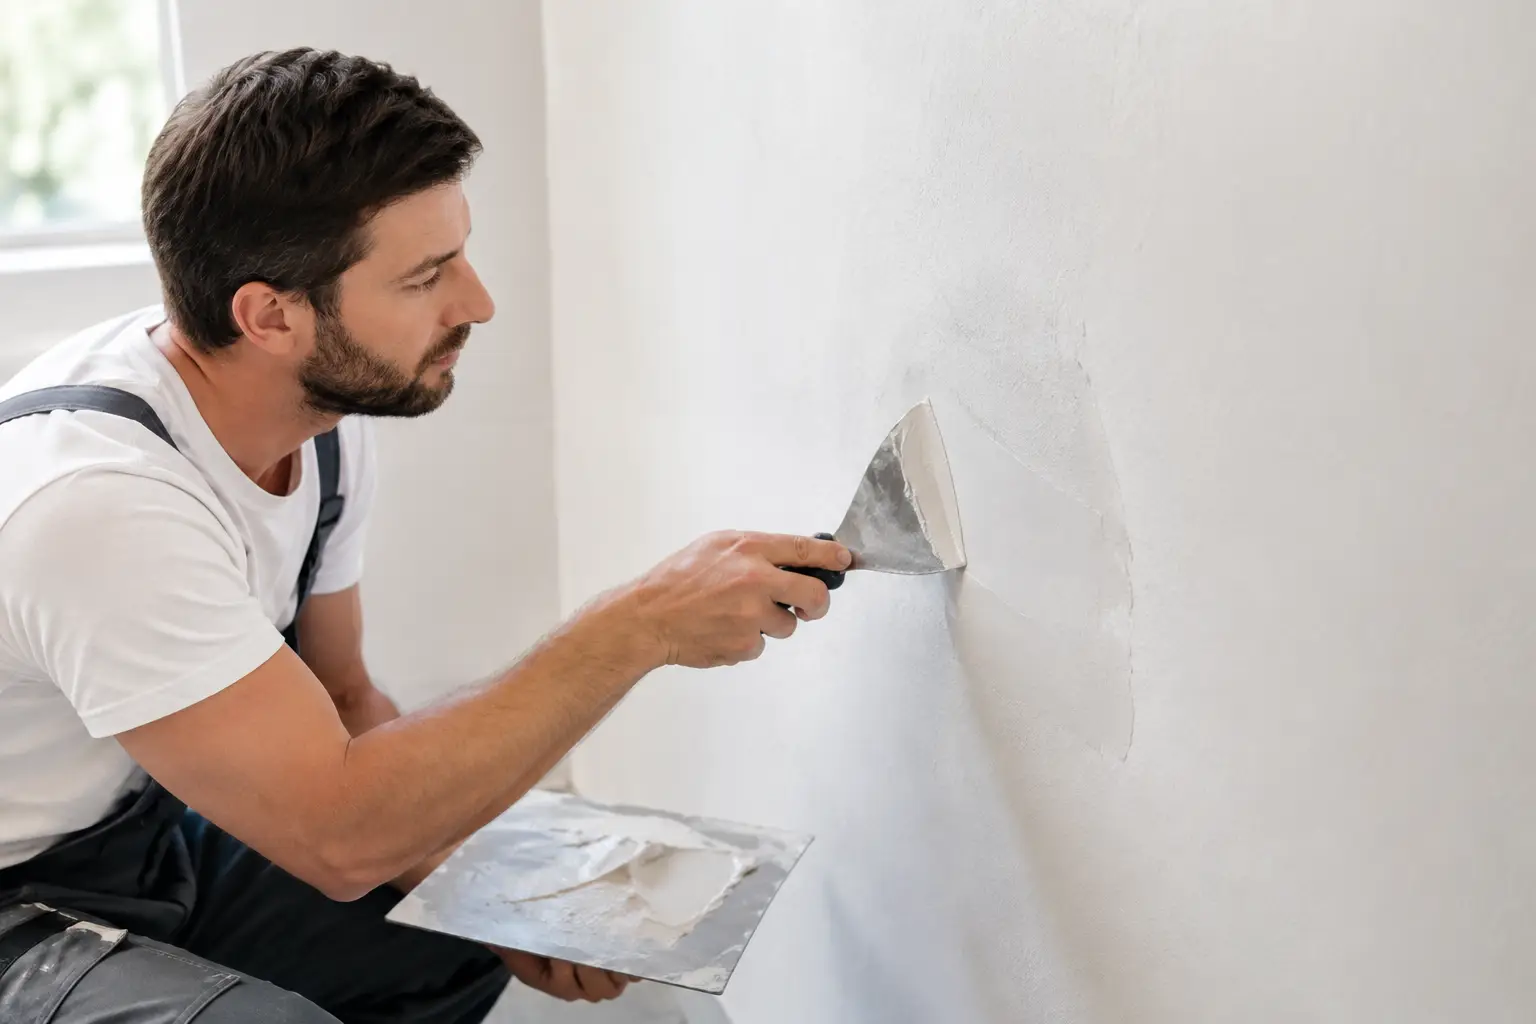
The visible problem might be only 100 mm wide, but the finished repair area can be much wider. Joint compound is applied in progressively broader coats to remove any abrupt change in level between the new work and the original wall or ceiling.
This is where rushed repairs commonly fail. A patch can feel smooth when you run a hand over it, yet still show a shallow halo under side light. Broad feathering, correct drying time and controlled sanding create a flatter transition.
Matching texture, set and edges
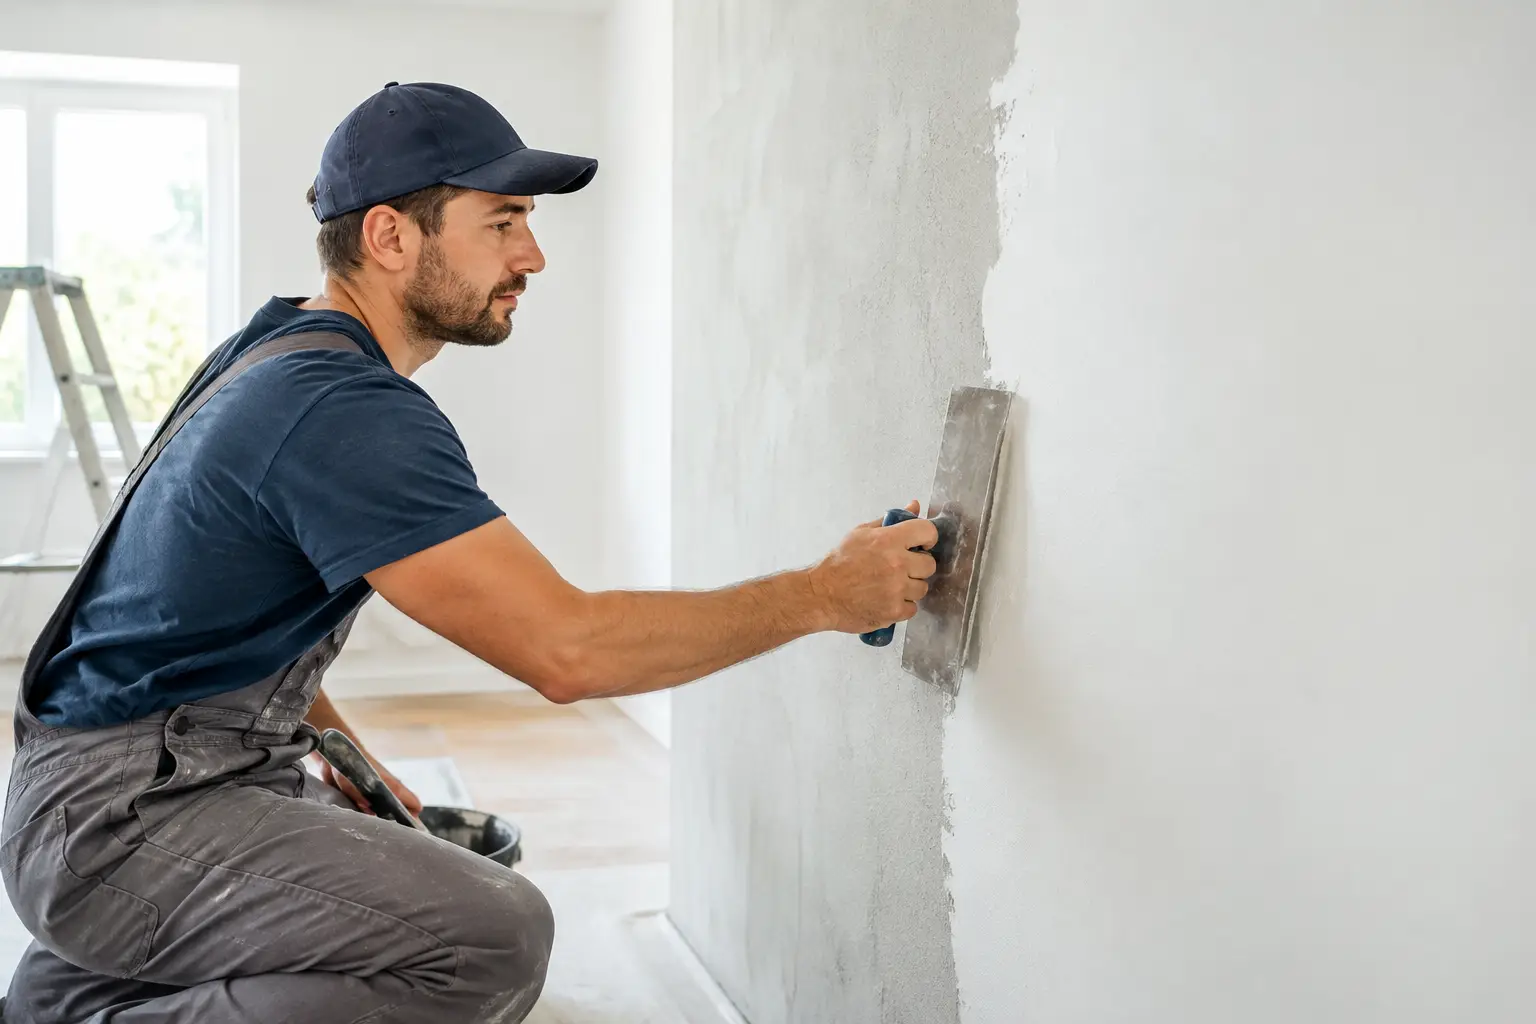
Smooth plasterboard is the easiest surface to blend, but it still needs a consistent set. Cornice joins, internal corners, bulkheads and ceiling-to-wall junctions demand neat lines as well as a smooth face. An uneven edge can catch light just as readily as a raised patch.
For textured finishes, the pattern is recreated before painting. The goal is not simply to make it rough. The size, direction and density of the texture need to sit naturally beside the existing finish.
Preparing properly for paint
Before painting, the repair should be dry, dust-free and checked under suitable light. A quality primer or sealer helps even out the different porosity between fresh compound and old painted surfaces. Without it, the patch may flash through as a dull or shiny area even when the surface is flat.
For the least noticeable result, it is often best to repaint the whole wall or ceiling plane rather than spot-paint the repair. This is especially true where the existing paint has faded, where the colour is dark, or where a low-sheen finish shows roller overlap. A small touch-up can work if the paint is recent and accurately matched, but it is not guaranteed.
Why ceiling repairs need extra care
Ceiling repairs tend to attract attention because people naturally look upward in rooms with windows, feature lighting or pale paint. Water staining also makes homeowners understandably wary that a leak will return.
The repair needs to account for gravity, board sagging and the direction of the ceiling joints. If a section has dropped or the fixing has failed, filling the surface is not enough. The board must be secured or replaced before the joint is set and feathered.
Downlights add another consideration. Their light can expose subtle ripples around patched cut-outs, particularly at night. Checking the surface with lights on before the final paint stage is a small step that makes a real difference.
When a repair may still show
Honest plastering advice includes knowing the limits. Very old paint, extensive sun fading, patchy previous repairs and unusual texture can make a perfect colour and sheen match difficult. Structural movement will also defeat any cosmetic repair until the movement is addressed.
A repair can be smooth, strong and professionally finished yet remain faintly visible if only the patch is painted against a weathered or differently coloured wall. That is not necessarily poor plastering. It is often a painting and lighting issue, which should be discussed before work begins.
A clear quote should set out whether the scope includes repair only, paint preparation, texture matching, full wall painting or ceiling painting. Fixed pricing and clear communication avoid the unpleasant surprise of discovering that a small patch needs a wider finishing area to achieve the result you expected.
Choosing the right person for the job
Ask how the cause of the damage will be assessed, whether loose or water-affected material will be removed, and how the finish will be checked under light. It is also worth asking who will carry out the work. With an owner-operated specialist such as Yong's Carpentry, the hands that quote your job are the hands that finish it. That direct accountability matters when the difference between acceptable and invisible is in the final details.
Protecting floors and furniture, managing dust and leaving a paint-ready surface are not extras in a lived-in home. They are part of completing a repair with care.
If you are looking at a crack, stain or dent that keeps drawing your eye, resist the temptation to judge the job by the size of the damaged spot. A careful on-site assessment can show what is needed to make the repair blend in properly - and help it stay that way after the paint dries.
Need a hand with this? See our render, plaster and paint-ready walls in Perth, or ask for a free on-site quote.